Cab Interior Work
Page 3
| --
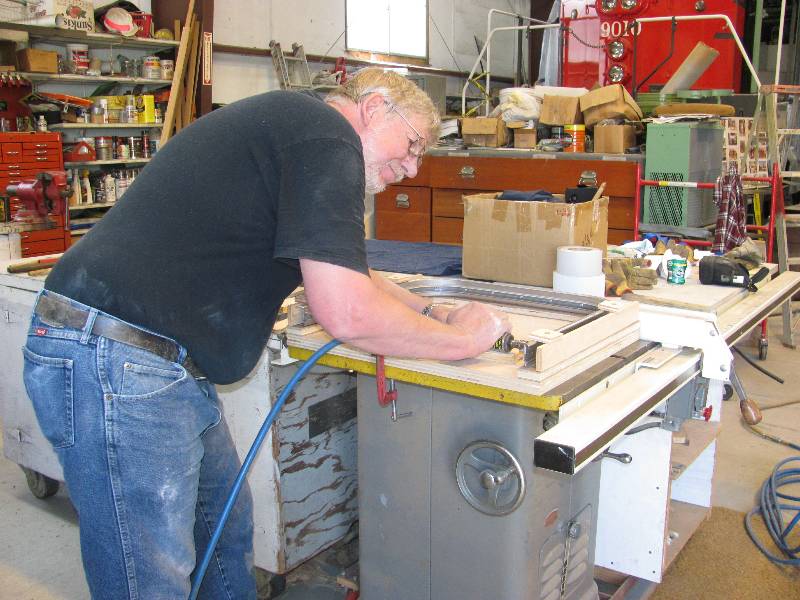
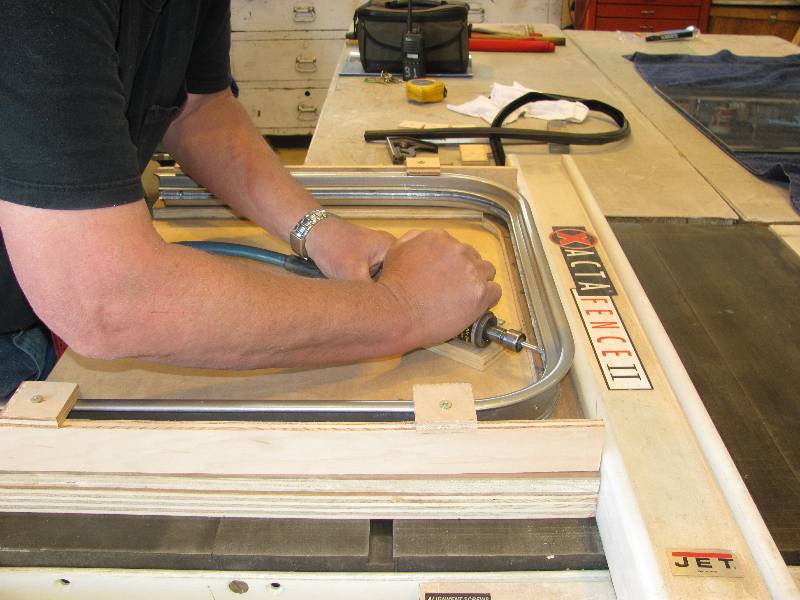
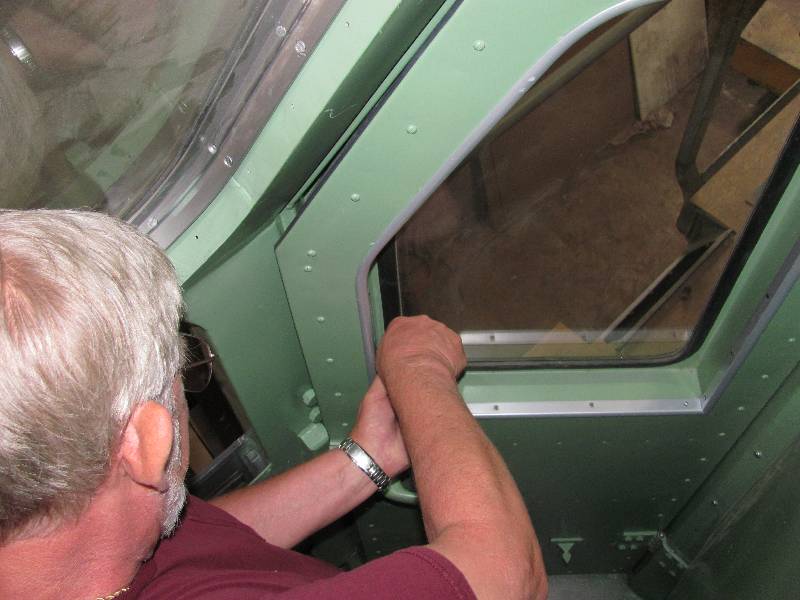
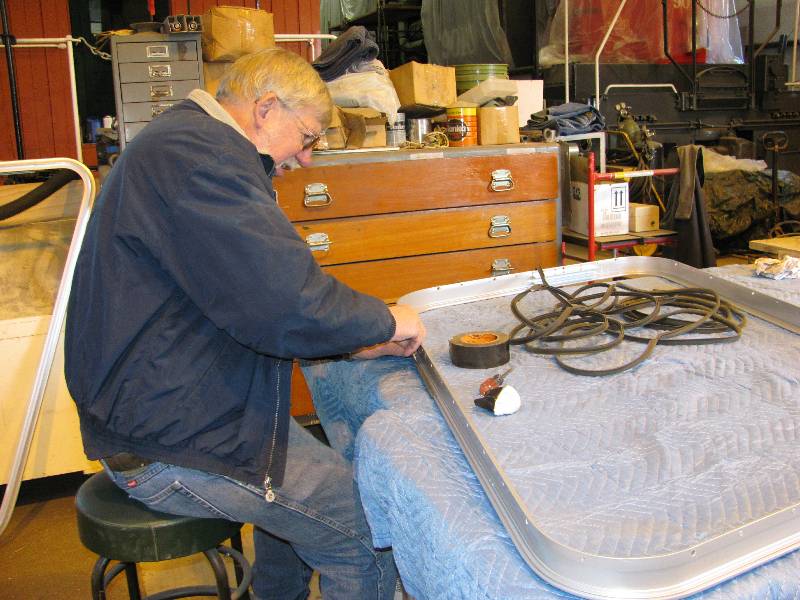
Update August 13, 2013 -- Bill has been working on the pair of roll-up windows on the cab sides. We have found it impossible to locate replacement flexible window channel that will fit into the window frame and so have been forced to slightly modify the frame by widening the channel. We created a jig into which the frames can be mounted and another jig to hold a die grinder.
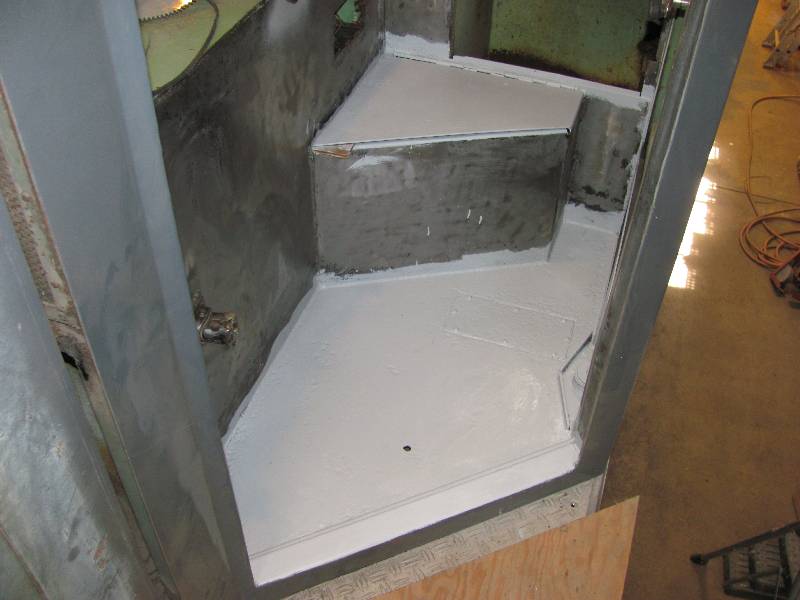
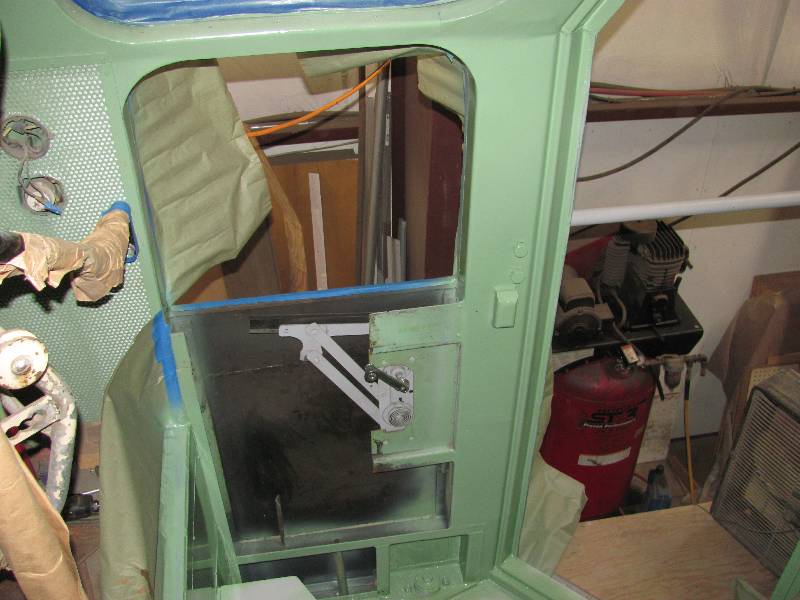
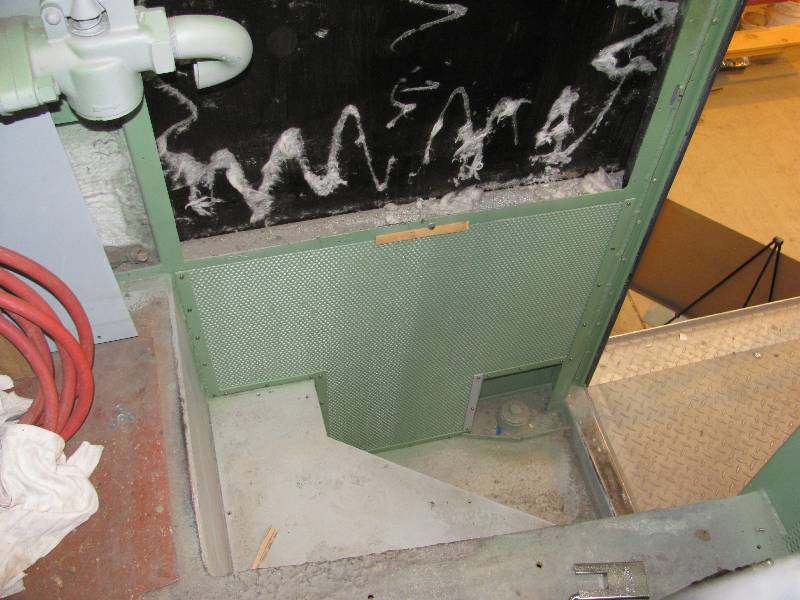
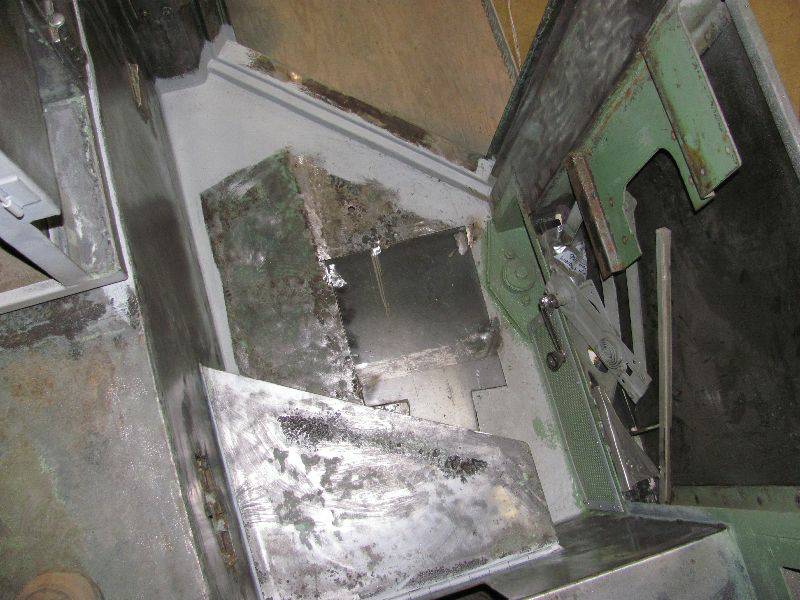
Meanwhile, Dan has been hard at work in the engineer's step well. He has removed the very last of the old paint and rust and left the area nicely prepared for epoxy primer and paint. Now that the step well is completed, we started cleaning the bathroom wall. The inside was covered with "body schutz" which had grown really nasty over the years and needed to be removed. It turned out that the easiest way was with an air chisel operating at low air pressure. And, the rear cab door which had been removed, received Bill's attention with filler and sanding.
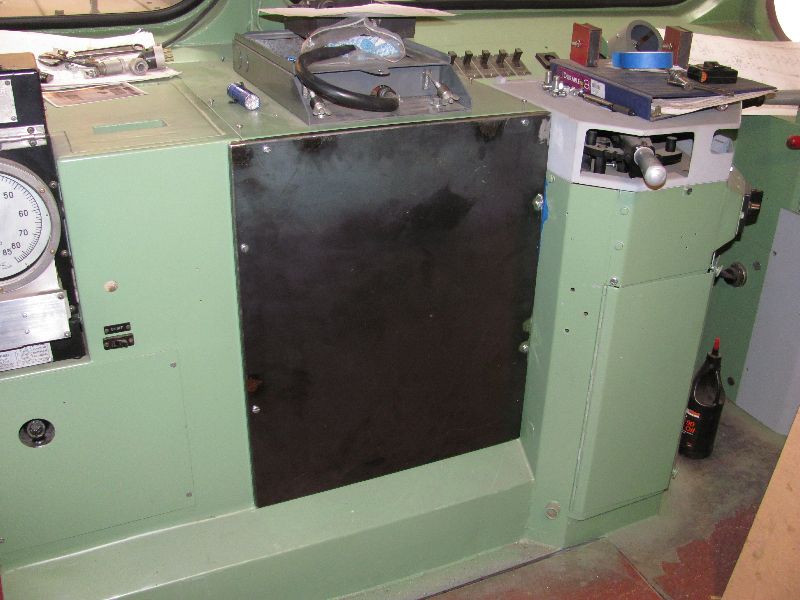
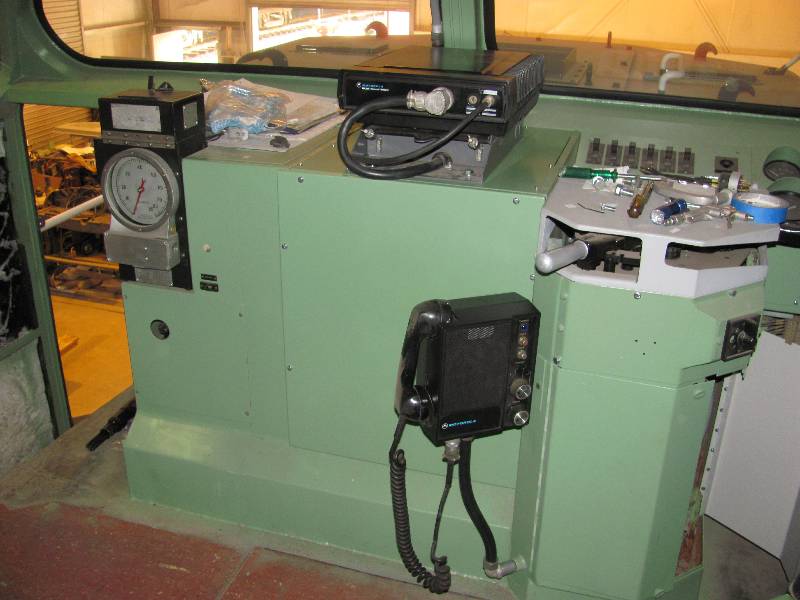
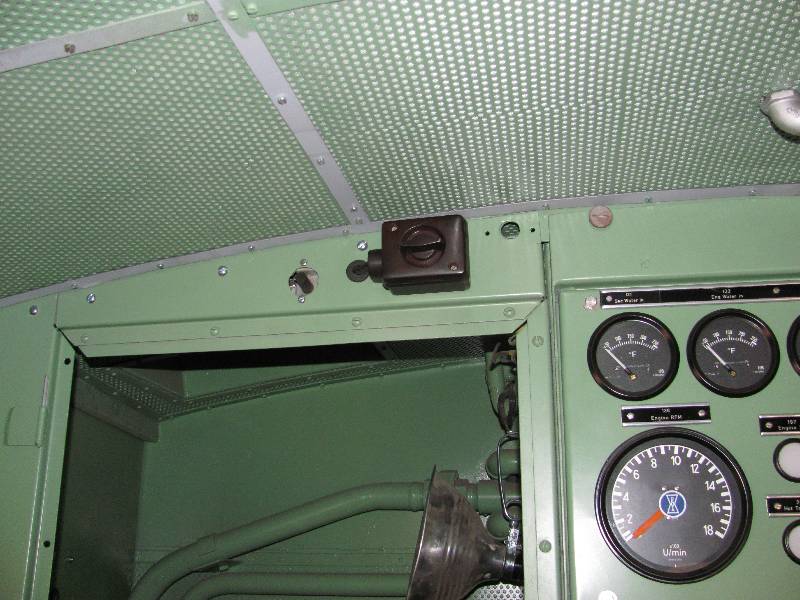
Elsewhere in the cab, a cover was fabricated for the hole where the heater had been located. Once it was painted and mounted, the radio head bracket and head was put in place and the radio wired into the locomotive. We can't move by ourselves (yet) but we can listen and talk.
--
Update September 06, 2013 --
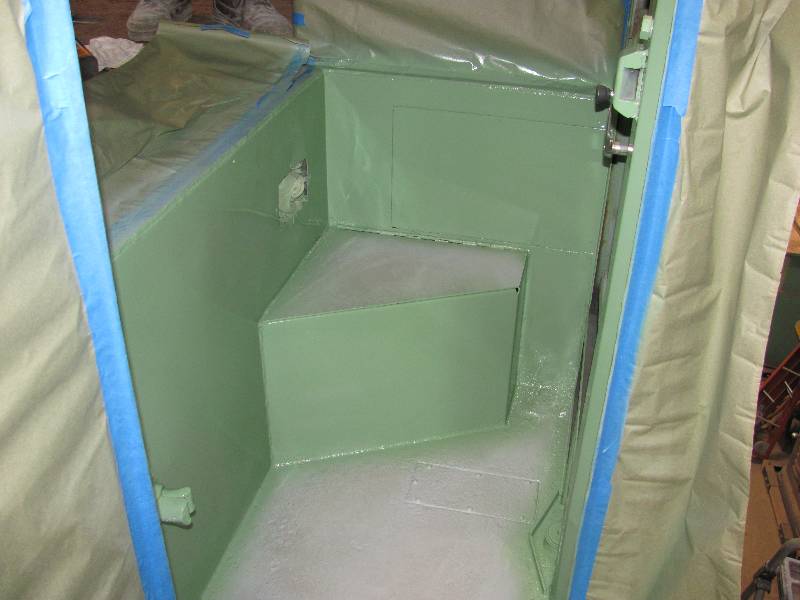
With the completion of the work on the right rear cab door, its edge was painted green in preparation for installing the new weather seals. The outside of the door was given a coat of gray and then all of the weather strip was installed. Once that was finished, the weather seal was masked and the inside of the door given its finish coat of green. The outside of the bathroom wall was also painted and it was then reinstalled. With the cab interior work winding down, I decided to install one of the perforated panels on the left side. And we installed the completed right side rear cab door.
|
||||||||||||||||||||
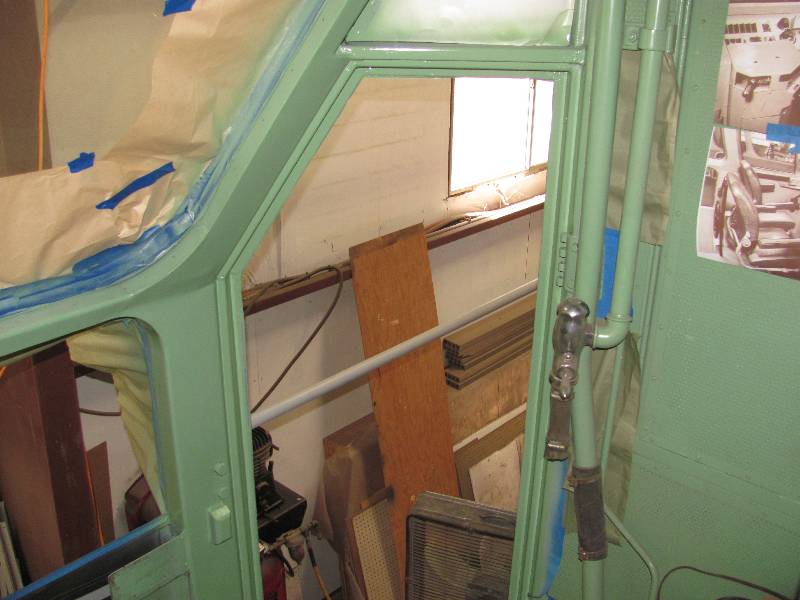
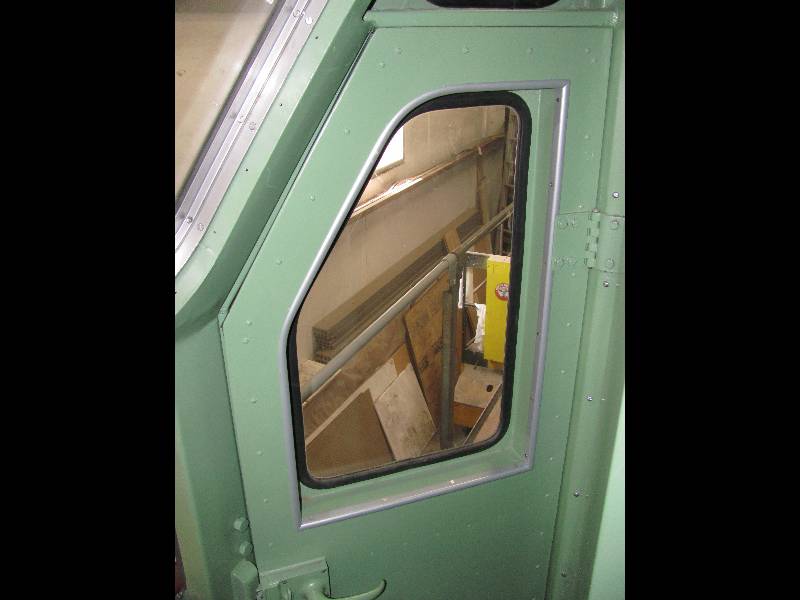
The interior window moldings
returned from being powder coated and Bill soon installed them.
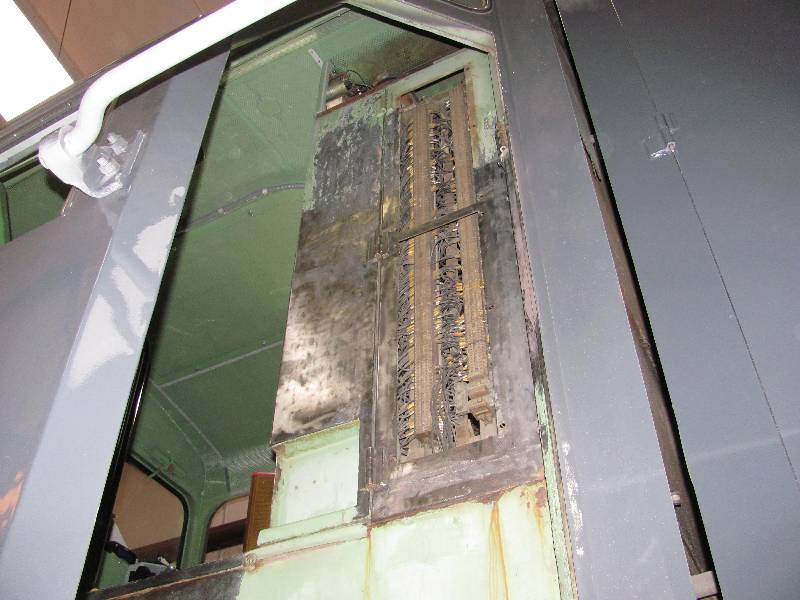
I started working on the electrical cabinet doors and found
that there were 13 extra holes in the left hand door. After
welding up the extra holes, I ground off the old broken hinges on the
door frames, shimmed the doors into position and welded the new hinges
to the doors and frames. Now, they won't sag. While
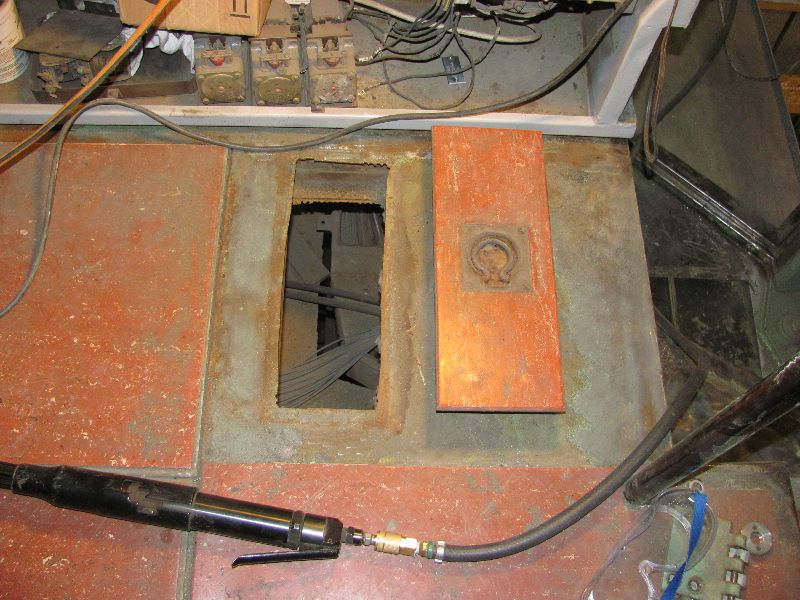
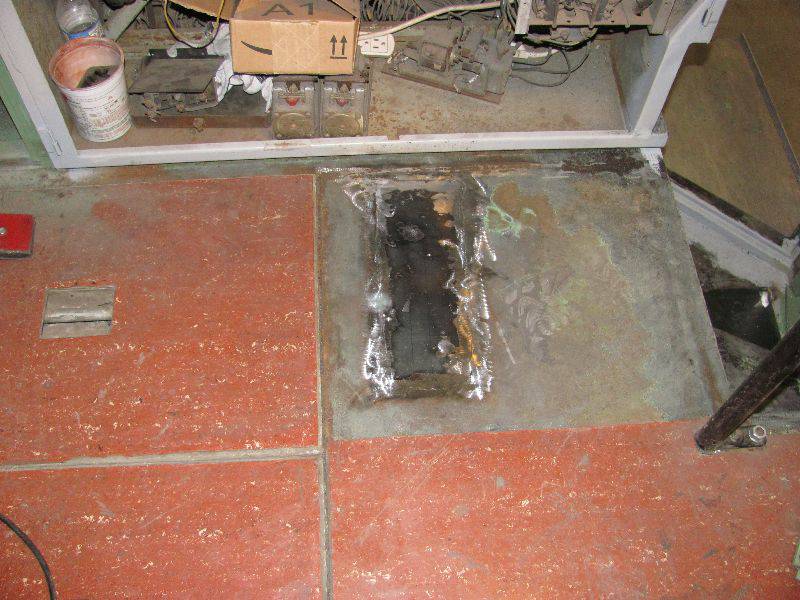
working on the cabinet doors, I removed a hatch from the cab floor and
noticed that it was not original. The hole was ragged and not
cut straight so I decided to weld a patch into the floor and eliminate
the hatch. Paint stripping continued in the left rear cab
corner. I sure was glad what all that was done.
--
Update February 01, 2014 --
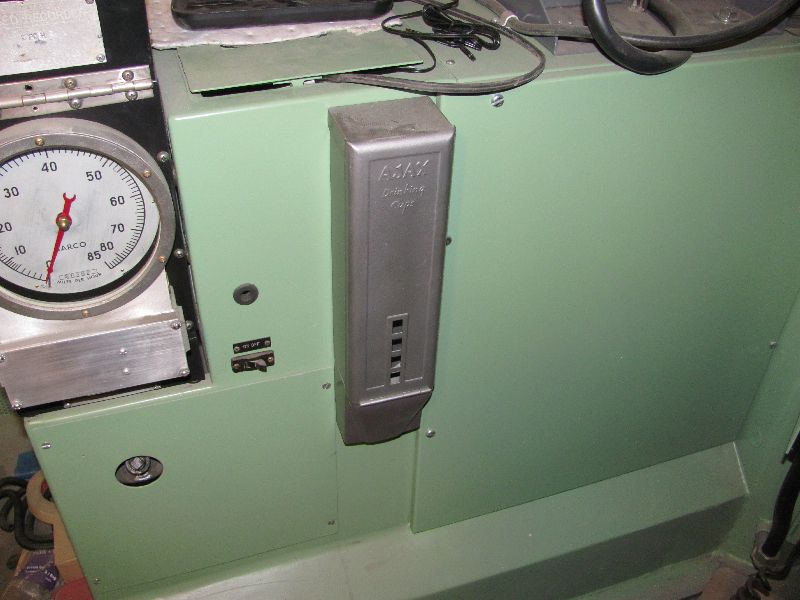
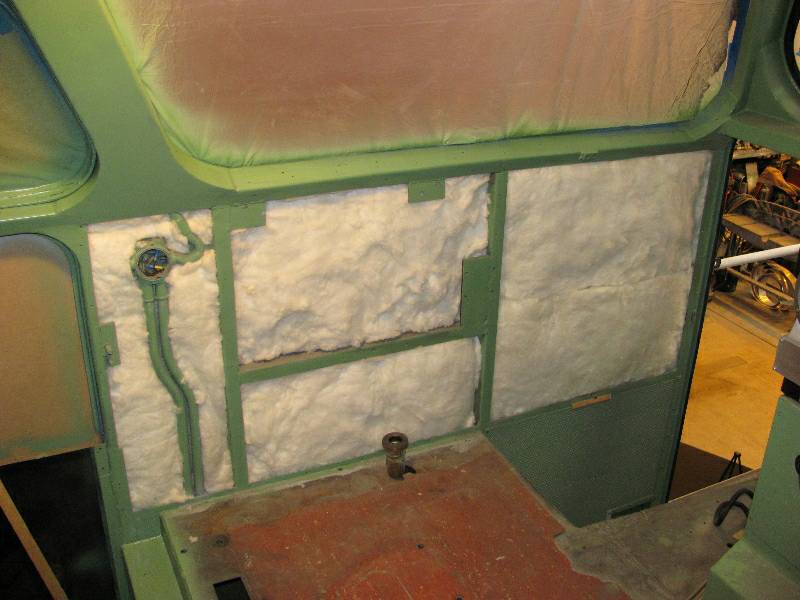
There has been a bit of work on the cab interior. We managed to locate an exact replica of the originally installed cup holder and it now has a new home. Once all the cab interior painting was finished, the left side cab wall was finally insulated And Bill is installing the rubber edge trip around the large cab windows so they may be installed.
--
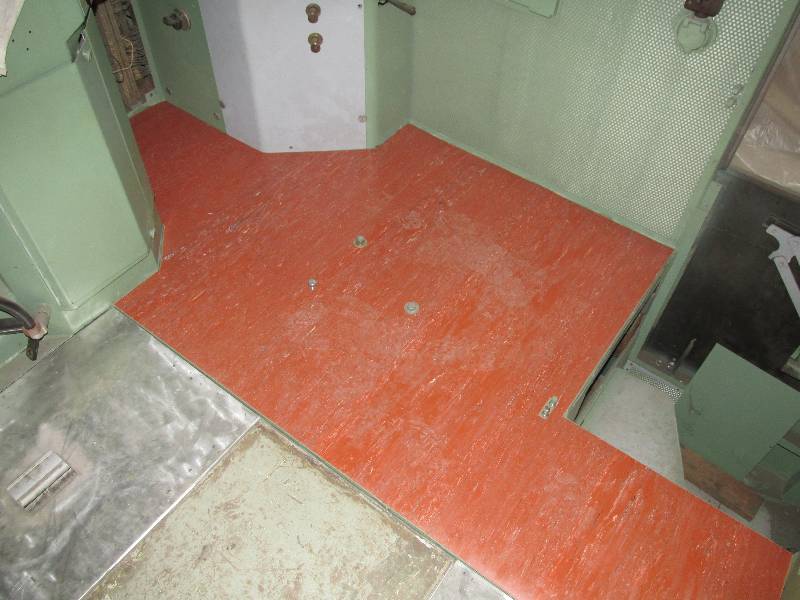
Update May 14, 2018 --
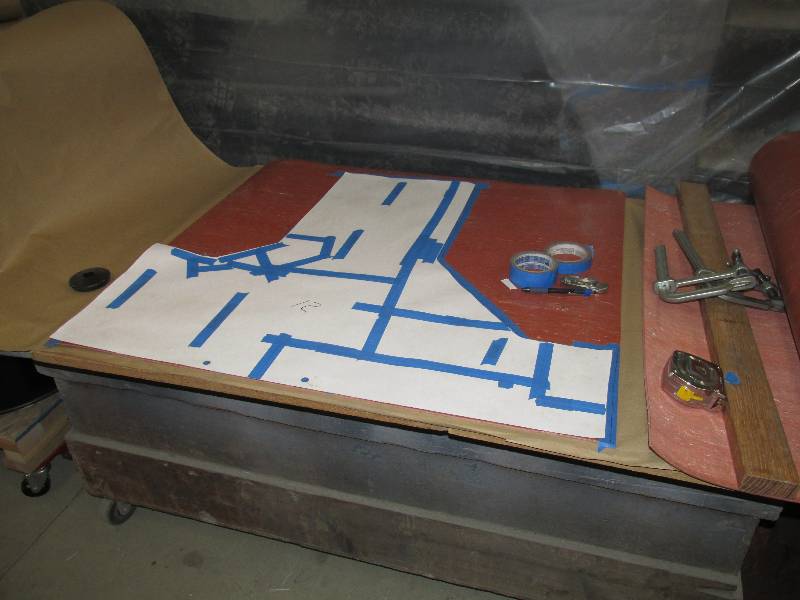
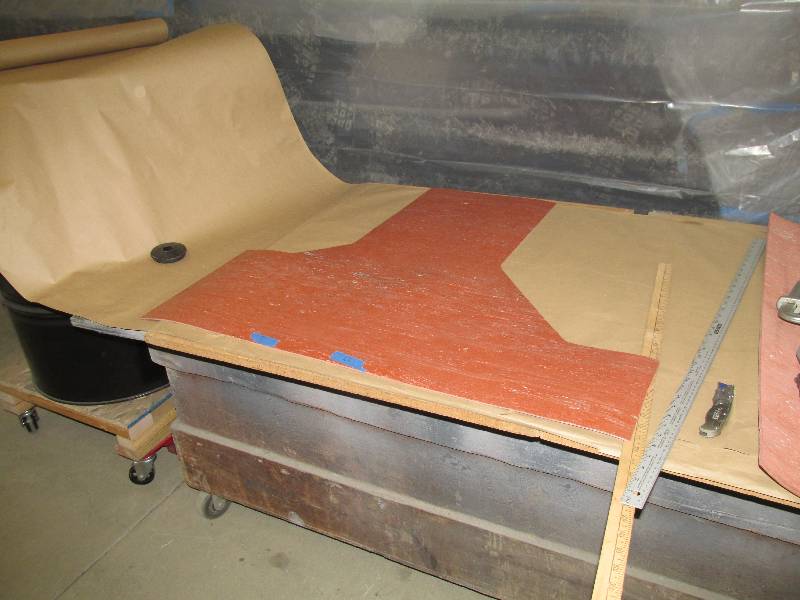
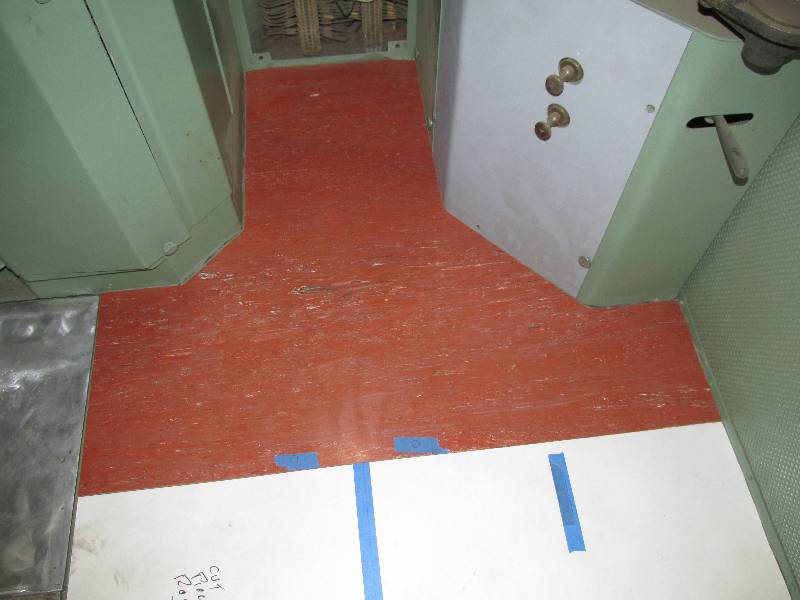
About 6 years ago,
Bob Zenk bought a roll of rubber flooring that very closely matched the
original cab floor material. It has sat rolled up on a shelf
until this month but with the application of a little heat from some
work lights, it flattened out beautifully. Using poster board
patterns of the floor sections, the new floor covering is taking shape
nicely.
--
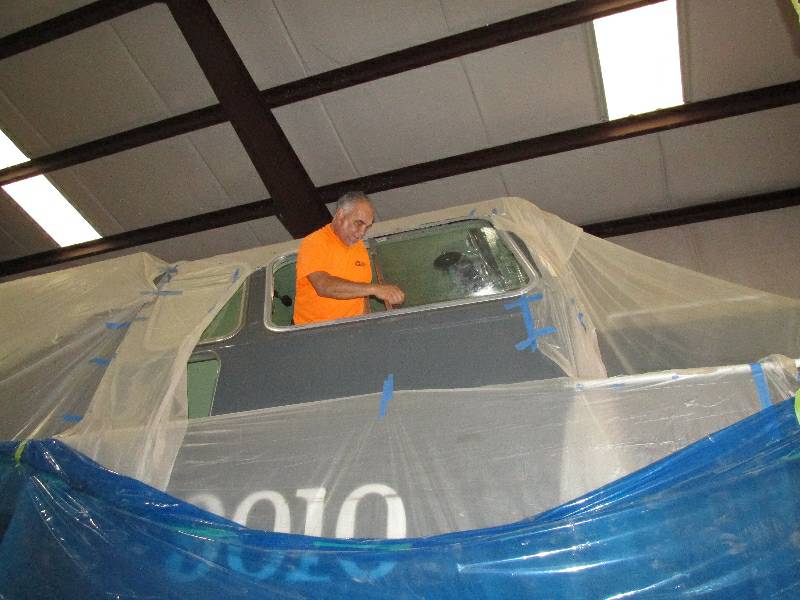
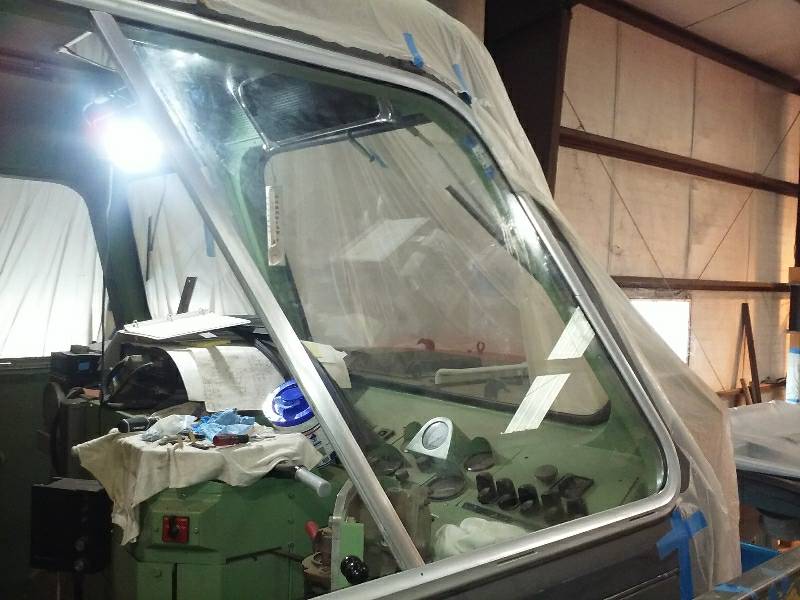
Update October 21, 2018 --
We contracted with our glass folks Bee Line Glass to install the fixed panes of the cab side glass. They did a great job and the cab really looks complete now.
Return To Main Page |