|
Southern Pacific
9010
--
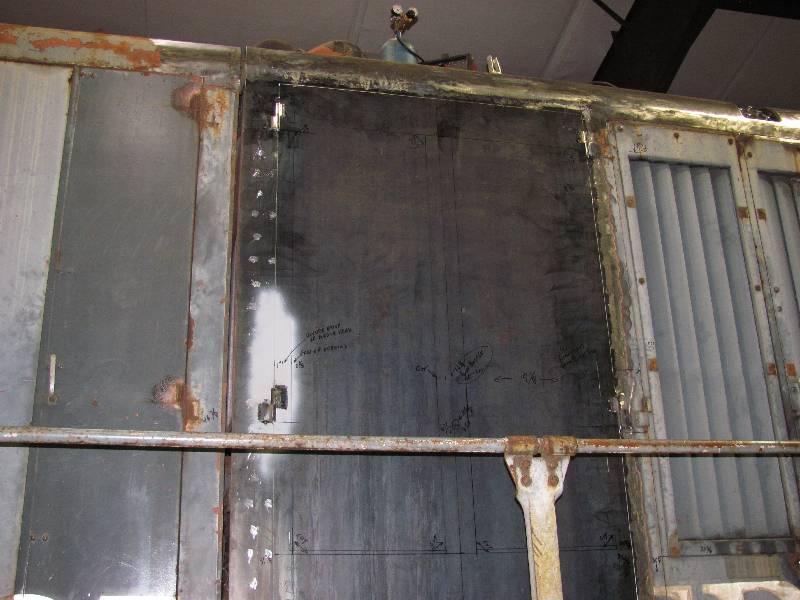
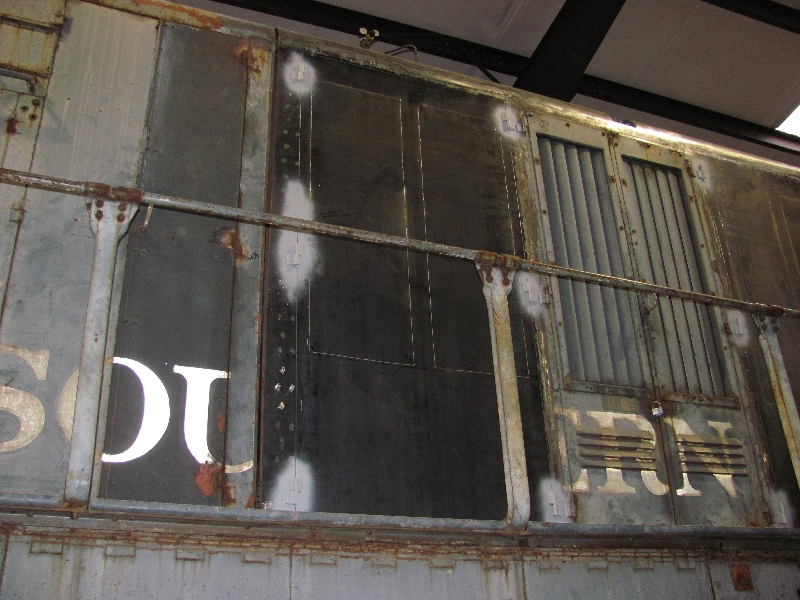
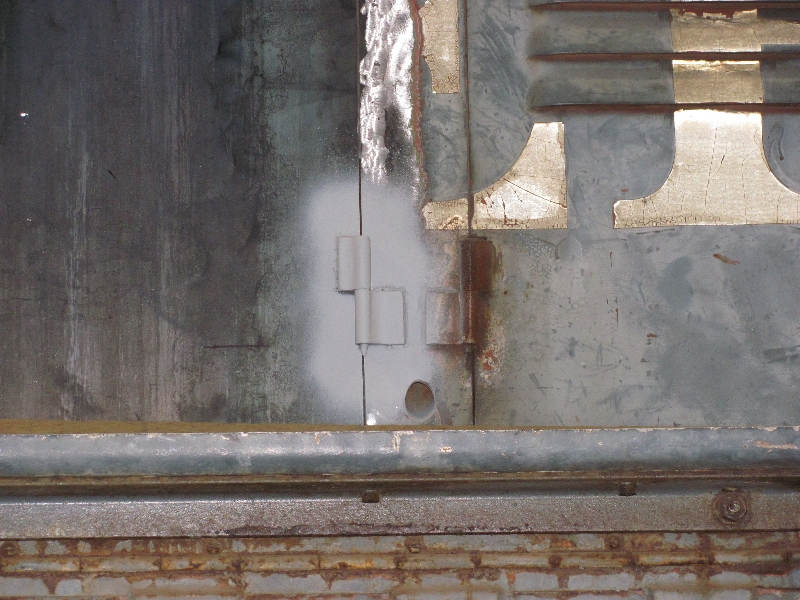
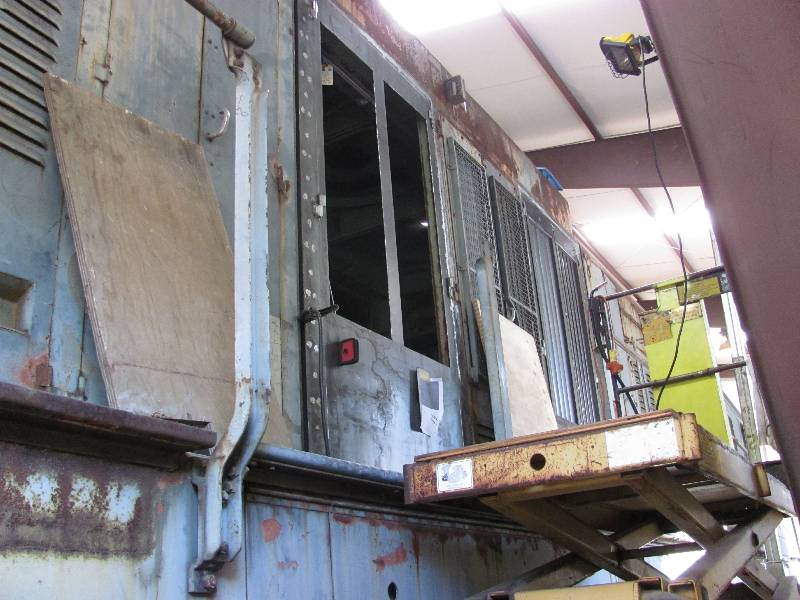
Update January 12, 2011 --Other Body Work Page 2 Each of the engine and cooling room doors has 3 hinges that are not exactly off the shelf items. A combination of flat stock, angle iron, thick wall tubing and the MIG welder yielded suitable substitutes. The newly replaced panels were well marked with felt tip pen and the hinges welded into place.
The next job on the seemingly endless list is the fabrication of the door frames for the engine cooling shutters. No sooner were the new metal sheets put up than they got holes cut in them. The shutter frames are made of angle iron and flat stock so the only real issues are getting them to fit correctly and look good. And speaking of looking good, Mike continues his assault on the old weld.
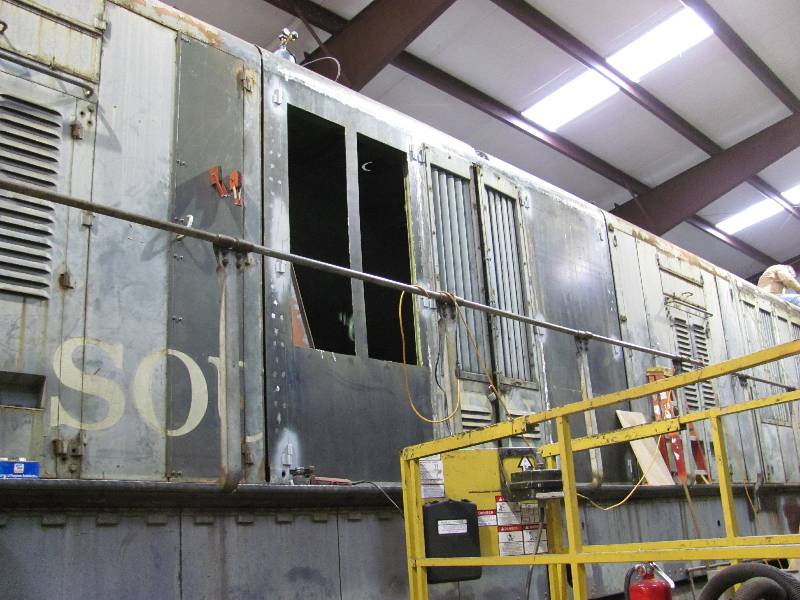
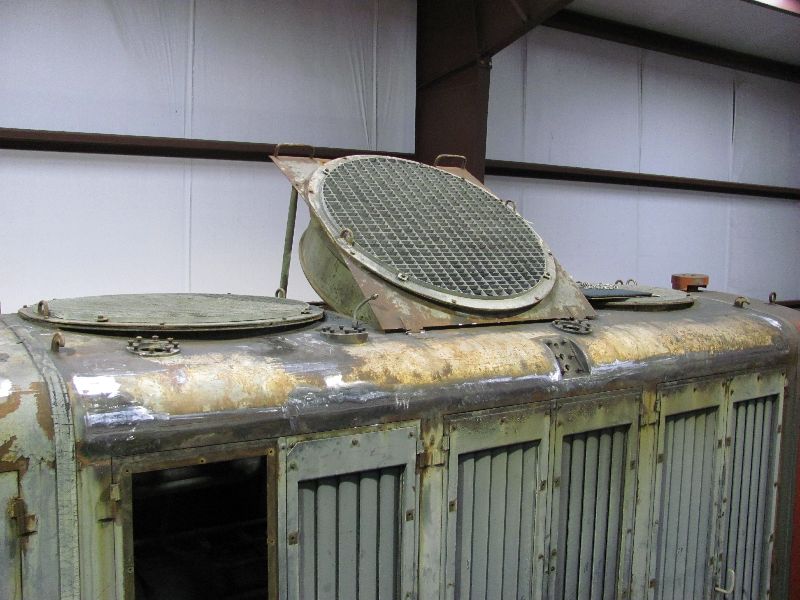
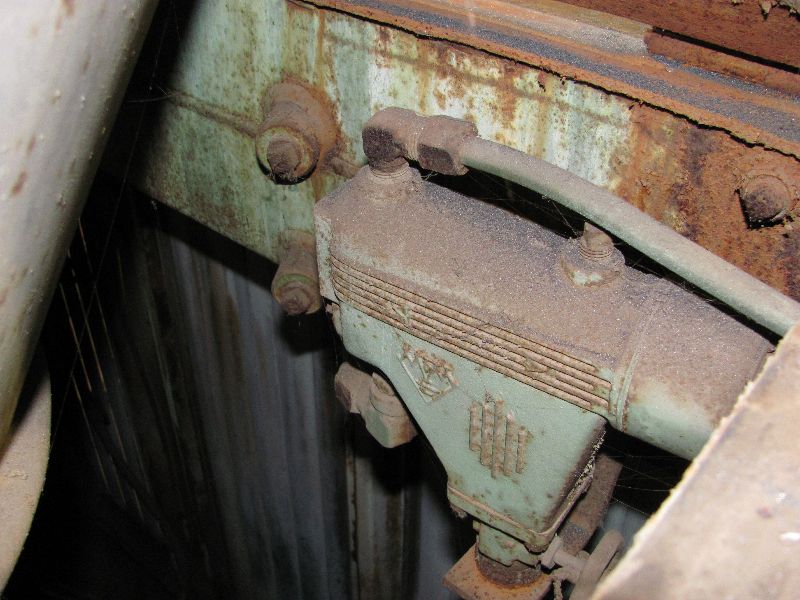
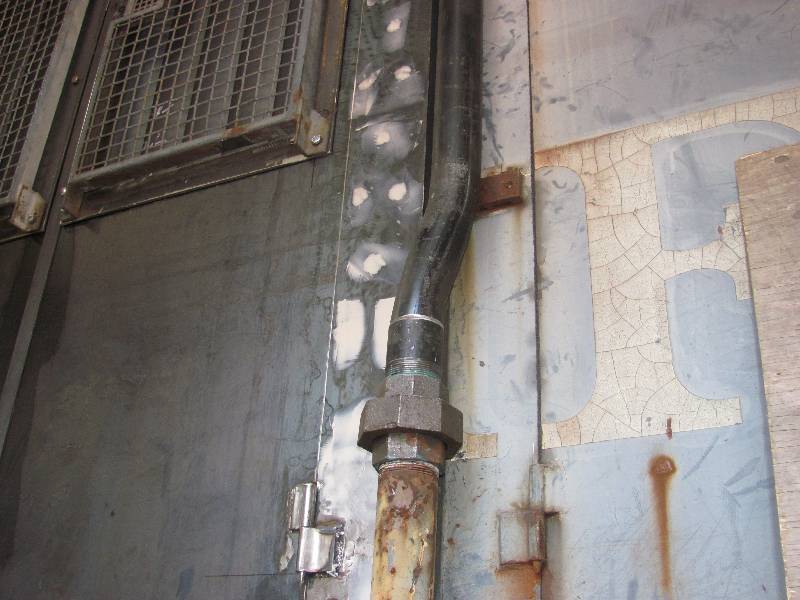
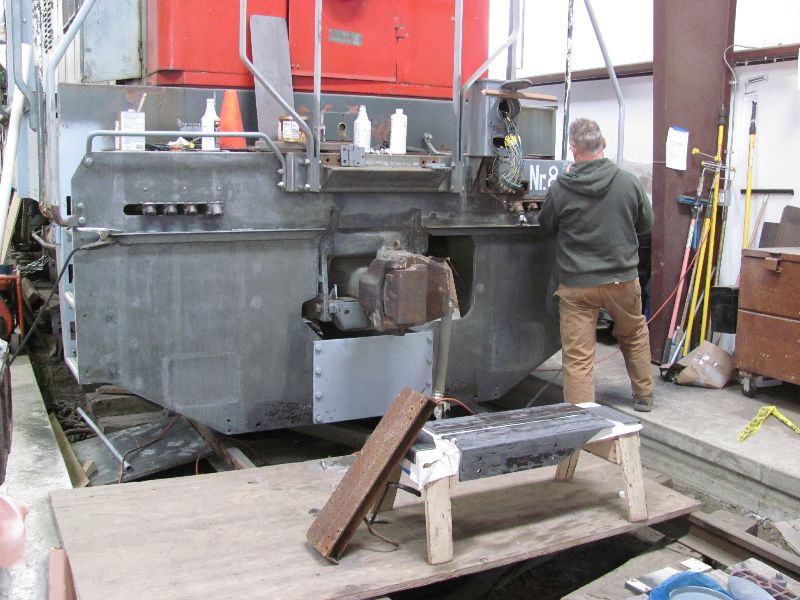
Another little chore was the opening of the rear center cooling fan hatch so we could get access to the #2 engine water level sensor. This device illuminates a warning lamp if the cooling water falls below a safe level and also prevents engine starting if that condition exists. It had been connected to the added tank and needed to be reconnected to its stock location.
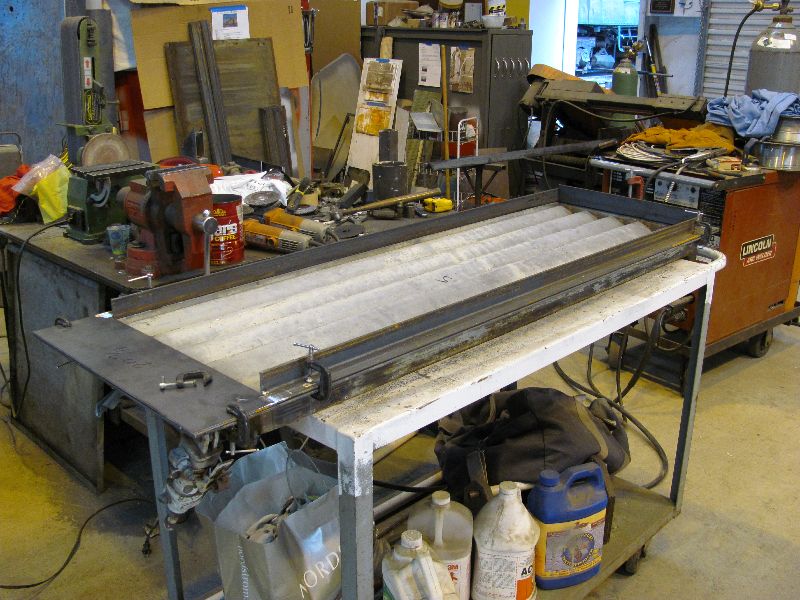
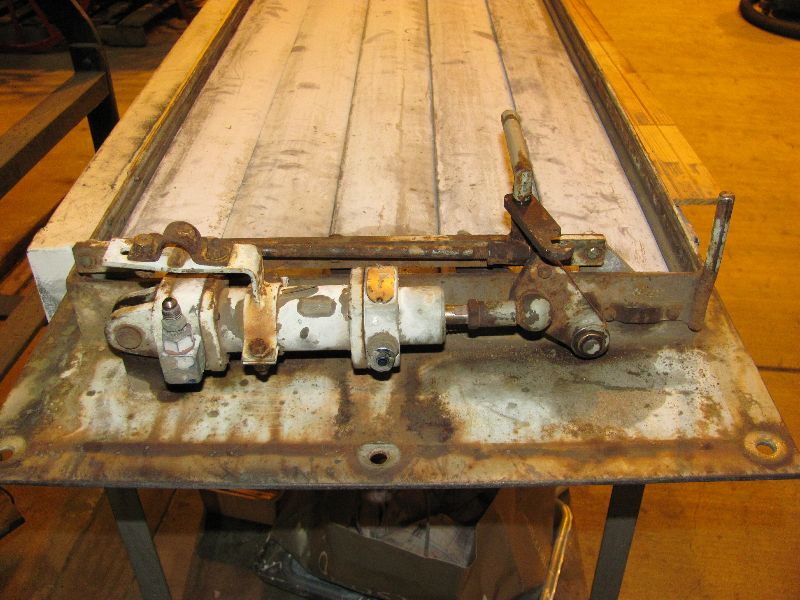
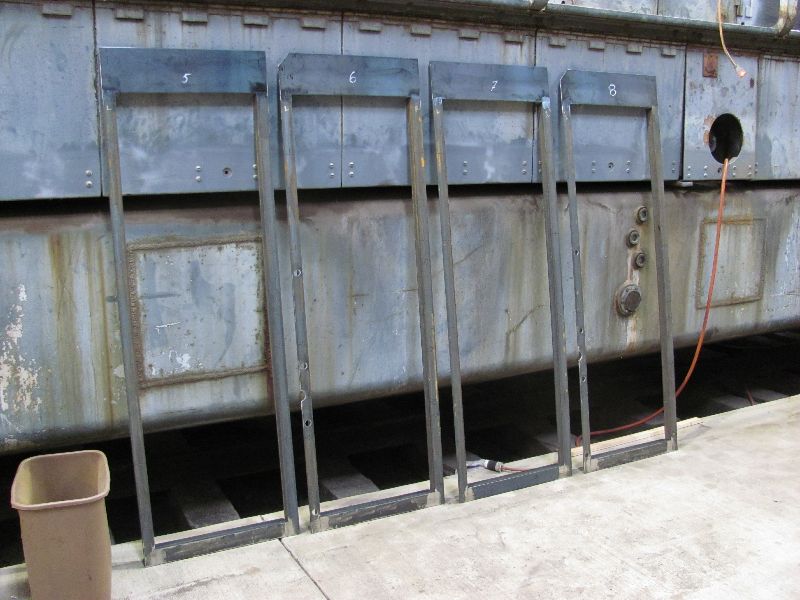
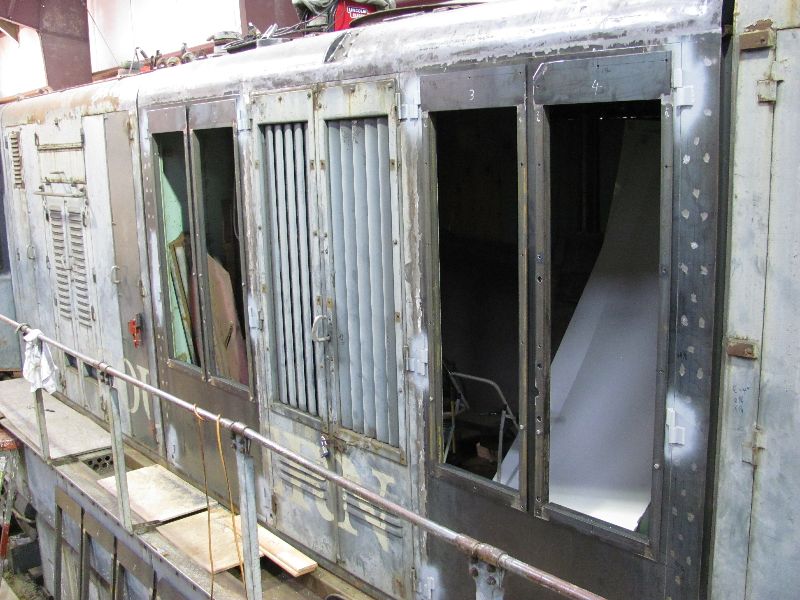
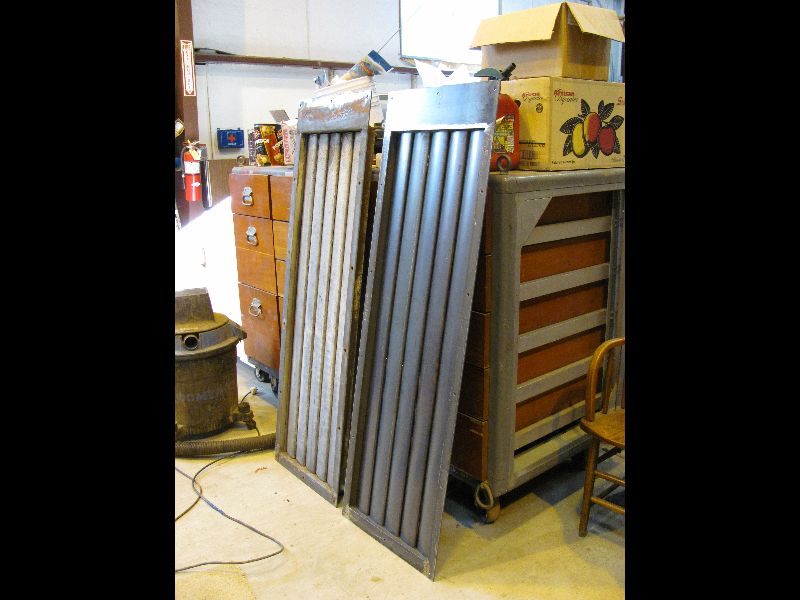
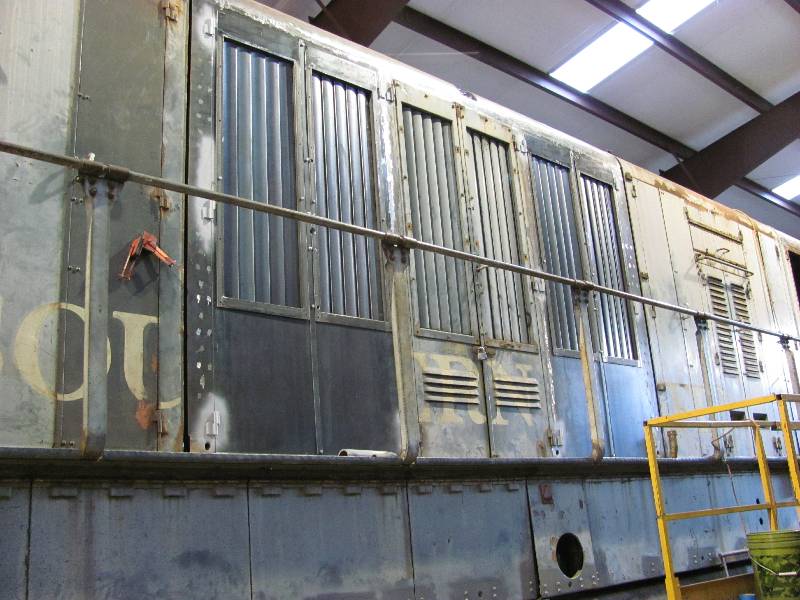
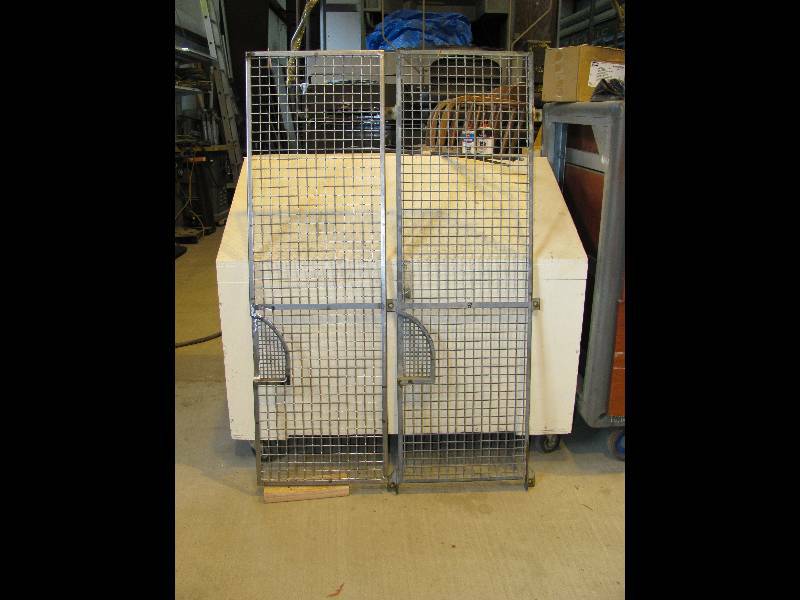
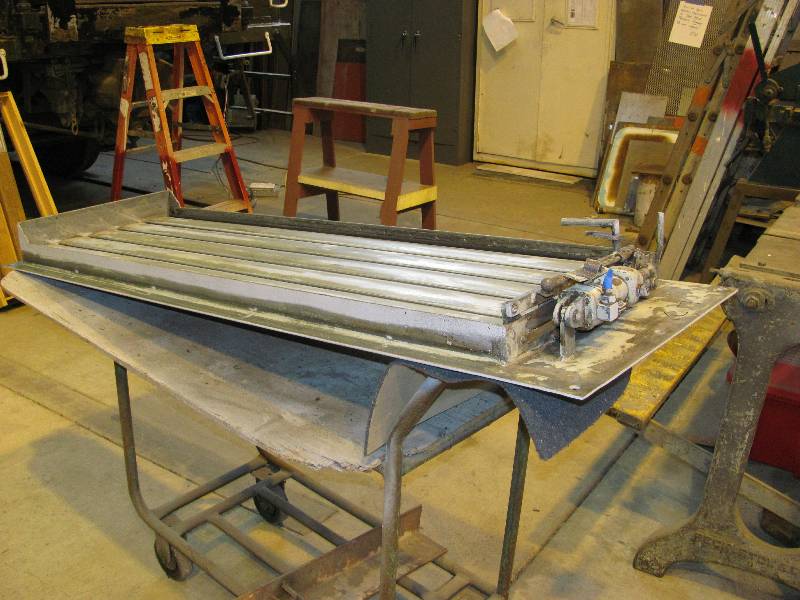
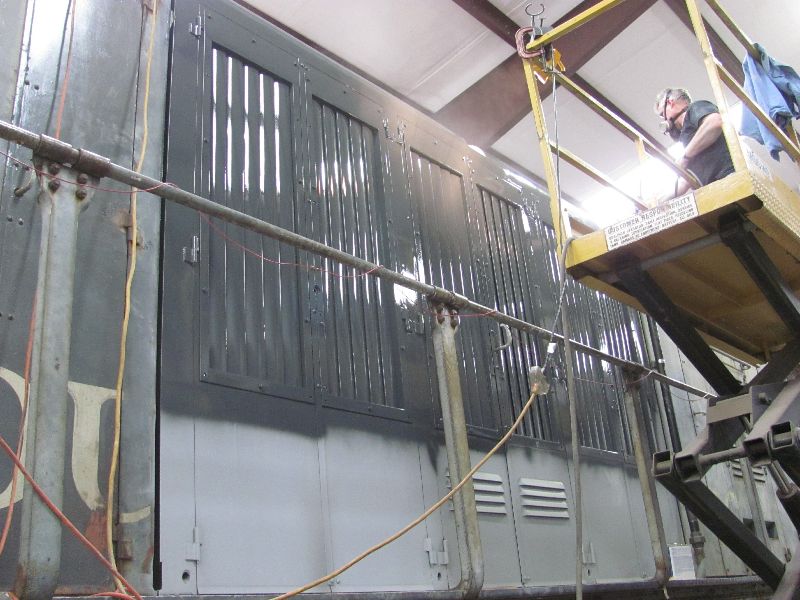
We removed one of the original shutter assemblies for several reasons. First, all of the shutters are stuck shut and will be made operable but the major reason was to use one as a pattern for welding the replacement frames together. I happened to notice a lovely little builders plate proclaiming the origin of the shutter assembly in the Behr factory in Stuttgart, Germany. We knew that the radiator elements were made by Behr but this was a surprise. After freeing the shutter mechanisms, it was found that the operating cylinder packing was shot and this cylinder leaked baldly. We will have to repair all 16 of them. We fabricated all 8 frames and temporarily mounted the four on the left side. Addition of the batten that covers the split between the doors completed this phase of the work. Mike got a photo of the KM elf hard at work. (Yes, thinking counts as work.) Now, it is time to figure out what to do about shutter blades.
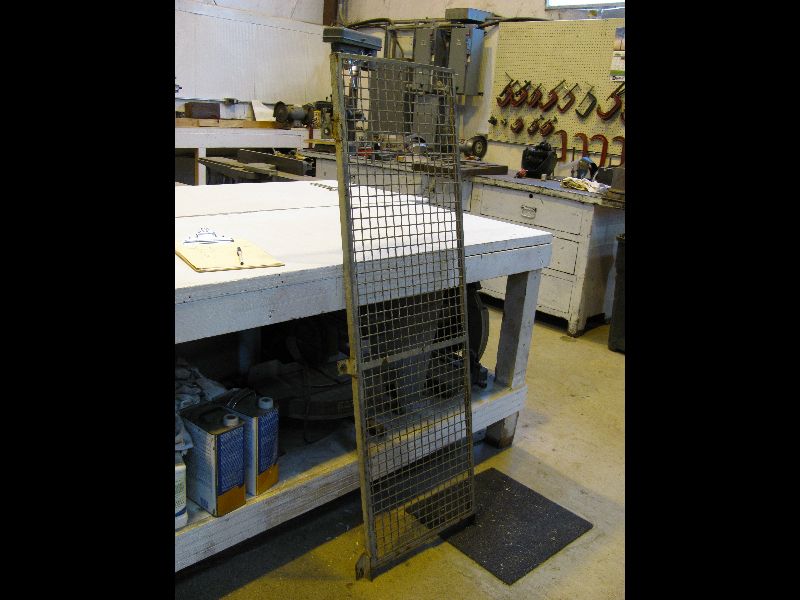
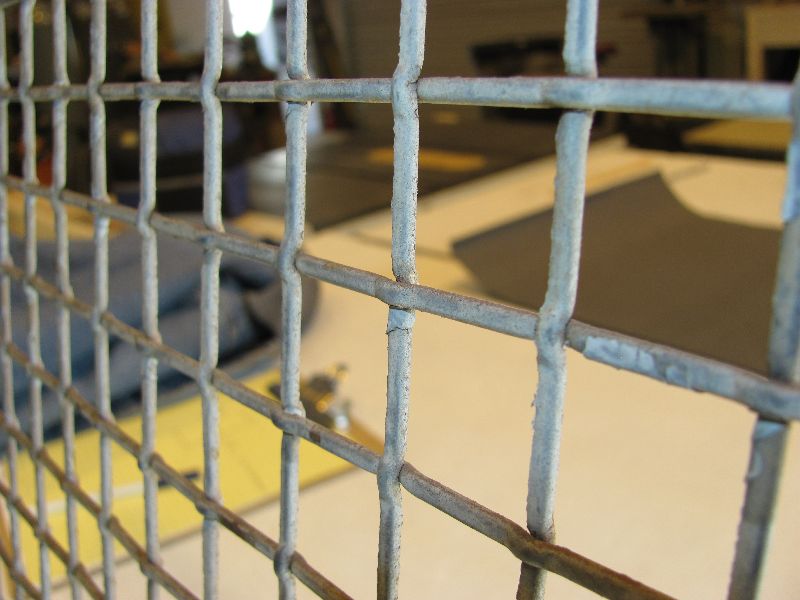
-- Update February 09, 2011 -- We bit the bullet and had shutter blades made by our local metal fabricating company and since they are not intended to be functional, they were welded into the frames - in the closed position. Other than painting, this completed the great shutter saga. Well, almost. We also have to make eight screens to cover the shutters.
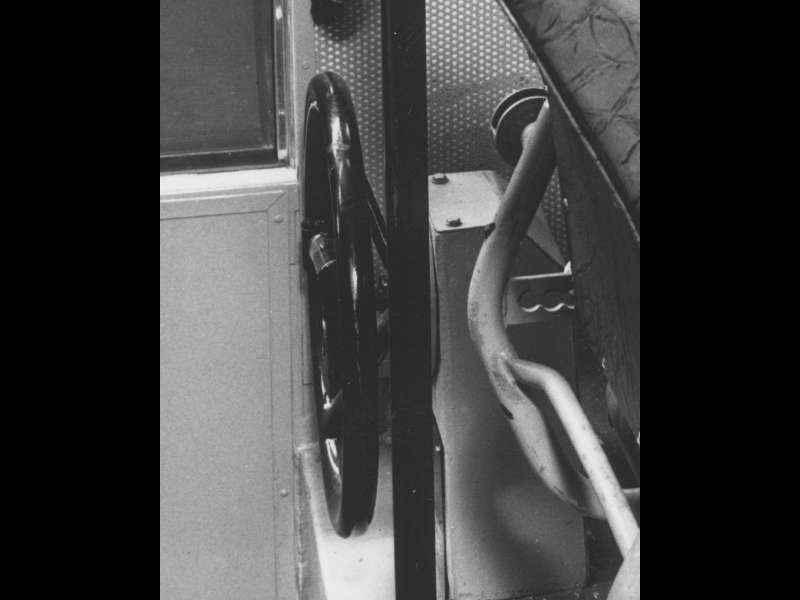
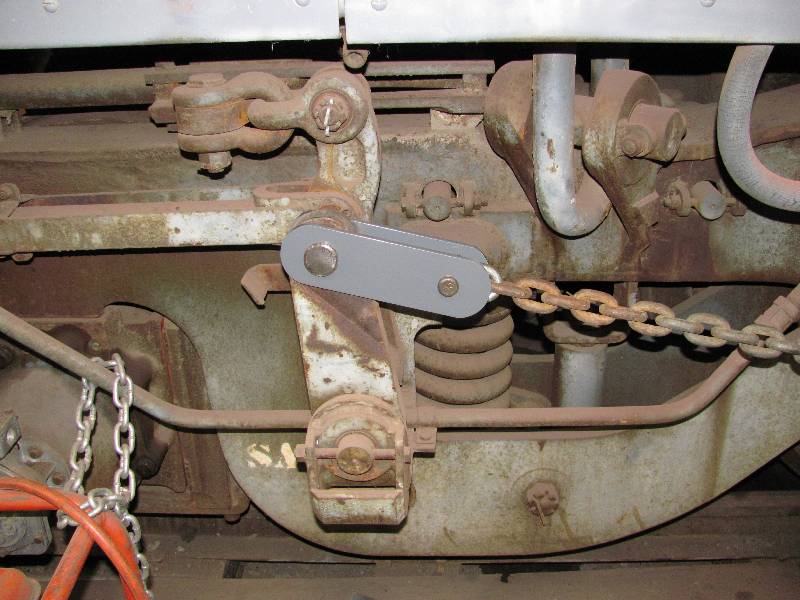
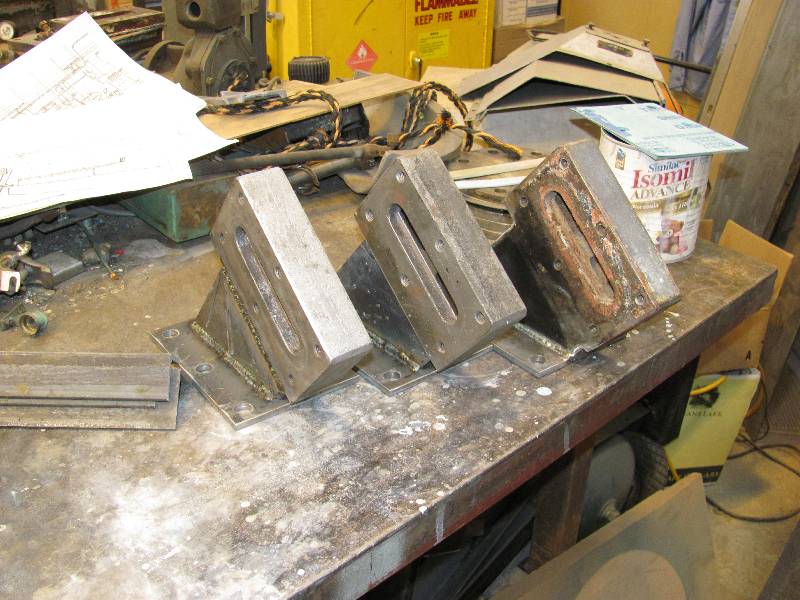
The hand brake was another matter. As built, the 9010 had a complex system consisting of a wheel behind the fireman's seat, gears, chains, turn buckles, rods and shafts, all of which was likely a maintenance nightmare. The brake was relocated to the right front corner in the 1966 "R7" rebuild and all of the old mechanism was removed from the cab, the car body and the front truck. The new mounting location necessitated shortening the two front frame doors, making a box to contain the chain and adding some rather sturdy appliances to the front truck. When the Camera Car conversion came around, the front location was preempted by the new nose and so the brake was moved to the left rear corner. And so, in the present day, we have been faced with the question of where to put the FRA required brake. The original installation was out of the question because all of the parts were missing, although our friend Franz Wunschik located a brake wheel in Germany which will be mounted in a dummy housing in its original location. The right front location was not viable because it did not exist in the 1965 time frame we are representing. So, the lesser of all the evils seemed to be a slightly revised mount at the left rear corner. The mechanism and chain will be installed later.
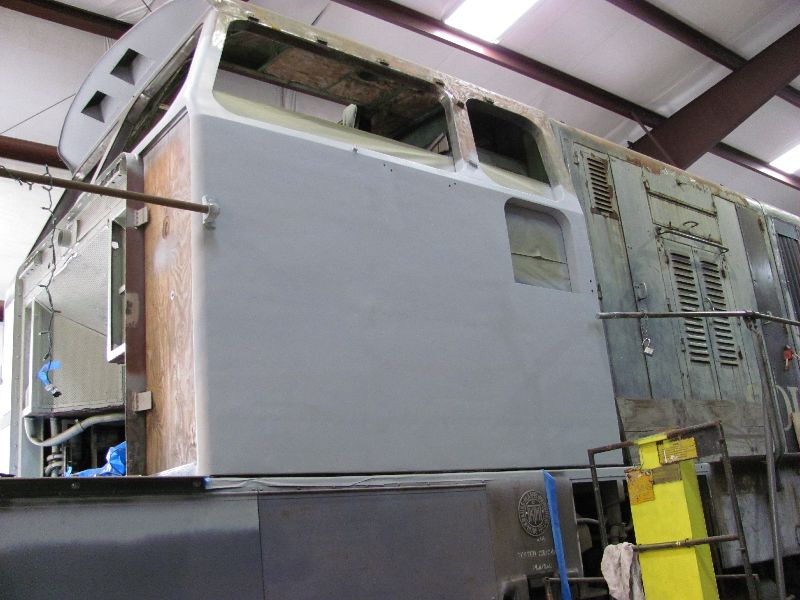
And it came to pass that the weather improved enough to put a coat of primer on the fireman's side. Shortly thereafter, we bought a diesel fired heater which Dan enjoyed while applying body filler to smooth out the cab wrinkles.
-- Update February 28, 2011 -- We had the frames for the shutter protection screens made at our local metal working shop and found a suitable replacement for the screen materials. All of this came at a price but we are lucky to have some excellent financial support for the project from our members and other interested folks. Don't hesitate to hit the "Donate" button on the main page if your would like to contribute. There is a long way yet to go.
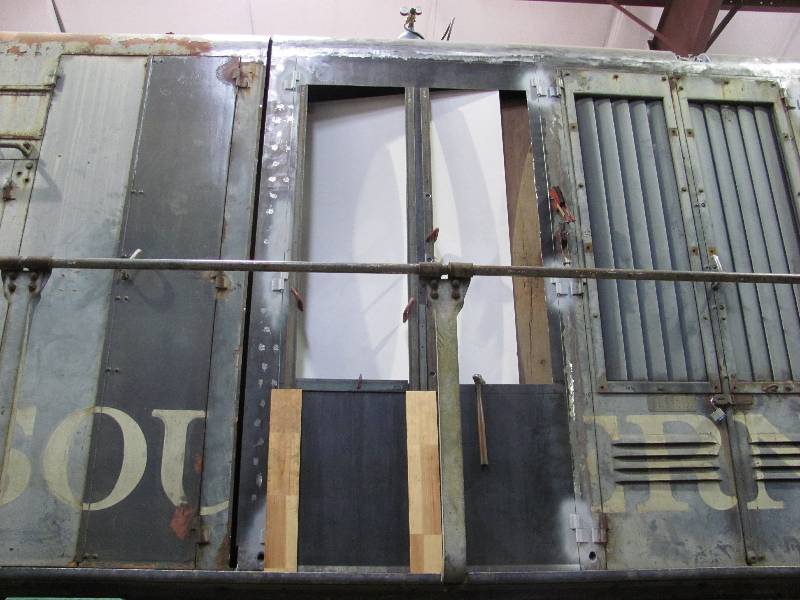
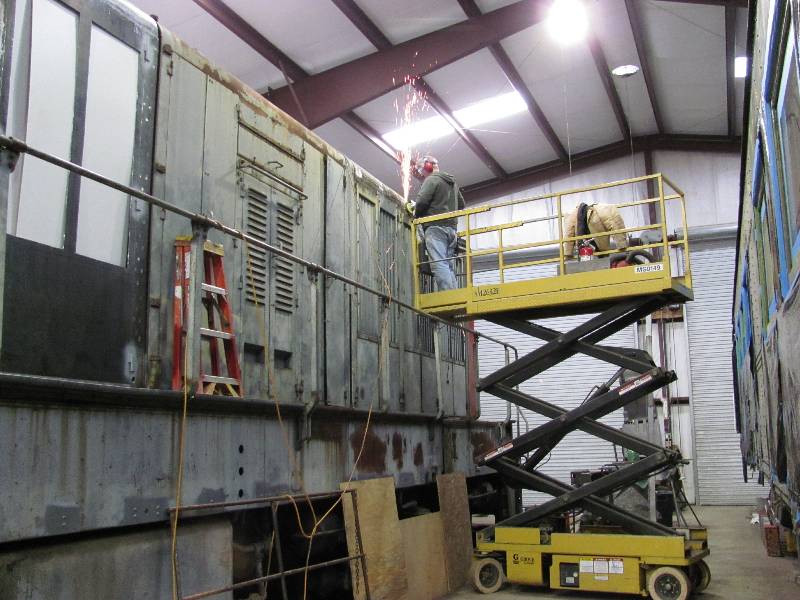
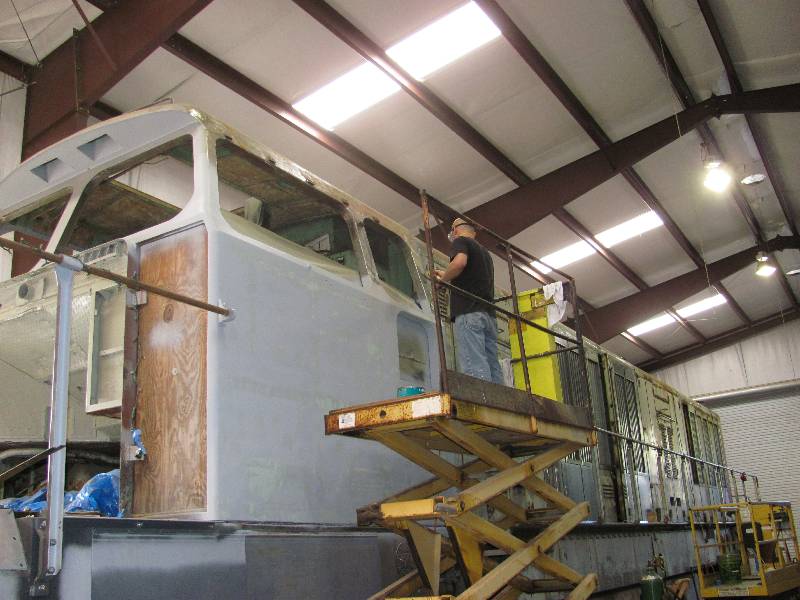
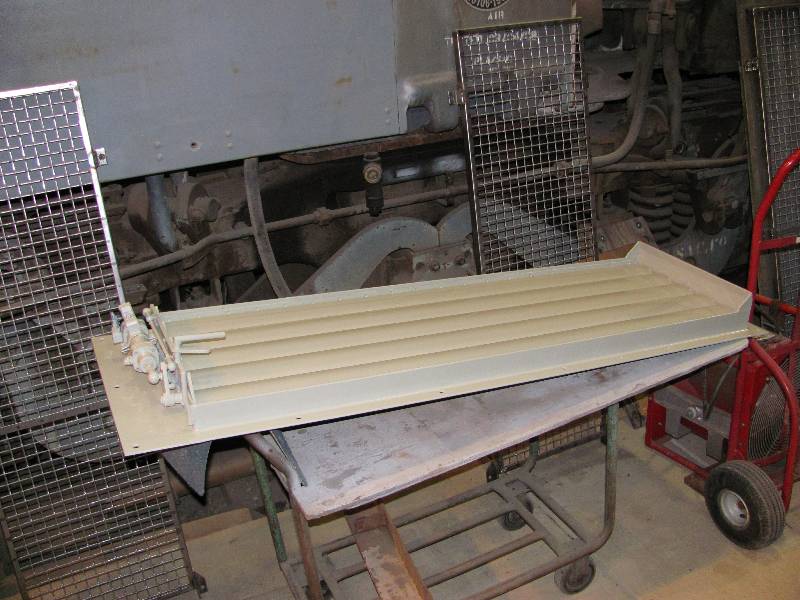
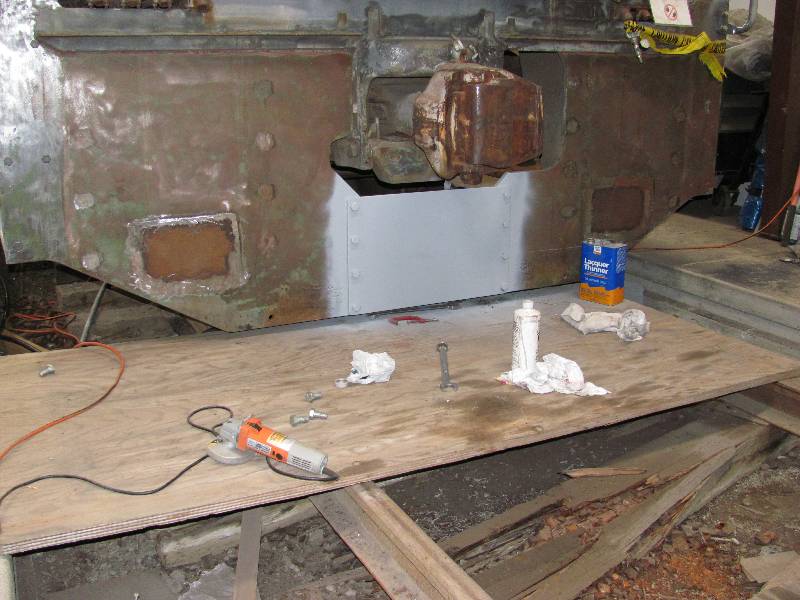
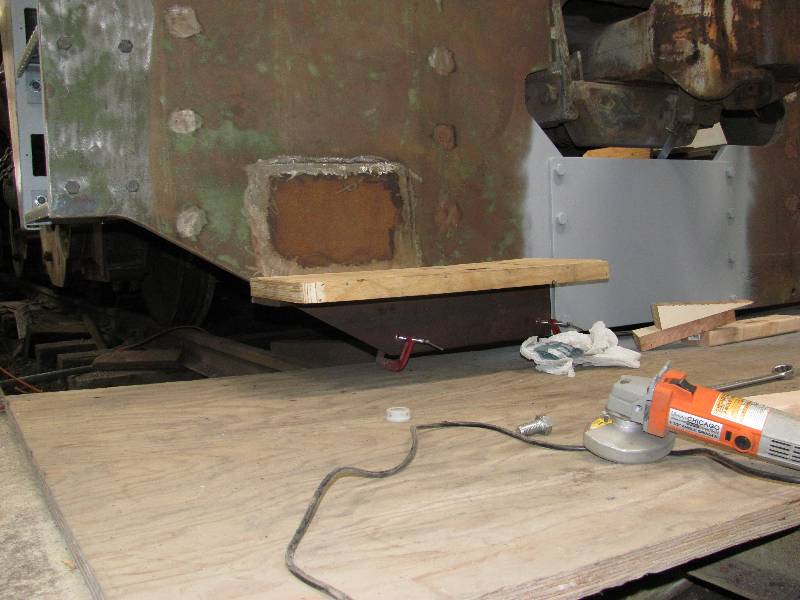
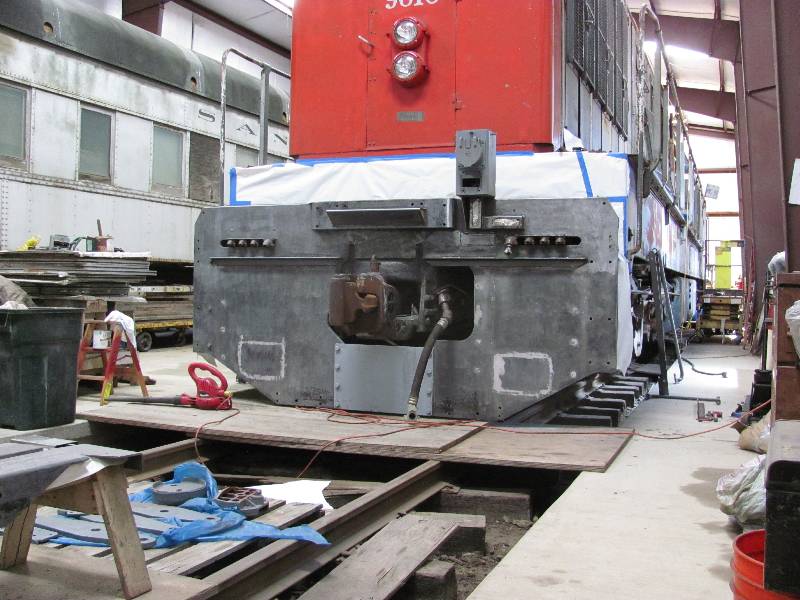
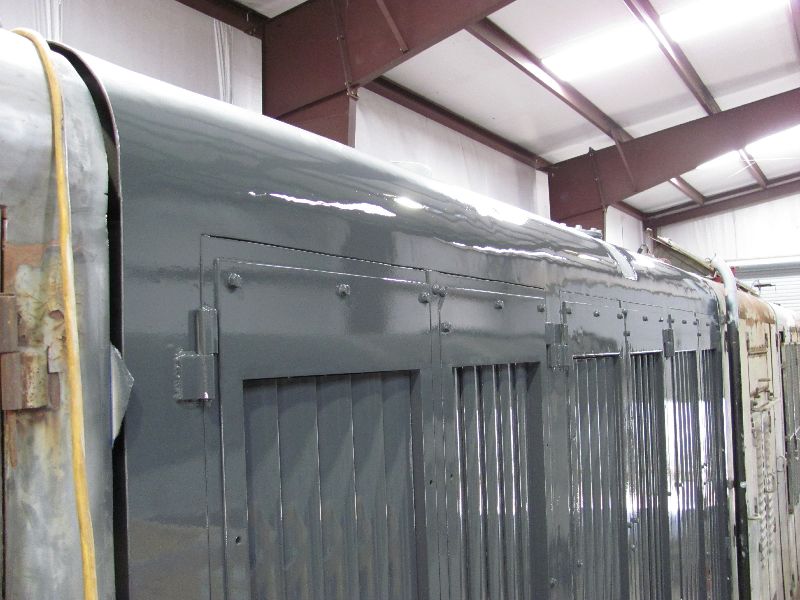
Work continues on getting rid of the sheets of plywood that were used to plug the four holes in the sides of the hood. The fireman's side was finished a while ago and work started on the engineer's side. Space between that side of the 9010 and the wall of the building is less than ideal but our old scissor lift was muscled in there. The close clearance also makes photography nearly impossible. There is also no room for the forklift to raise the welder up to working height so a panel lifter was put to use. The forth photo shows the last piece of plywood in place for the last time. Within a day, it was replaced by the new sheet of steel which was soon welded into place and equipped with shutter frames and screens.
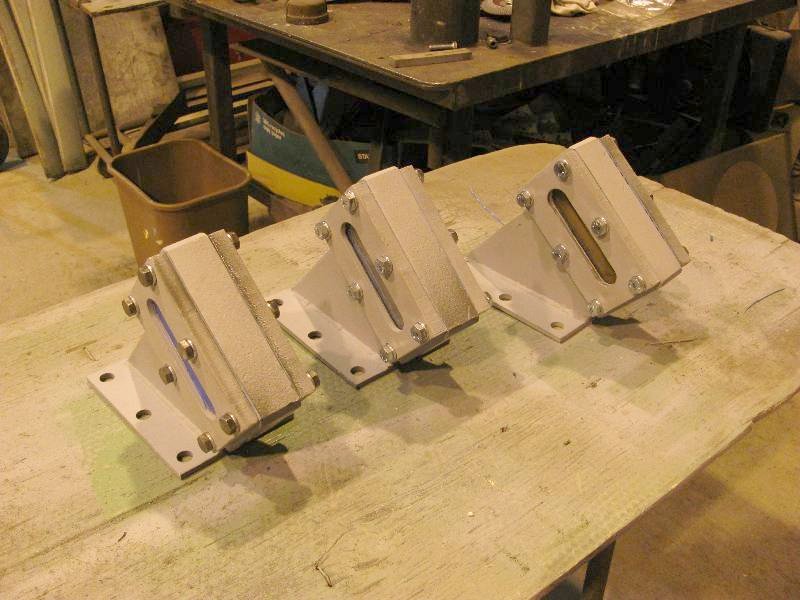
Work
has concluded
on the new hand brake. Chain was acquired and a new
connection to the truck brake arm was fabricated. All that is
remaining is paint but that will have to wait a while.
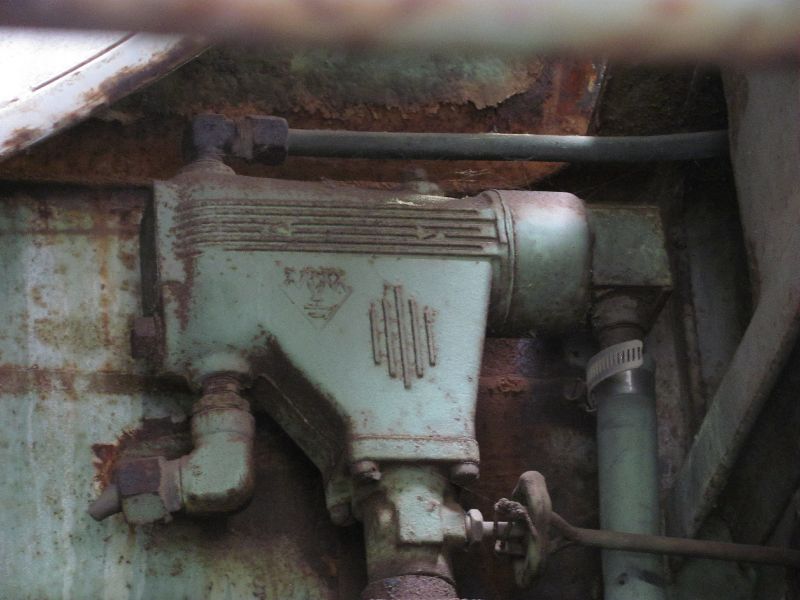
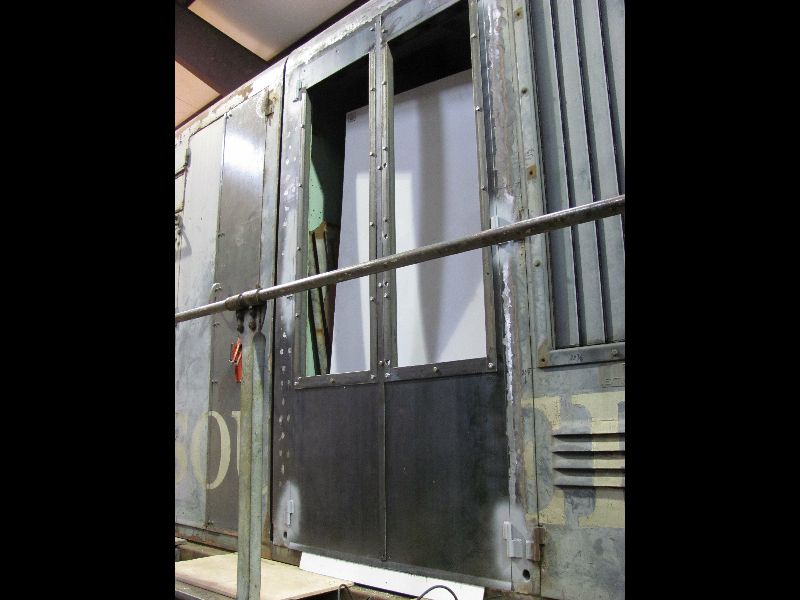
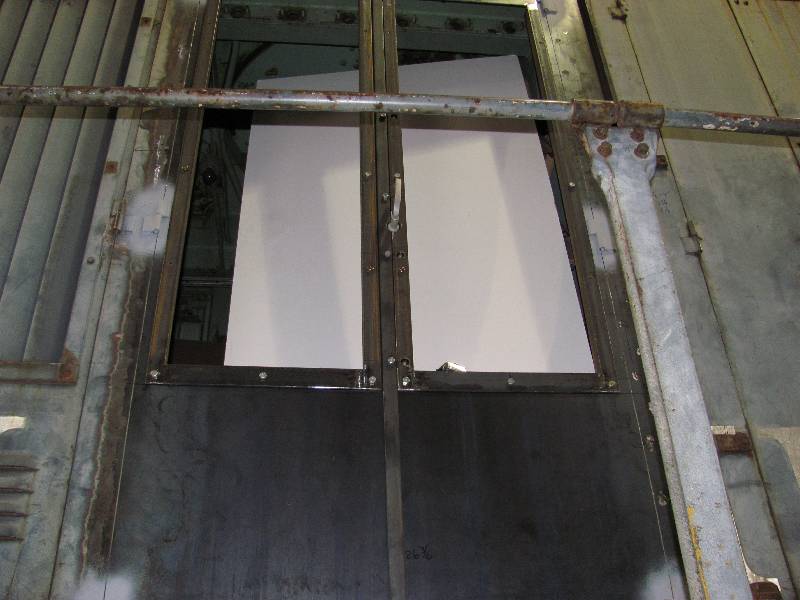
The first of the original shutter assemblies have been disassembled, cleaned and painted. The shutter cylinders were found to be in good shape but the rubber piston cup had turned to stone so new cups were custom made and installed. This work will make the shutters fully operable, just in case. The center pair of doors were prepared, primered and then the shutter assemblies were finally mounted in place. Then, Dan took care of the body filler on the rest of the new section and it was given a good coat of epoxy primer. Now that all four of the radiator expansion tanks have been removed, we salvaged the three remaining water sight glasses and rebuilt them just like the one that was done in May of last year.
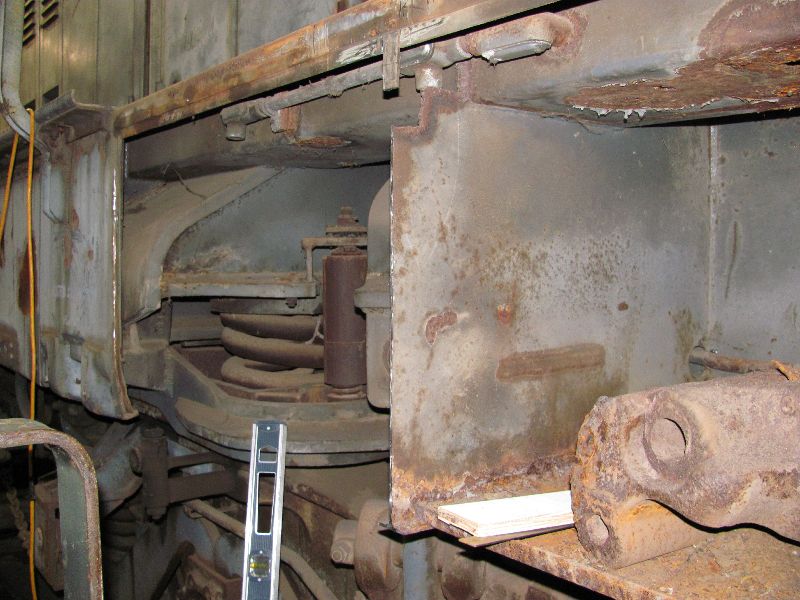
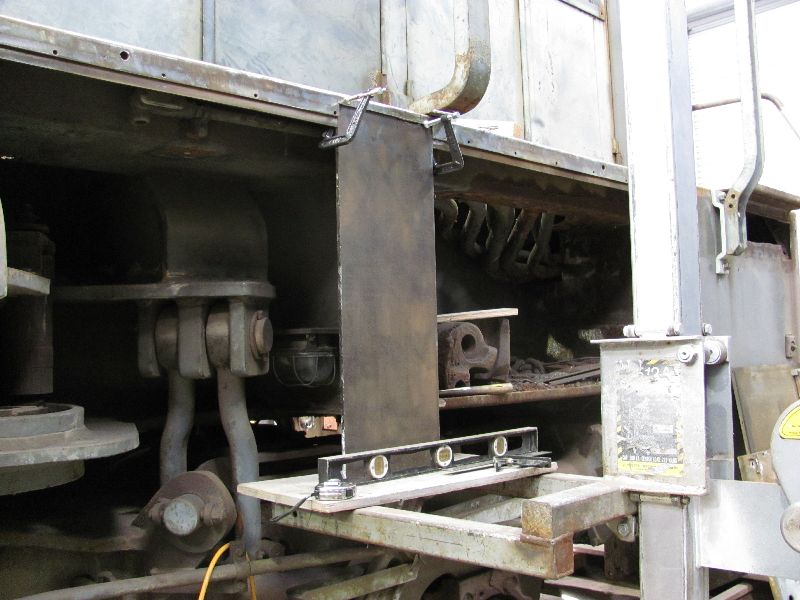
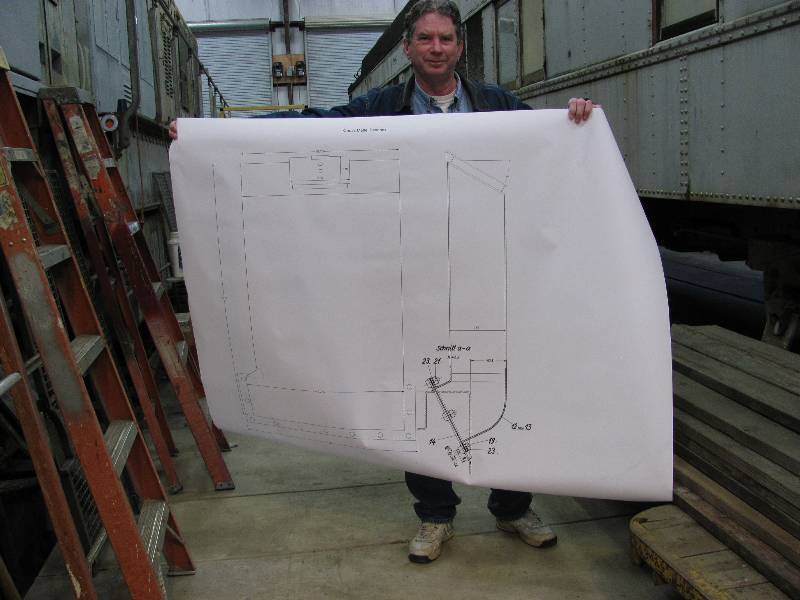
Back in May of 2010, we cut into the left rear sand box base which like all the others, was welded shut. It was opened in order to get dimensions for reconstruction of the box bases on the front end. Now, it is time to complete the work on that right rear box base and to attack the rest of them as well. And Yes, that is 1968 vintage sand in the box. The sand box fabrication will be a bid deal as they are very complex, large and missing. Dennis has been working on construction drawings for the boxes and brought one down to show me. Good grief, those things are big!
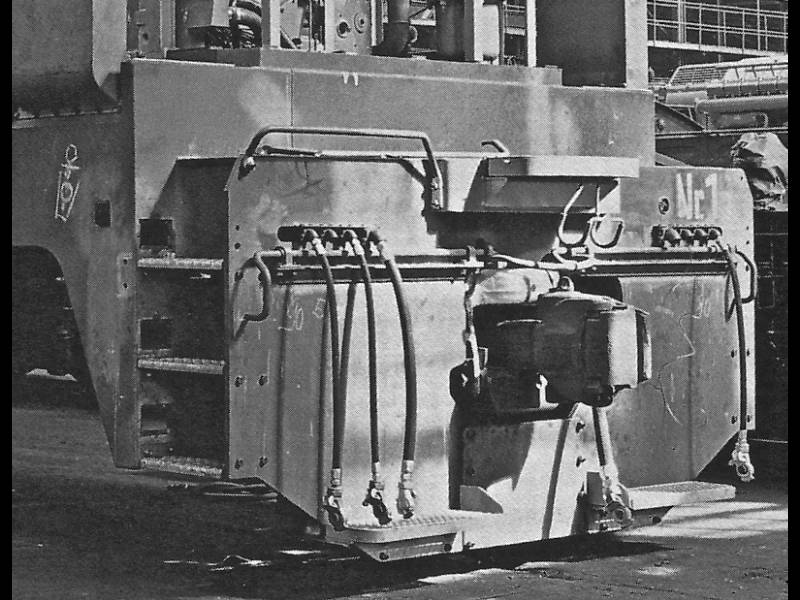
We have a new volunteer who just happens to be a fabricator and welder. Max has taken on the project of the rear end. During the Camera Car conversion, the SP removed the original front pilot and replaced it with a standard SP pilot. When the Camera Car modifications were removed in Sacramento in 1989, the front pilot was removed, leaving the front end bare. We decided to remove the original pilot from the rear end and move it to the front. This process was covered earlier in this document. Now, what to do with the rear end? We could have a new duplicate pilot fabricated but this would be very expensive and given that the 9010 would normally be coupled to another locomotive, we opted for a different approach. When the first of the series units rolled off the assembly line, it had foot boards on the rear instead of a pilot. We are duplicating this look. Max started out by welding up all the unnecessary holes in the rear pilot sheet.
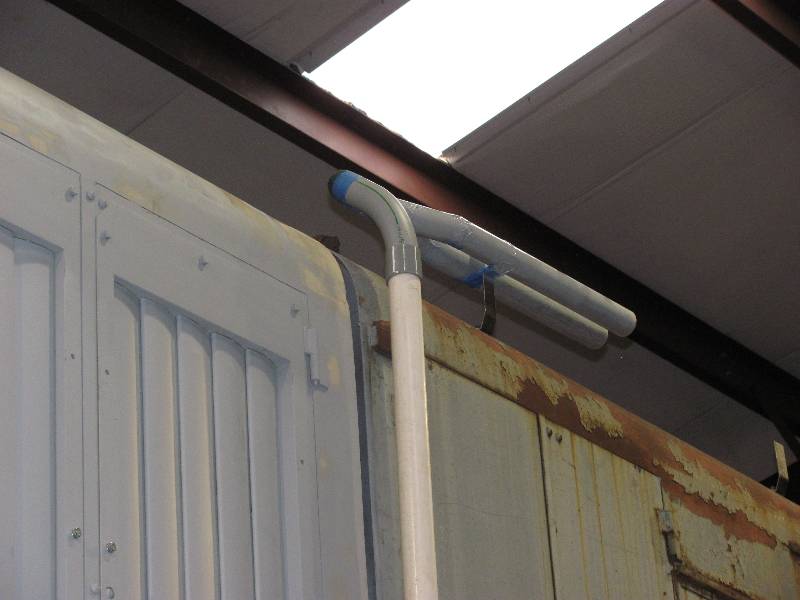
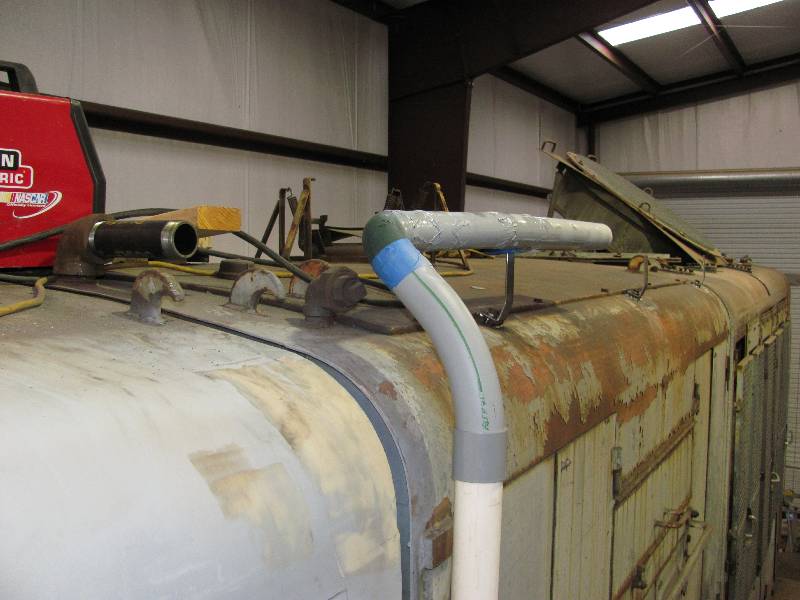
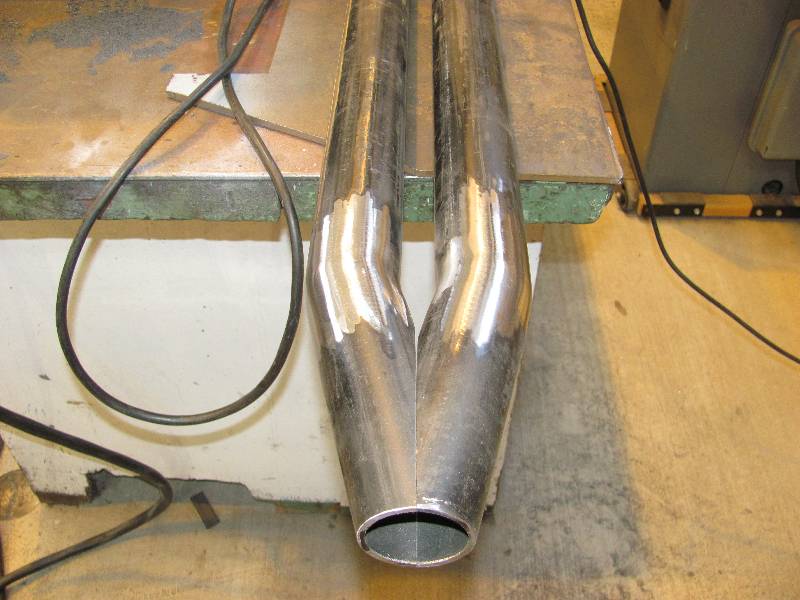
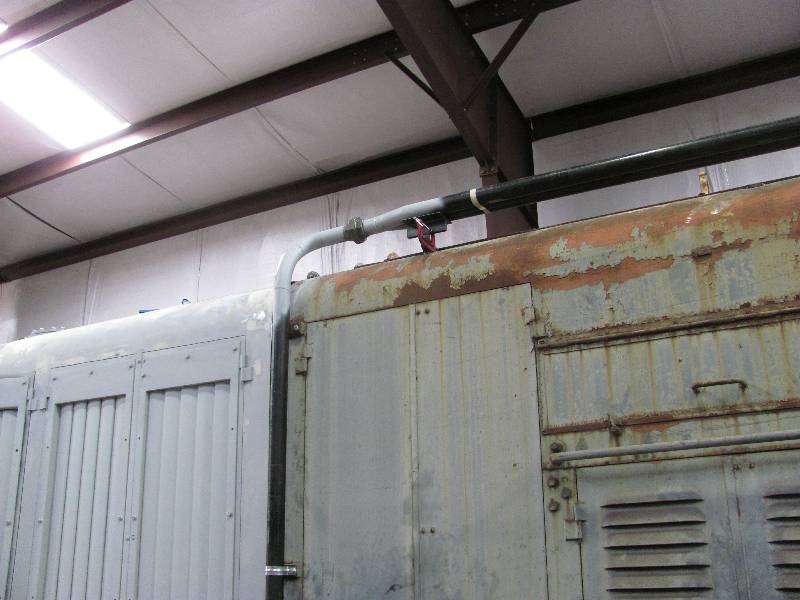
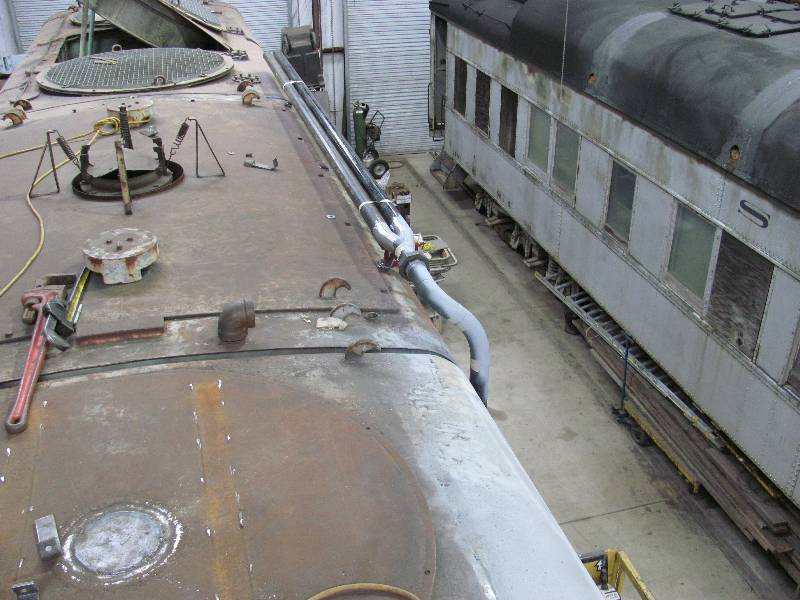
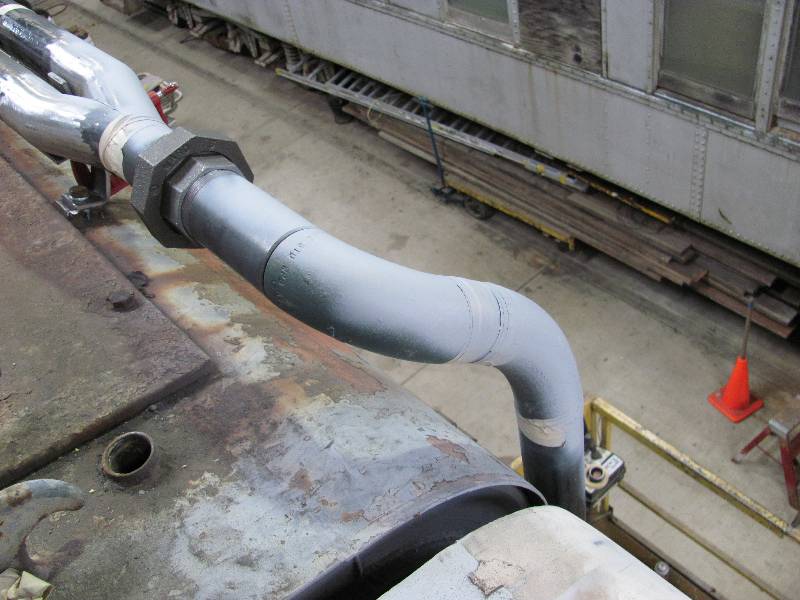
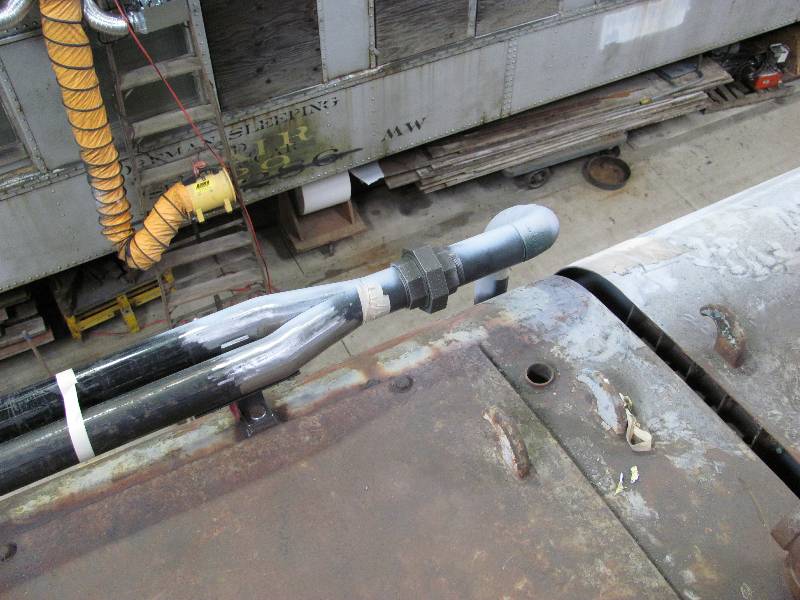
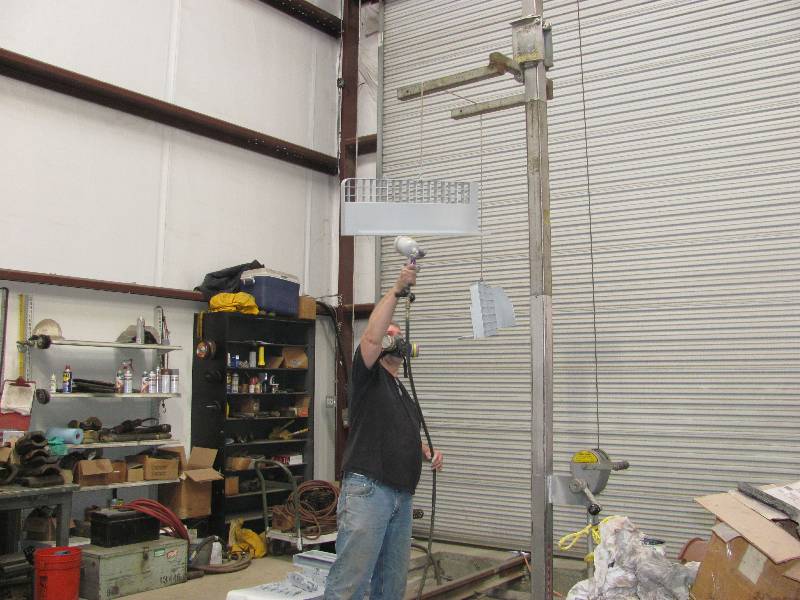
-- Update May 15, 2011 -- Mike has been working on the missing air compressor aftercooler piping. These photos were taken during the mock up process and the pipe you see on the roof is a combination of PVC and steel shapes. Once the design looks right, the final steel shapes will be cut, put into place and welded together. The double curve at the top and the "Y" pipe were the most agonizing parts of the design as this piping was a very characteristic part of the locomotive and has to look right.
A rather large issue that we are beginning to address is the height of the front end of the 9010. Federal law says that the front pilot has to be between a minimum of 3" and a maximum of 6" above the top of the rail. Our pilot is a bit over 7" above it. This is due to the removal of the front transmission, nose and all the other things that were cut off during the Camera Car conversion. According to the CSRM folks who removed the Camera Car nose, the front area was packed with lead bricks to give it some weight. Well, naturally, all that is gone so we have to make our own weight. We thought about concrete but it is no where near as heavy as steel so we have chosen to put rail in the available space. Needless to say, Mike and I have been spending a lot of time welding.
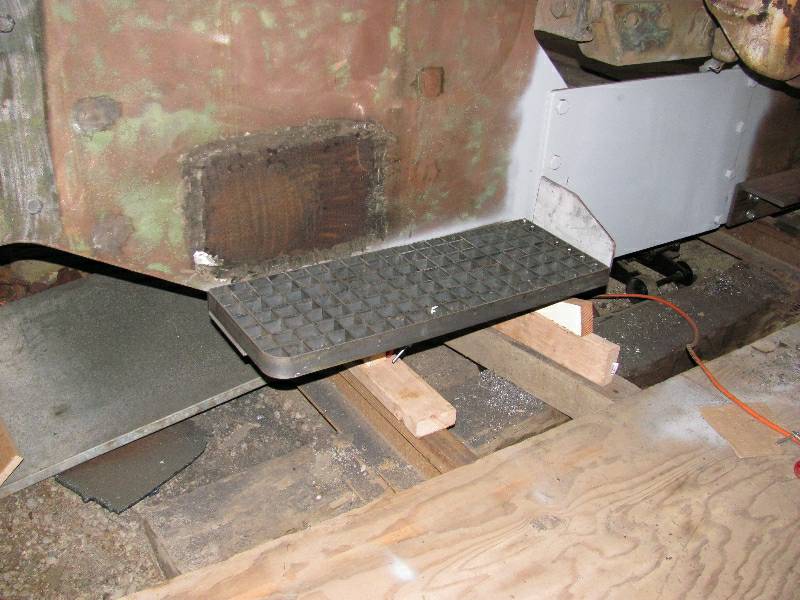
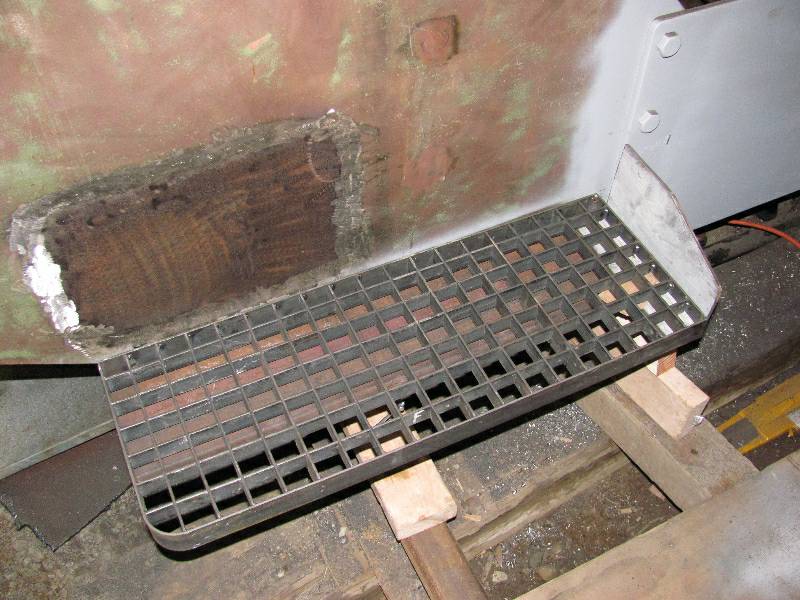
We are continuing to work on the rear end. The metal plate has been fabricated and bolted in place between the two parts of the end sheet. We also cut and fitted the 6" angle iron that forms the base of the new footboards. Now, the search is on for the proper material from which to make the steps.
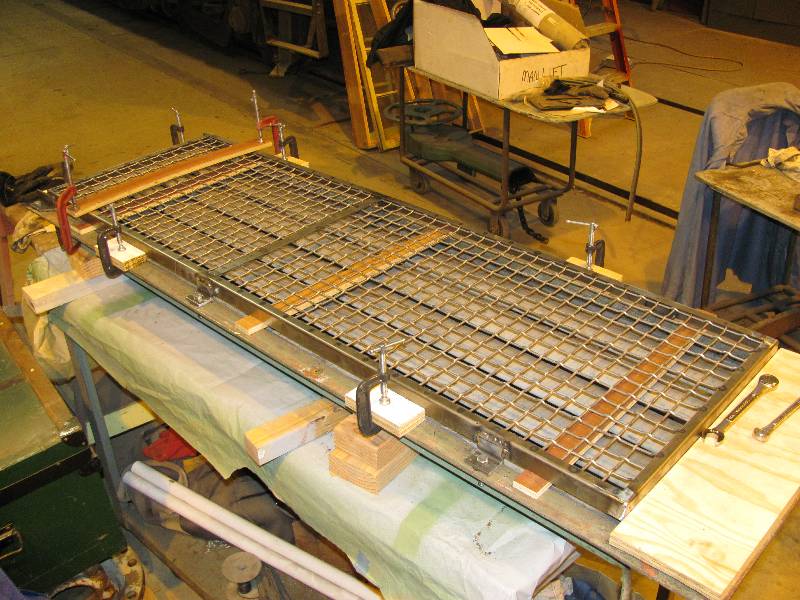
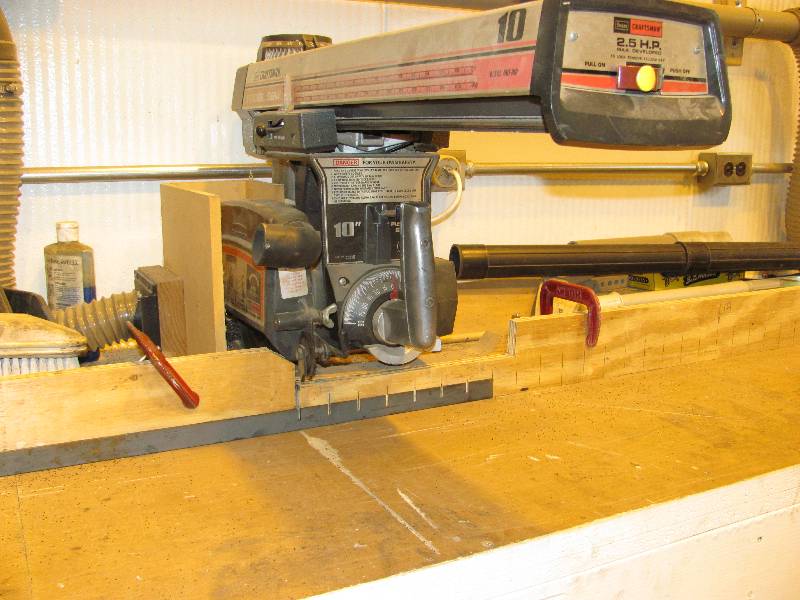
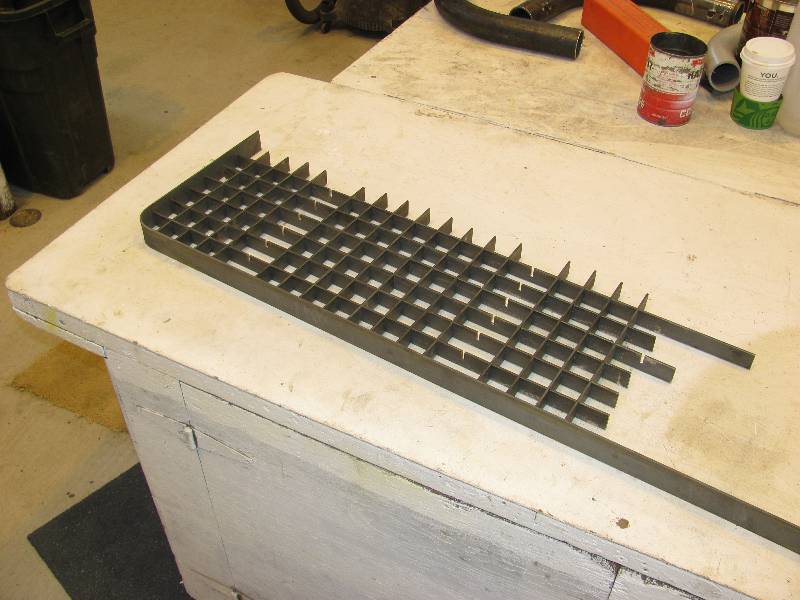
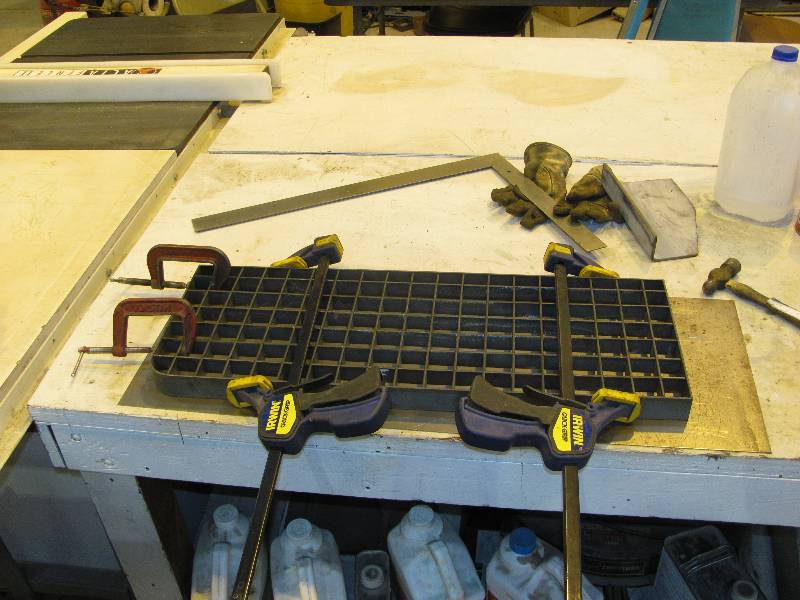
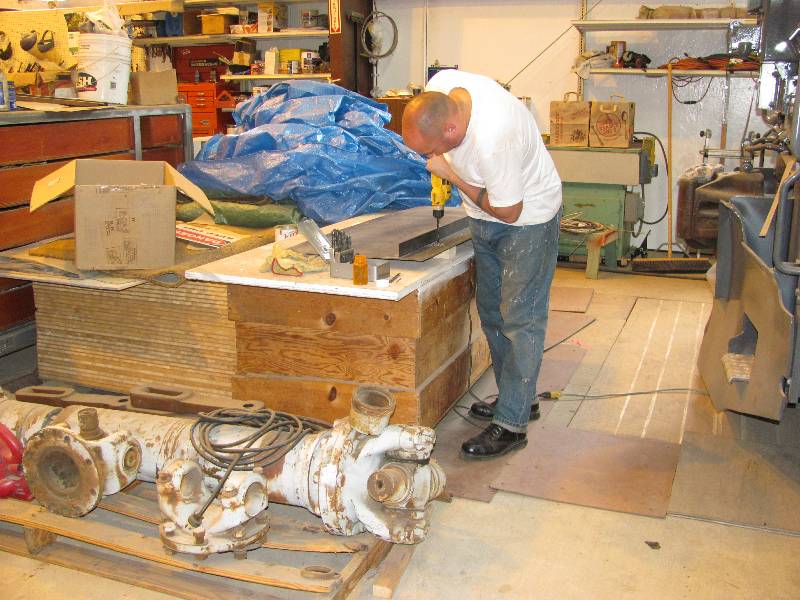
Richard Oed in Germany provided us with the dimensions of the footboard grate that Krauss Maffei typically used on locomotives but it proved to be unavailable domestically so we elected to make our own. With a pair of metal cutting circular saw blades (acting like a dado) mounted in the radial arm saw and a guide clamped to the fence, 1" by 1/8" steel strap was slotted and then cut to length. The rim of the grate is 1 1/2" high as are two of the short bars. These bars are installed in the open slots so that the grate sits 1/2" above the angle iron on which it will be mounted. This is to prevent dirt and crud from getting trapped within the openings of the grate. Mike made the toe kick board to the right of the footboard from a section of 1/4" thick square plate.
--
Update June 09, 2011 --
Return
To Main PageMike has continued to work on the roof piping. The entire double curve and "Y" are now set up in steel and the pieces are ready to weld together.
Because the footboards are completed, we decided to finish the rear end. We can't work on one project too long you know, we don't want to get bored. New crew member Bill Stimmerman took a break from doing machine work on window frames to lend a hand with the rear end.
We have had a couple of welcome visitors, Rob Fern from the United Kingdom and Dave Hambleton from San Jose, California. Rob and Dave worked together finishing the footboards and then bolted one of them in place so they could enjoy the fruits of their labors. Shortly thereafter, Mike started the finish primering of the parts.
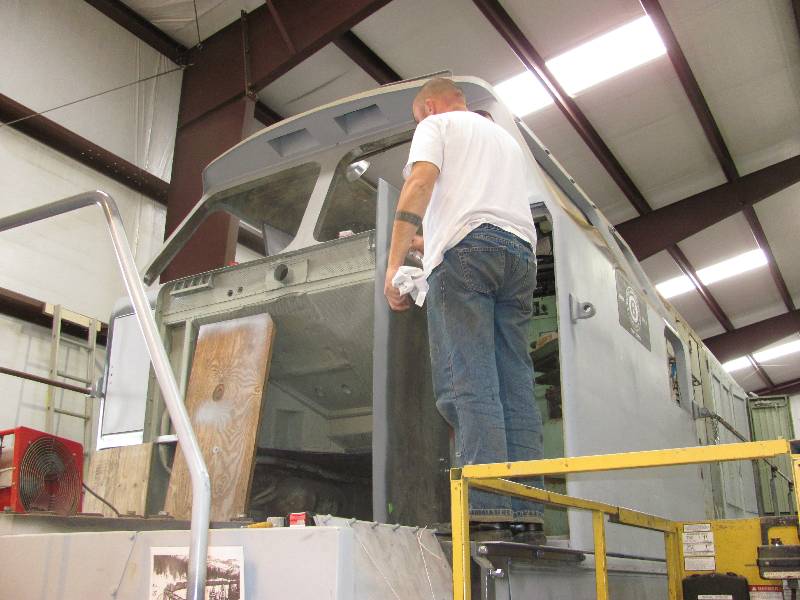
Rob also turned his creative talents to the one remaining fabrication job on the cab exterior. His model making skills certainly came in handy on this job. We bolted the door front blank to the hinges, shut the door against the frame and then marked it from the inside. Rob then cut out the door edge and ground it to a perfect fit against the jam. There is more work to do but this job was the most critical and I am glad to have it done. Robs visits to us are always very productive.
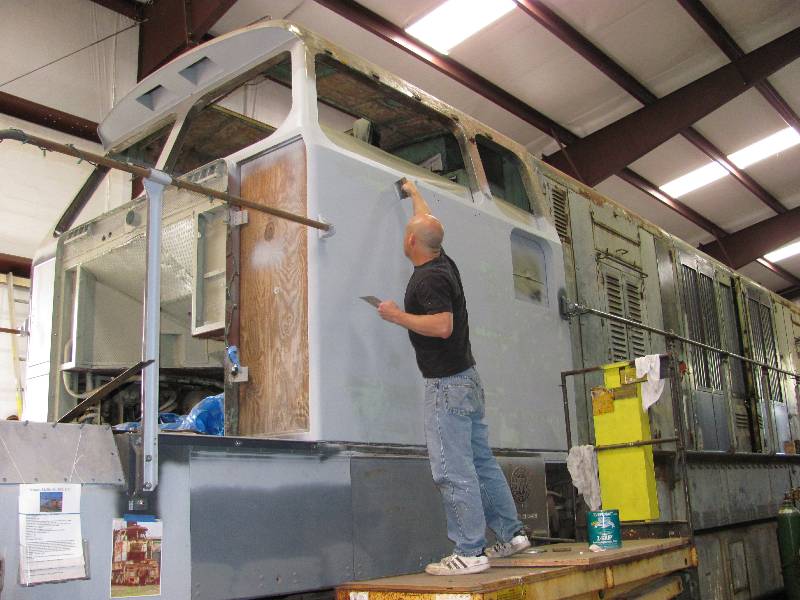
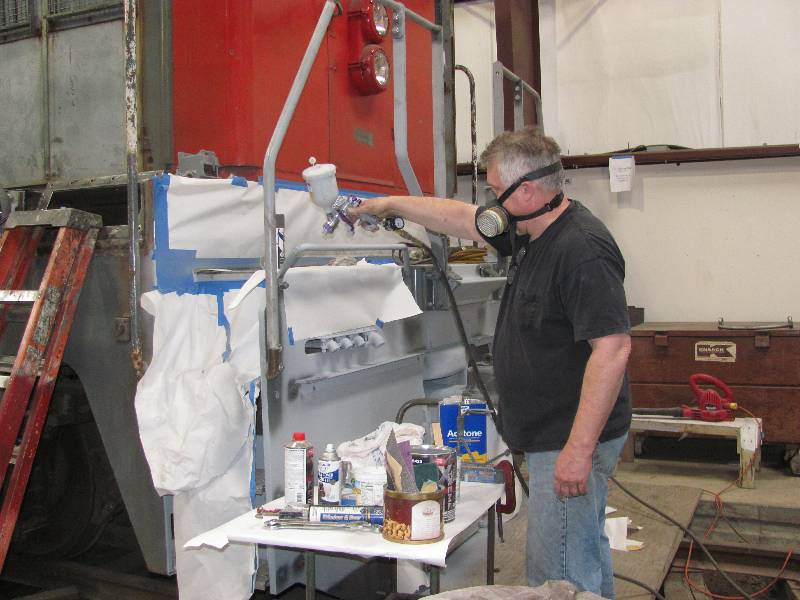
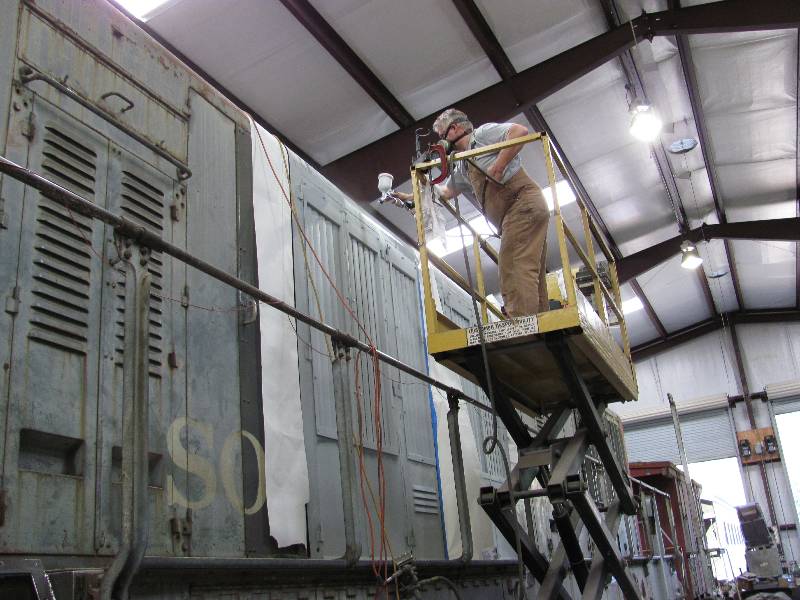
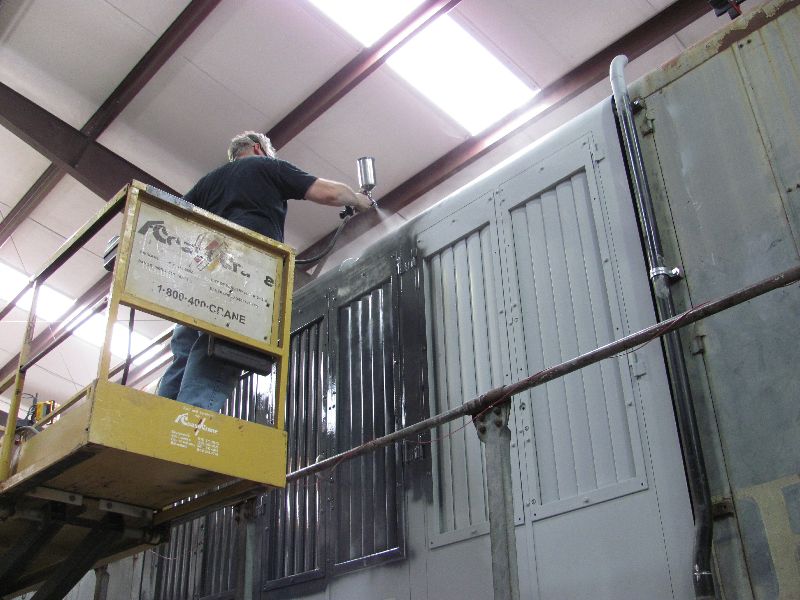
-- Update July 15, 2011 -- We continue to work on the new #1 engine cooling shutters and doors. Dan and Mike have been applying body filler as required and Mike and I have been shooting primer. Mike is seen applying the last coat of primer before he put on a test coat of color to check the surface for smoothness. It turned out nicely.
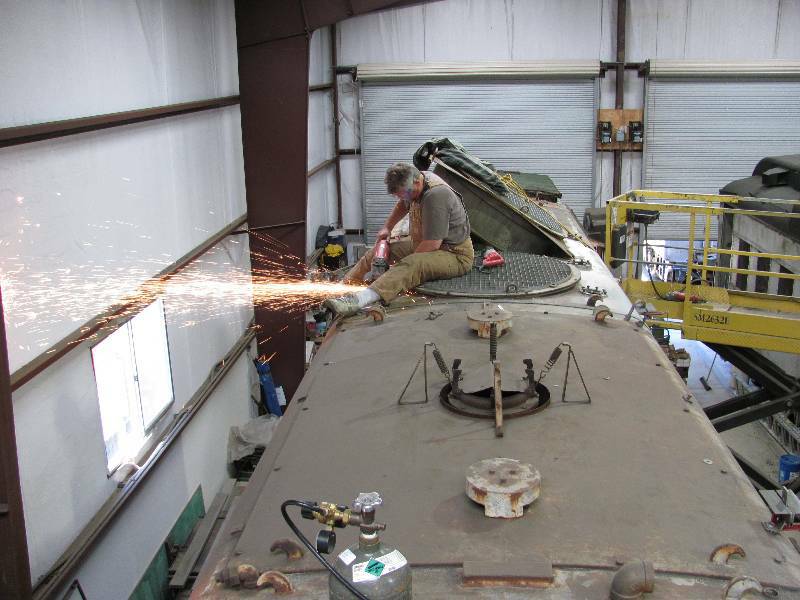
And then, it was back to grinding on the roof. We need to remove the balance of the weld that was left when the expansion tanks were cut off. It is truly drudgery.
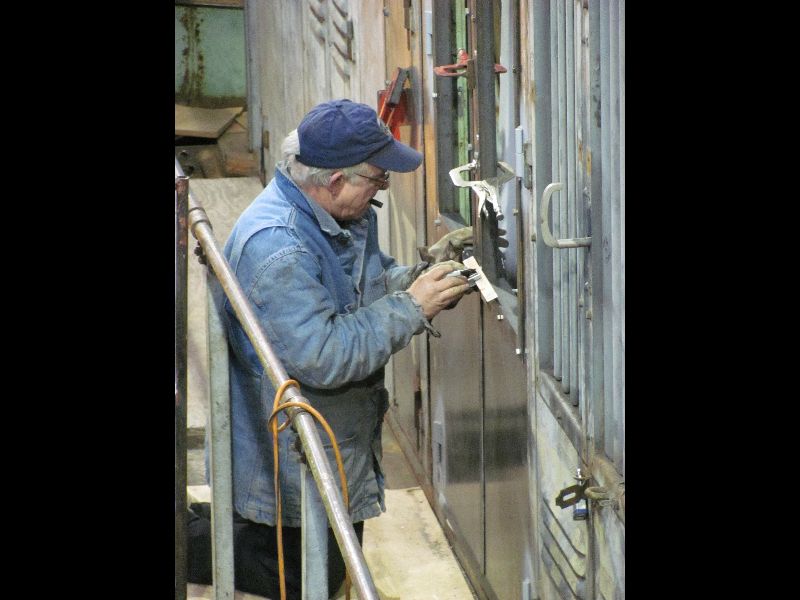
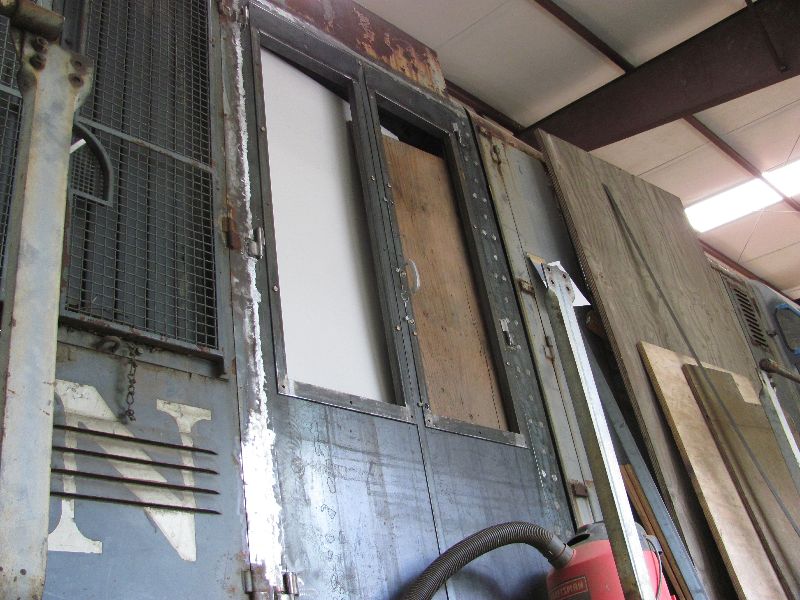
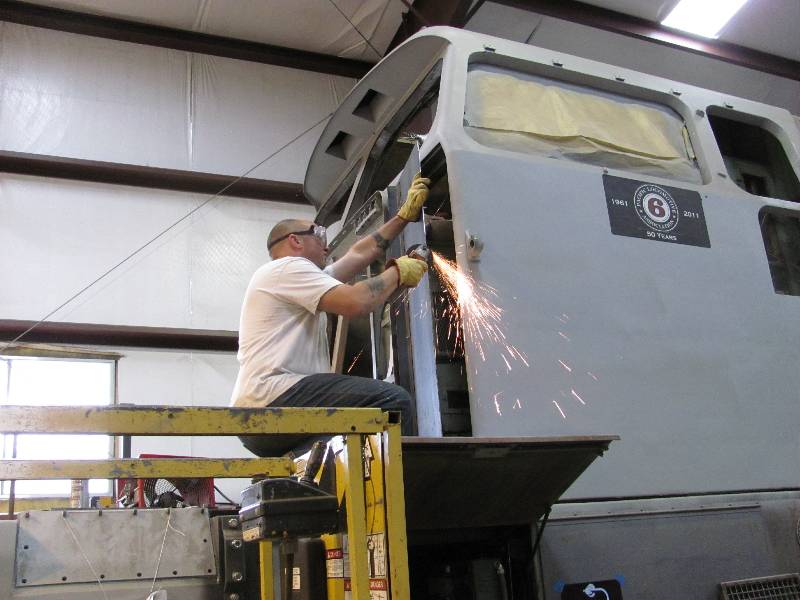
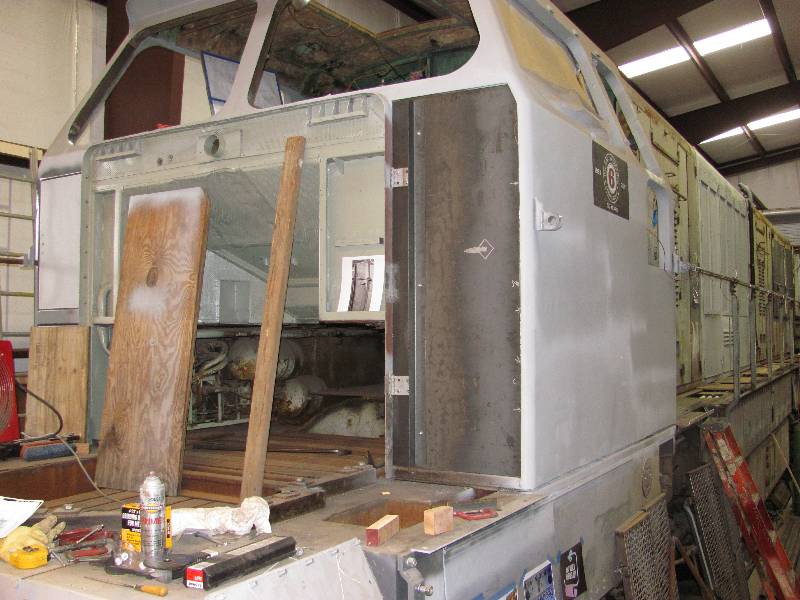
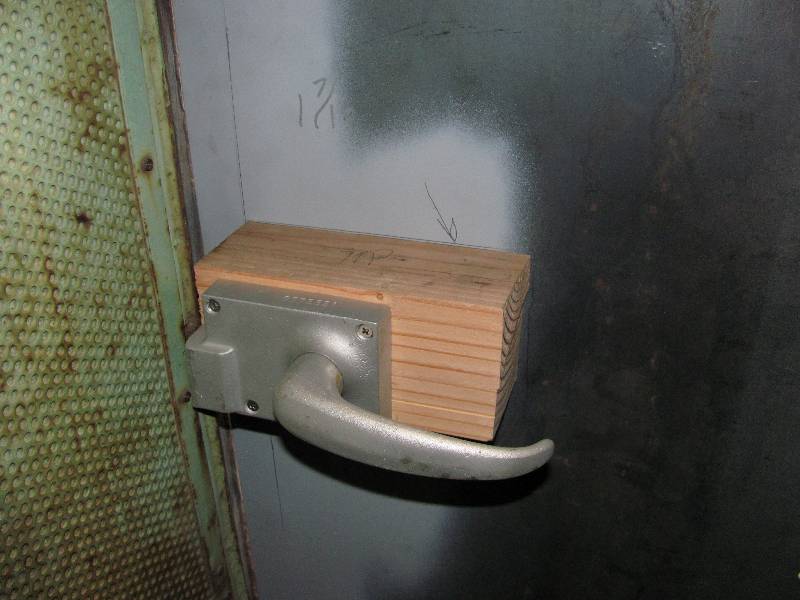
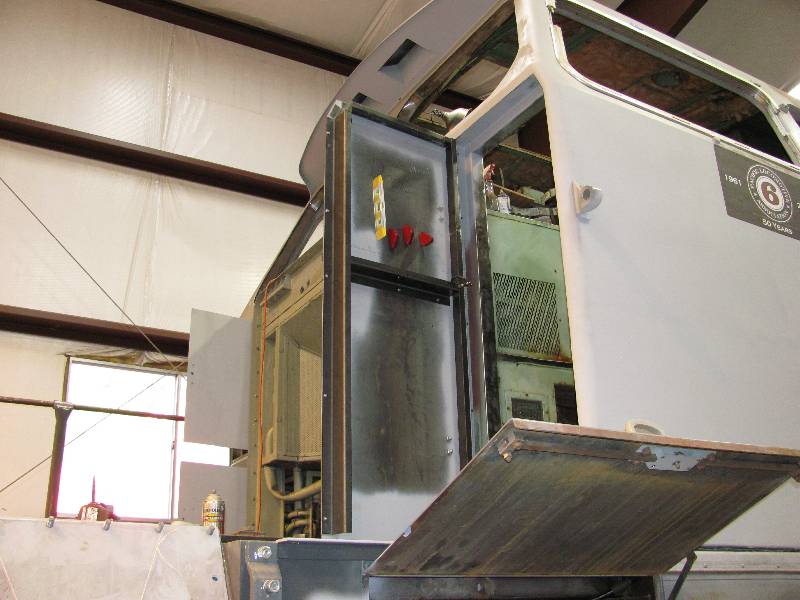
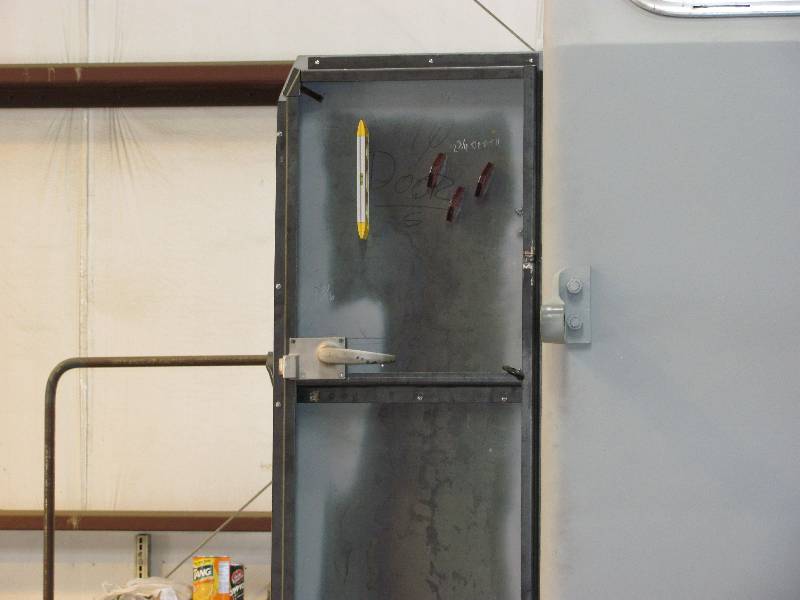
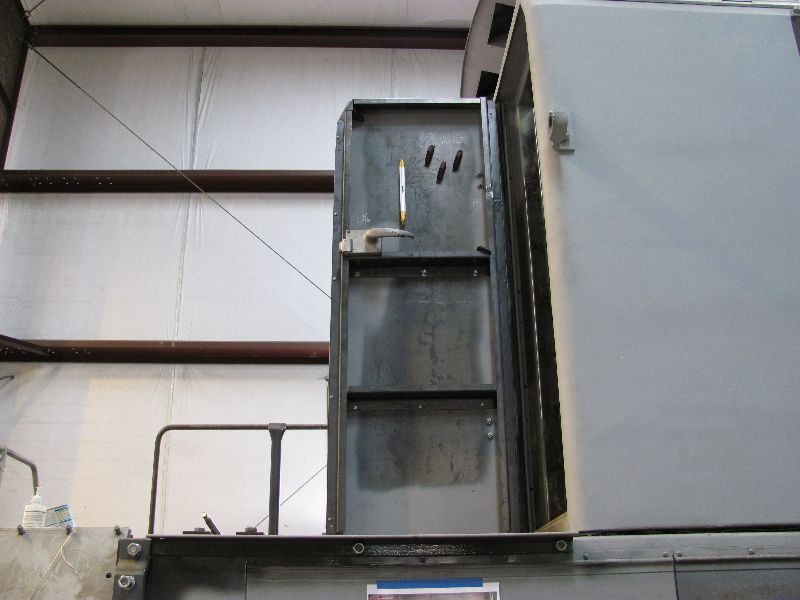
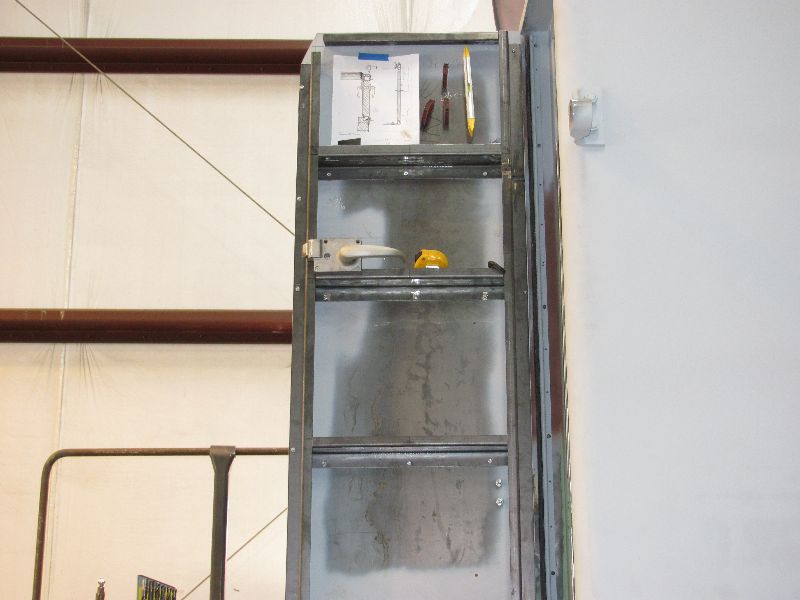
-- Update August 12, 2011 -- The cab front door is coming along nicely. There are many issues involved with getting it to fit the opening properly. The latch needs to be positioned properly so that when the door is latched, the outer skin is flush with the cab surface. The easiest way to accomplish this was to mount the latch on a block of wood and adjust its thickness until the fit was right. After that, the chore was the attachment of the custom made "Z" channel to the skin. You may note that the lock magically changes between the 6th and 7th photos. As it turned out, I first had a latch that required the handle to be moved upwards to open the door. It was used until the correct latch with a downward moving handle was found and installed. The interior pieces will soon be welded to the skin.
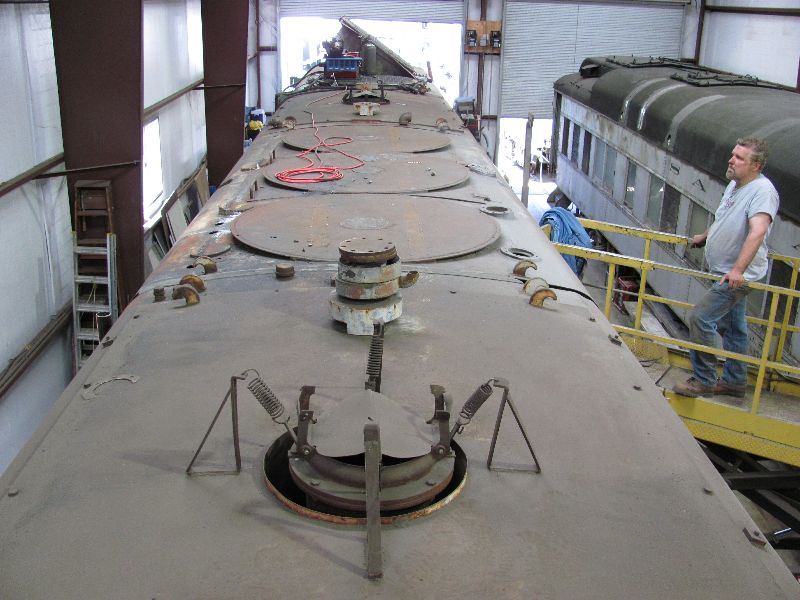
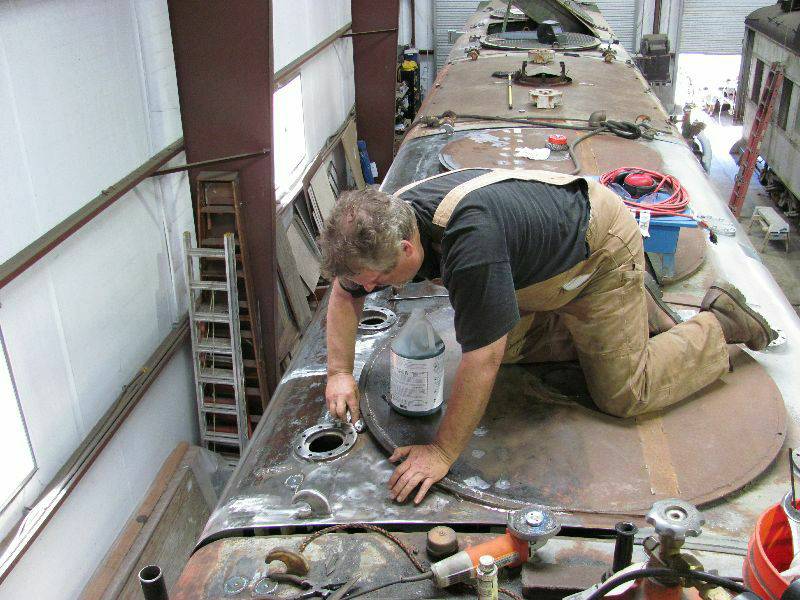
Mike O. and I are nearing the end of the weld grinding on the roof. That sure is a pleasant thought! There are a couple of things up there that I hate to remove but, they have to come off because they did not exist during our restoration time frame. When the locomotive was new, the exhaust stack tops were down inside tubes that come through the roof. Early on, the stacks were extended in order to keep gasses out of the engine room. Evidently, they found that the stackes vibrated excessively so they installed what we lovingly call "springy thingy" dampers on the roof. I could not bring myself to cut them off so Mike O. tackled the job while I did not watch. Mike O. is seen applying Rust Mort (rust converter) to a newly cleaned part of the roof preparatory to shooting it with primer.
And Dan is getting into the body work on the engineer's side of the new hood section.
|