|
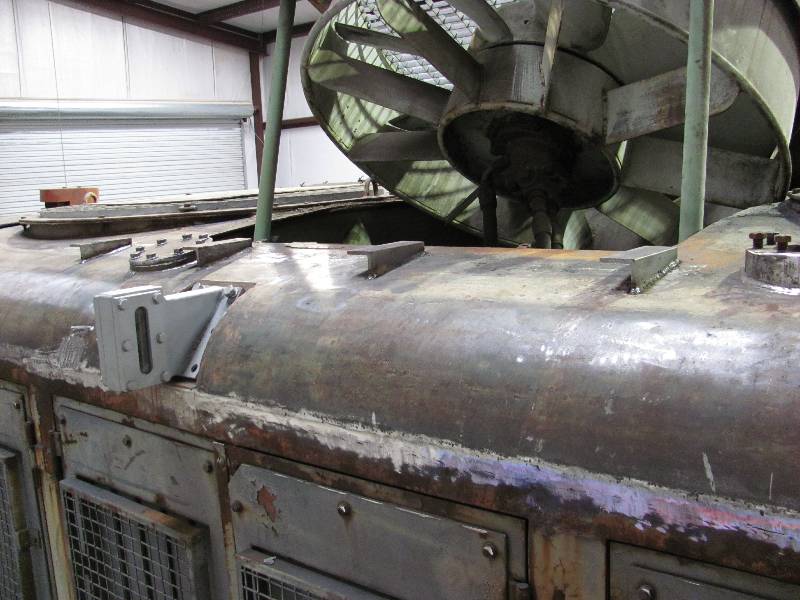
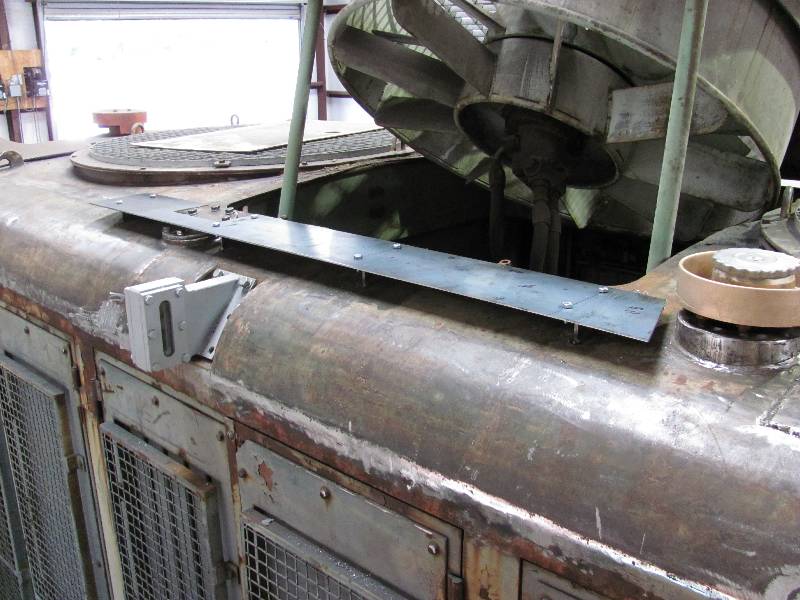
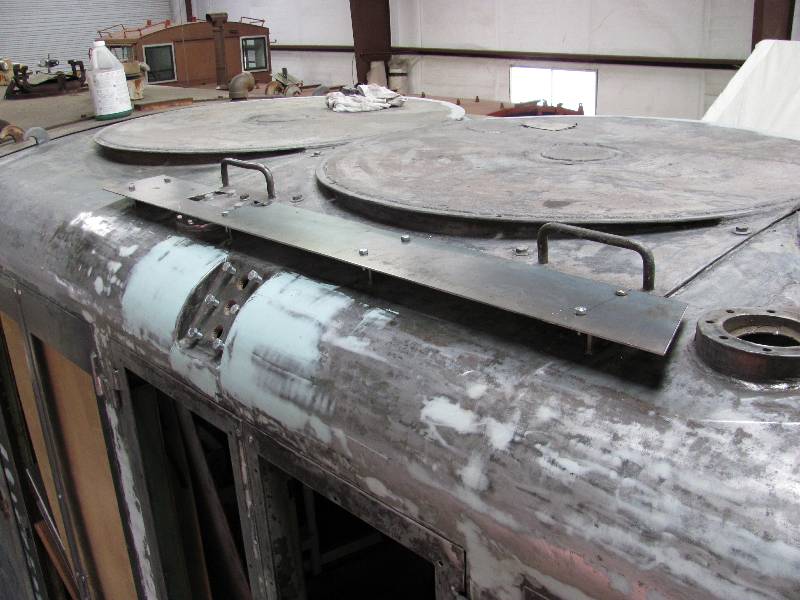
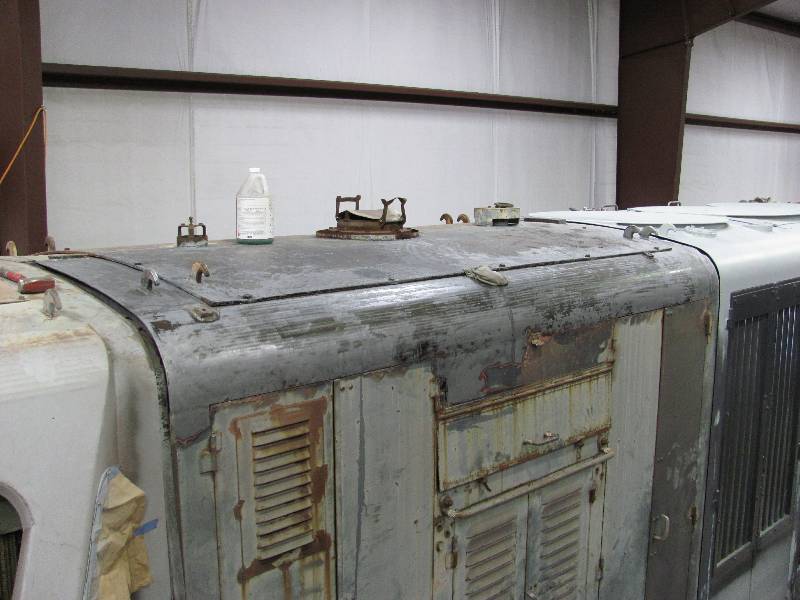
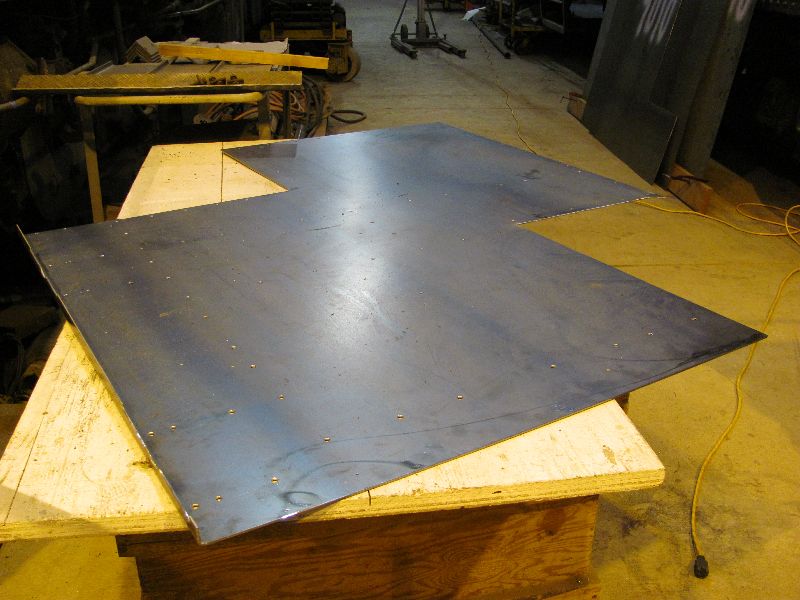
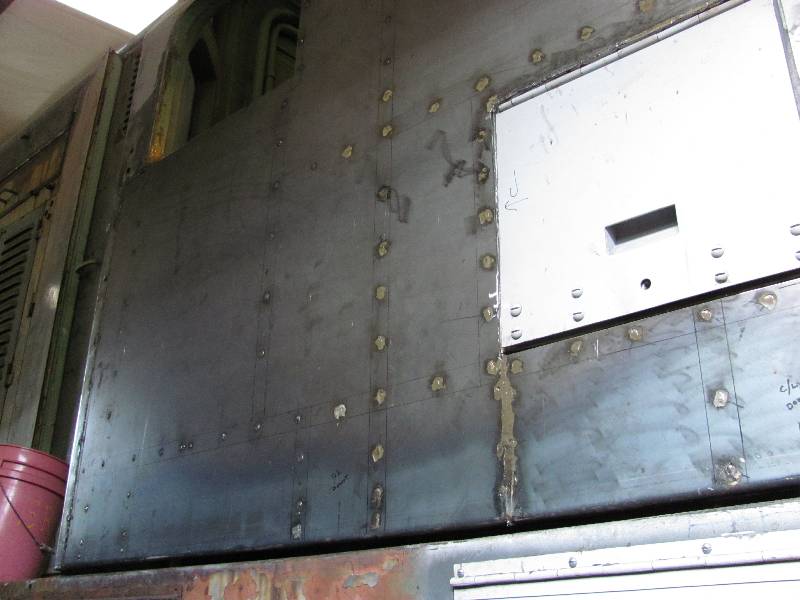
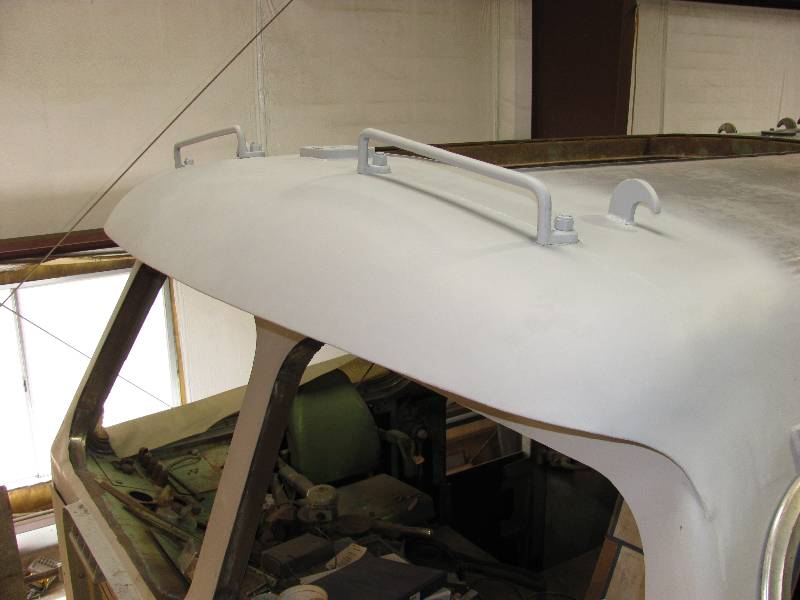
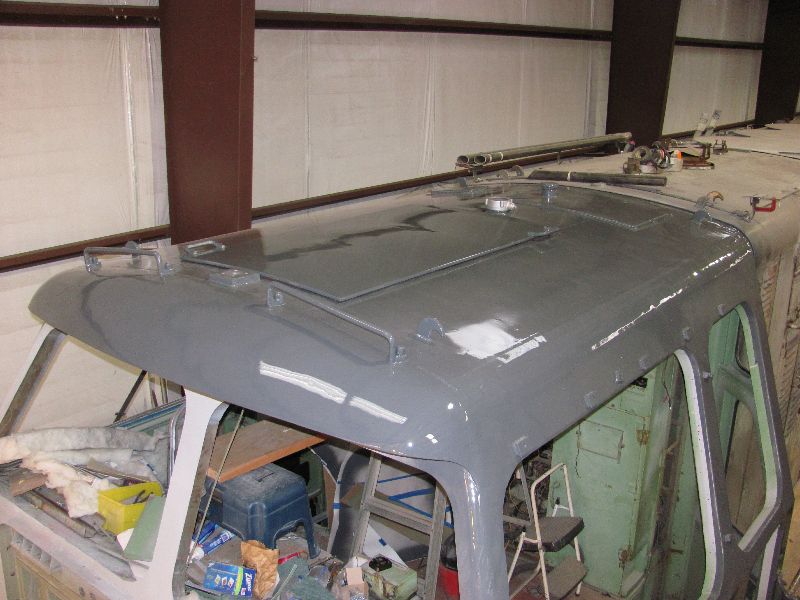
There
were two small platforms on the roof, one each on the right side of the
center cooling fan. They were there to give workmen a place
to
stand while tilting the center fan up. The brackets were
removed when the humps were installed but luckily the ghosts of the
welds remained so we were able to locate the positions of the brackets.
The metal plates will have aluminum plates applied over them
eventually.
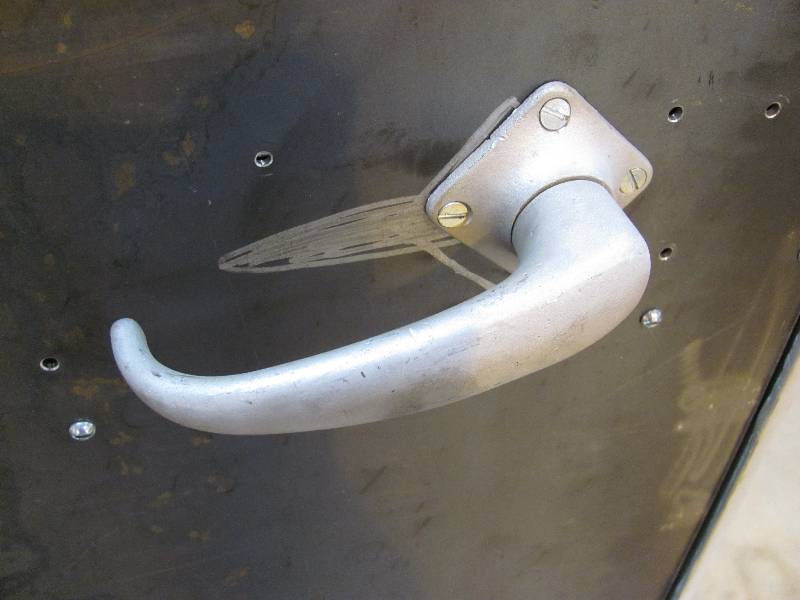
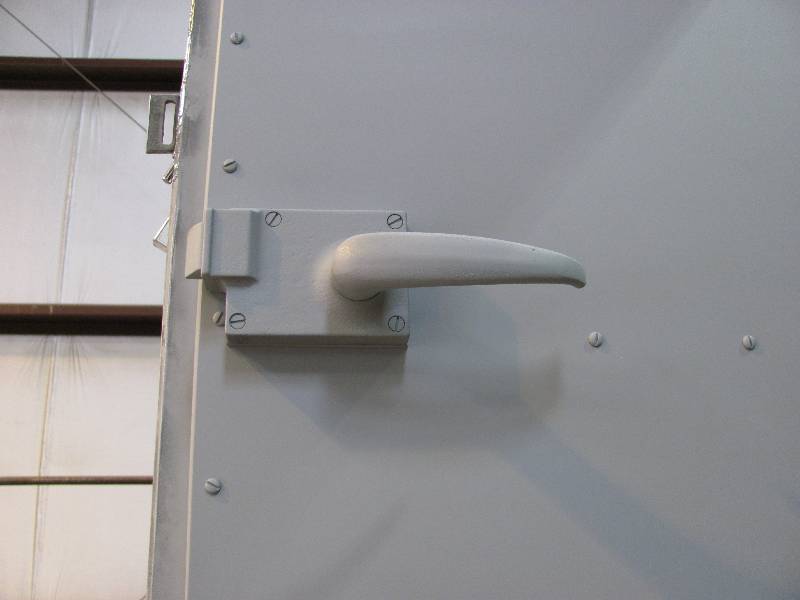
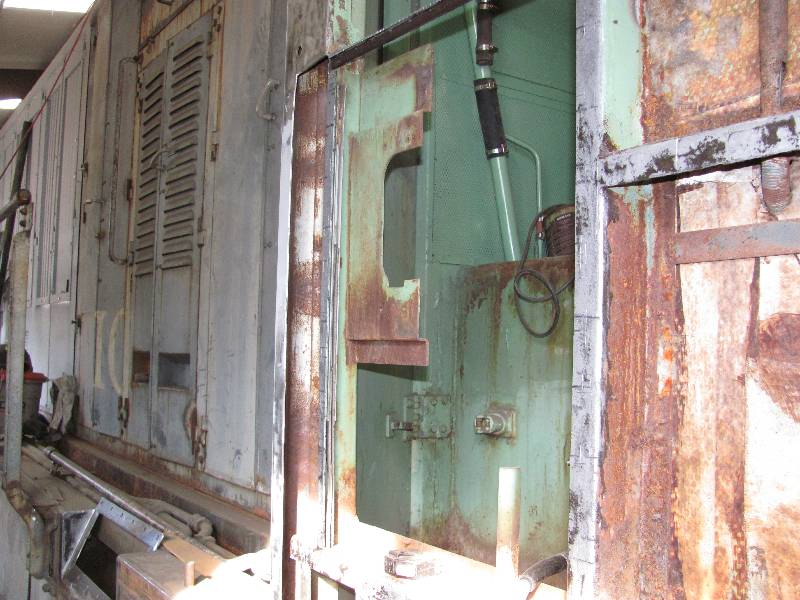
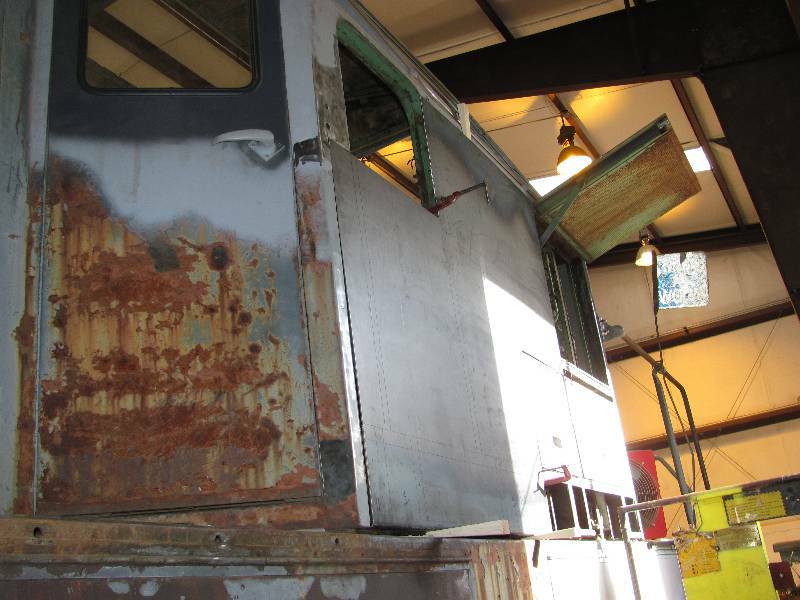
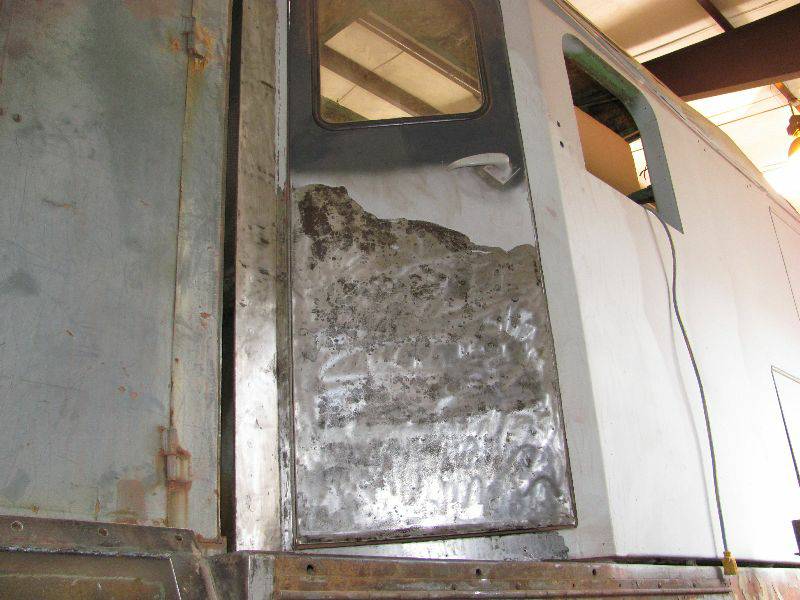
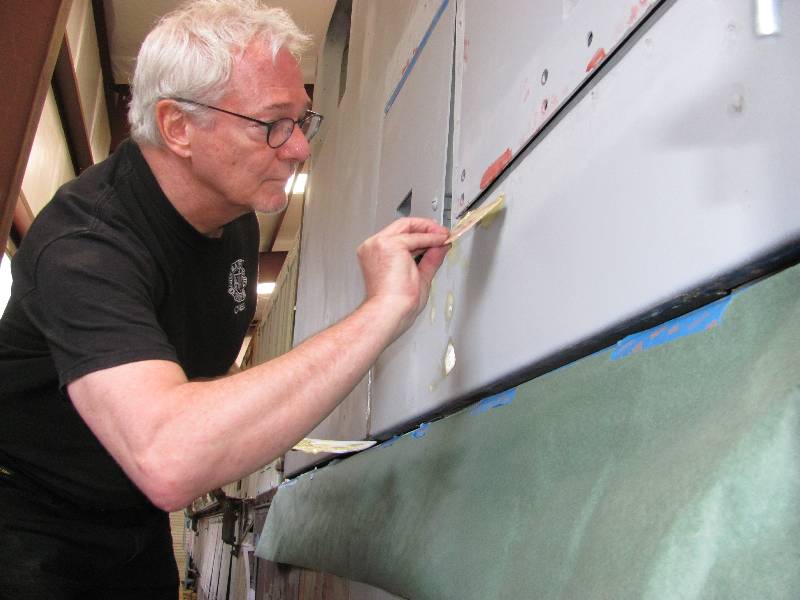
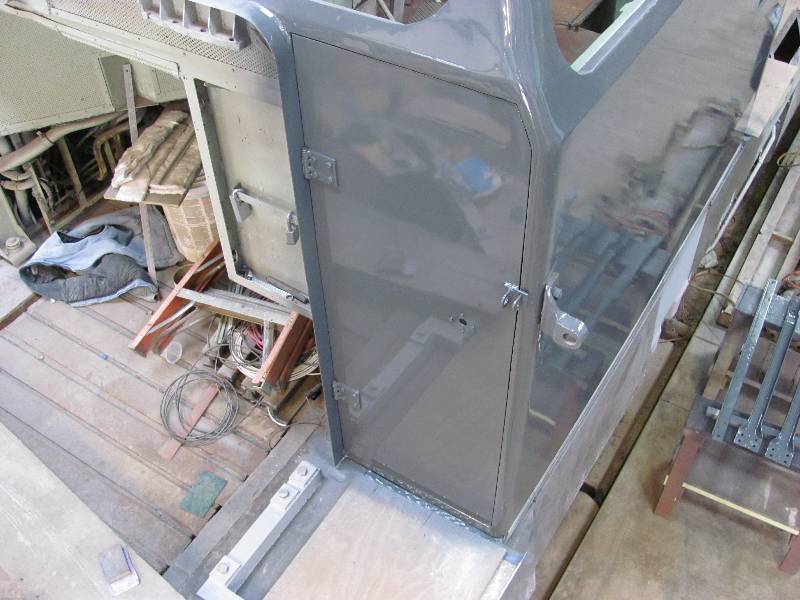
The front cab door received some more attention with the installation of an outside door handle. When Rob Fern was visiting from the UK in June, he whimsically drew a handle on the outside. It is remarkable how closely the real handle matches the one Rob drew. And, the process of welding the framework to the outer sheet has been completed.
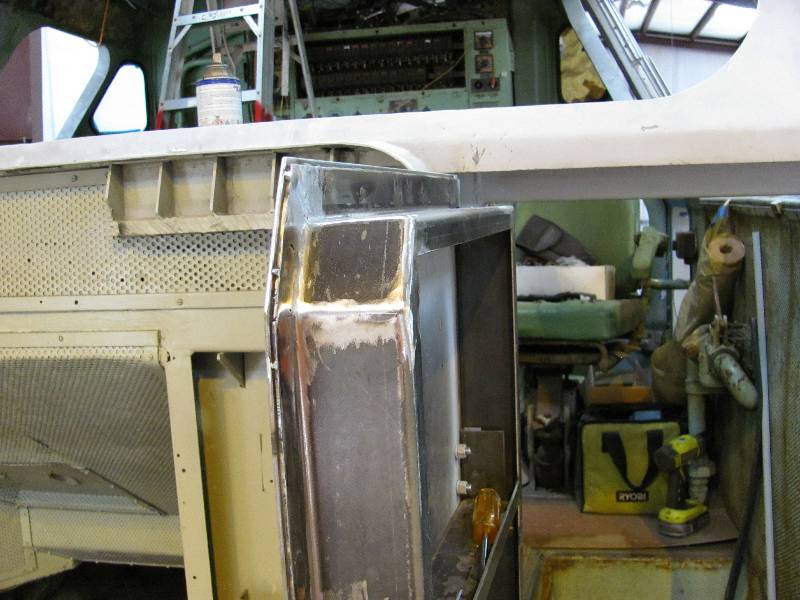
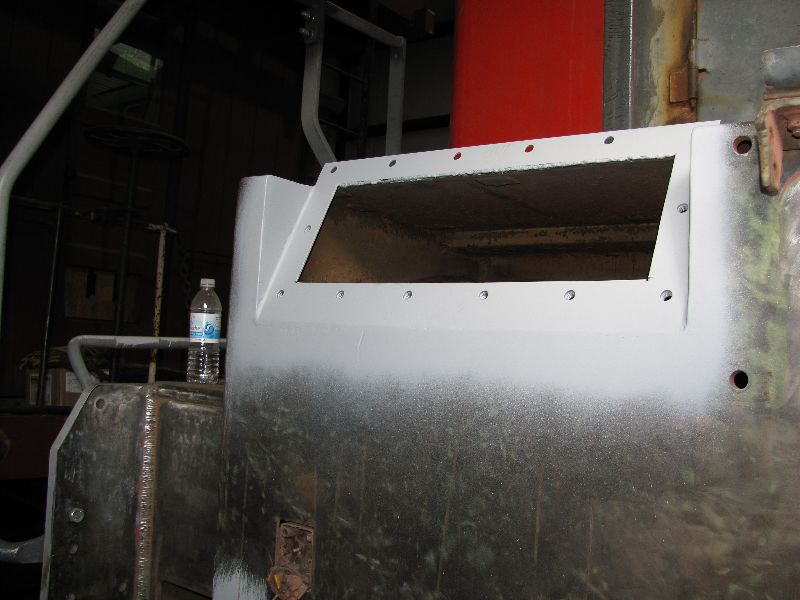
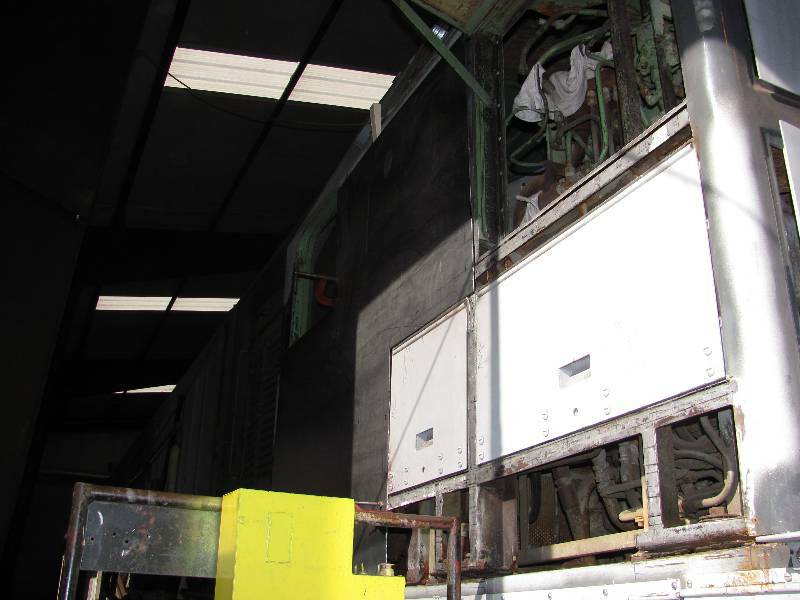
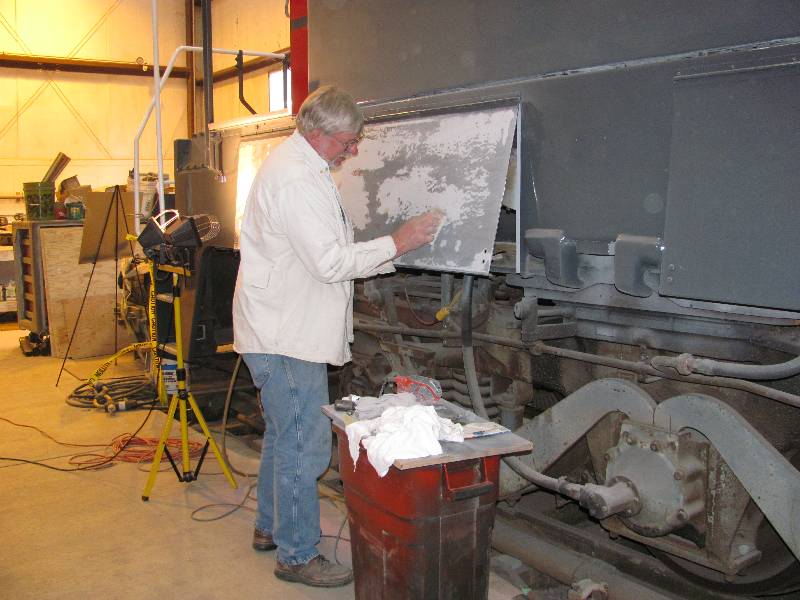
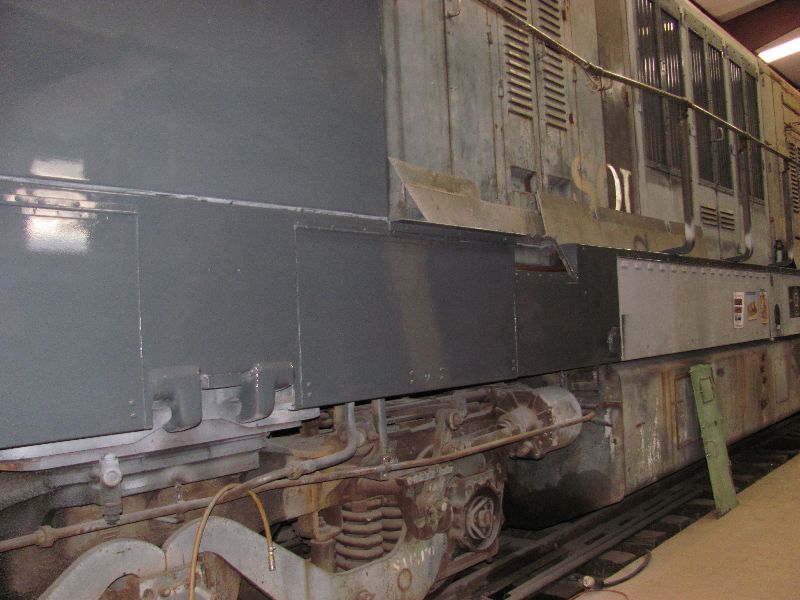
And Mike O. has finished the metal work on the #1 cooling section. He is now in the process of applying a coat of epoxy primer.
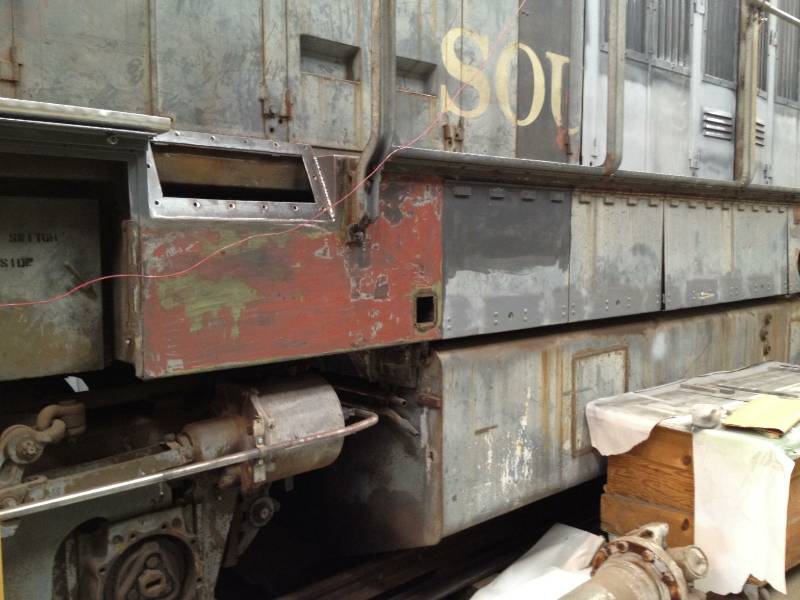
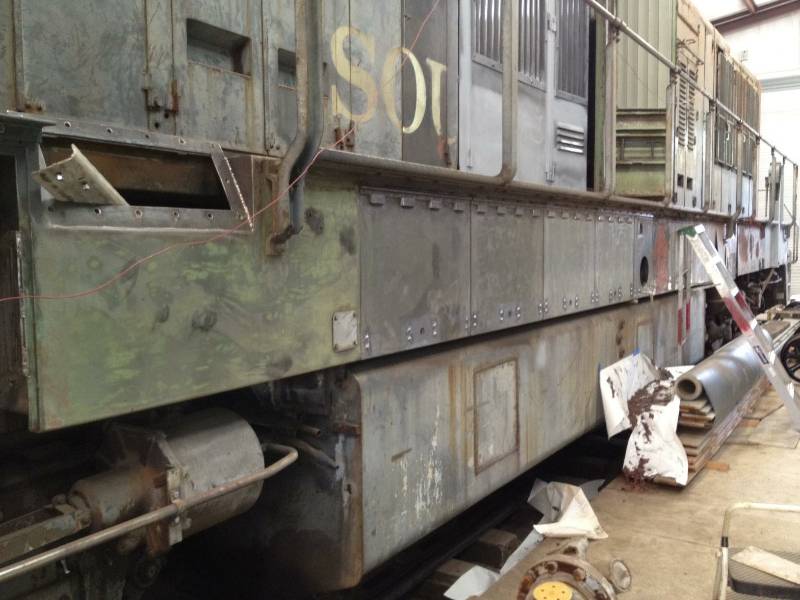
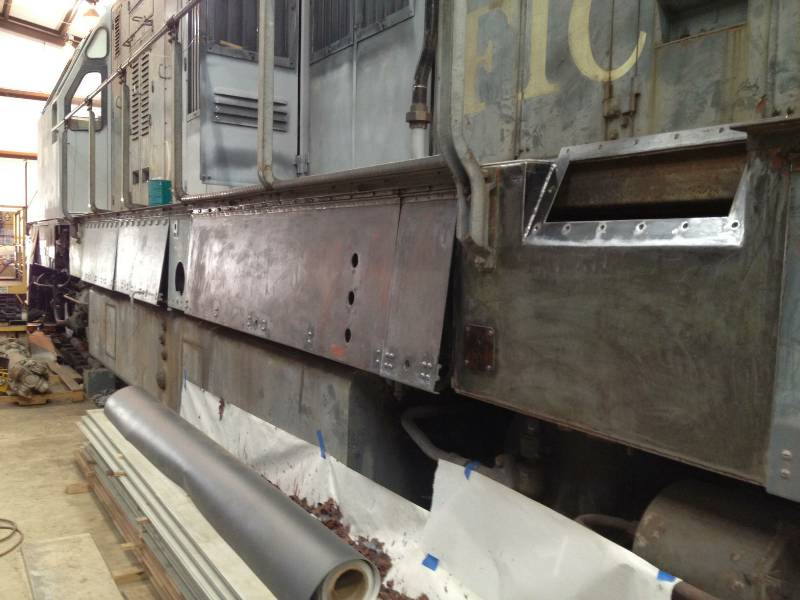
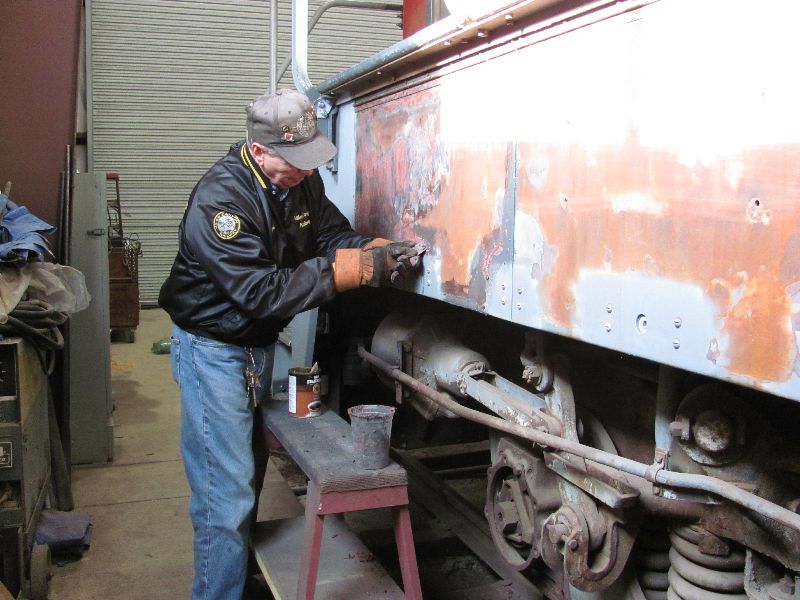
Dan continues his assault on the rough metal surfaces where welding or grinding has taken place. The immediate objective is to get a coat of primer on the the new metal on the right side of the #1 cooling room so that we can bolt the shutter assemblies back in place.
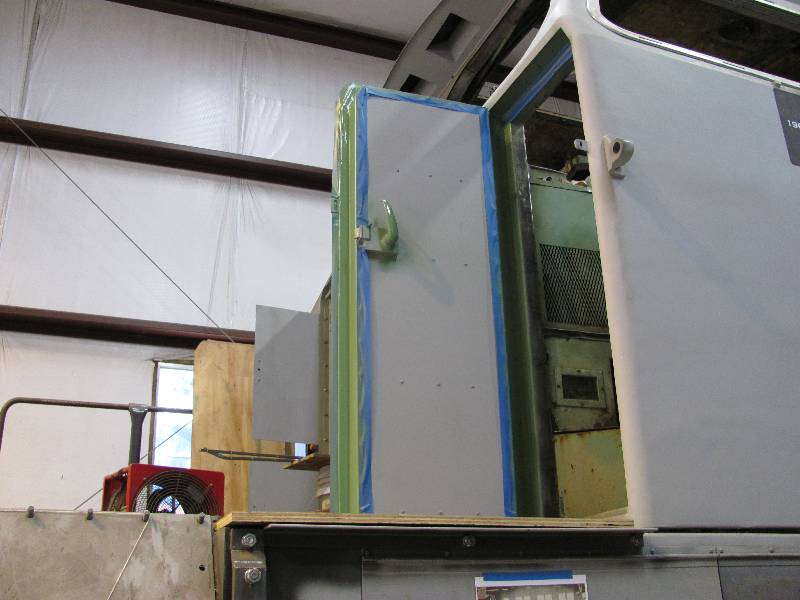
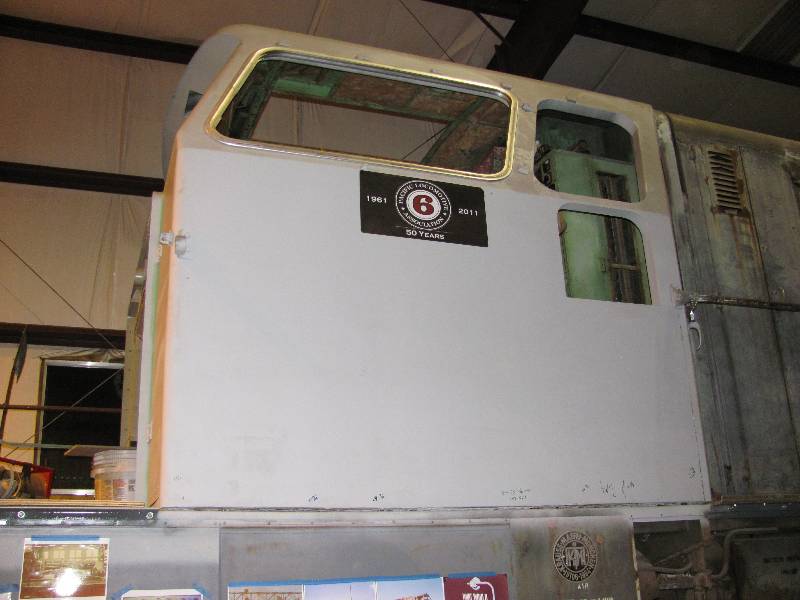
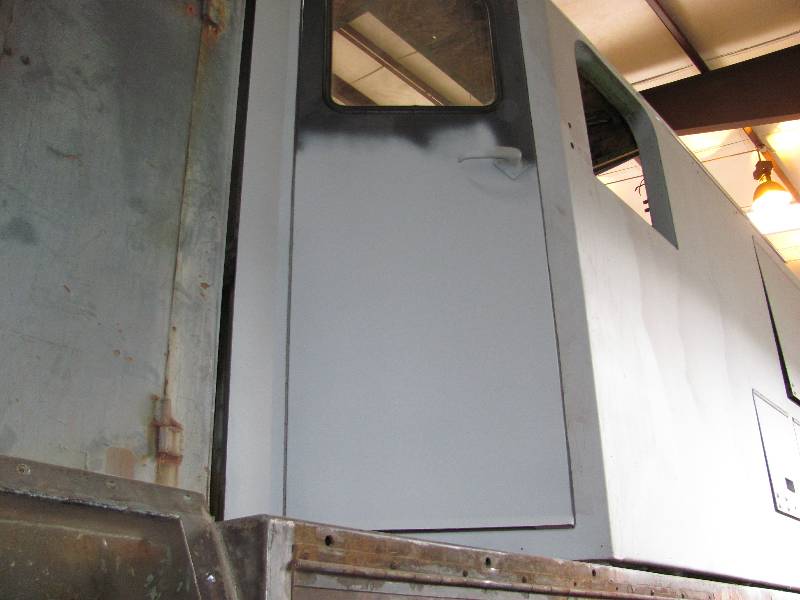
-- Update September 28, 2011 -- The new front door is nearly done. All that remains is the green interior paint which will wait until cab rebuilding is completed.
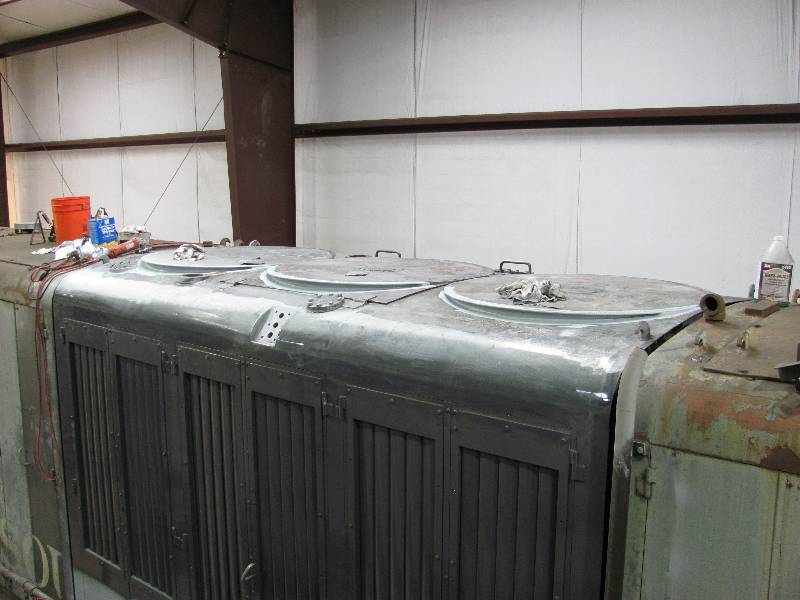
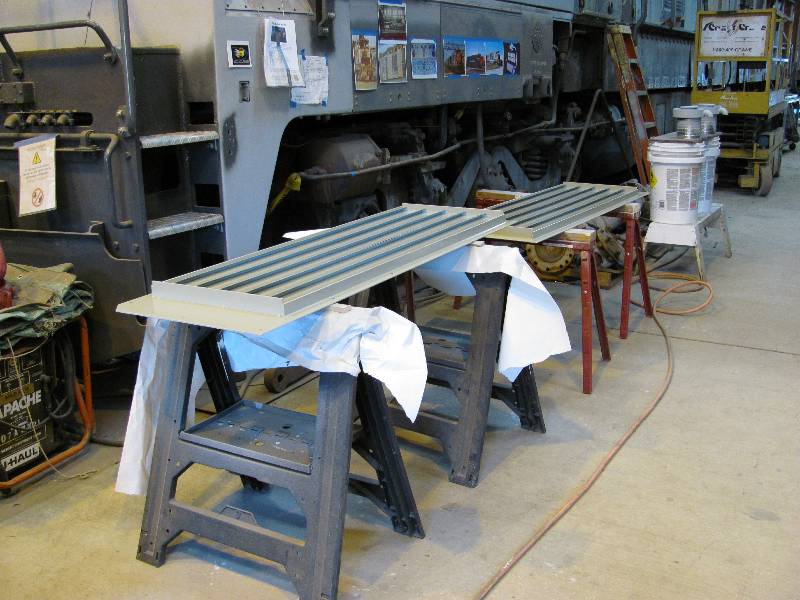
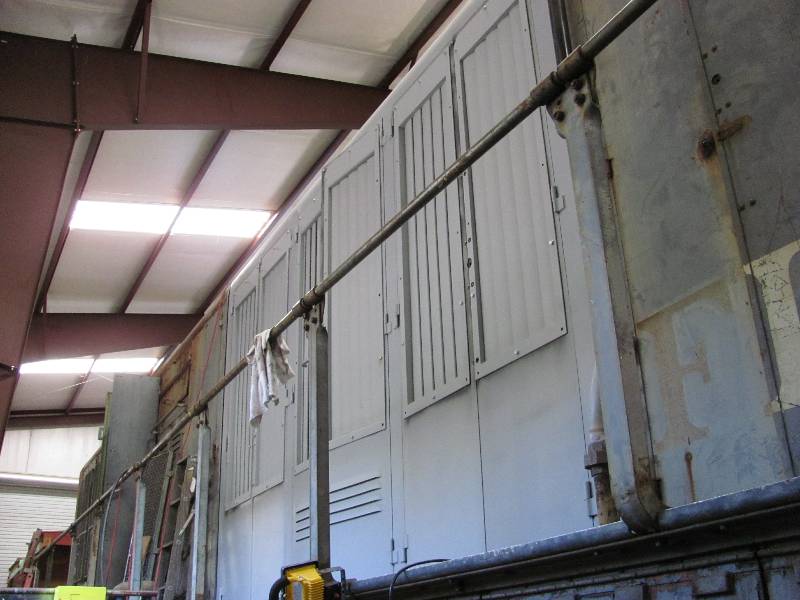
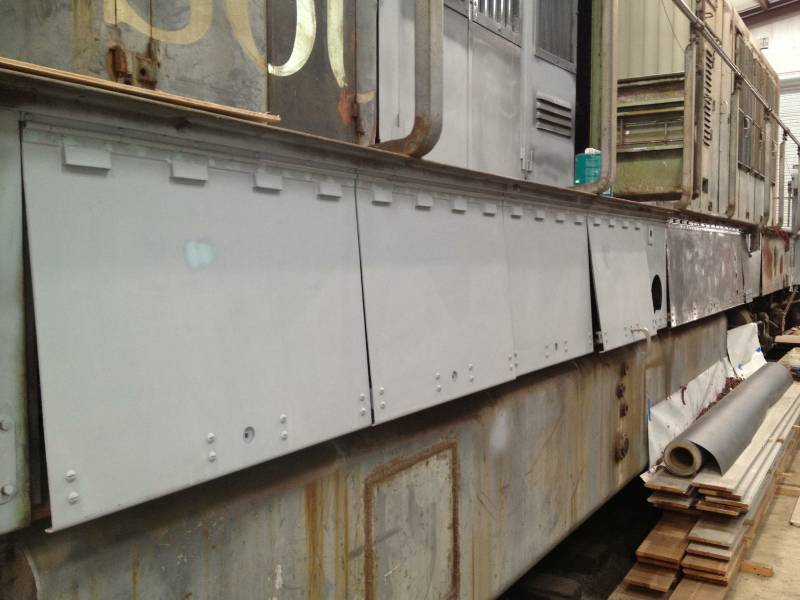
The last 4 of the new shutter assemblies finally got their coat of primer and gray on the inside. They were mounted where they belong which brings us very close to the end of #1 engine cooling bay reconstruction.
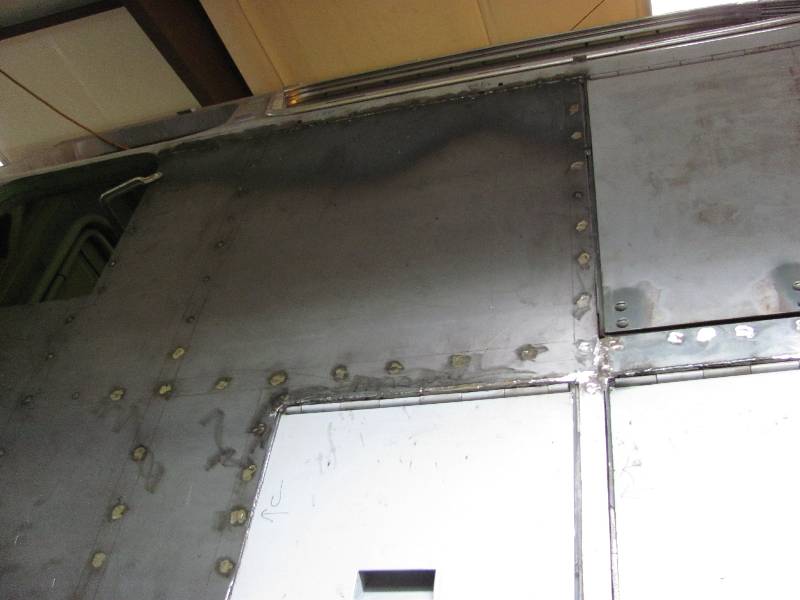
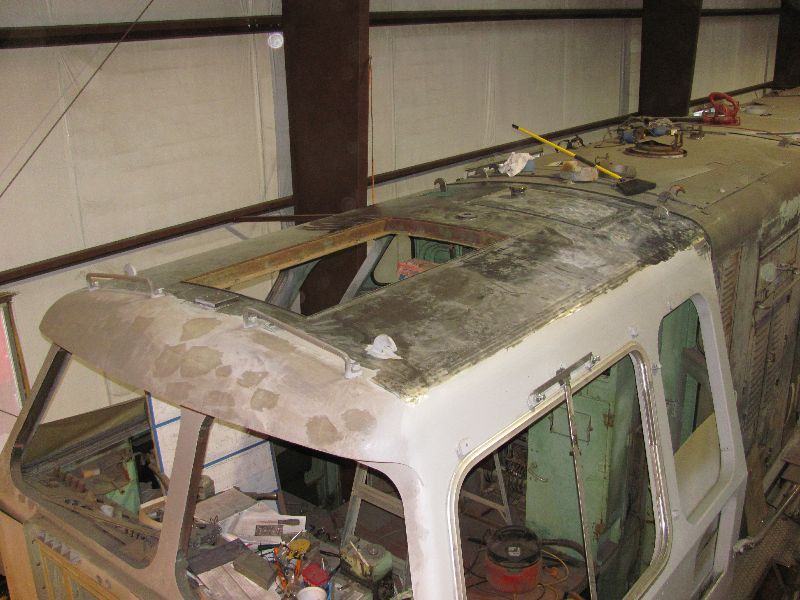
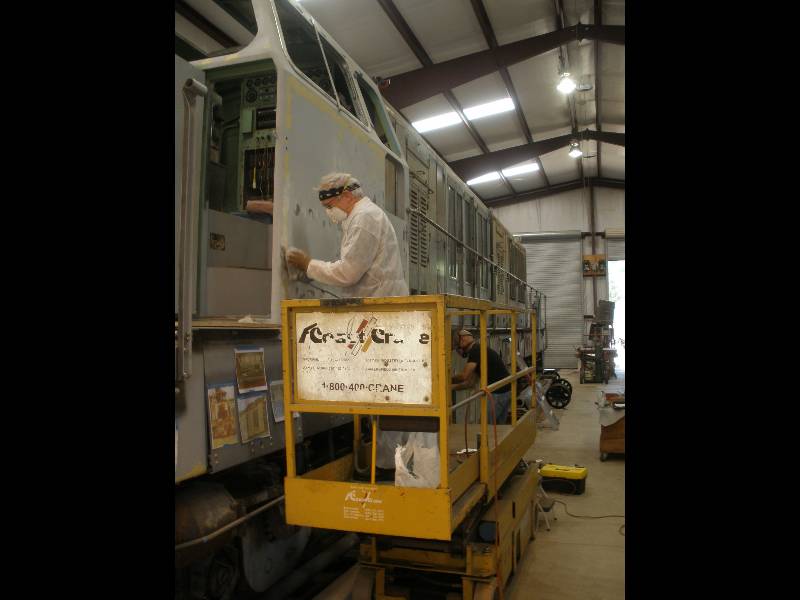
Mike O has been busy on the roof, killing rust and primering. I am fairly sure that we have seen the last of the cutting, welding and grinding work up there.
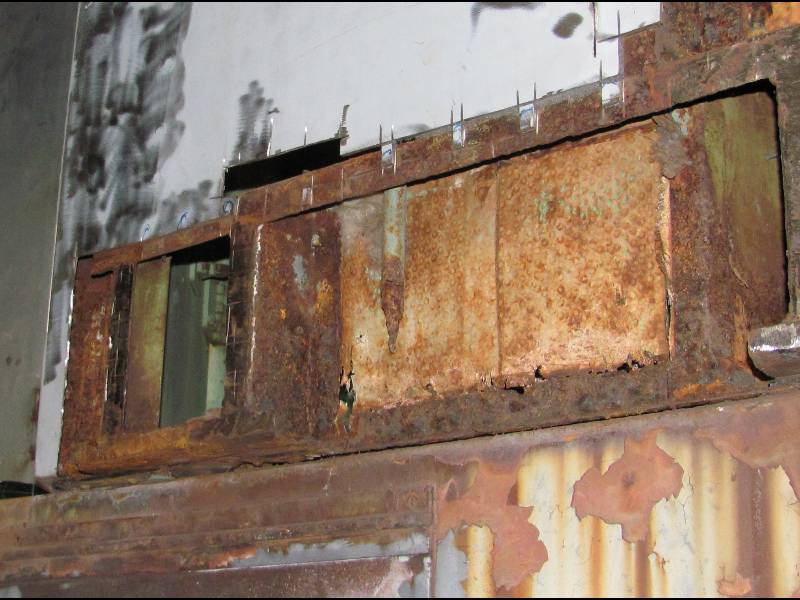
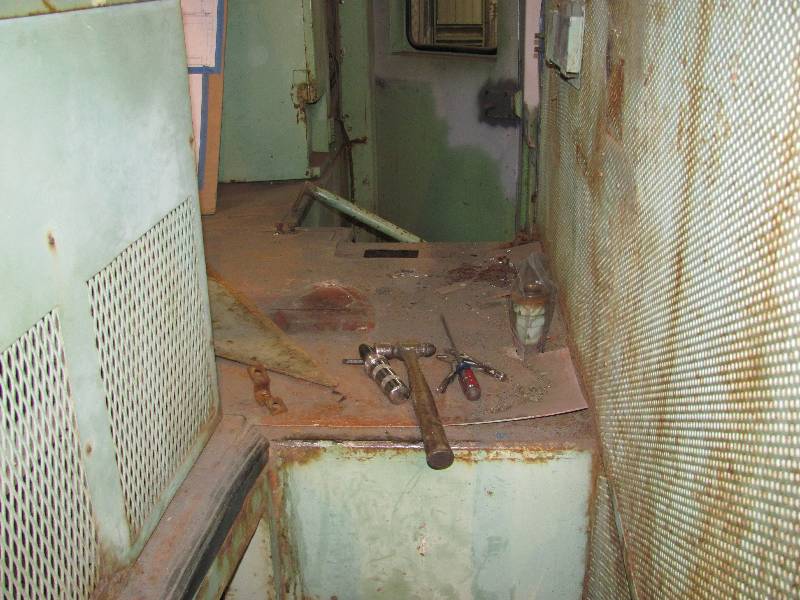
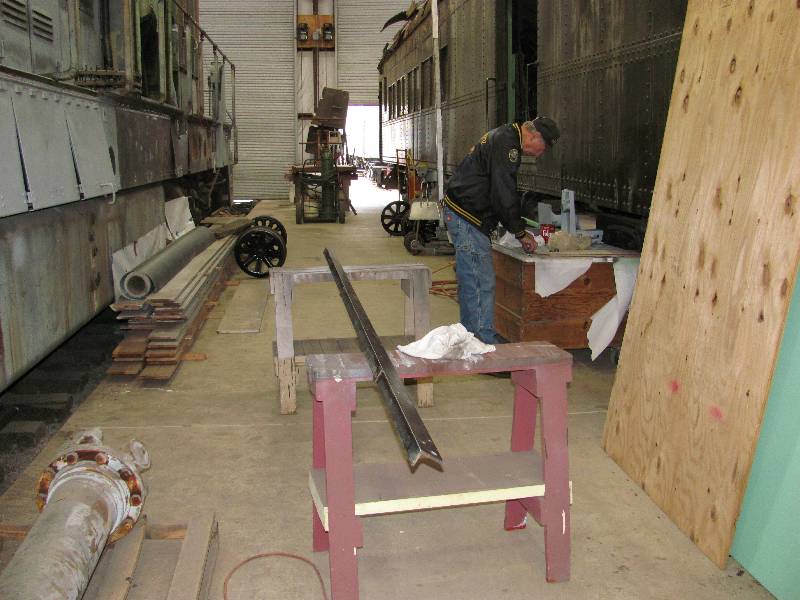
-- Update December 08, 2011 -- I know this subject has been covered earlier in these pages but there were still 3 of the sand box bases to open up and repair. I finally overcame my dislike of this project and got to work on them. Rich spent a lot of time cleaning out sand that had hardened into a brick like substance. Fortunately, the job went smoothly with no new discoveries. Now, covers will be made and bolted in place until reproduction sand boxes are fabricated.
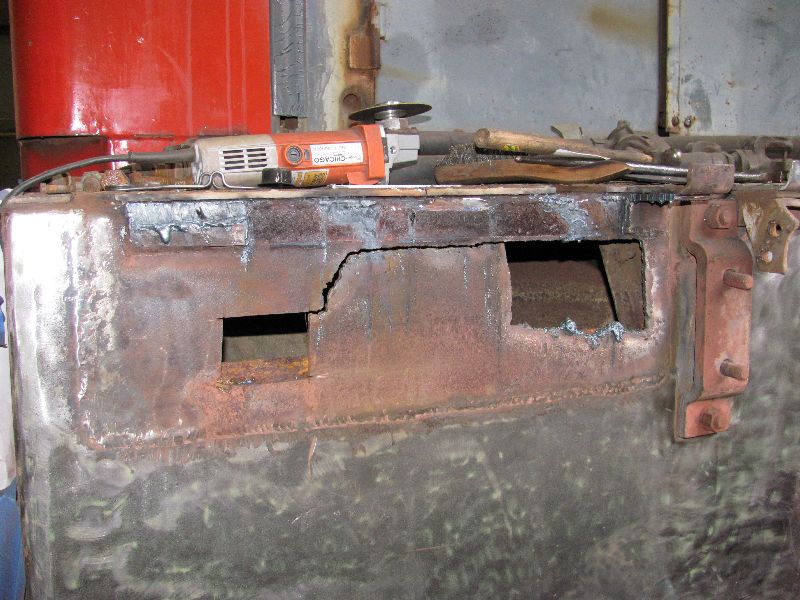
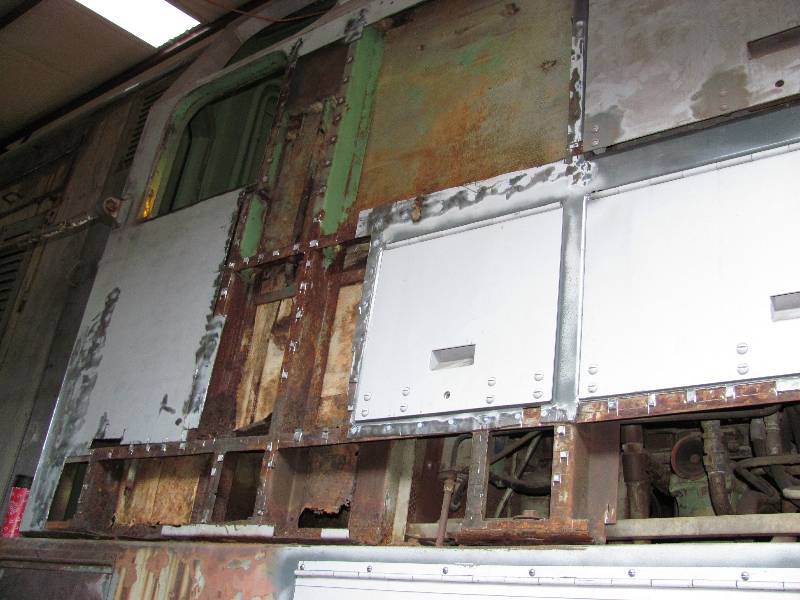
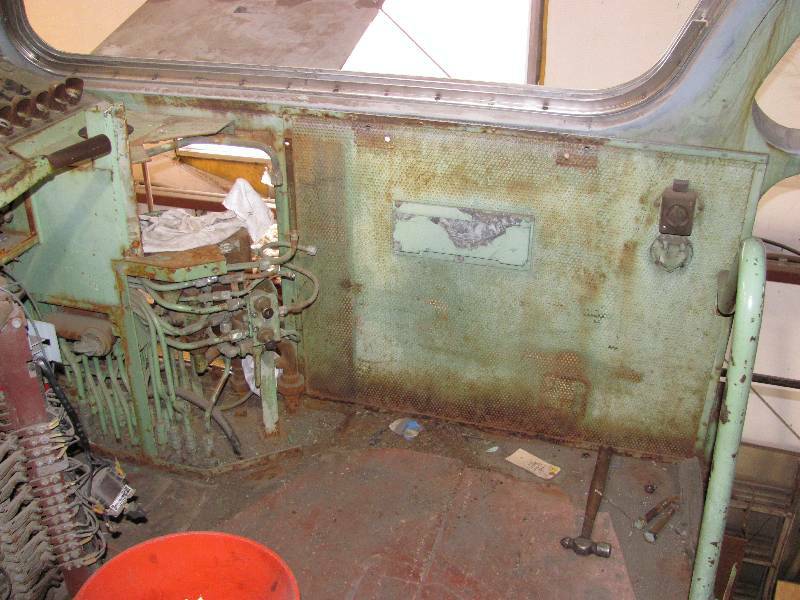
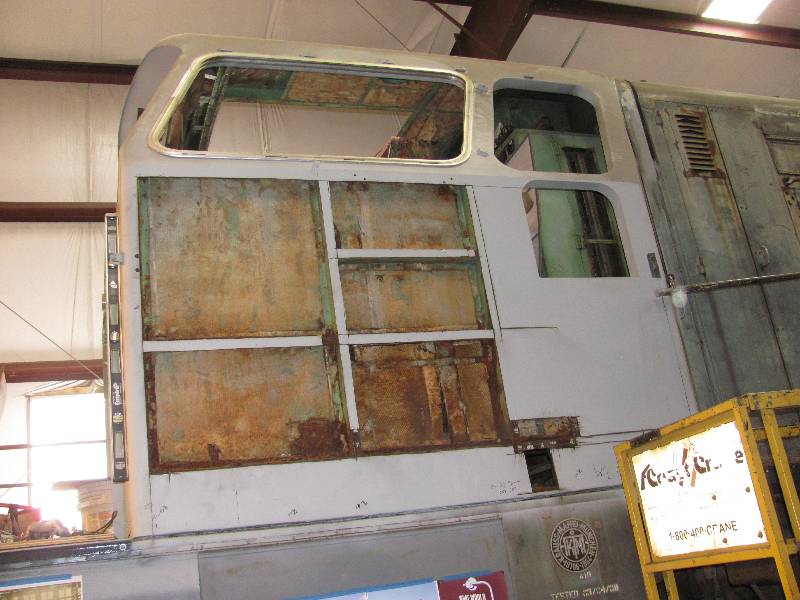
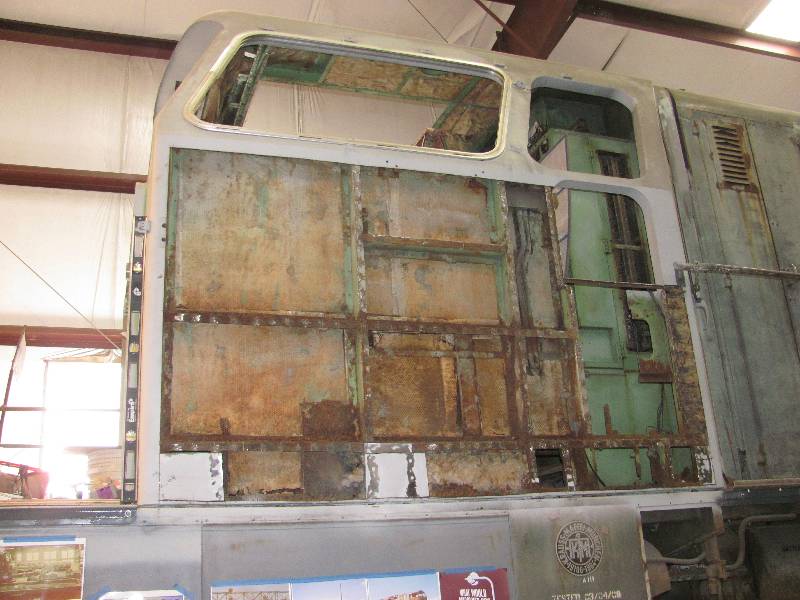
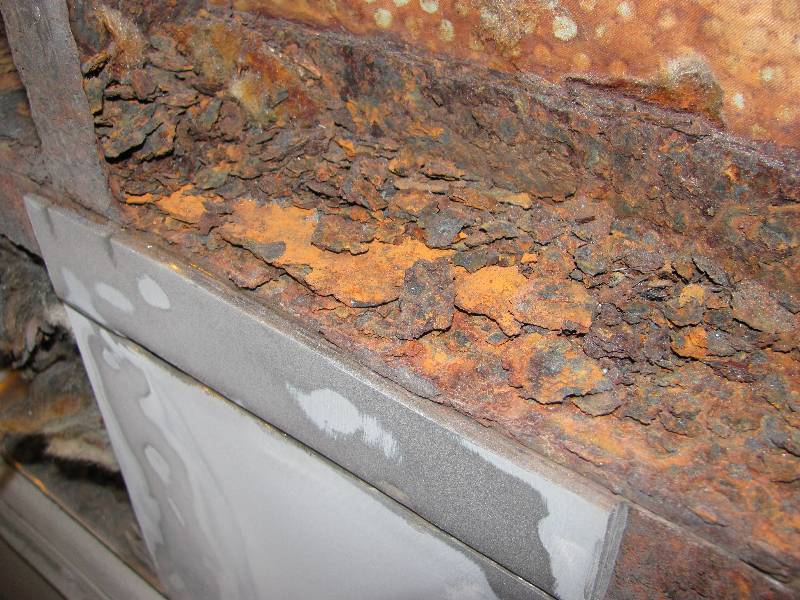
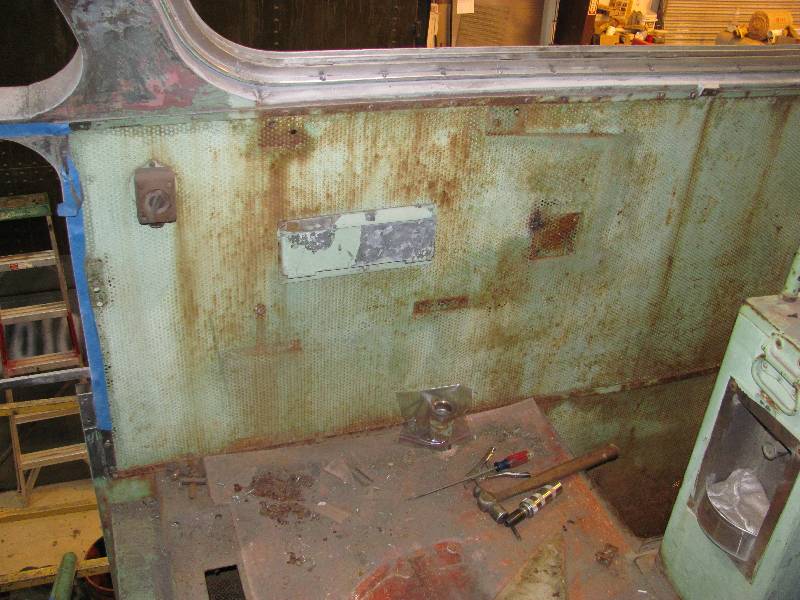
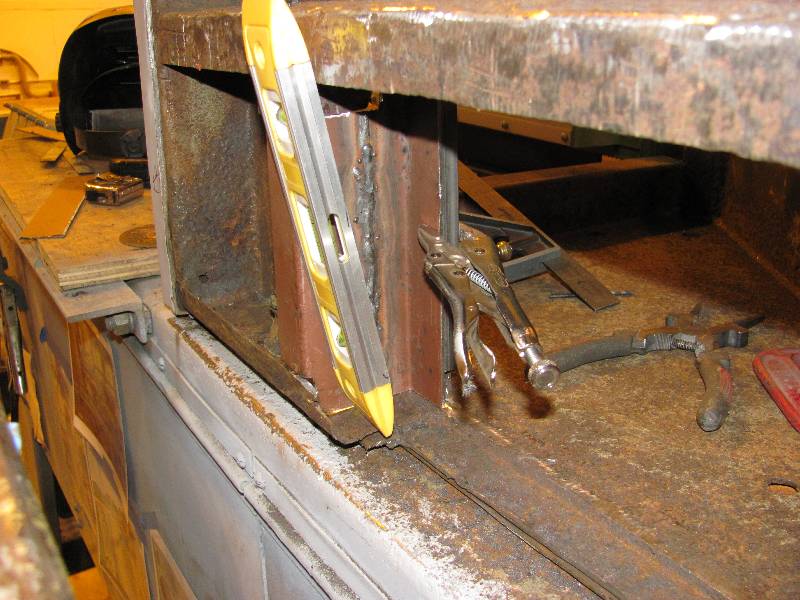
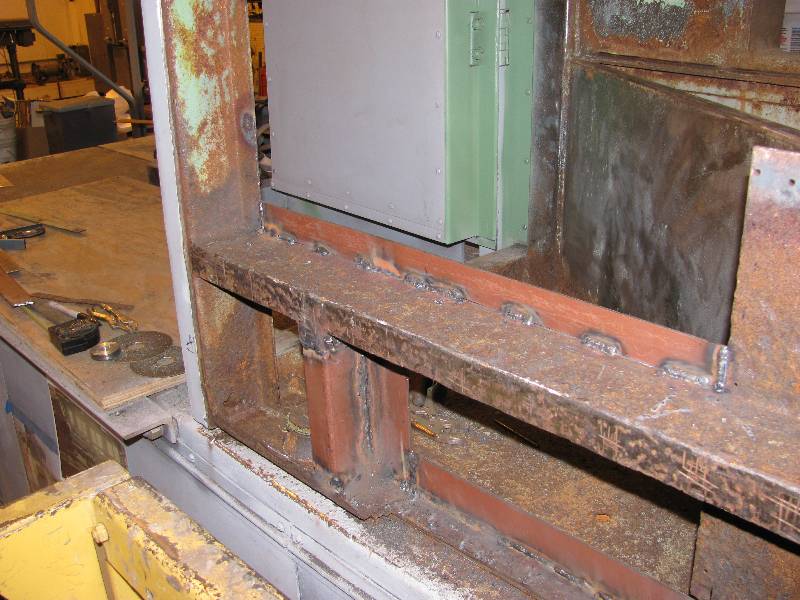
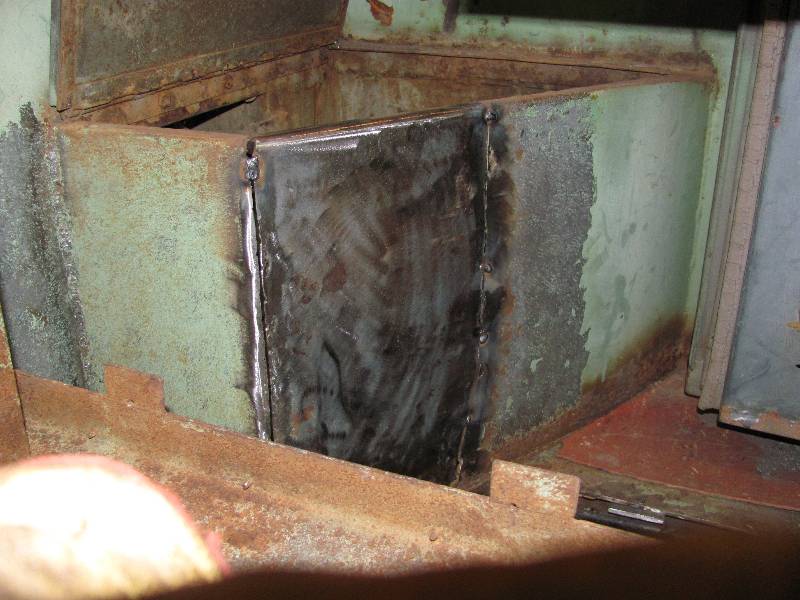
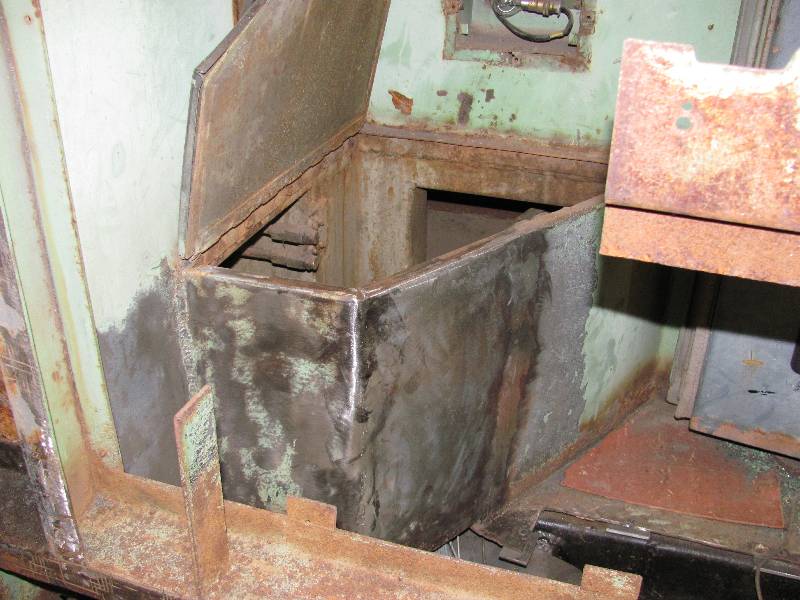
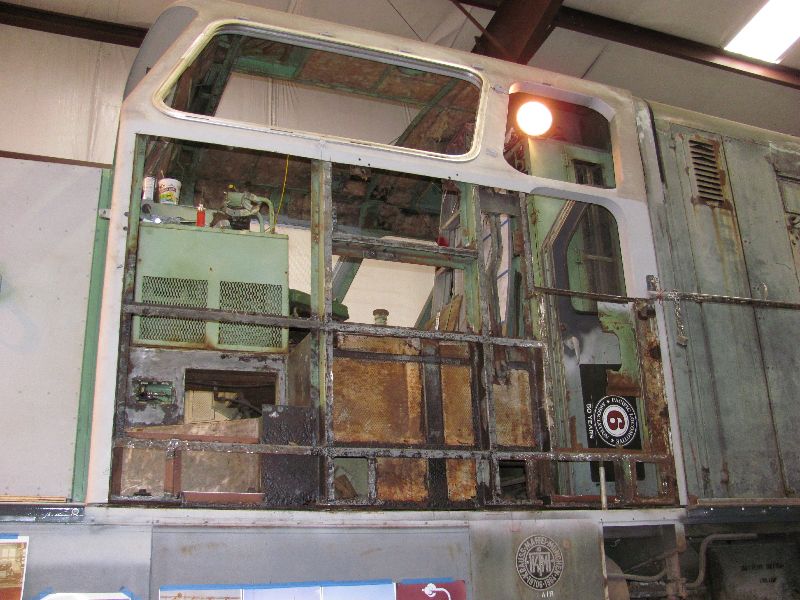
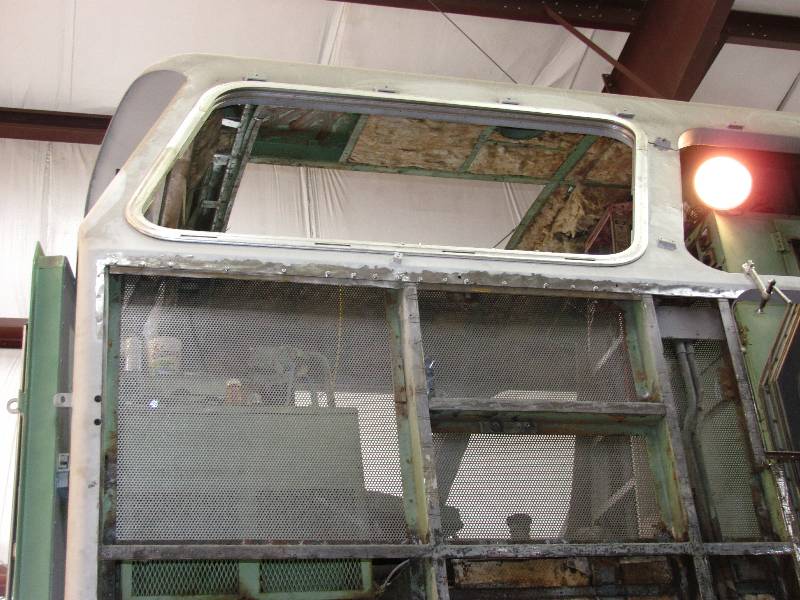
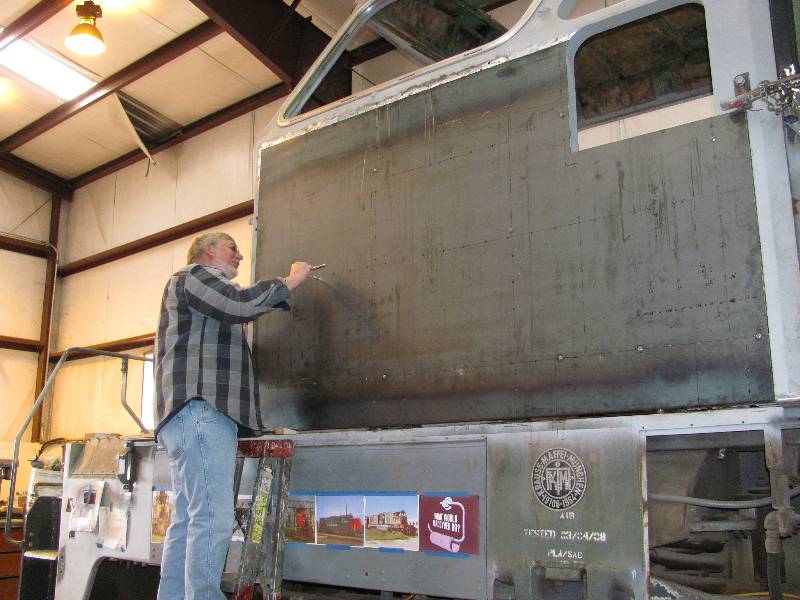
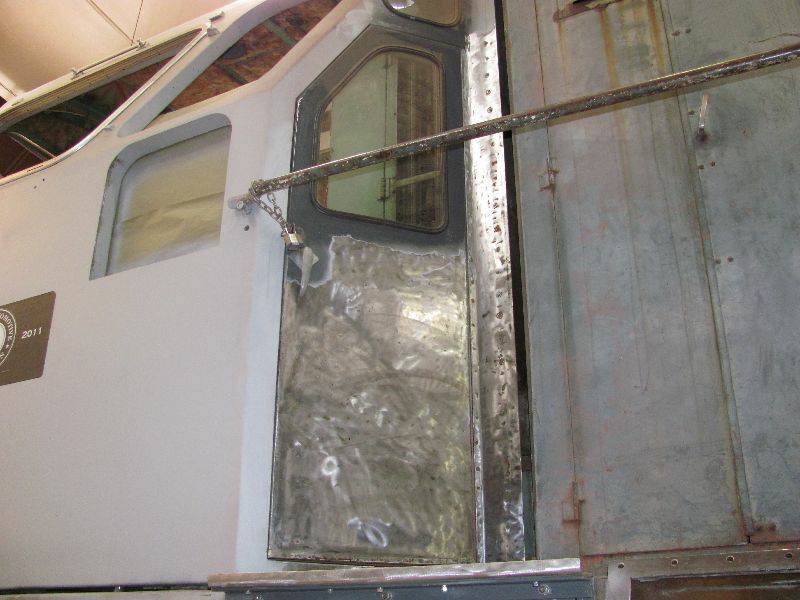
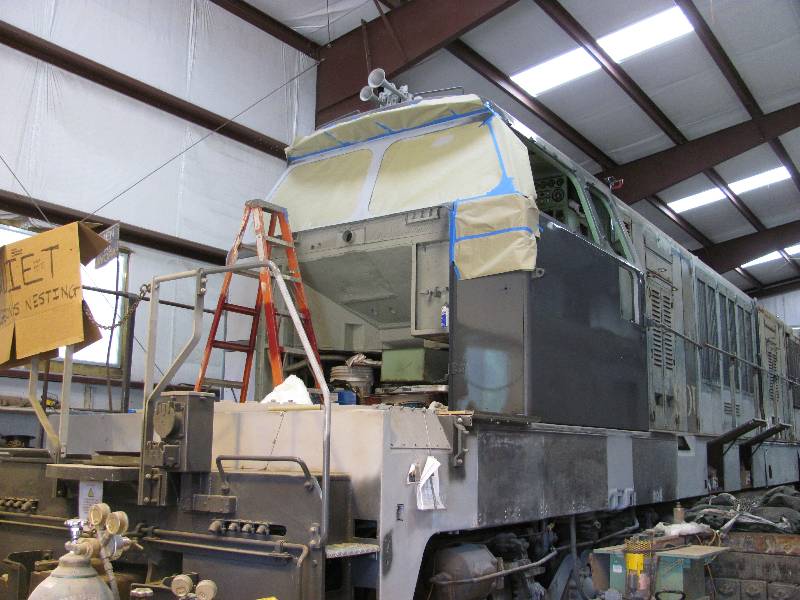
-- Update February 01, 2012 -- And so it became apparent that there was no way that simply using body filler was going to repair the hills and valleys found in the cab sides. I had been debating this for some time but finally came to the conclusion that the only way out of this mess was to replace the sheet metal cab sides. The cab sides are the metric equivalent of 11 gauge steel which fortunately is within a couple of thousands in thickness. The side is spot welded to the framing along both horizontal and vertical framing members. Dare I say that there are hundreds of welds, each one of which has to be cut loose and ground flat. I decided to start on the engineer's side and in due course, it was striped clean of the old metal.
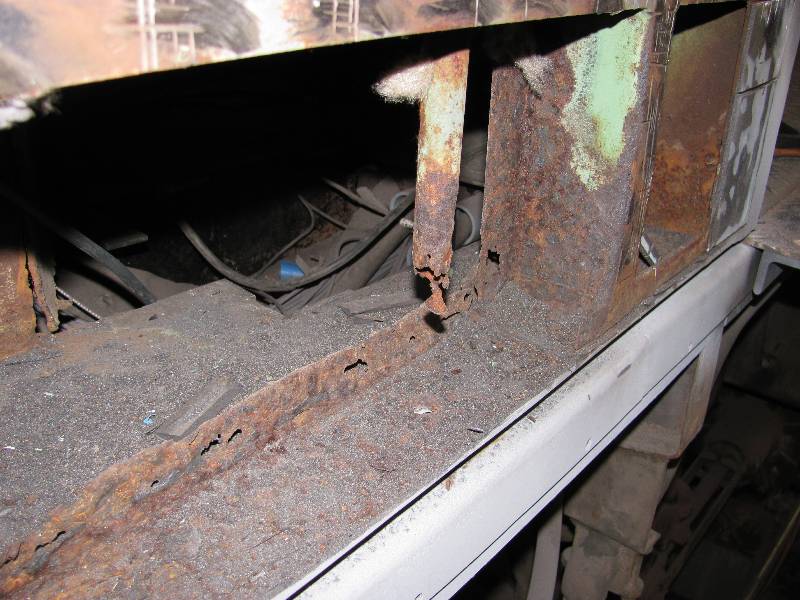
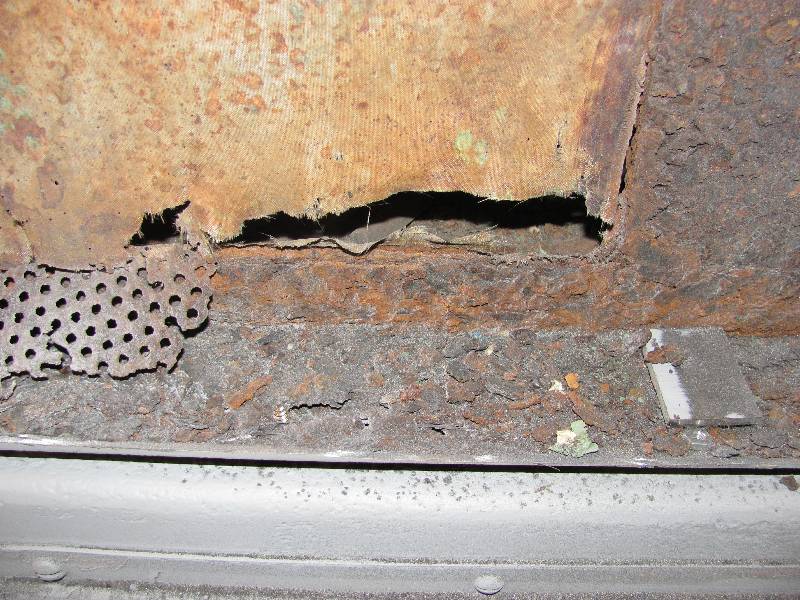
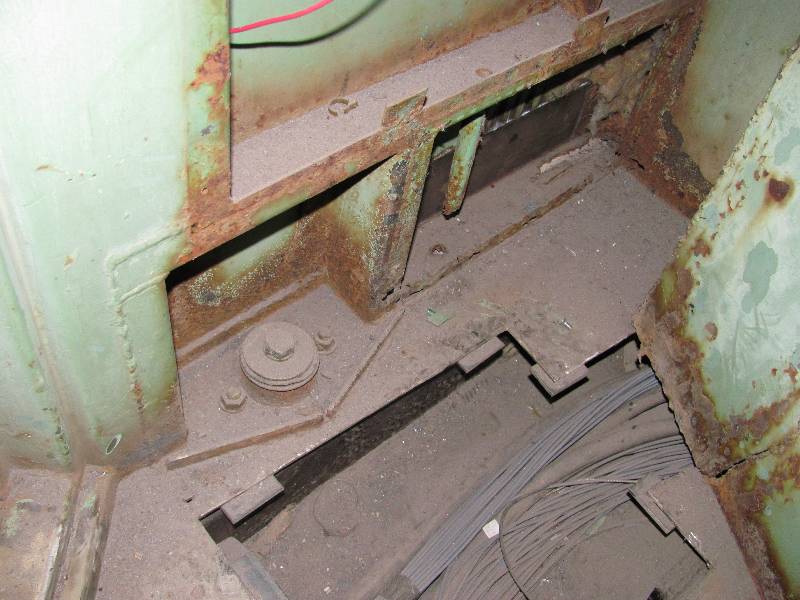
There was one interesting little discovery found in the bottom of the area where the crank-up window resides. There is a drain tube in the bottom of the are which leads - nowhere! Rather than have it go though the frame directly below, it apparently just dumped into the area formed by the bottom of the cab wall. This pretty much destroyed the bottom of the cab wall in this area so a proper drain was installed through the frame.
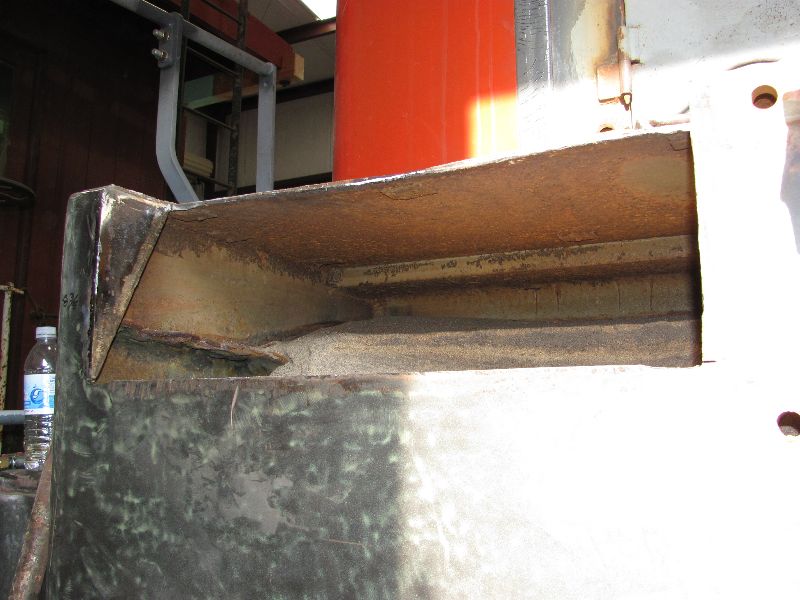
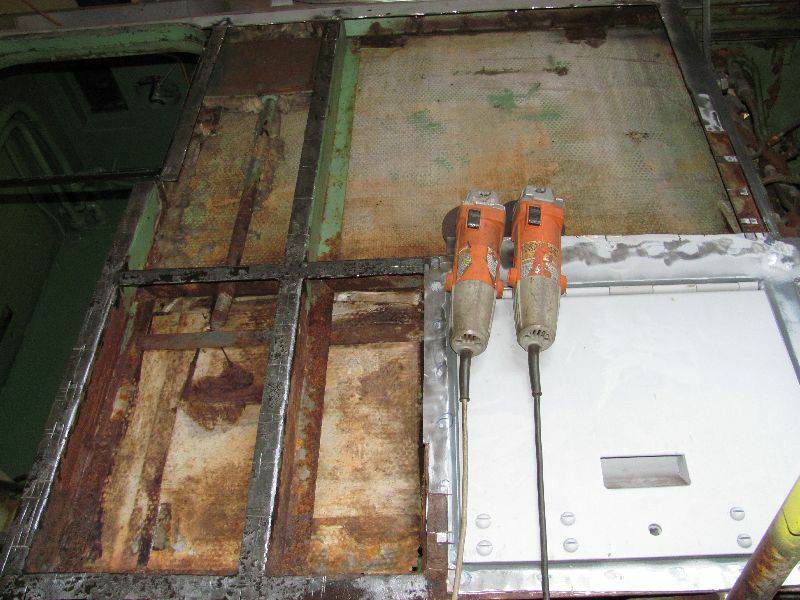
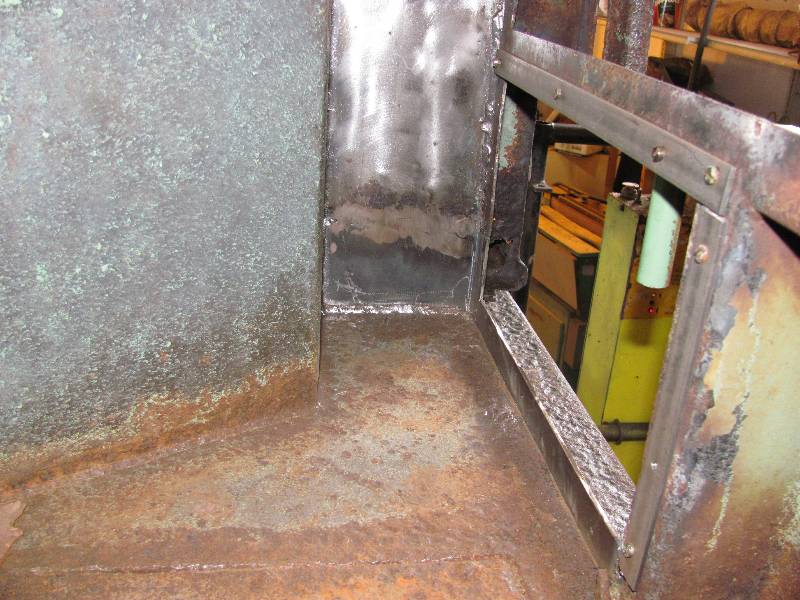
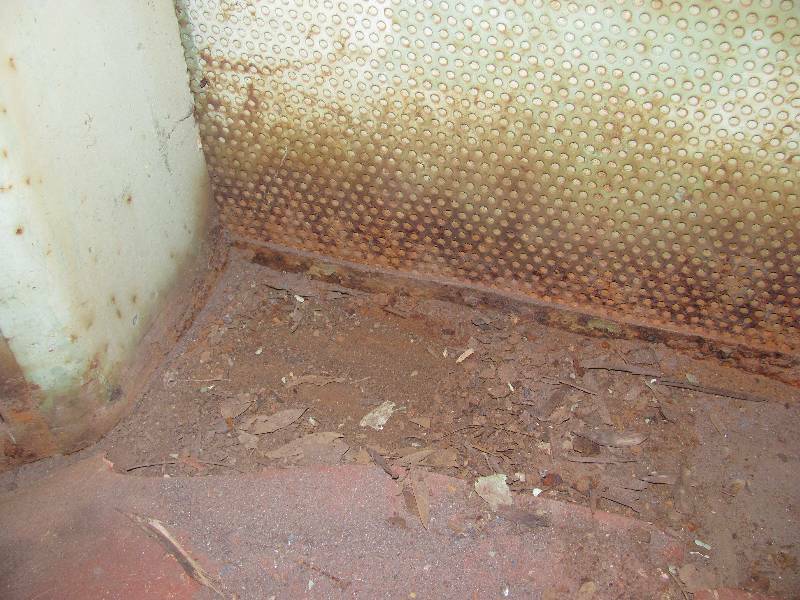
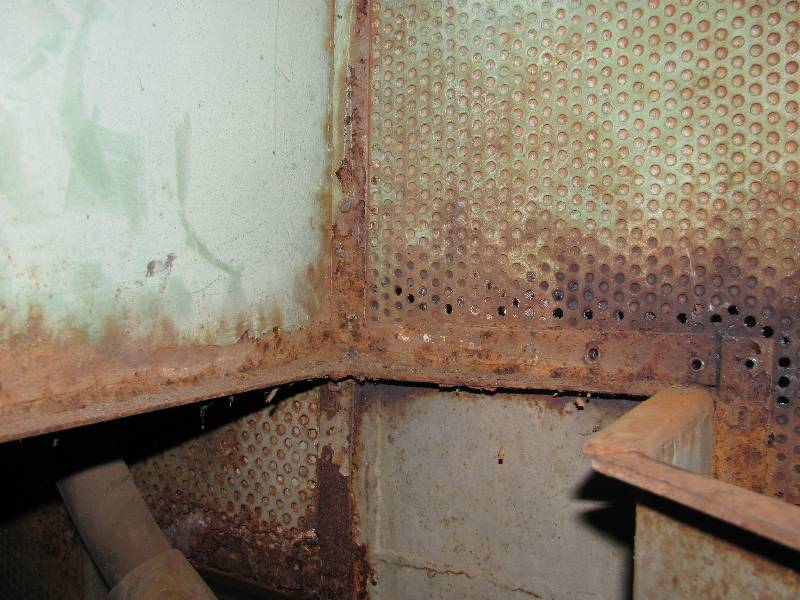
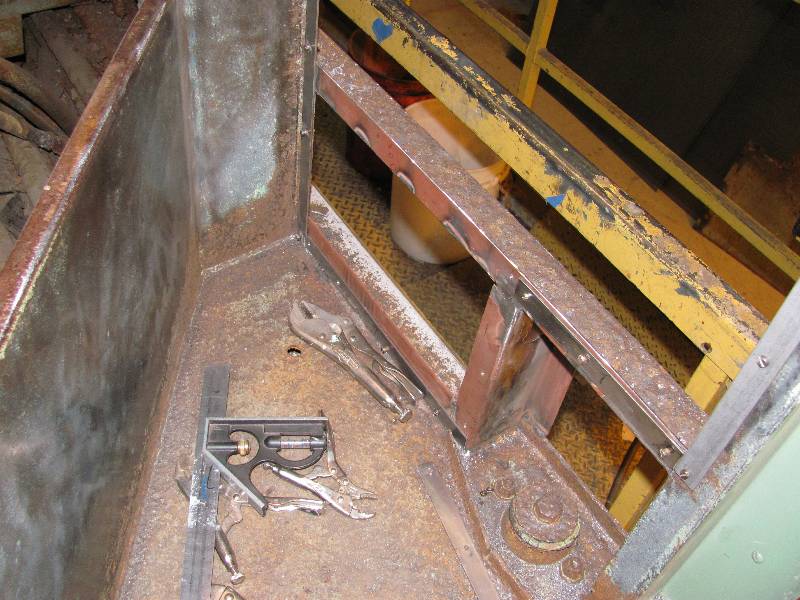
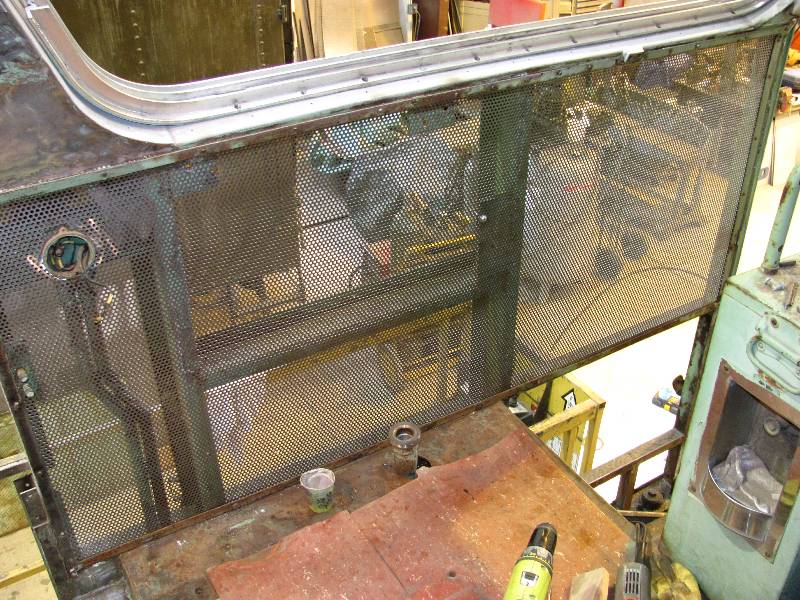
It was also discovered that some of the framing to which the interior perforated metal mounts down in the step well was rotted away. The perf metal was also destroyed so all new parts were fabricated and test fitted.
Removing the perf metal to replace rotten battens should not be any big deal but, part of the large piece was located behind part of the brake stand. It had to come off so the brake stand was cut off and removed.
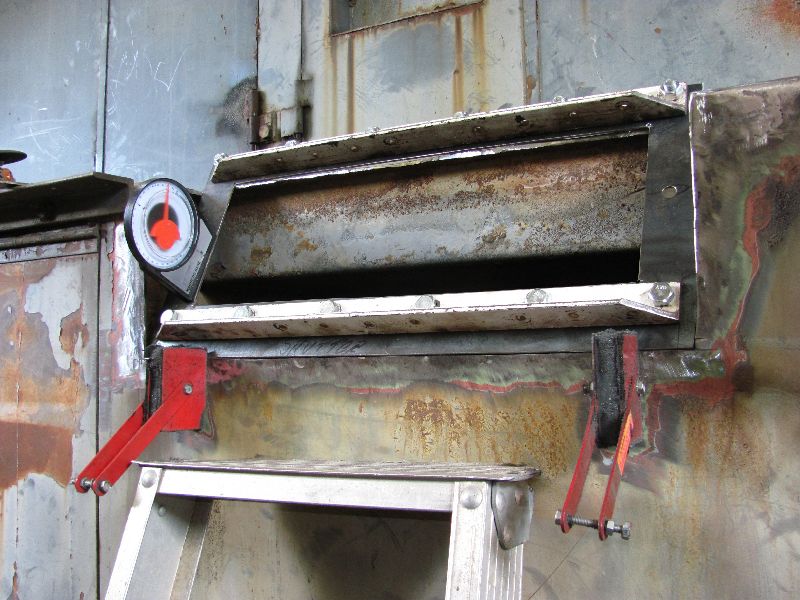
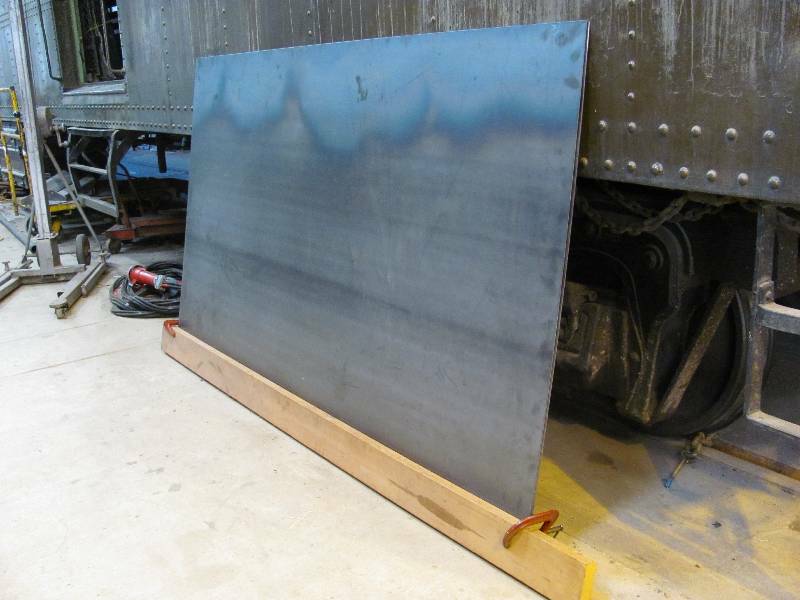
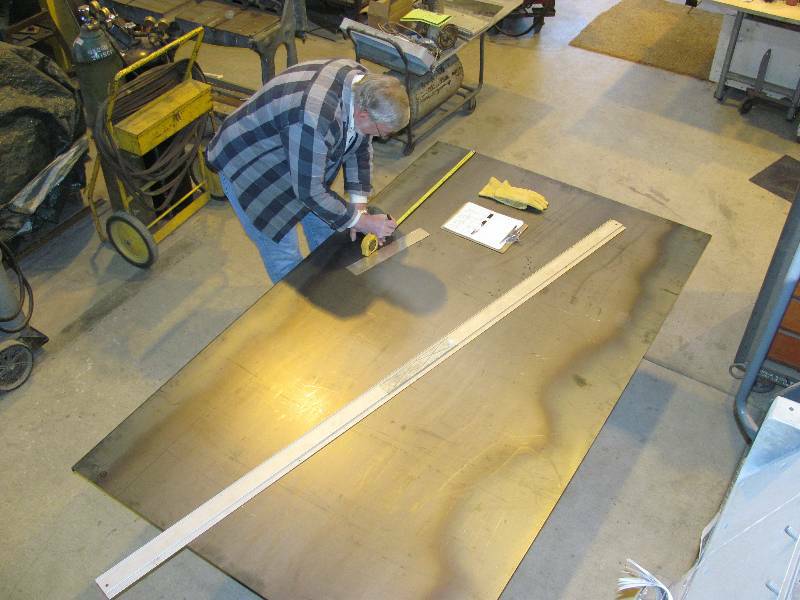
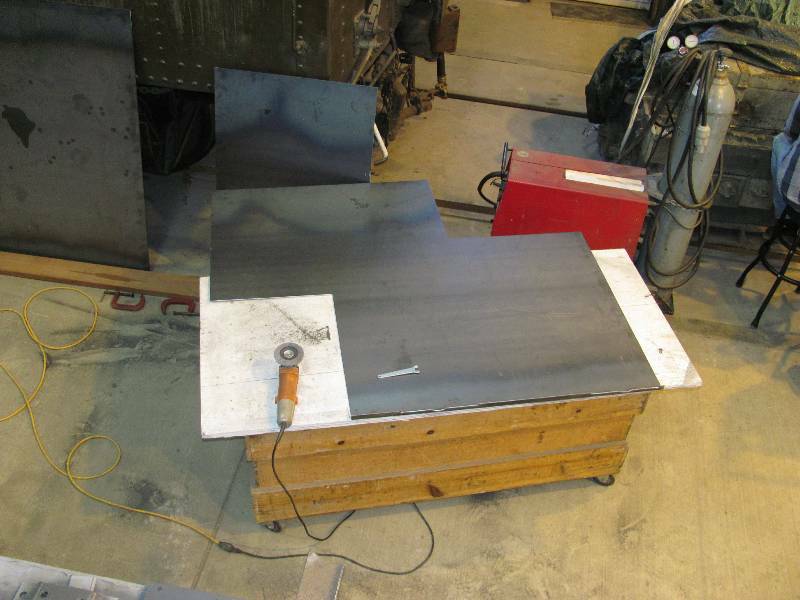
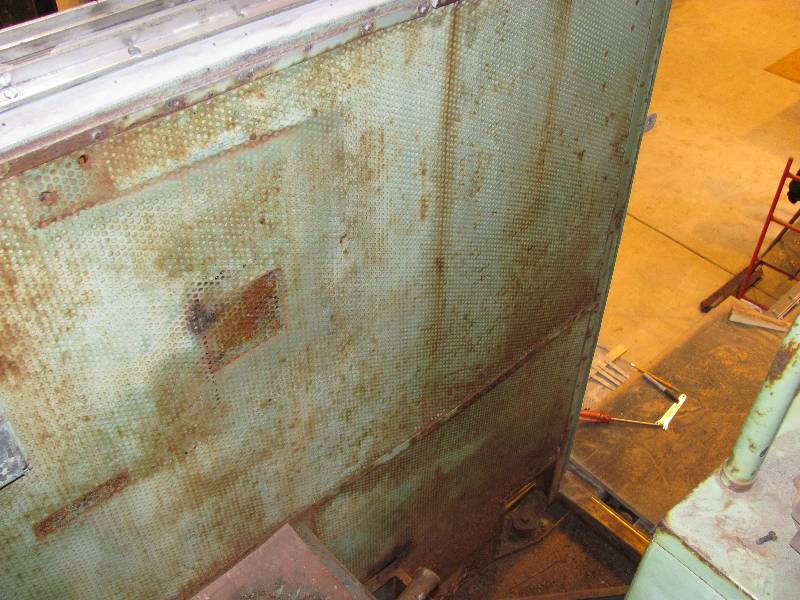
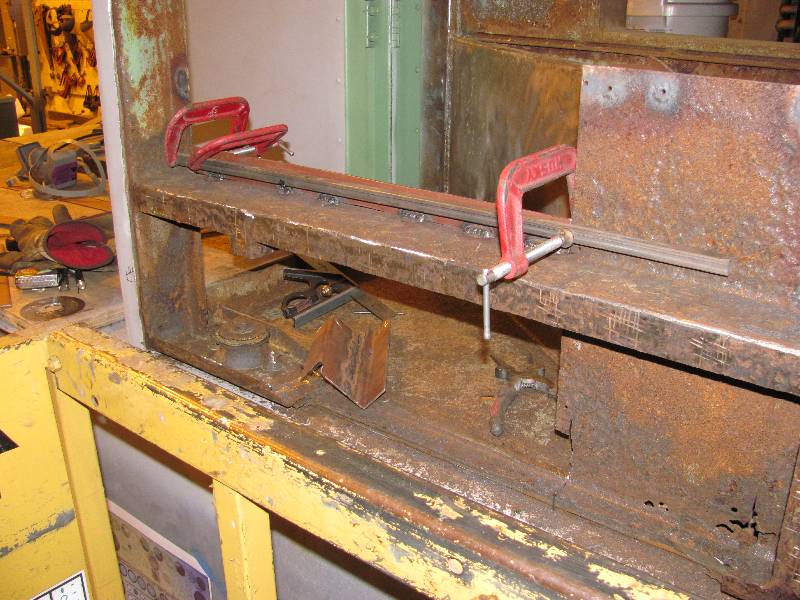
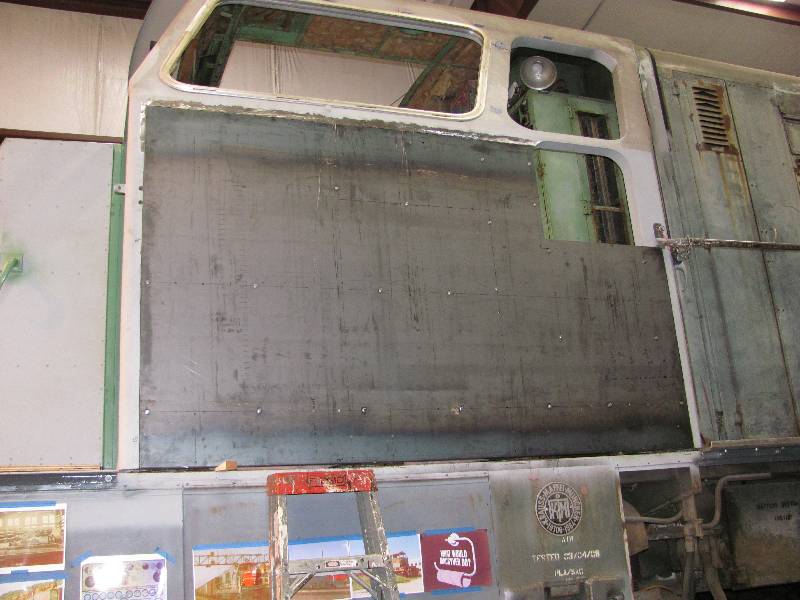
Two new 5 by 8 foot sheets of 11 gauge steel were purchased and we had the bottom edge formed to duplicate the radius found at the bottom of the cab wall. Bill took on the job of drawing the cab framing layout on the new metal so we could drill holes in the sheet for temporarily screwing it to the framing and for the plug welds that would bond it to the frame. Once everything was marked, we cut out the unnecessary metal, cleaned up the edges, and put it in place for a trial fit.
Holes were drilled every 6 inches or so to bolt the new side to the framing and then more holes were drilled between the bolts. These holes only go through the side and were used for "plug" welding the new side metal to the frame. Once the plug welding was done, the bolts were removed and these holes welded closed.
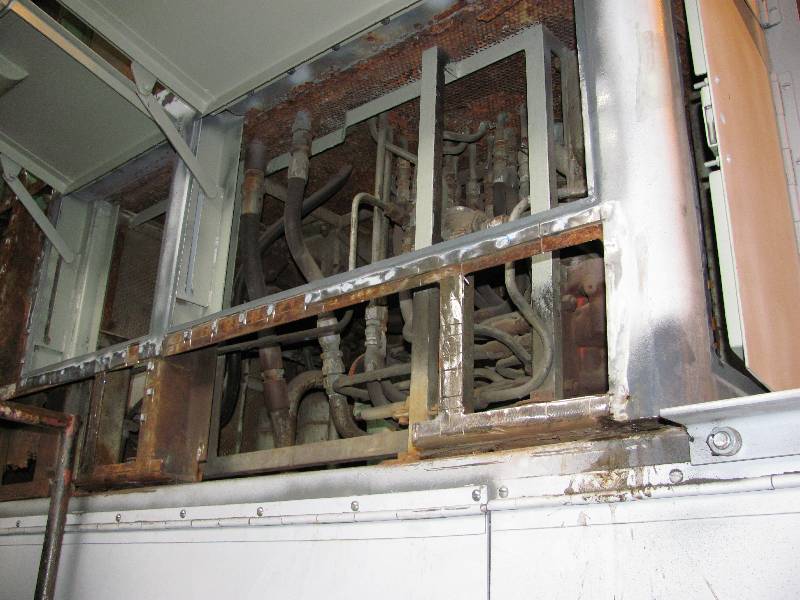
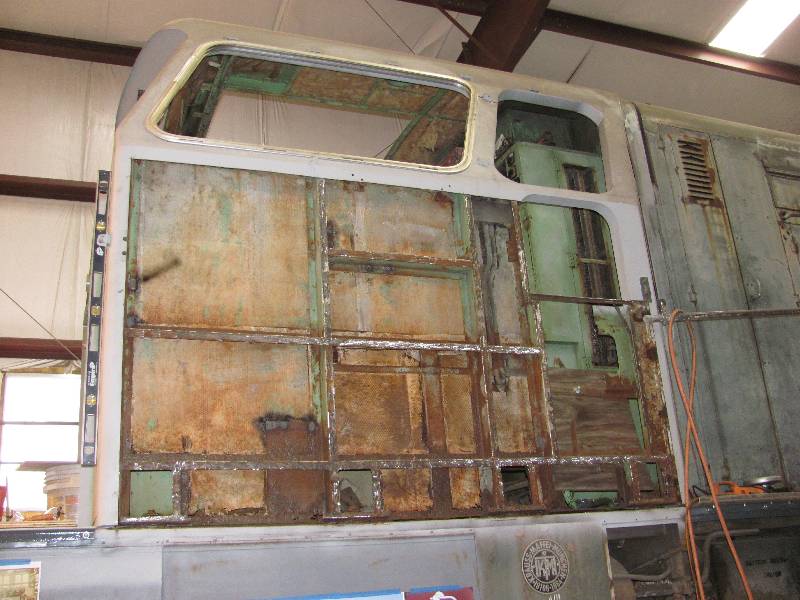
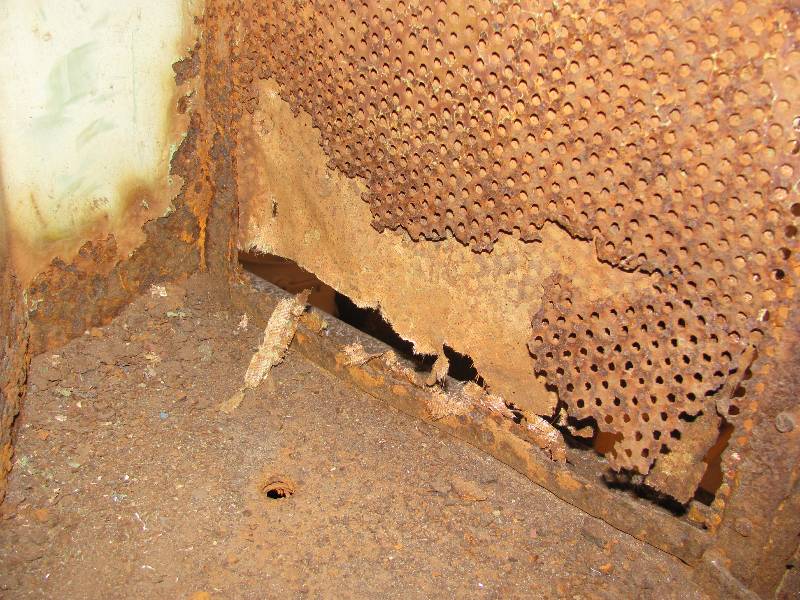
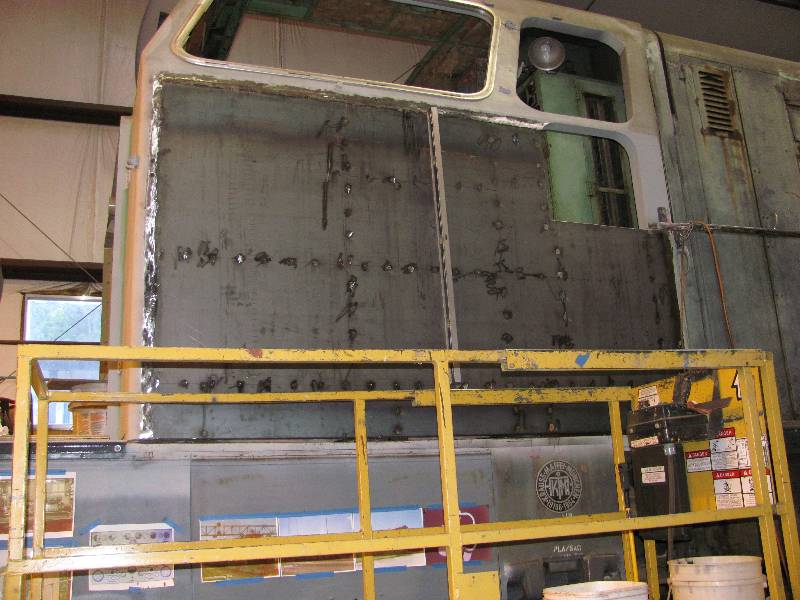
-- Update February 27, 2012 -- And in due course, it became time to tackle the other side of the cab. All the gory details have been covered in the last update so here are some photos of the damage.
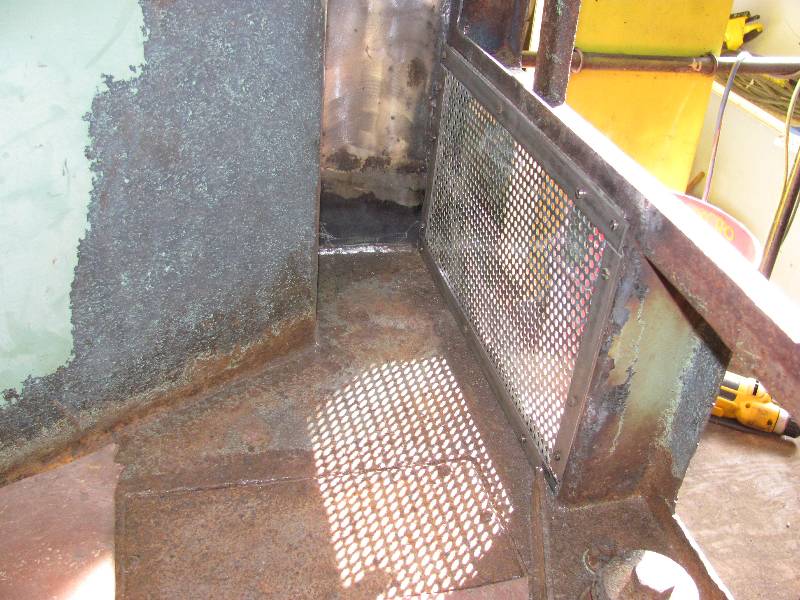
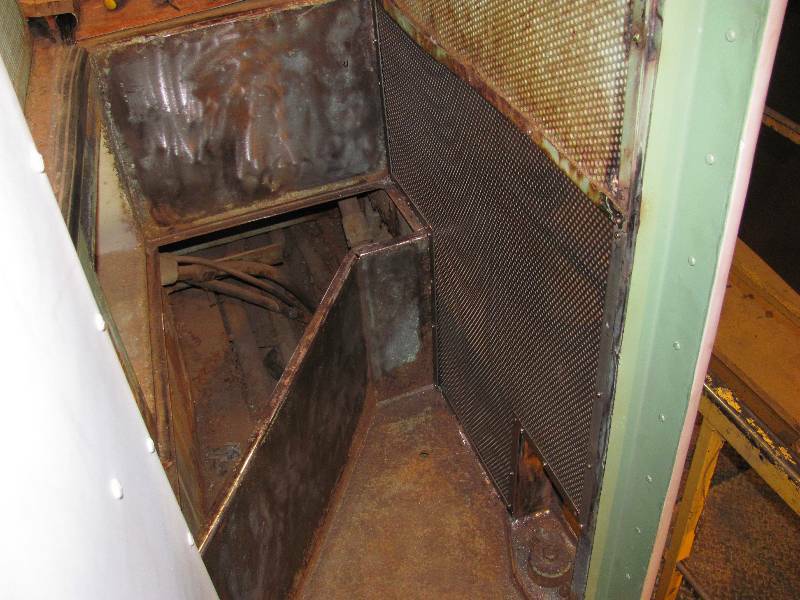
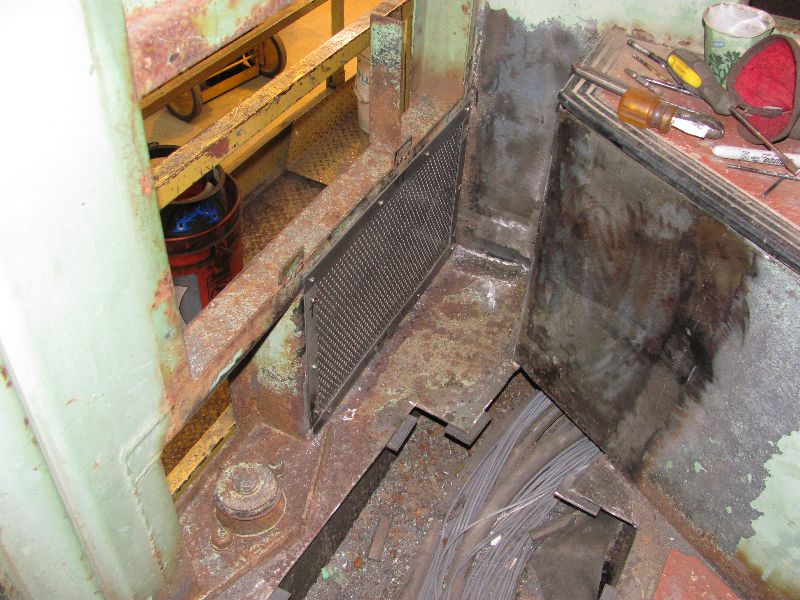
And of course, just as on the Engineer's side, there is plenty of rot on the inner panels, the repair of which benefits from the lack of an outside wall. While these photos more properly belong in the "Cab" section, the repair is part of the outer wall work flow. Eventually, all the rot was cleaned up or replaced and new battens and a new perforated metal panel were made and fitted.
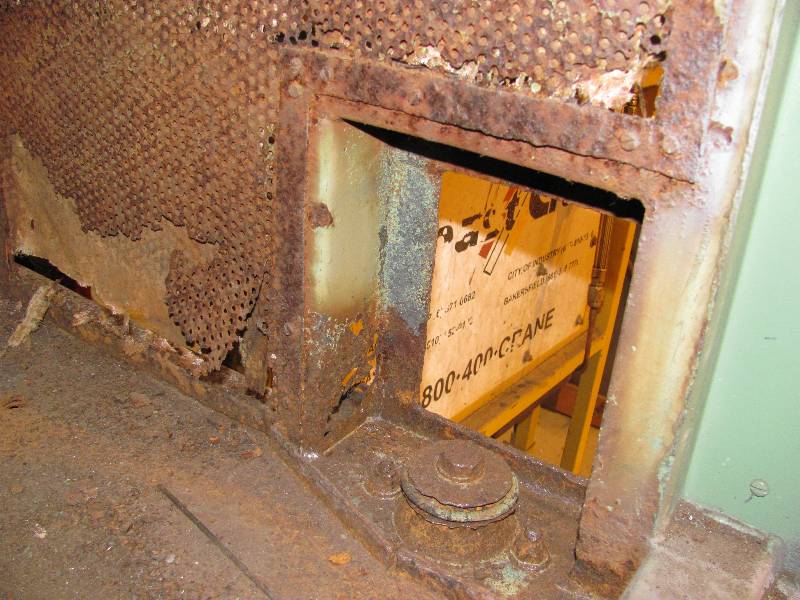
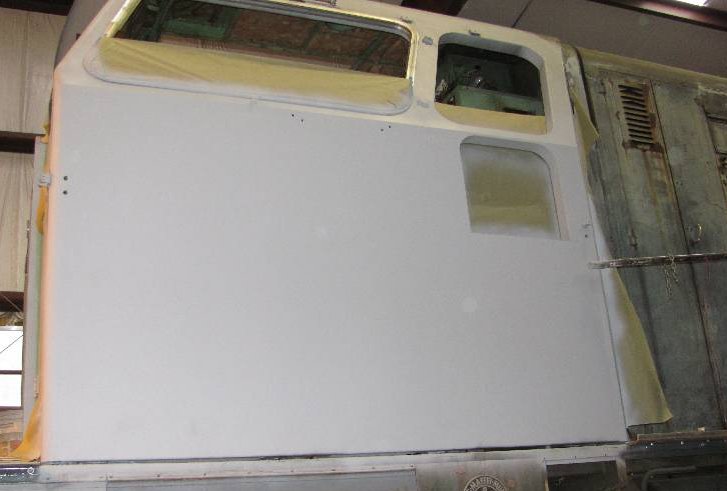
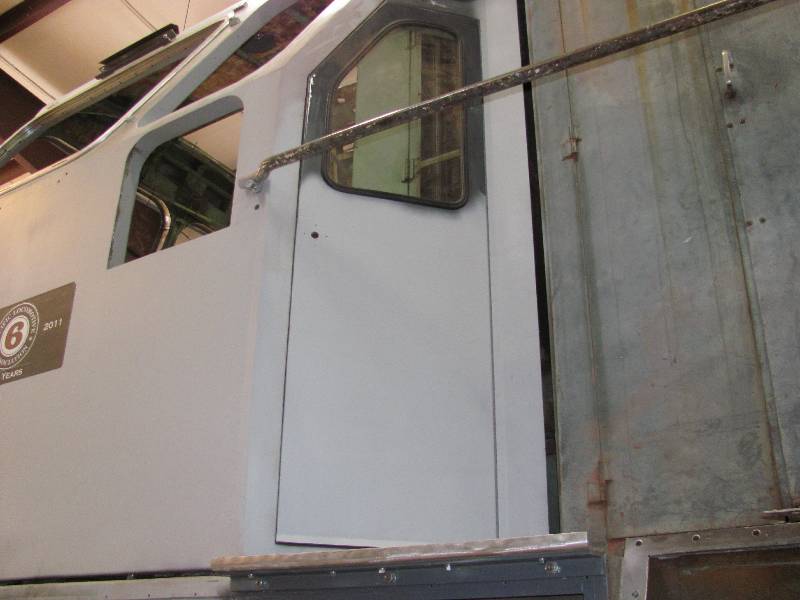
The rear step well on the fireman's side also had problems which were more easily repaired with the outside wall removed. It had the same issues as the front step well and was cleaned up in a couple of days. I also took the opportunity to remove the upper piece of perforated metal and clean up all the broken screws and rusty areas behind the wall. The replacement perf piece was fitted and readied for installation. And then, to return to the subject of this part of the web site, Bill and I installed the new cab outer wall and welded it into place. A coat of epoxy primer on both cab sides prepared us for body filler work on the welds.
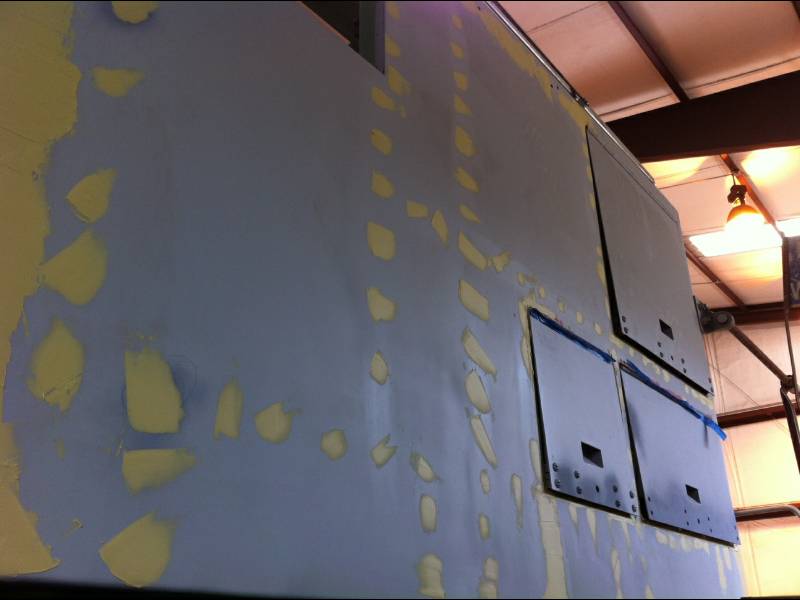
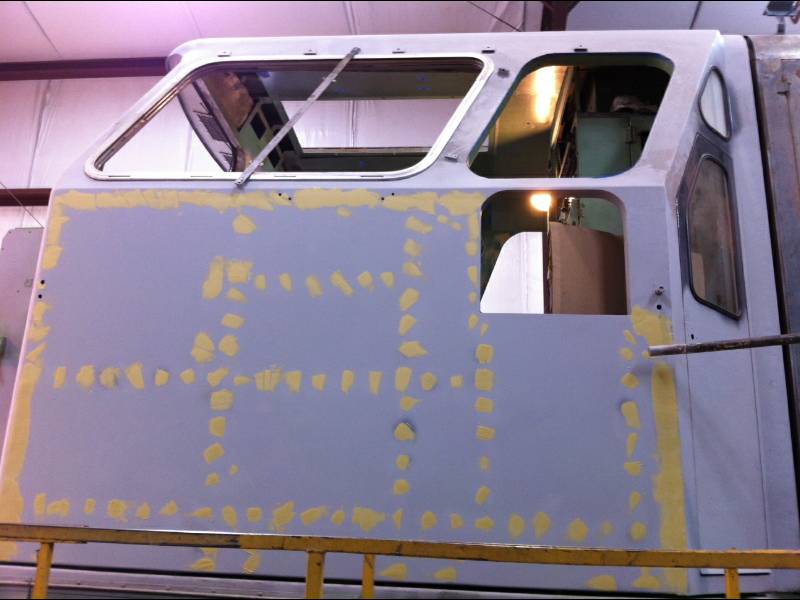
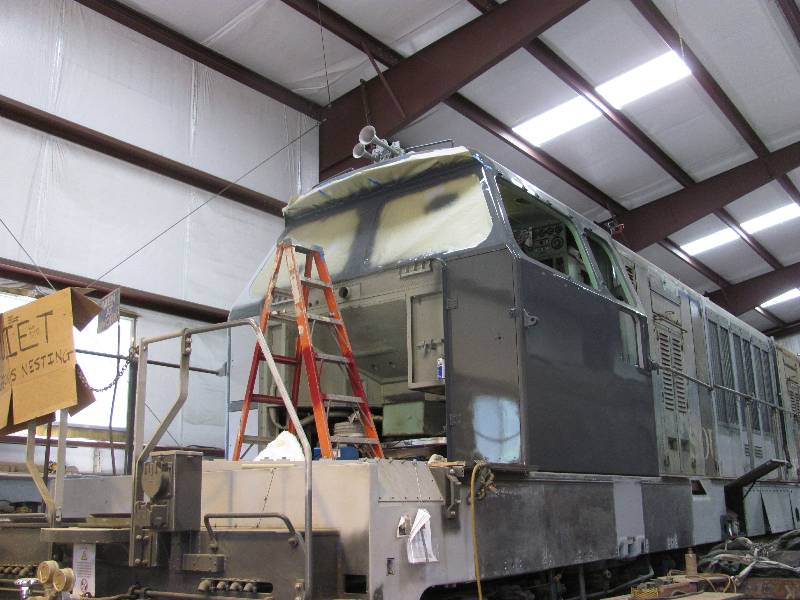
-- Update March 30, 2012 -- Work turned to finishing the rest of the cab exterior. Body filler had been applied to the "brow" over the front windows but never sanded so that job was completed along with primering the rest of the cab roof. The lower half of both rear cab doors were also cleaned and primered.
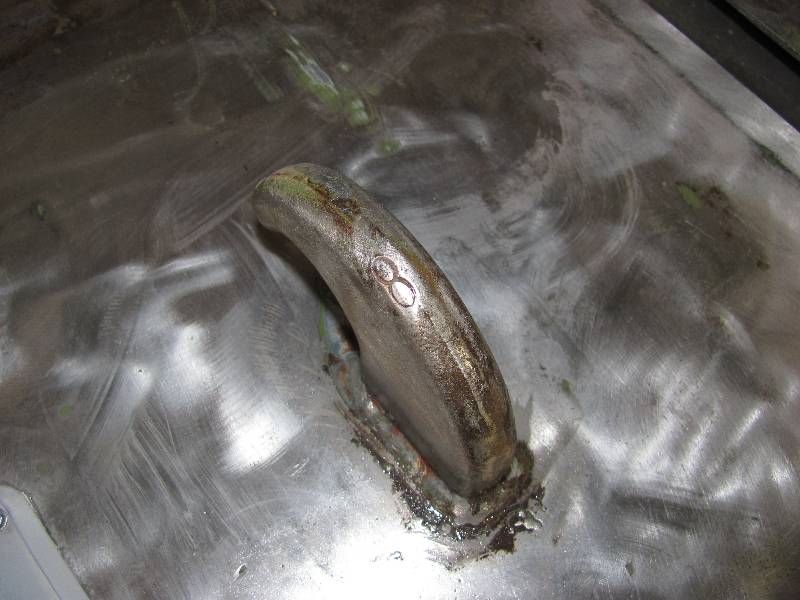
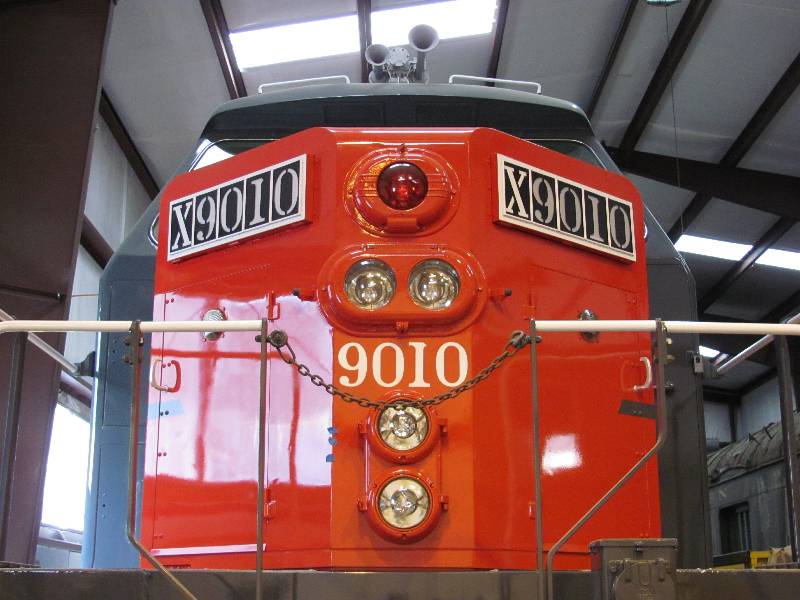
When the 9010 (9113) was converted into the camera car, the front pair of lifting hooks were torched off along with the grab irons next to them. I replace the front hooks a while ago but had never looked at the rear hooks. While cleaning them for painting, I noticed that they are both stamped with the number "8", something that we have seen before in other places on the locomotive. The 9010 was the eighth locomotive off the production line and numbering the parts and assemblies was probably an accounting issue.
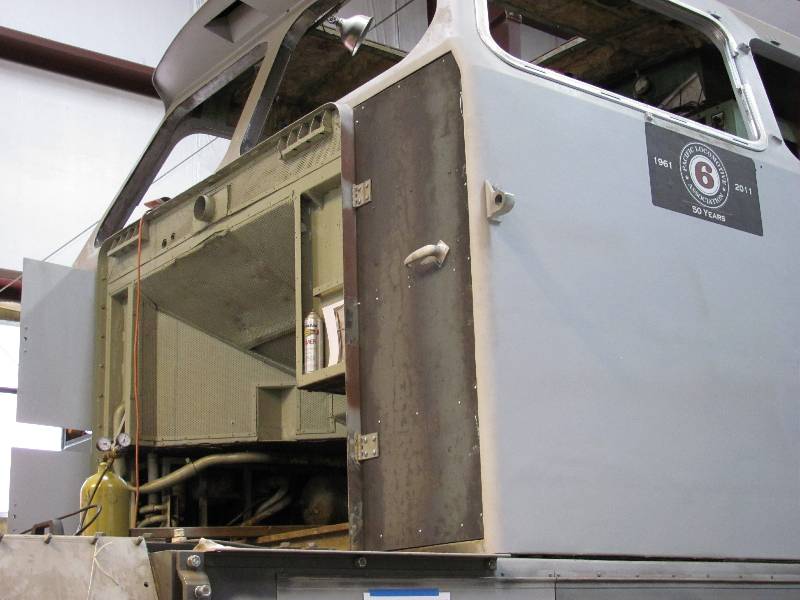
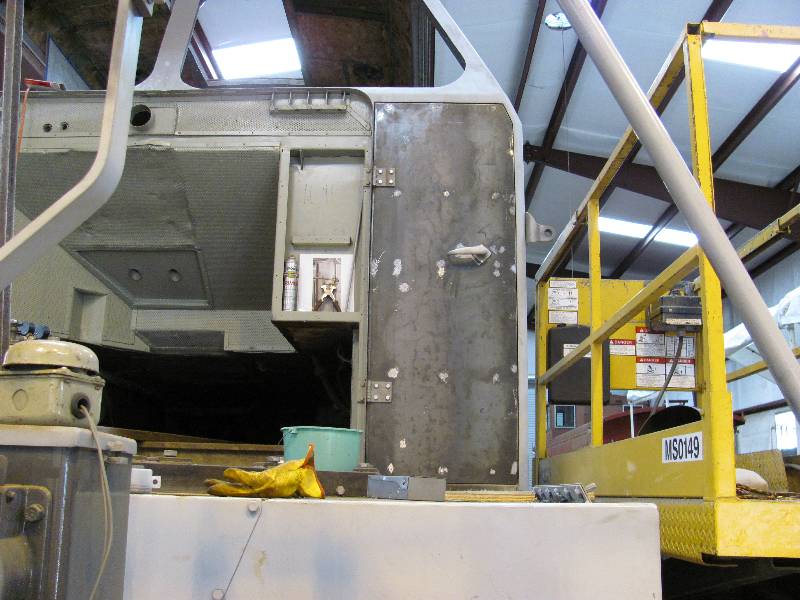
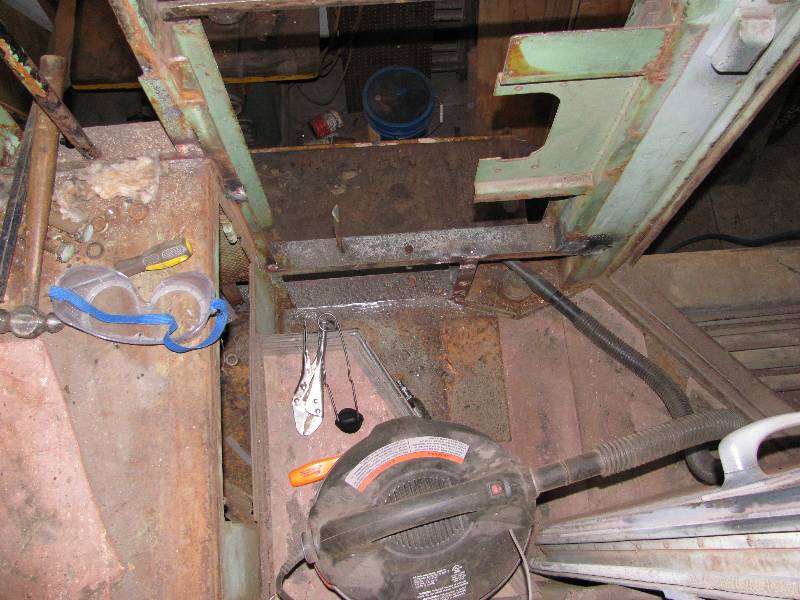
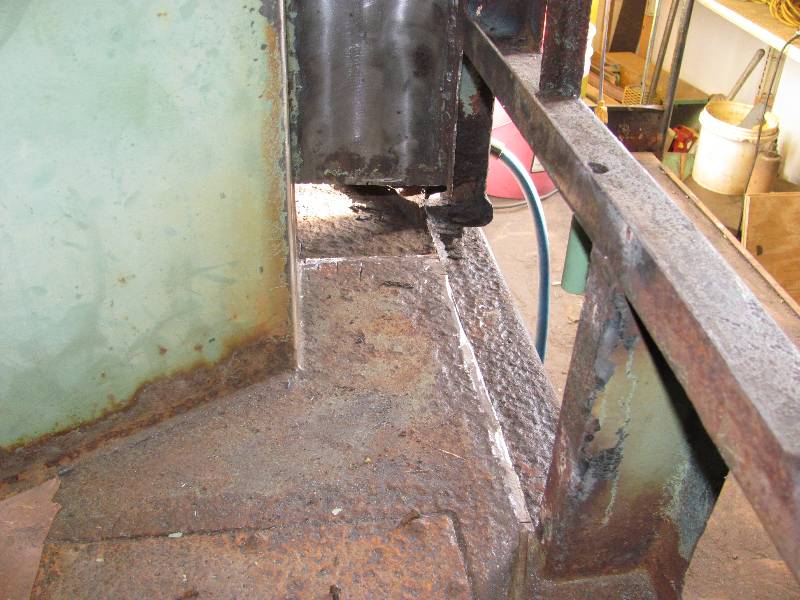
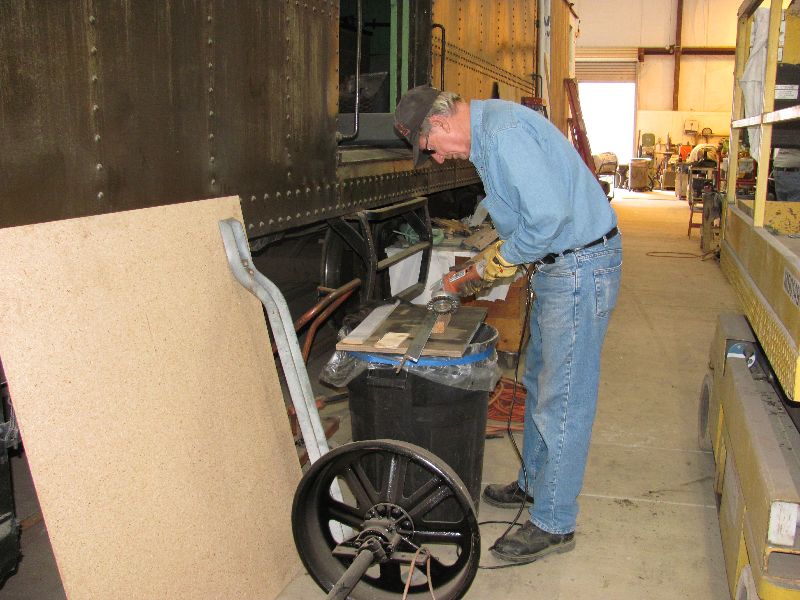
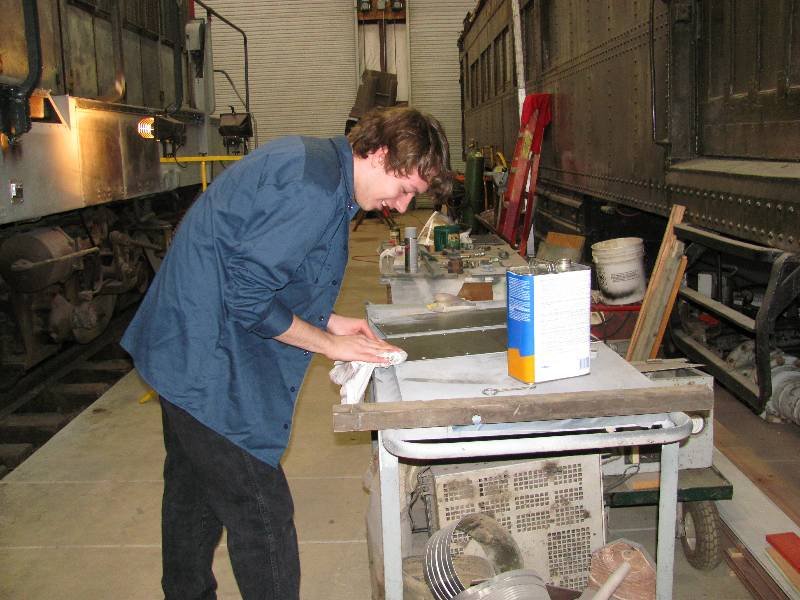
-- Update April 24, 2012 -- Rich has been keeping busy on dirty jobs like preparing the cable conduit channels for coating and cleaning up the right rear step well. This is the last of these and it is great to have it cleaned, primered and ready for paint. Thank goodness that Rich is willing to take on these thankless jobs.
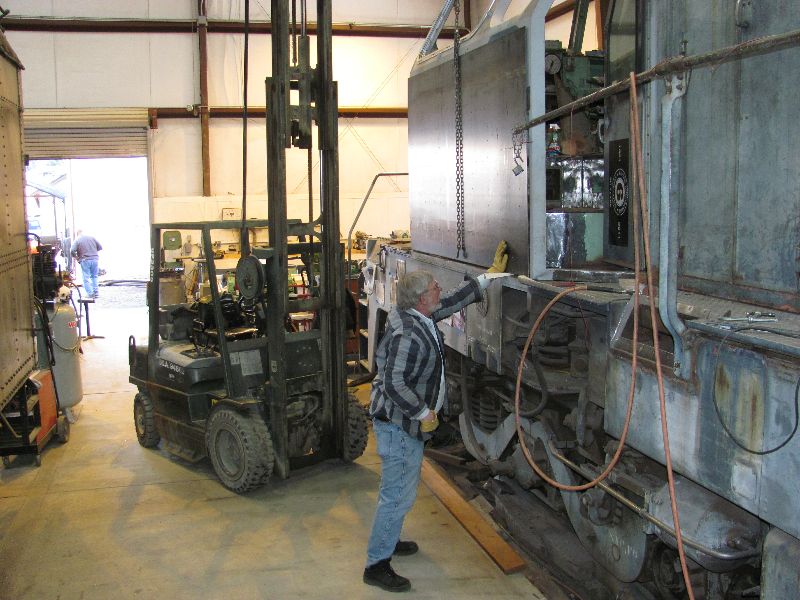
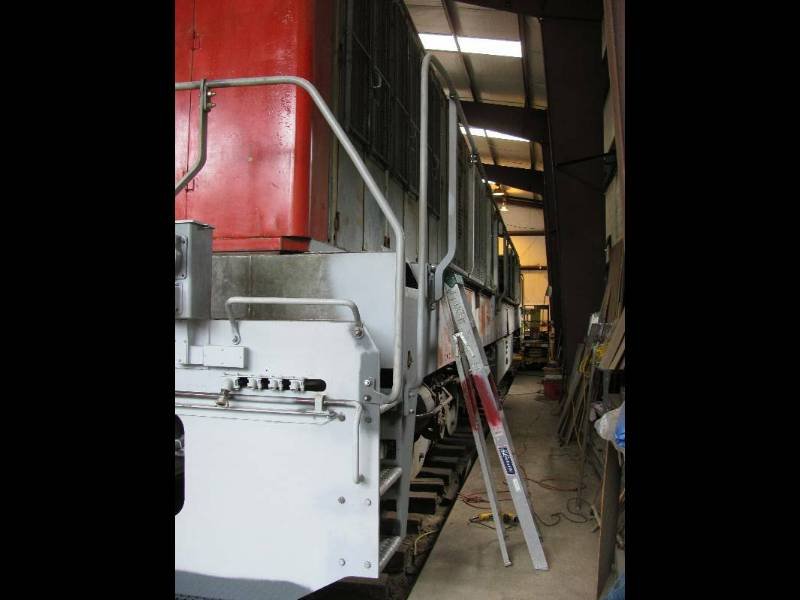
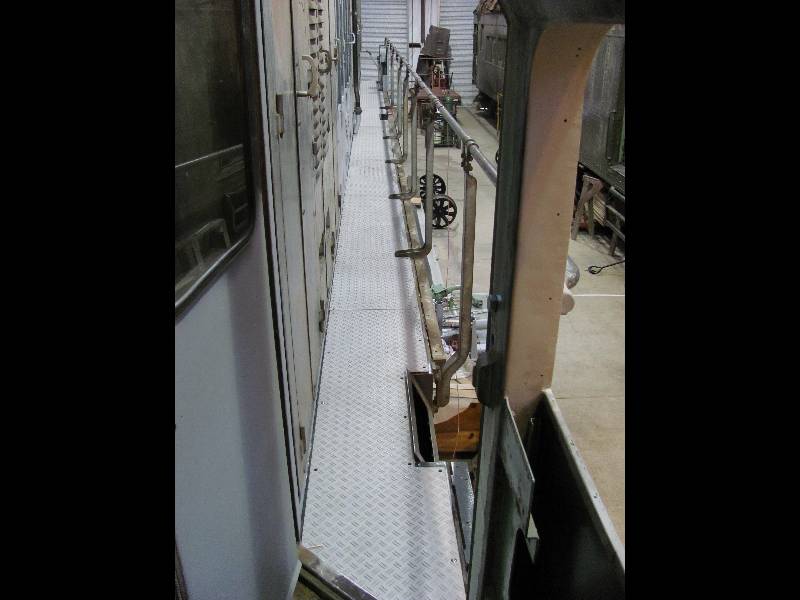
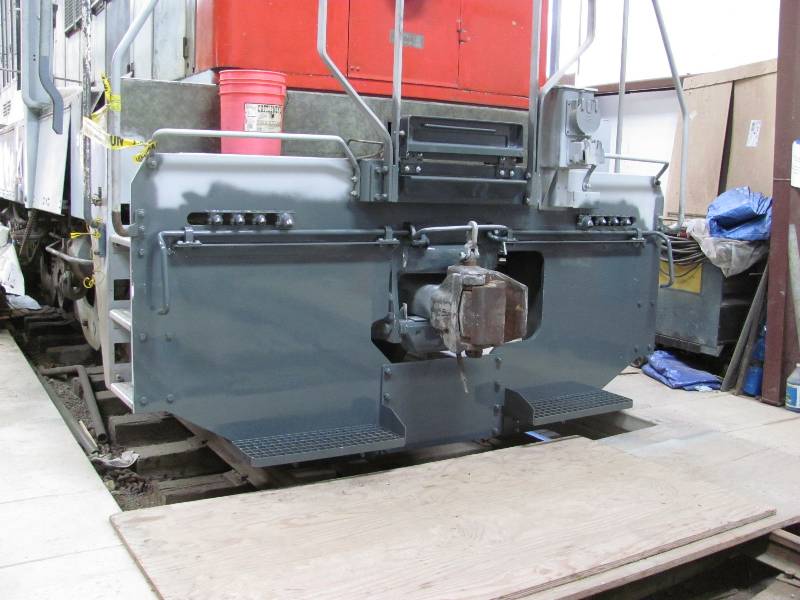
We took the 9010 outside the shop
and blew off all of the accumulated dust and dirt. With the
walkways cleaned, we were able to reinstall the freshly cleaned walkway
tread plates. They will be covered with sheets of plywood in
order to keep them clean and free of grease and paint stripper.
--
Update May 04, 2012 --
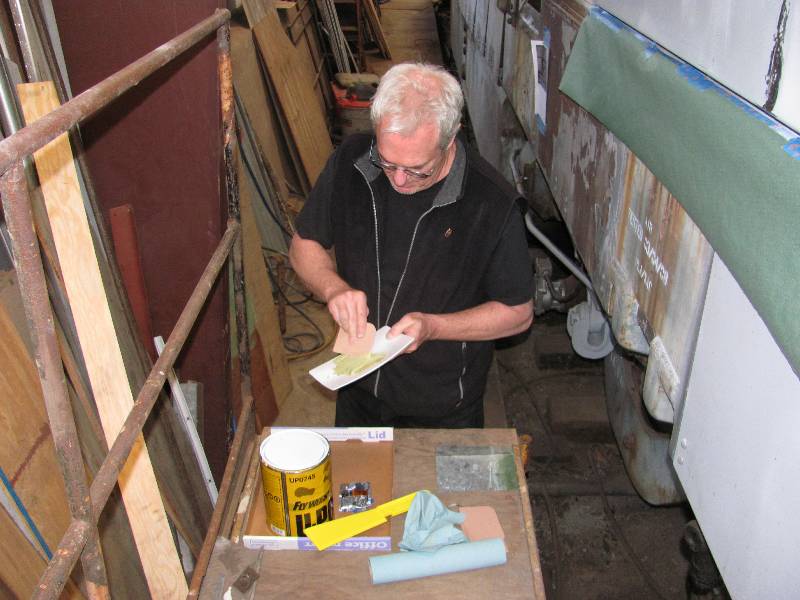
Bob Zenk made his spring pilgrimage from Seattle this past week. He spent nearly every waking moment working cleaning up my welds on the new cab side sheets and some other defects in the cab surface. It is always good to see Bob and his expertise with body filler and sand paper are greatly appreciated.
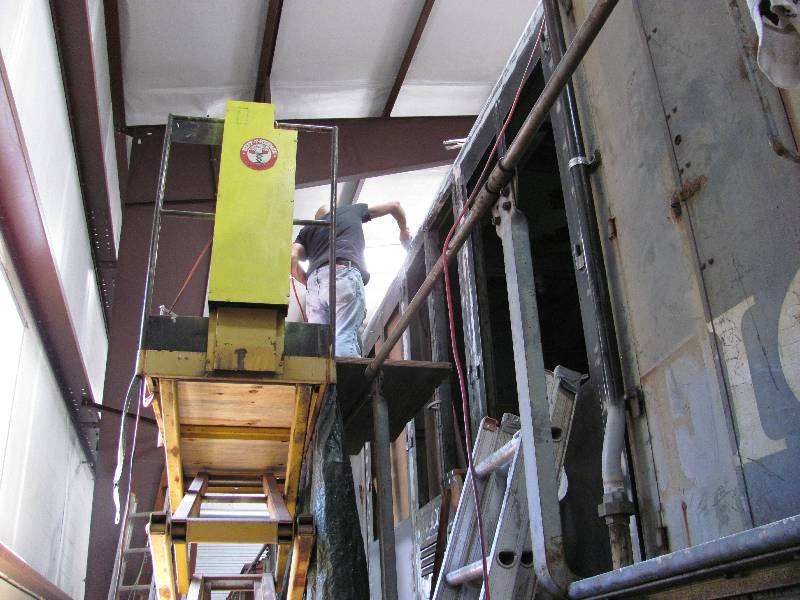
In the background of the last photo above
can be seen Dan Furtado
working on the frame doors. He has been busy stripping layers
of paint, body filler and primer. We dislike taking them down
to bare metal but their condition forces us to. The surfaces
range all the way from nearly pristine paint to bare rusty metal.
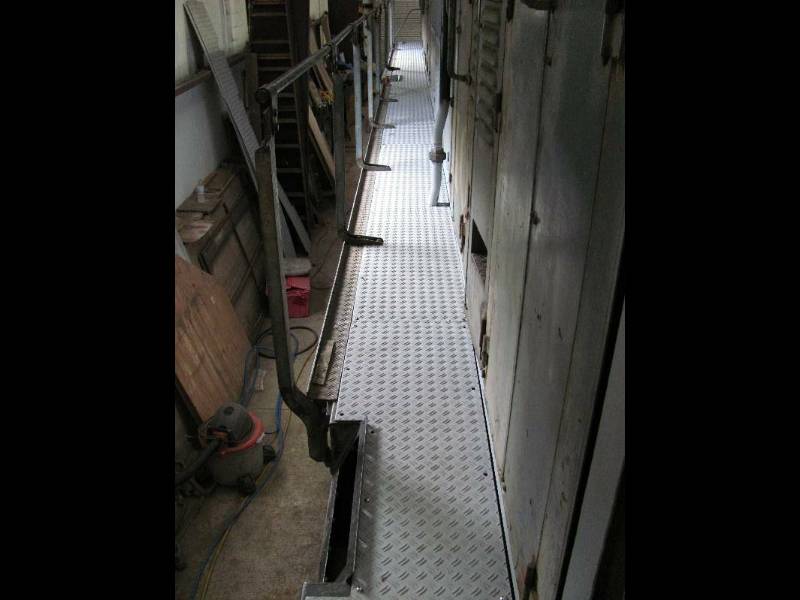
Rich
has started cleaning the parts of the walkway extensions.
This
involves removing the extensions and the support angle irons, cleaning
the steel parts, applying rust converter and primering them.
The
extension pieces will be bead blasted before reinstallation.
--
Update June 12, 2012 --
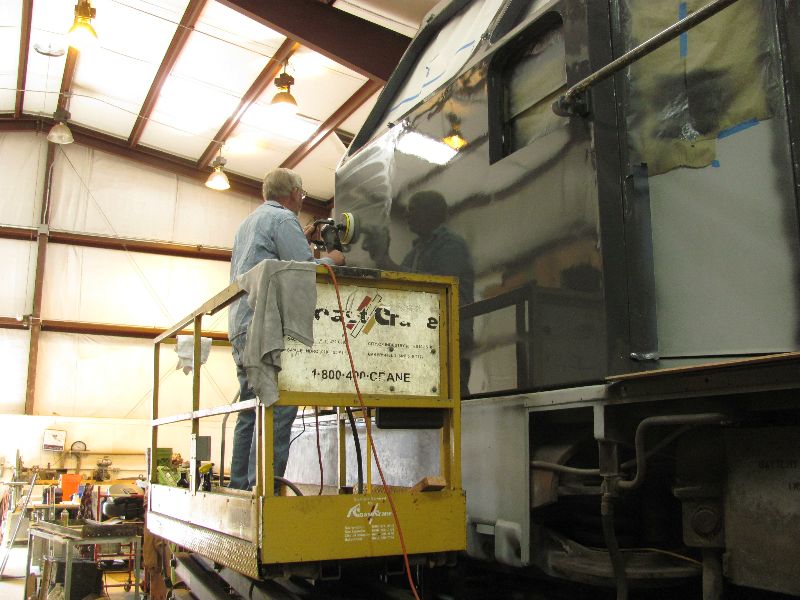
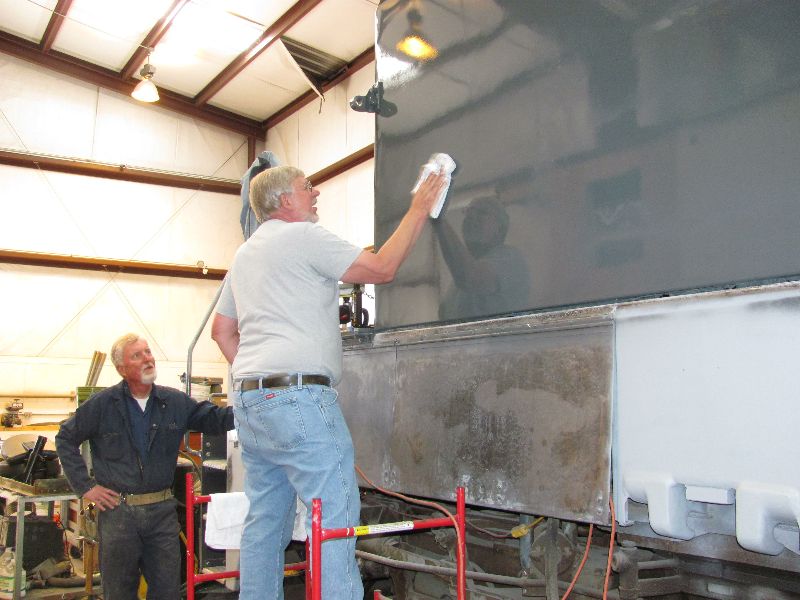
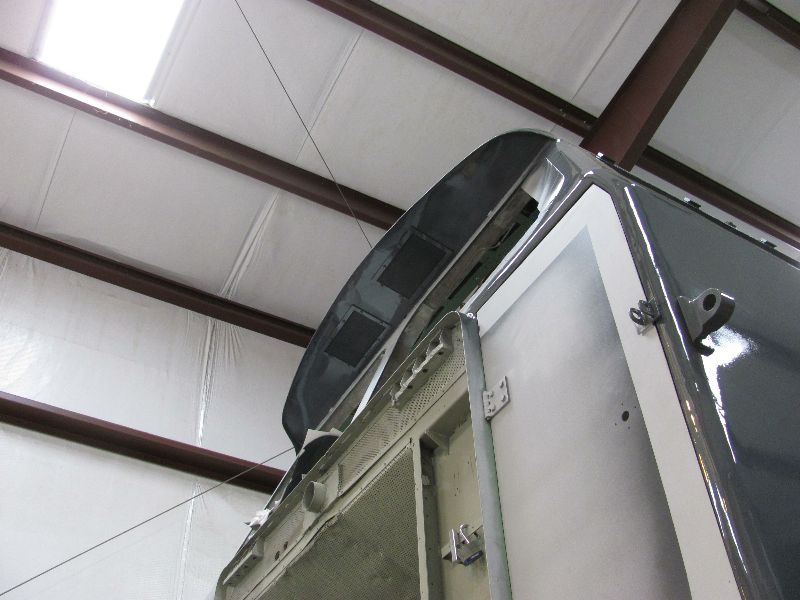
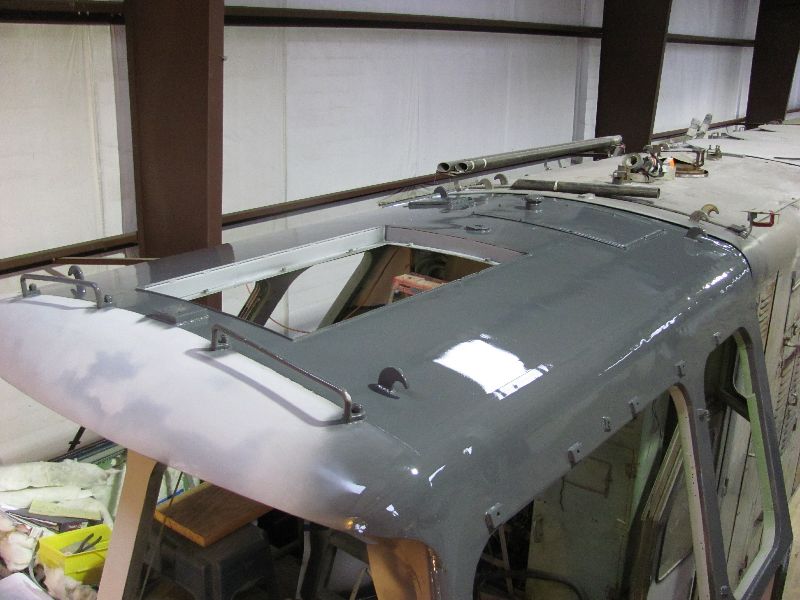
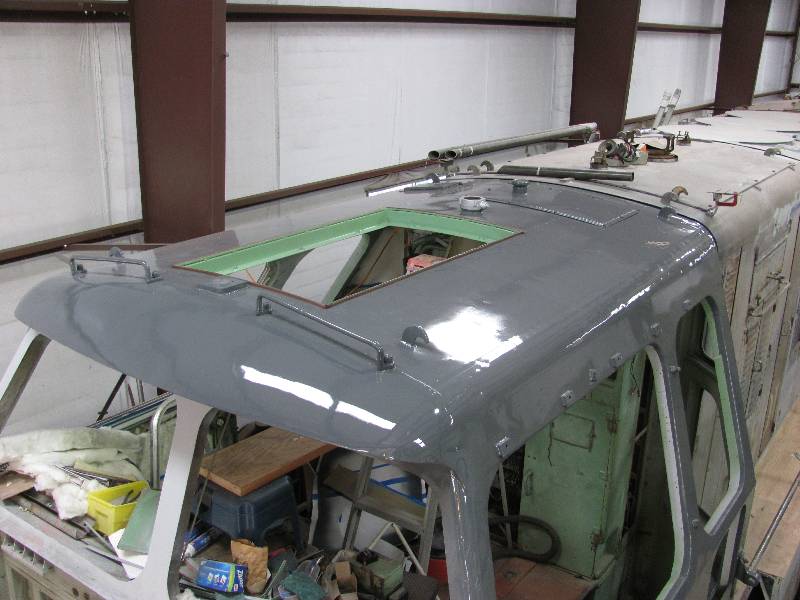
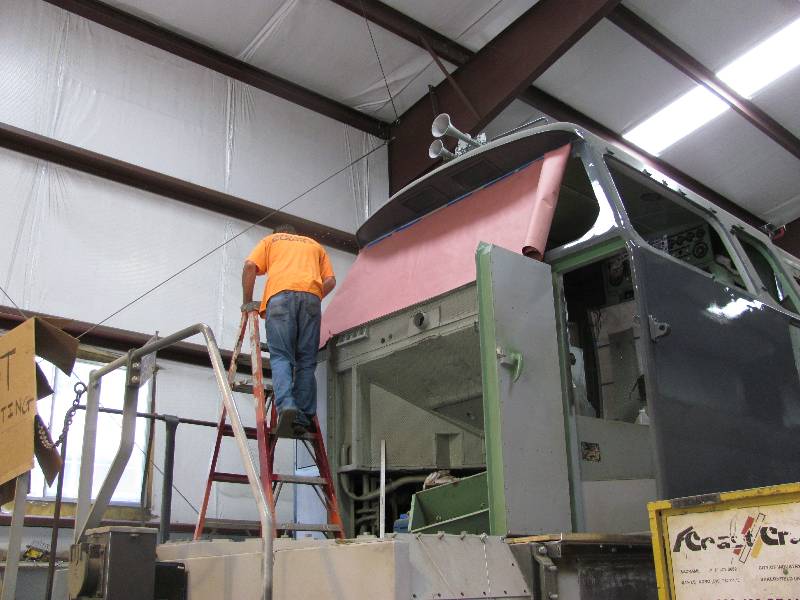
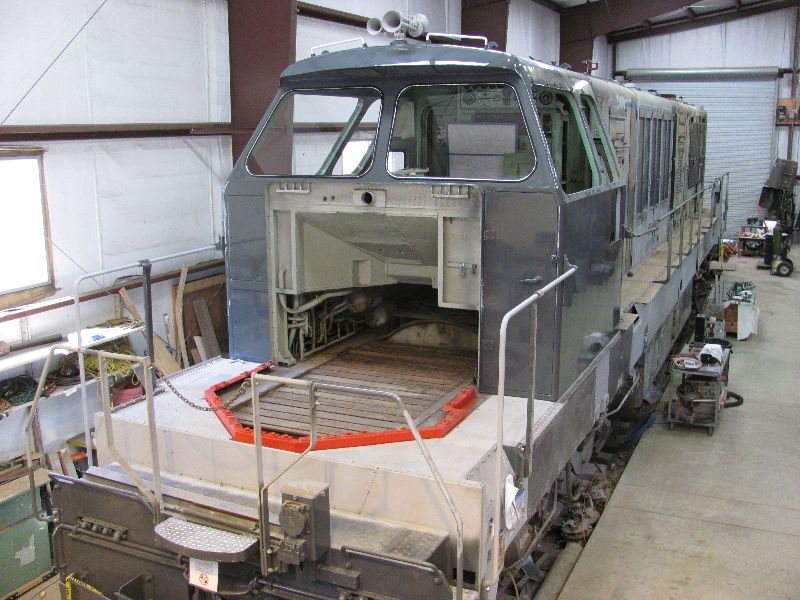
Painting the cab has started. We put two coats on the left side of the cab and used the leftover paint to shoot part of the rear end. A bit later, Bill started smoothing the paint with a very fine polishing compound. Next came the underside of the brow over the front windows. It was fun to put the vent screens back on and know that they would stay there.
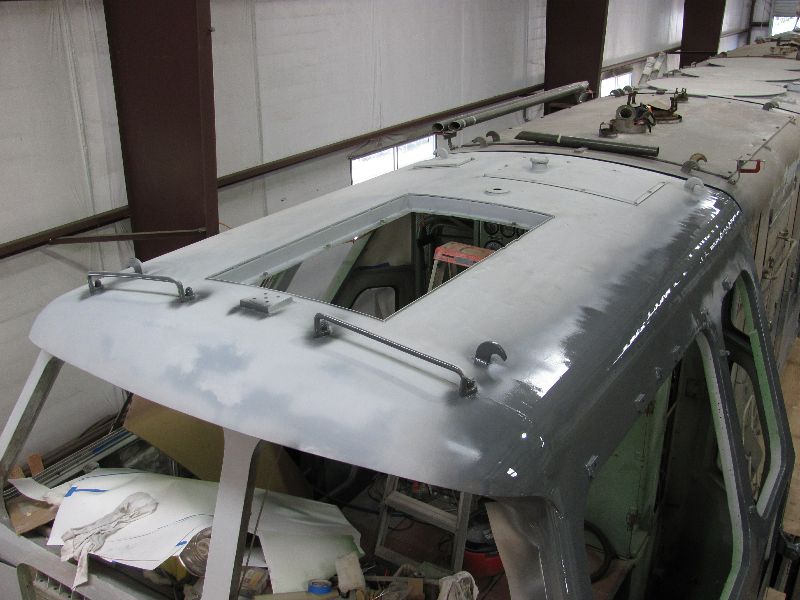
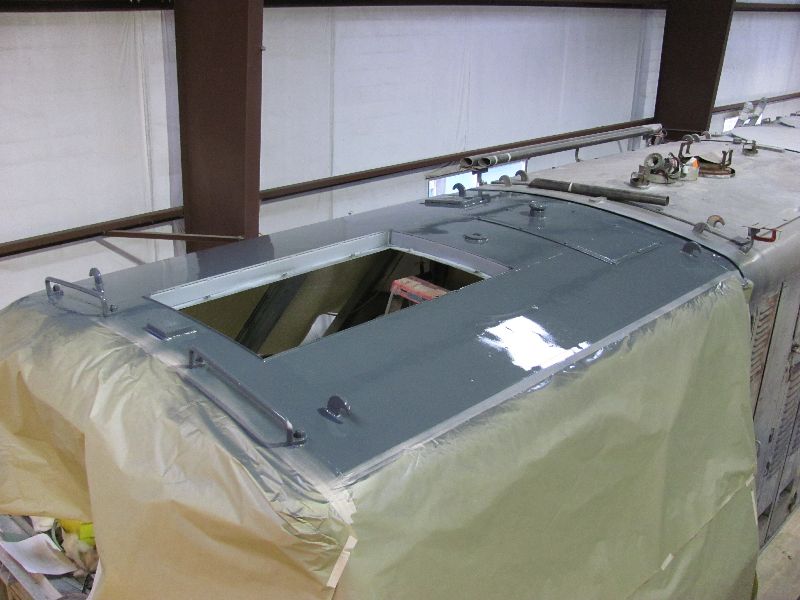
Painting the top presents
interesting problems. Because of its size and the need to
move around while painting, it was necessary to paint it in sections in
order to avoid excess overspray. This section was done while
standing on a platform erected below the hatch opening. Once
the top was completed, the front door area came next. Then,
the
hatch was completed, hoisted up into place and bolted down.
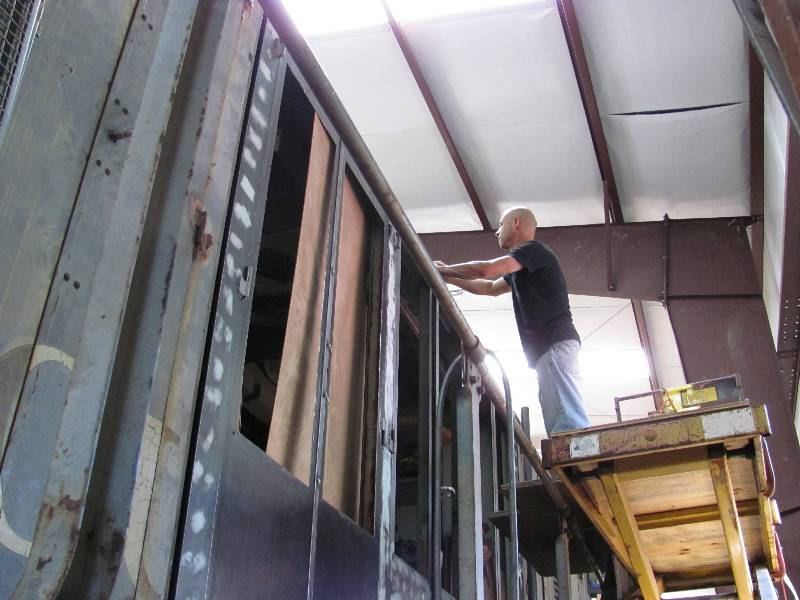
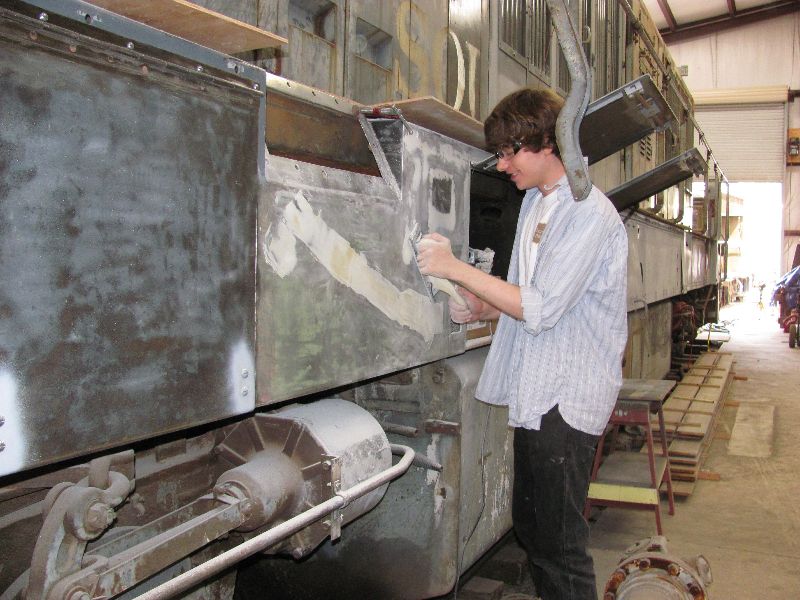
Work
on the left side frame door
area continues with CJ Carlson from the steam group lending a hand
while out of school for summer vacation. Meanwhile, Bill has
taken on the task of rebuilding the remaining engine cooling shutter
assemblies.
--
Update September 14, 2012 --
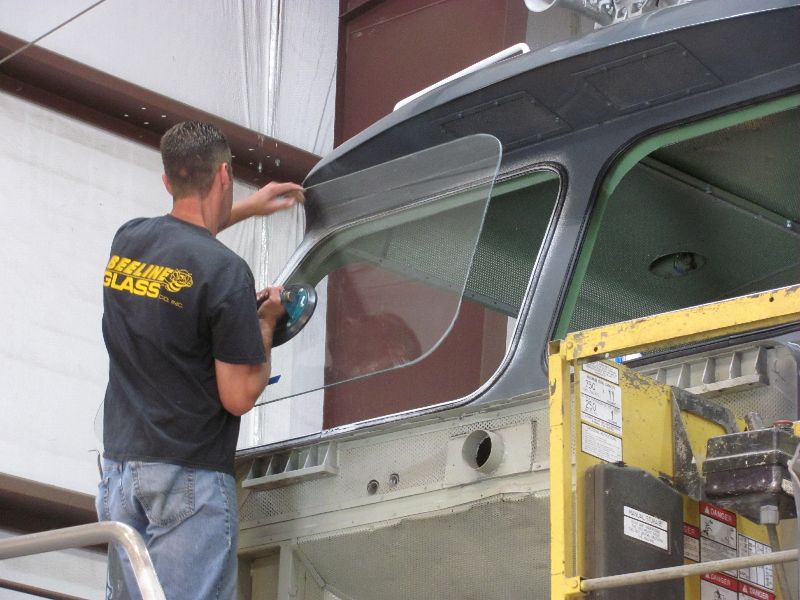
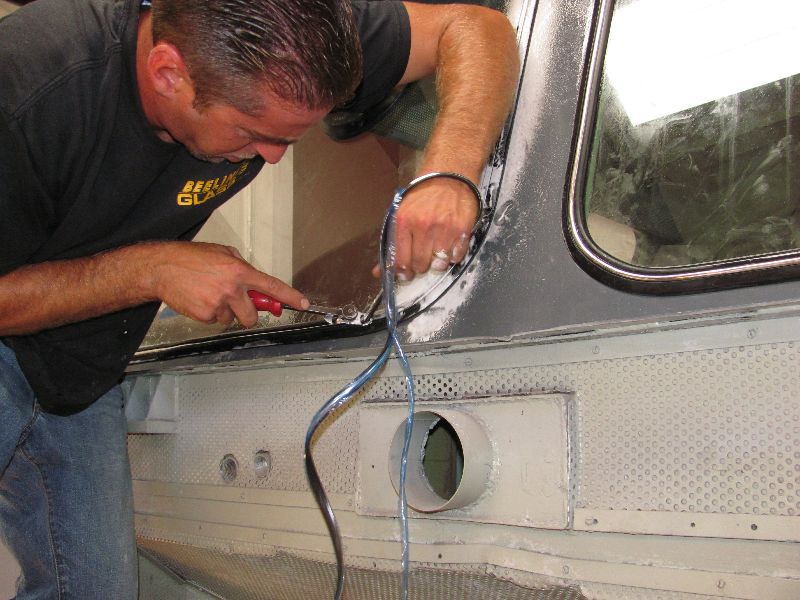
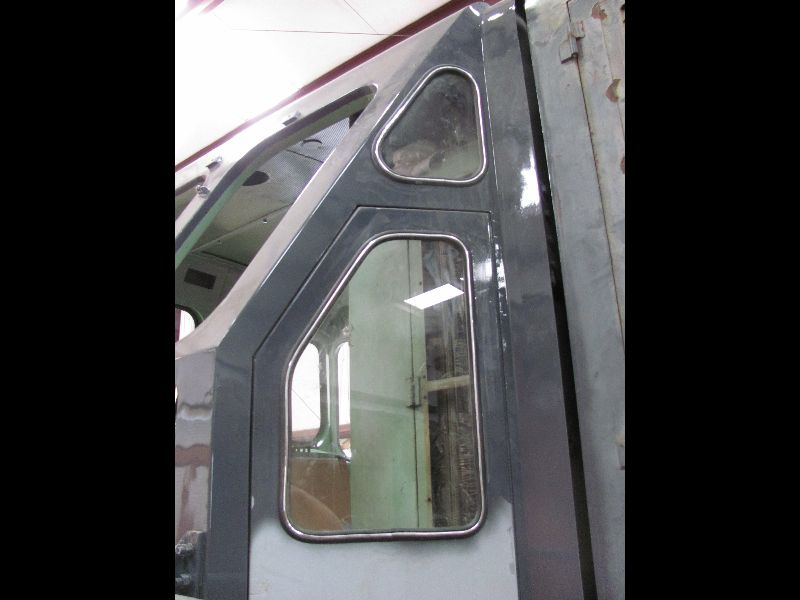
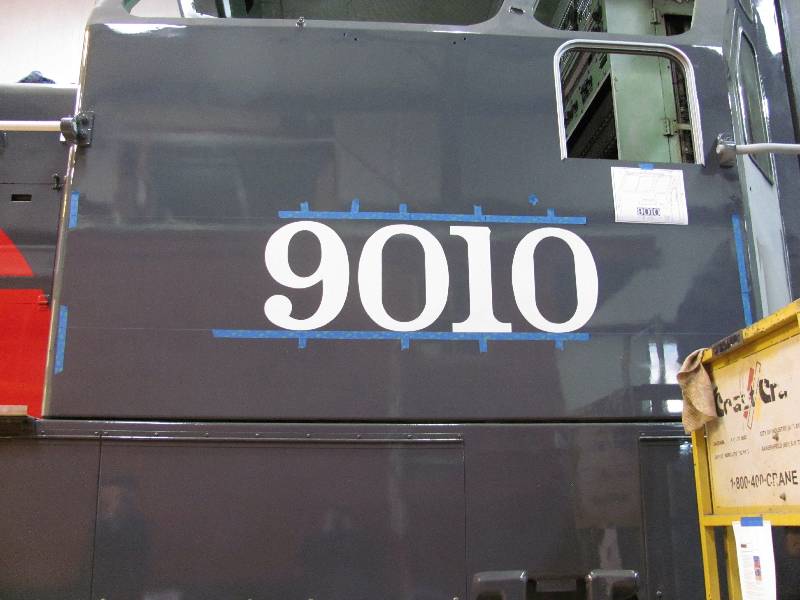
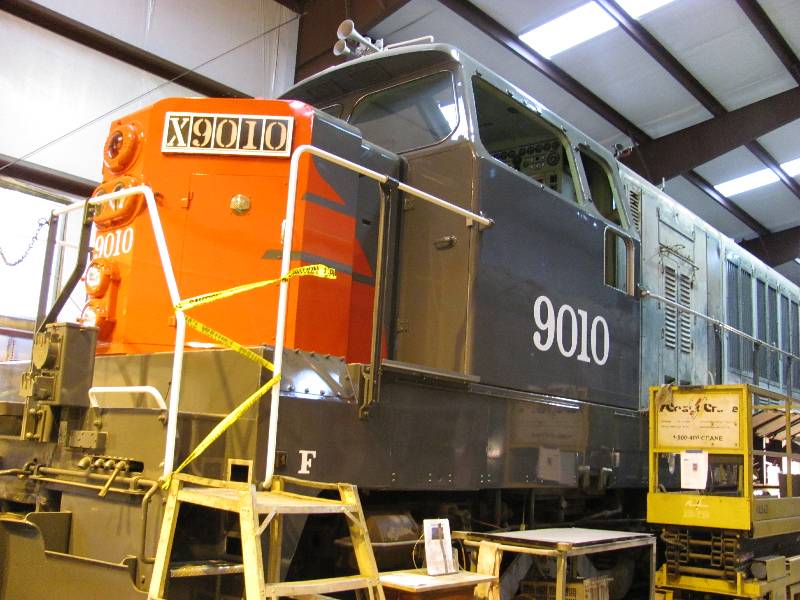
Work is nearing completion of the cab exterior. The surfaces around the front windows were painted and then the right side of the cab was coated in gray. Our glass company (Bee LIne Glass) came by and made patterns for the two large front windows. After the cab painting was finished, Ron brought the glass down and installed it. Notice the chrome lock strip in the window molding. This is as near to the original as we can get. Wow, does this make a difference!
--Update
December 07, 2012 --
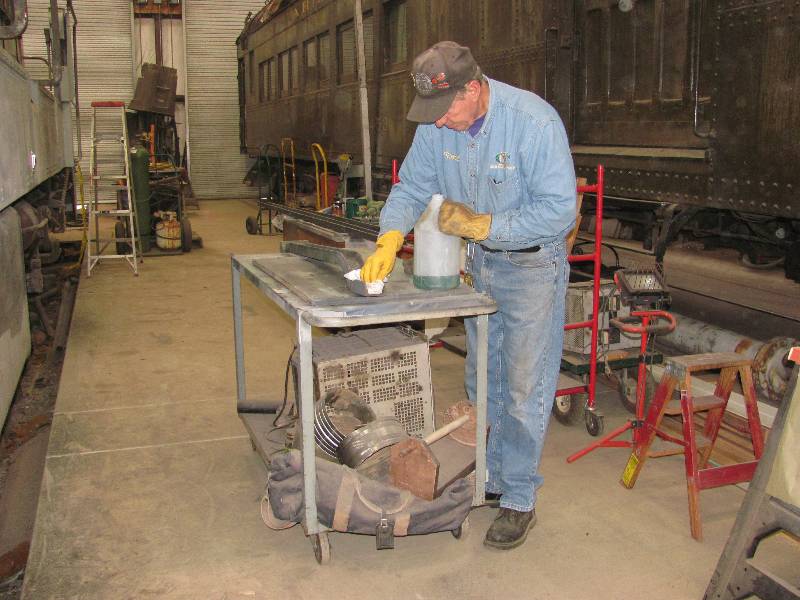
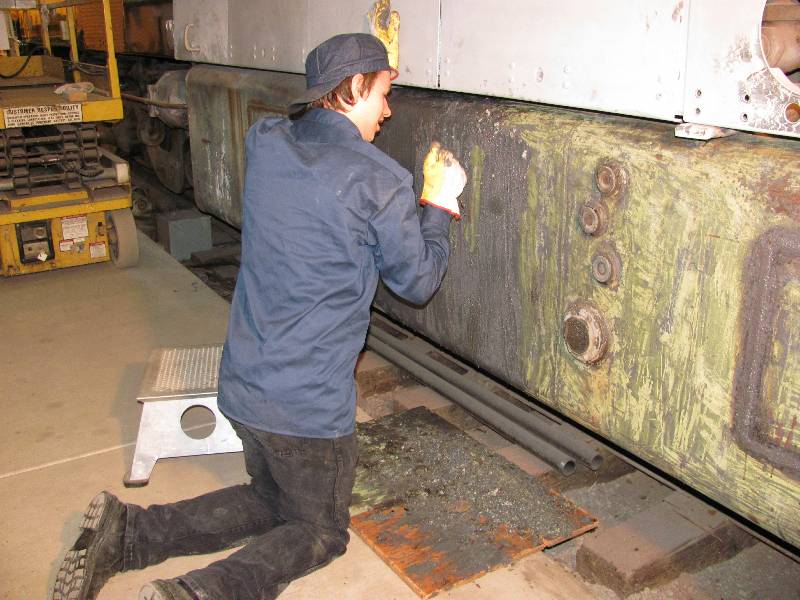
Bill and Rich continue their assault on the rust and crud found on the 9010's parts. Bill, aside from being our ace machinist, also has body working talents that he is applying to our sheet metal. It also turns out that he can paint. Rich has been working hard on cleaning the handrail stanchions. They are especially hard to clean due to their shape. After removing what little paint there is and lots of rust, Rich treats the metal with Rust Mort, an acid solution that neutralizes the rust, before primering.
--Update
December 28, 2012 --
Return
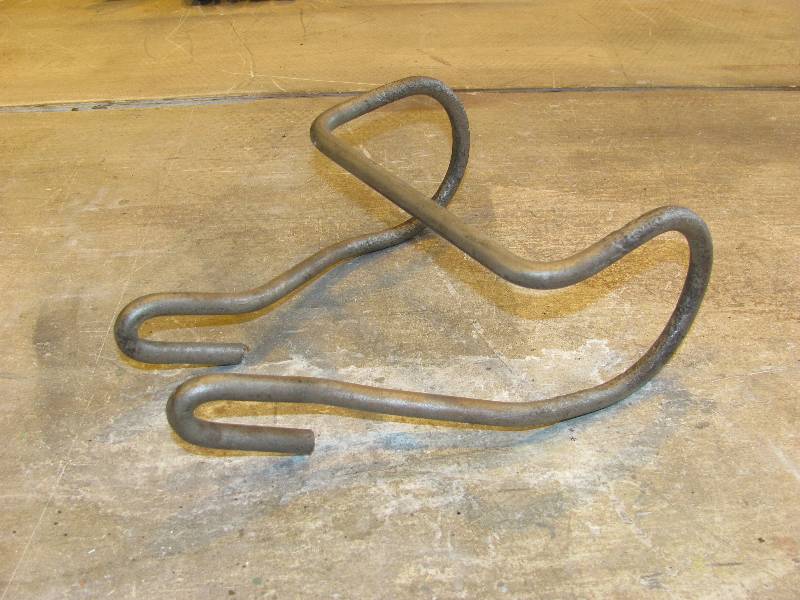
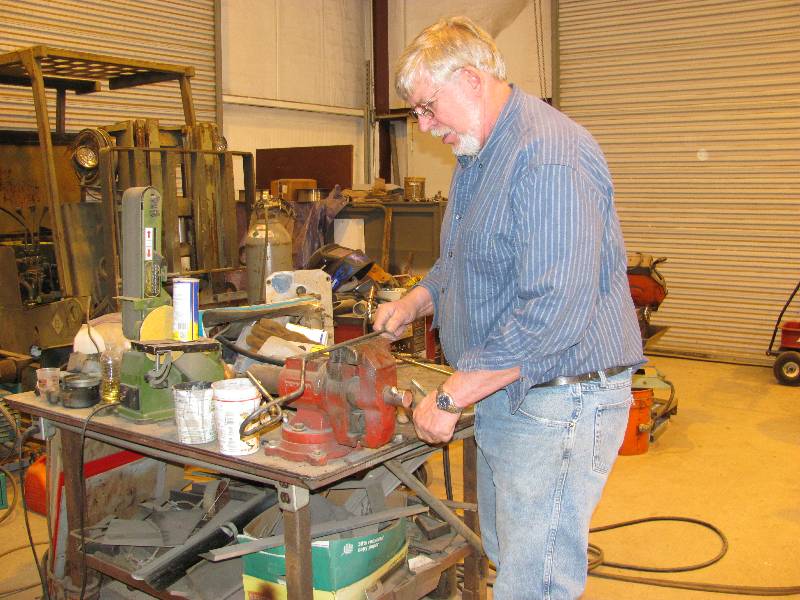
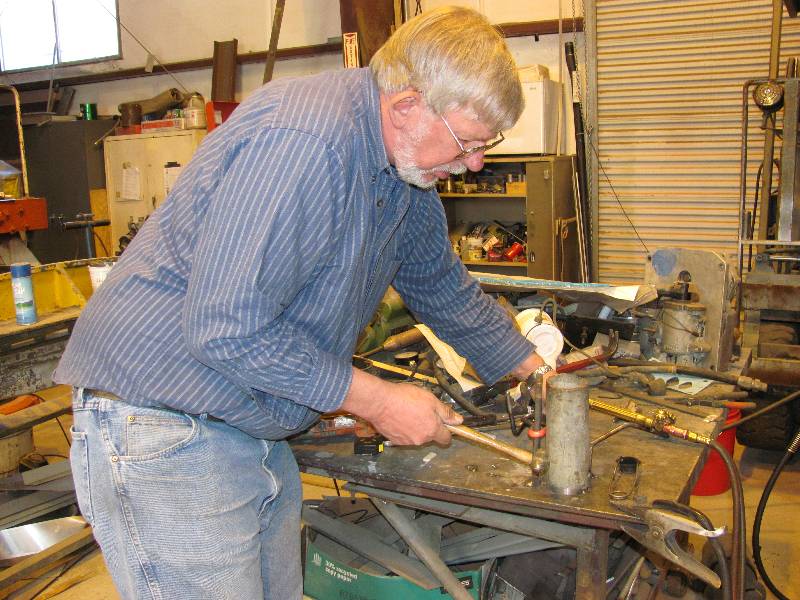
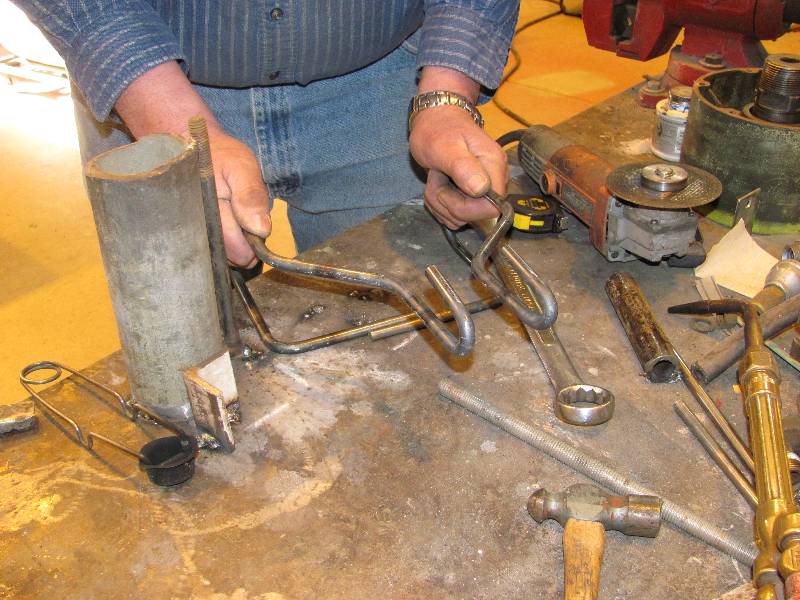
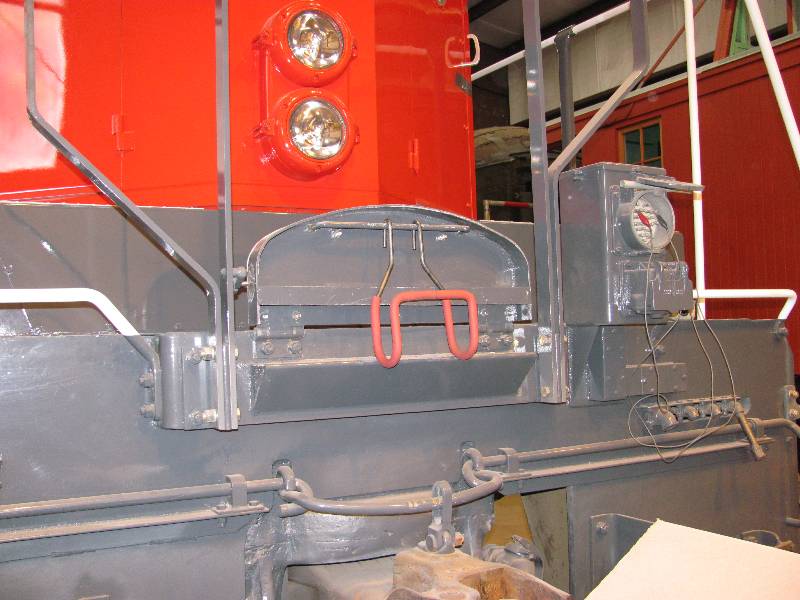
To Main PageWe needed to make a new MU cable holder for the front end. Bill took on this project, using the holder from the rear end as a pattern. With use of hammer and torch, he fabricated the holder in two mirror image pieces and finally welded them together. With the application of a length of red rubber hose, the completed holder was installed.
Once done with the new MU hose
holder, Bill resumed his work on window frames. These are the
two rear cab frames which only needed a bit of cleaning and were sent
off to the powder coater.
Meanwhile, Rich has started
removing paint from the frame doors on the engineer's side.
This is a thankless job that Rich takes on with his usual
good humor. Our college kid CJ is home on break and came down
to work on the temporary sand box base covers. When he
finished
with them, he started stripping paint from the fuel tank. A
5000
gallon tank sure has lots of surface.
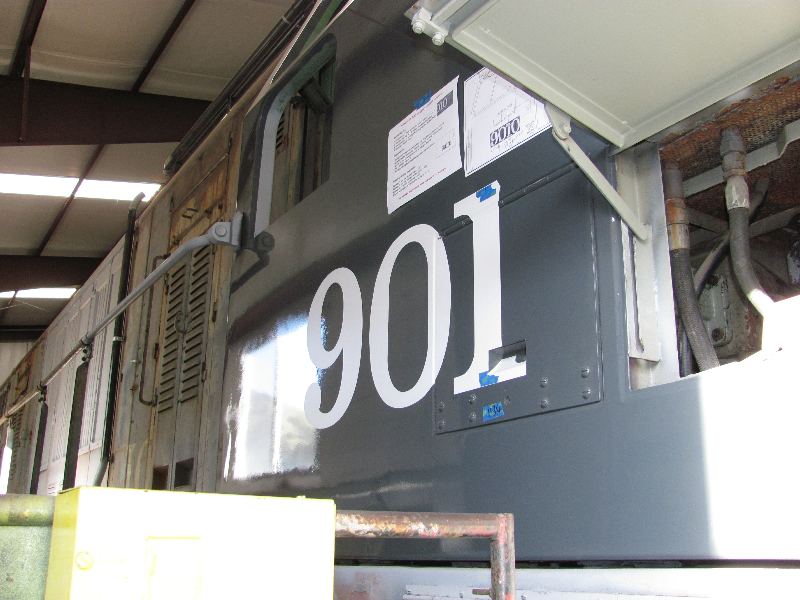
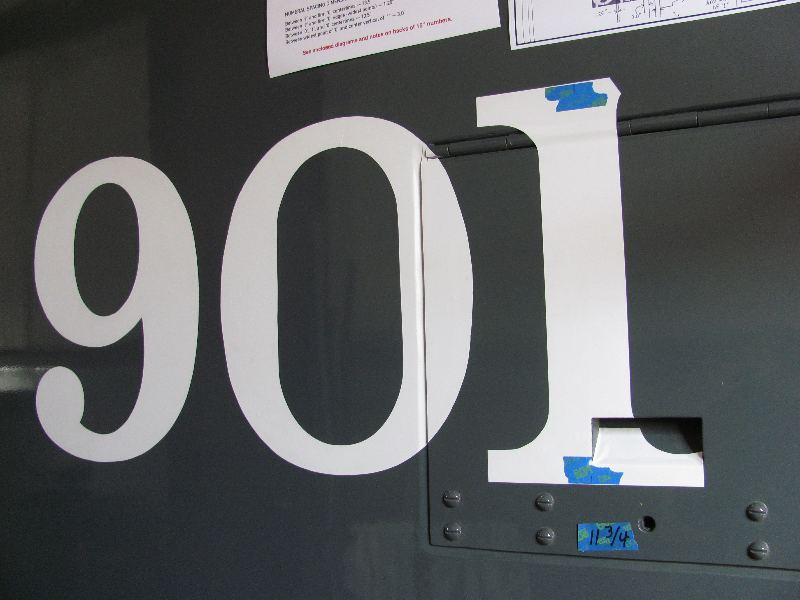
And finally, we have a little
experiment that Bob Zenk and I undertook. We have no drawings
or dimensions for the placement of the numbers on the cab sides and
nose. Bob made a set of numbers in low tack
vinyl which I applied to the cab sides using what little
data we had. The only registration point at our disposal was
the relationship of the digit "1" to the latch mechansim on the
engineer's side so that became ground zero. Once the "1" was
placed, the other numbers were applied using dimensions that Bob had
gleened from studying photos. We are very pleased with the
result and even though the side numbers are not the correct "Lettering
Gray" color, they will stay on until the actual numbers are created in paint.
|