|
Dick
has been working
diligently on the areas behind the front pilot and has them nearly
ready to paint. We sure appreciate his ability to use a
needle
gun hour after hour.
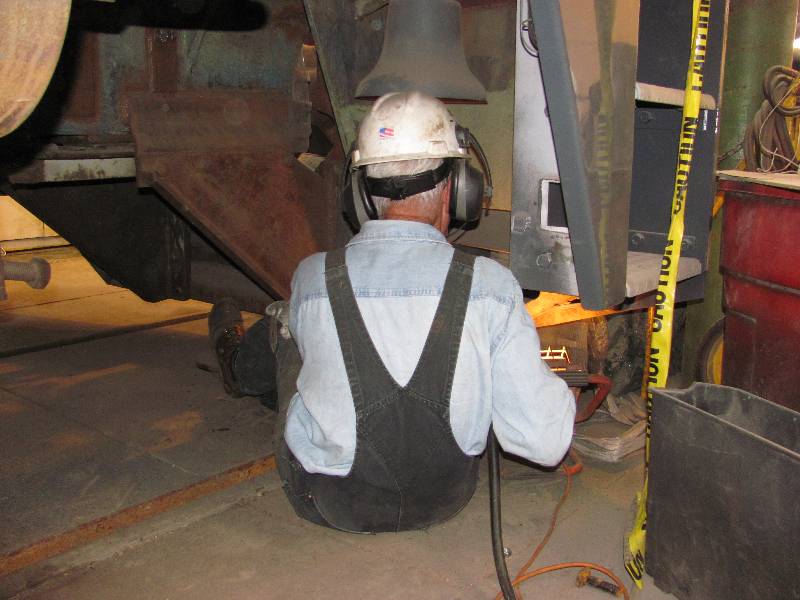
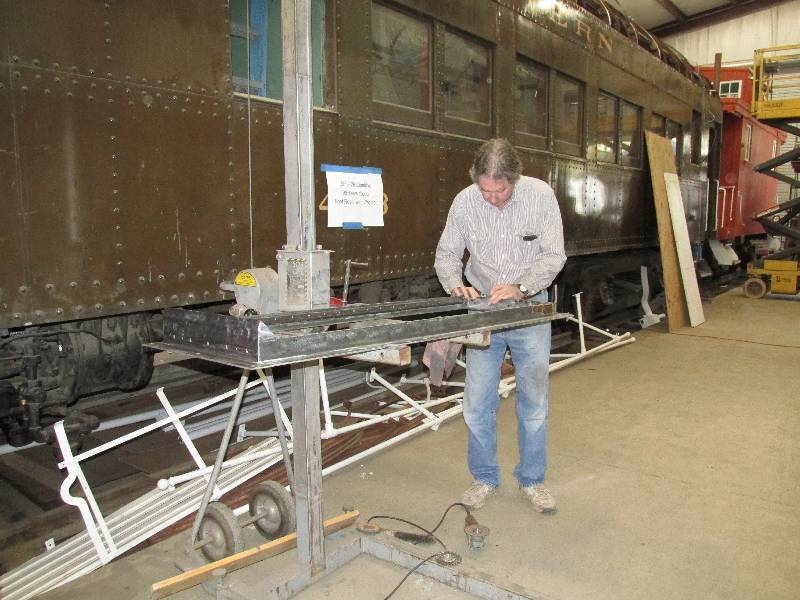
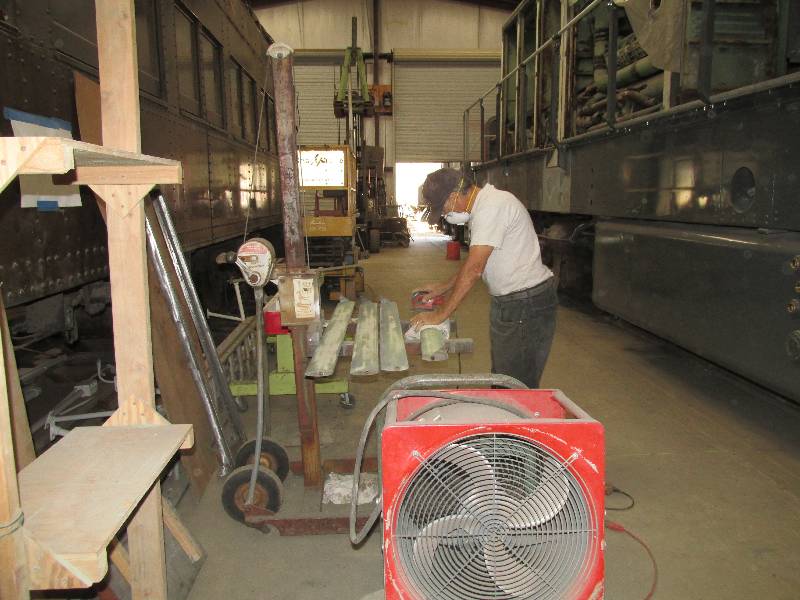
Bill
caught me
tightening a fitting on the pipe to the #1 compressor cooling
line
after we reinstalled it. As usual, he was to be found
applying
the sanding block to primered sheet metal, this time it was the battery
box doors.
I
painted the battery box doors and 3 of the shutter screens that Rich
had arranged to have sand
blasted. A couple of days later, we put the screens in place.
Rich
and Gerry put the last of the walkway extension support angle irons in
place and bolted them down. All of these are now done on both
sides of the 9010.
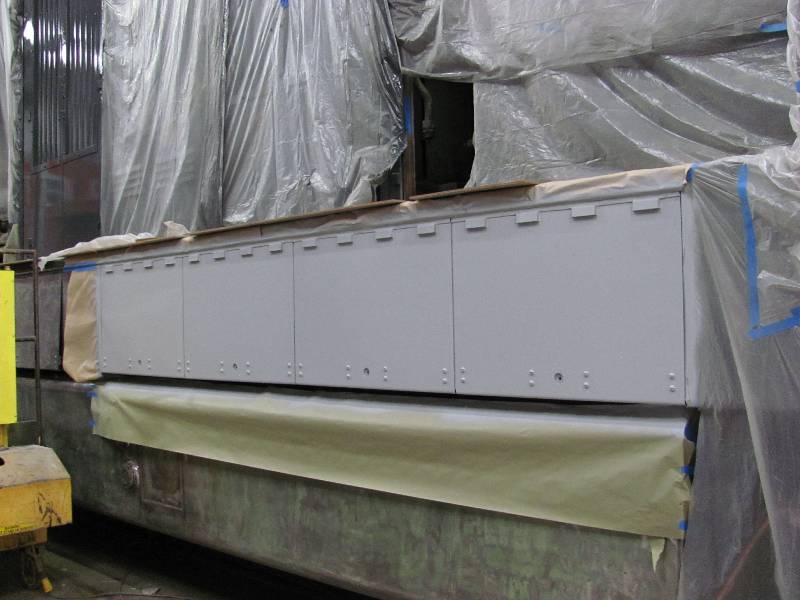
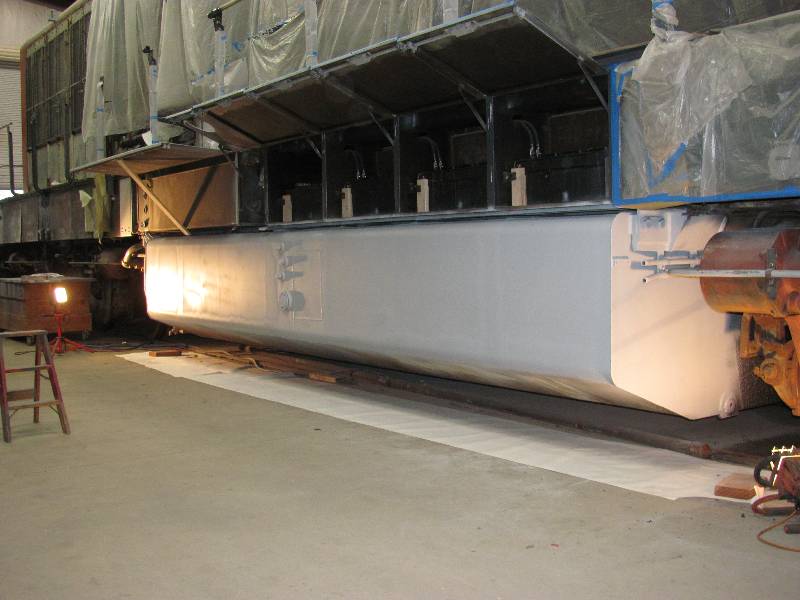
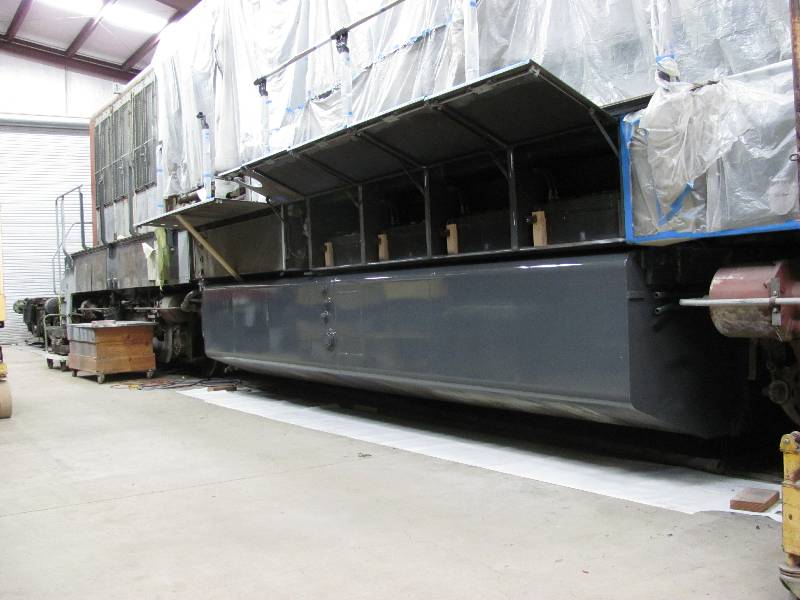
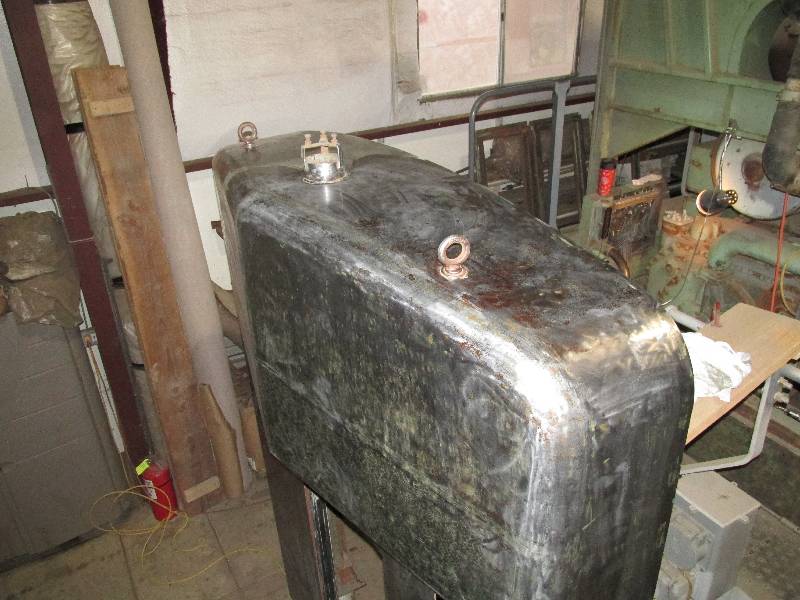
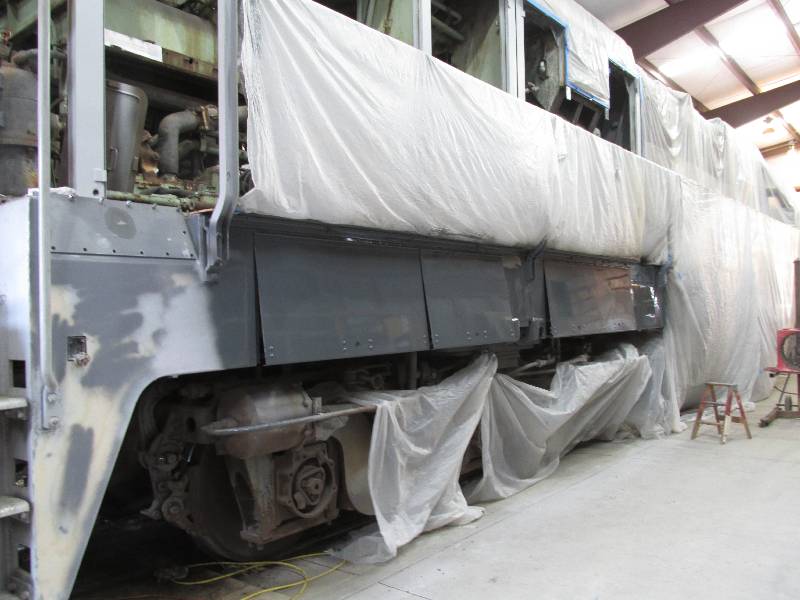
Another
job that has been finished is the painting of the right side of the
fuel tank.
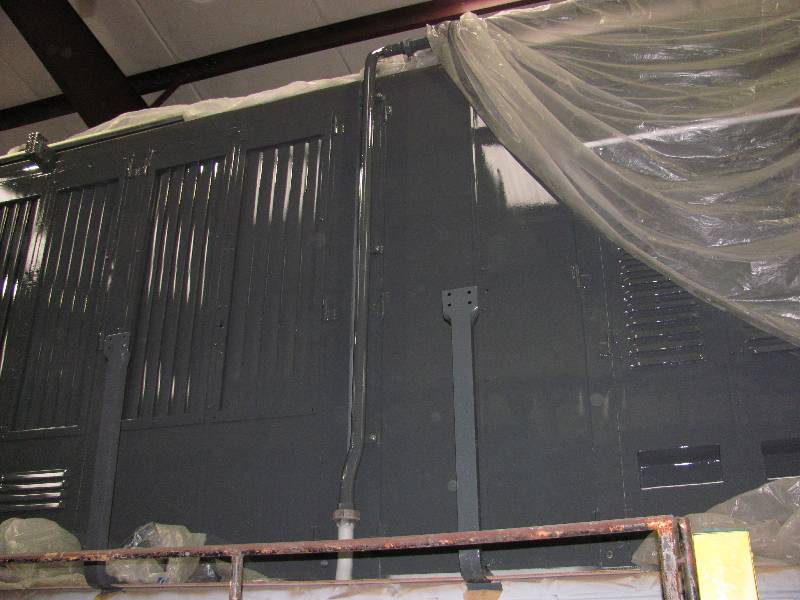
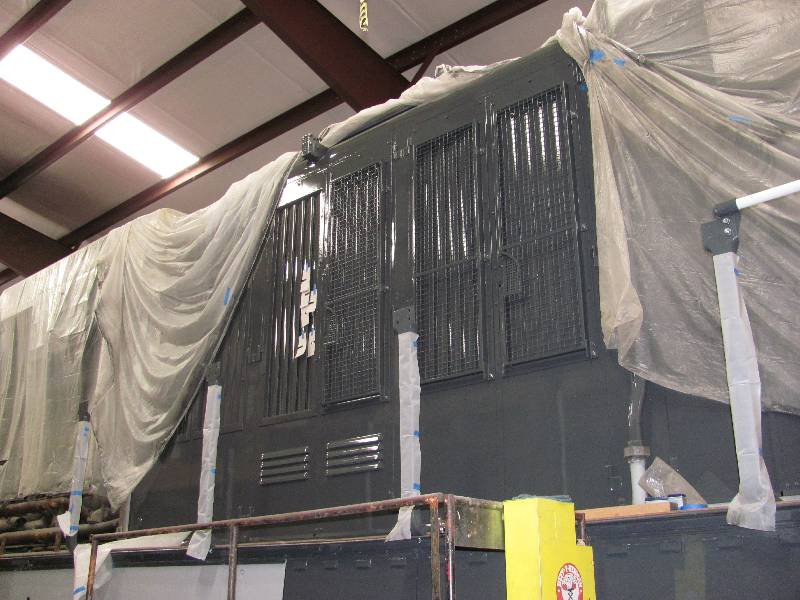
Shortly
after the fuel tank was painted, we completed the rest of the frame
doors above it. We will not be working on any more frame
doors for a while as we have to work on the rear truck sand boxes.
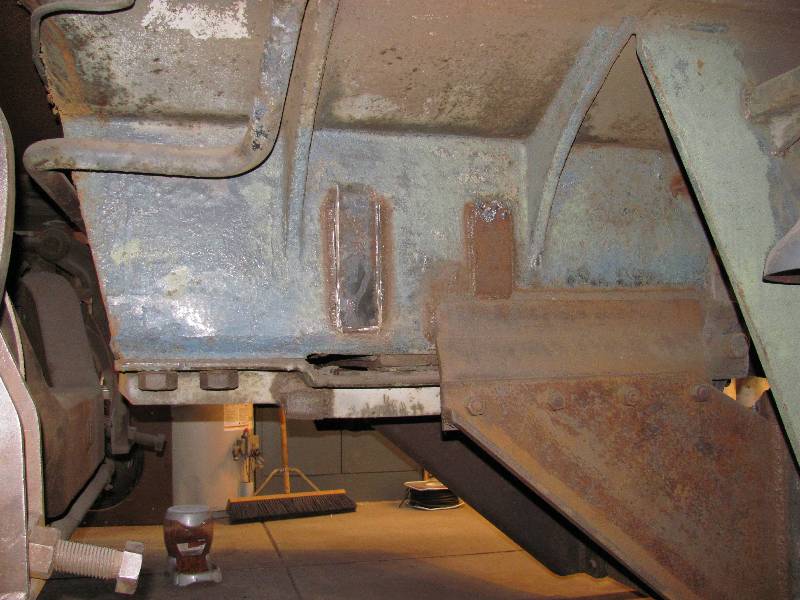
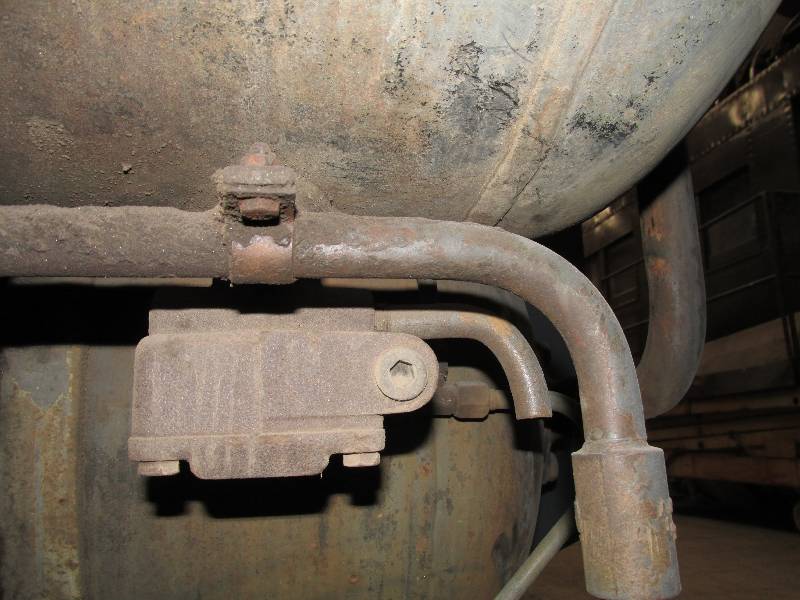
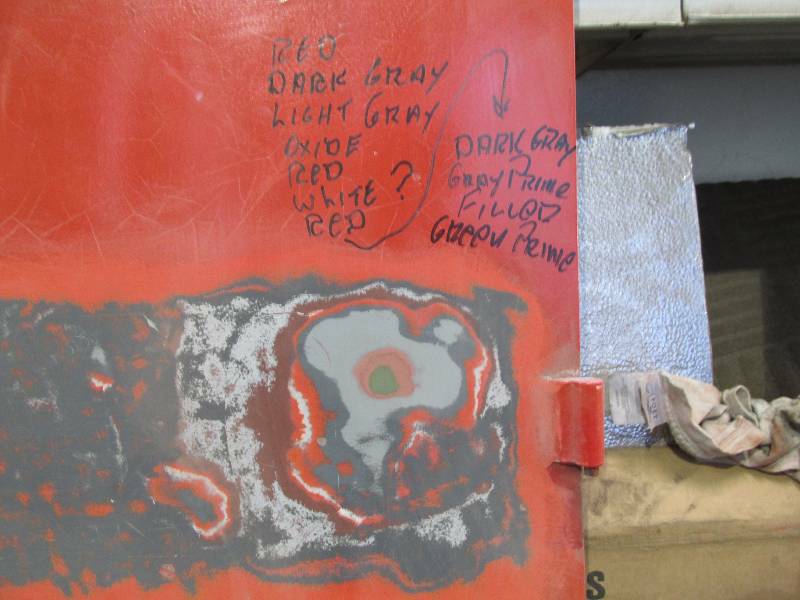
Note
the "star" stenciled on the upper part of the left tank.
The star was used to indicate that the
reservoir was drilled and thus not subject to the "hammer and hydro"
test required every
736 days. In 1969, the "hammer and hydro" rule was repealed
for
tanks of welded construction and a rule defining a drilling process was
substituted. Our tanks are drilled but the star post dates our
restoration time
frame and thus will not be applied.
--
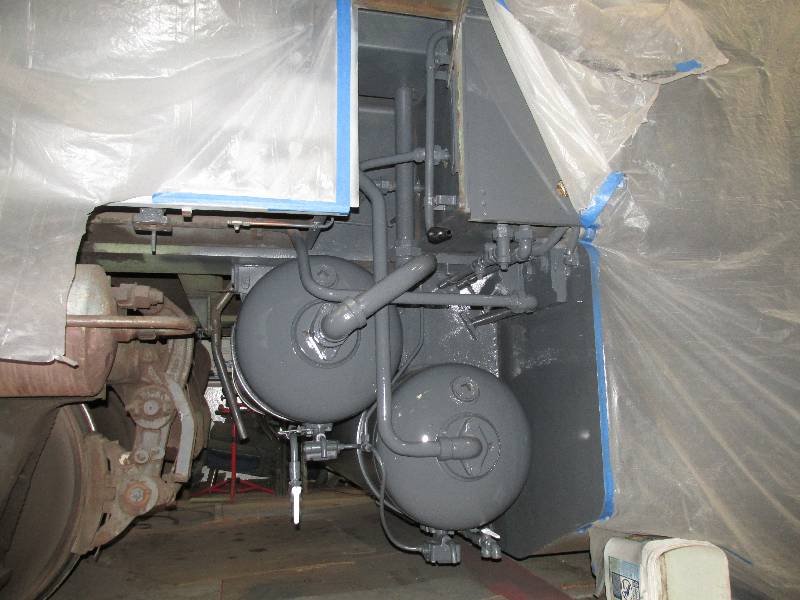
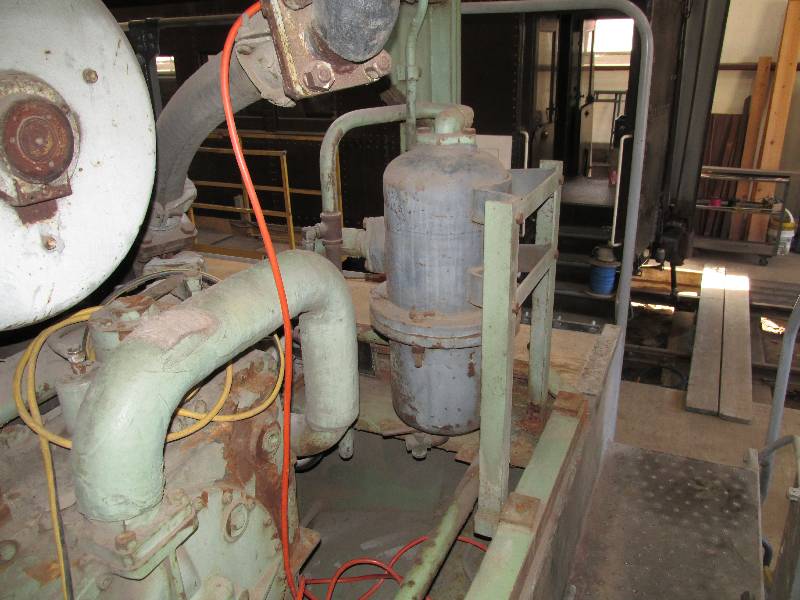
Update September 05, 2014 --
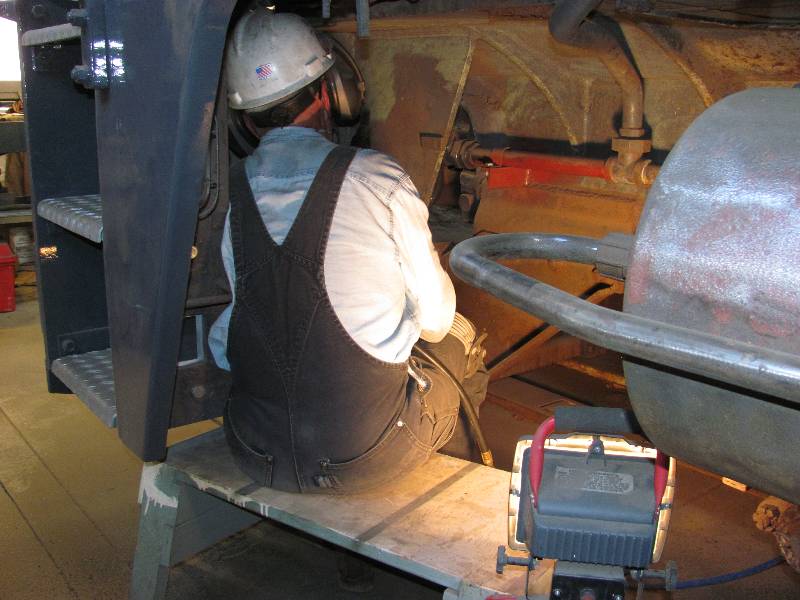
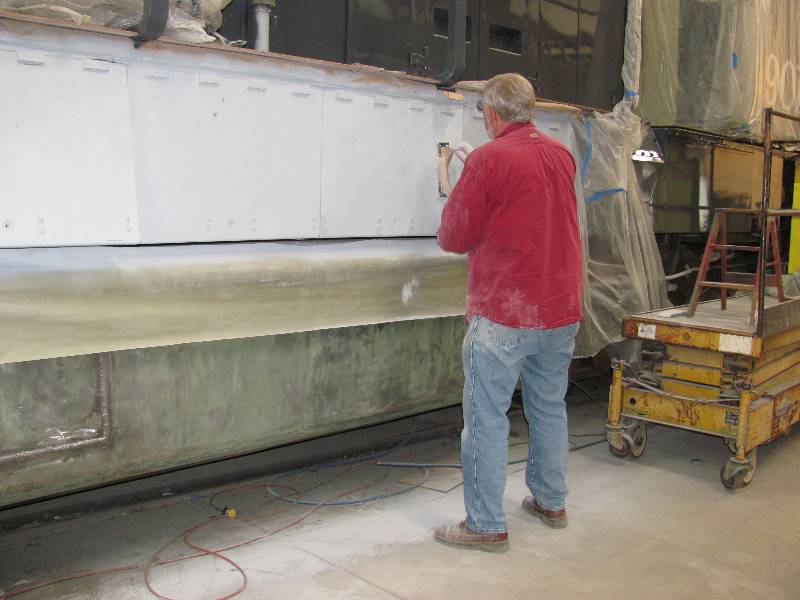
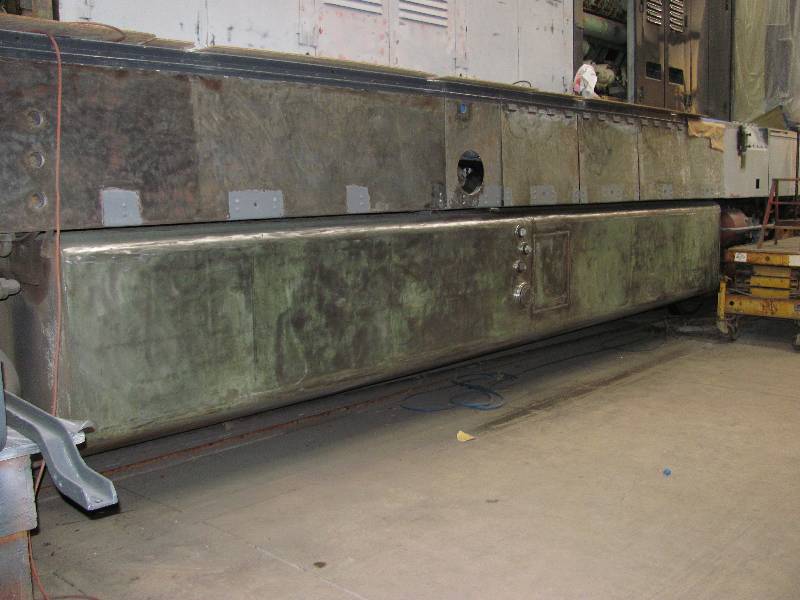
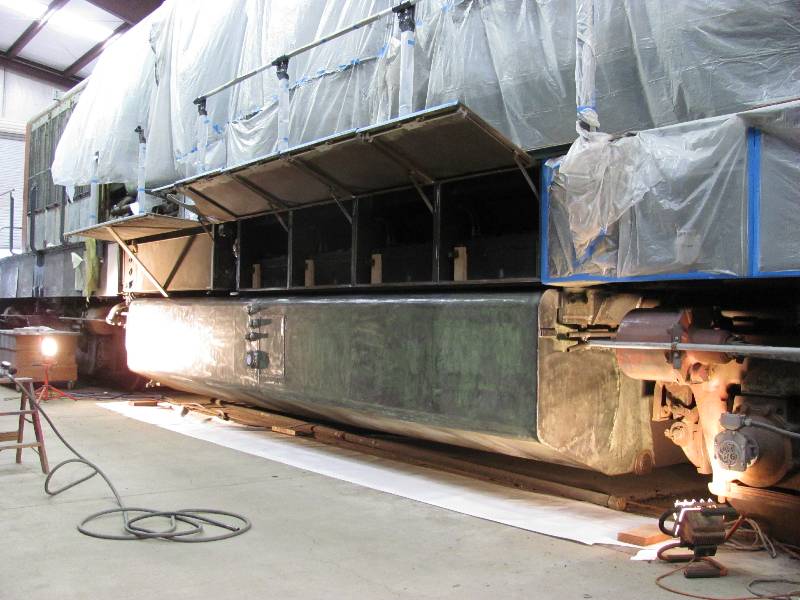
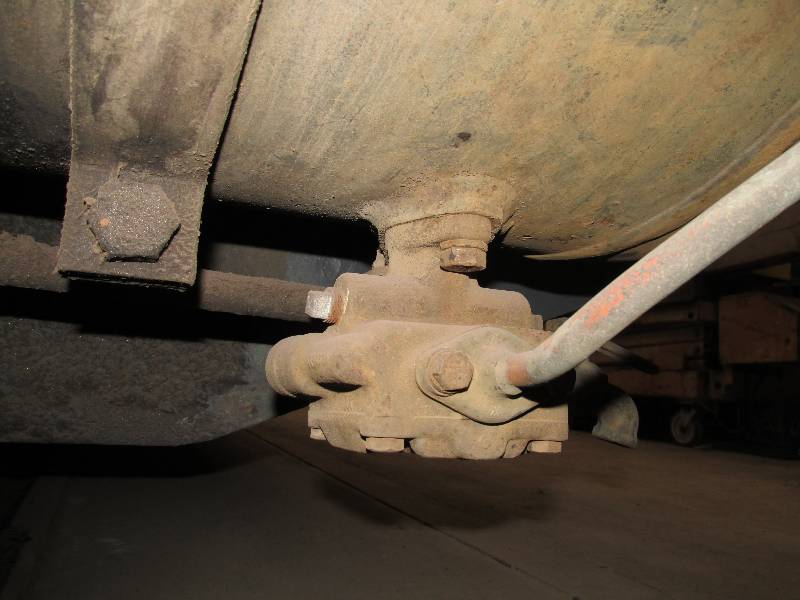
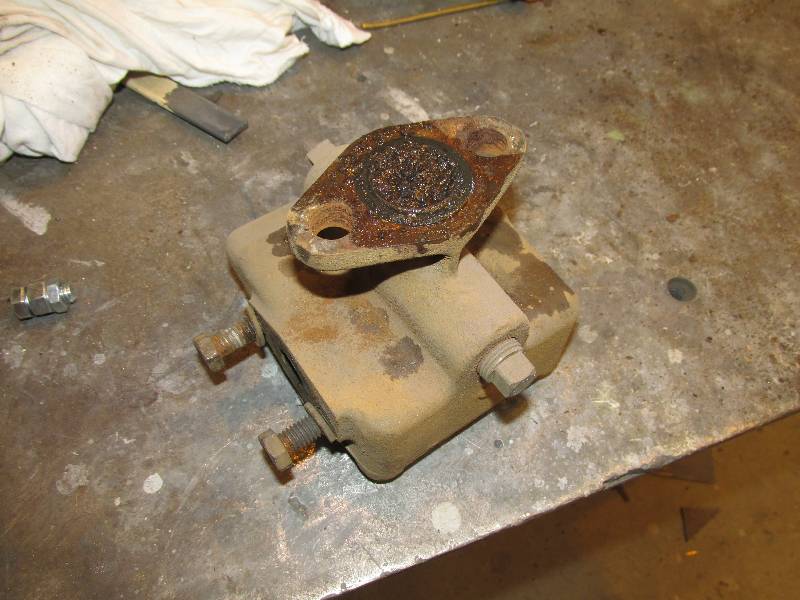
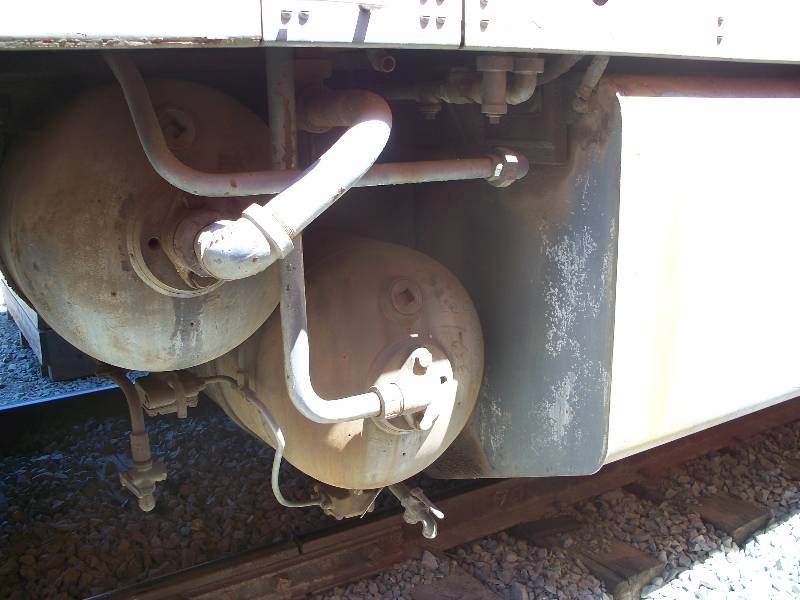
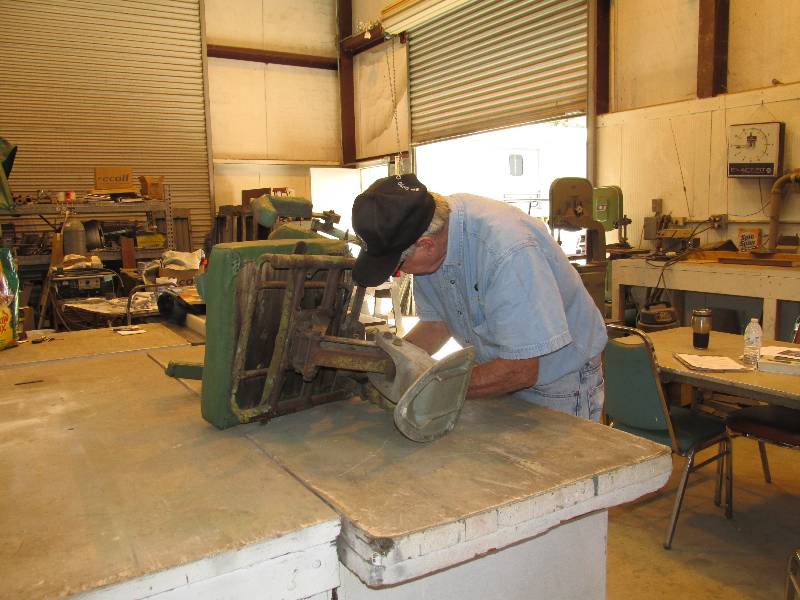
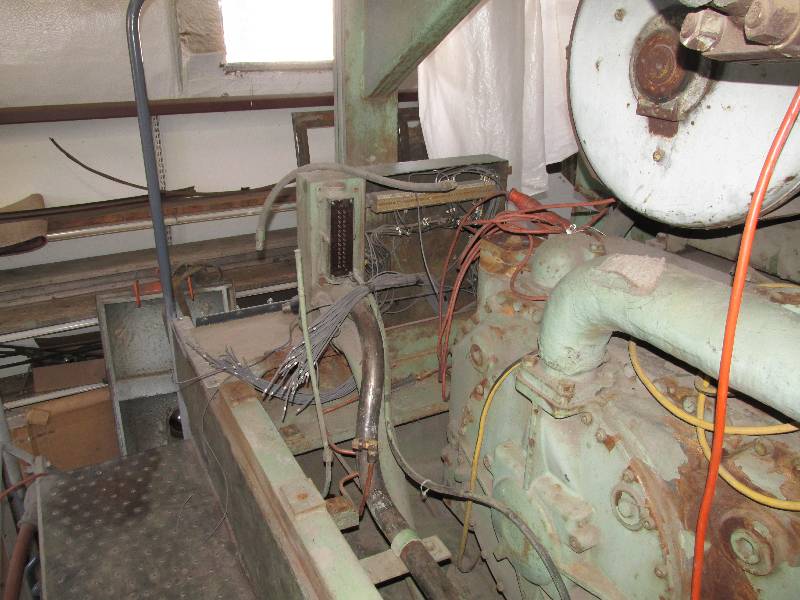
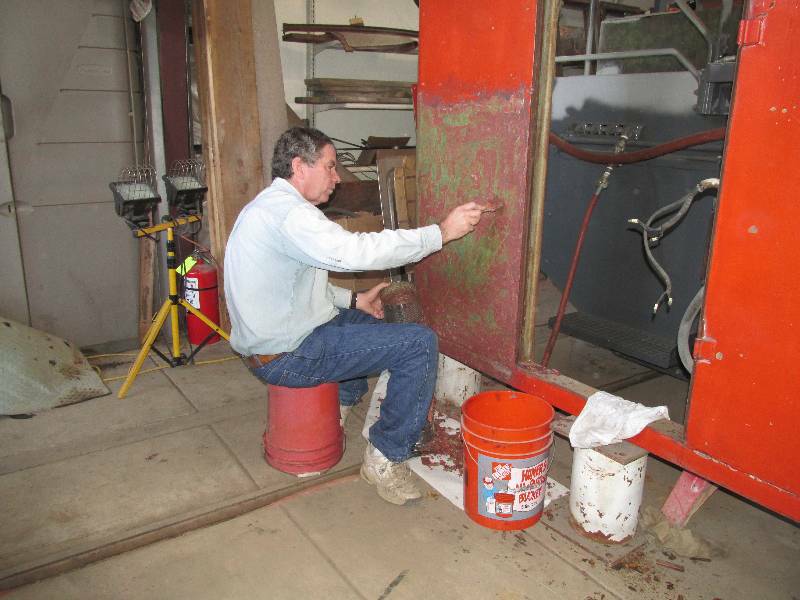
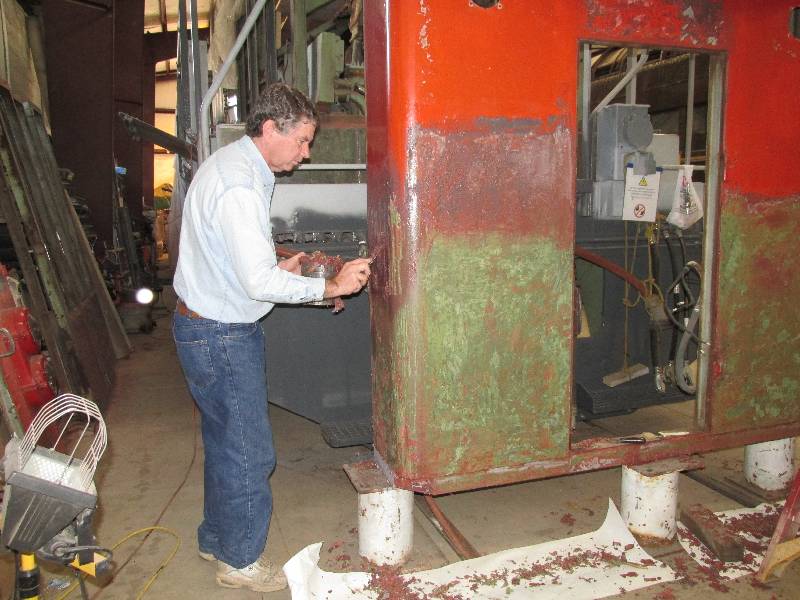
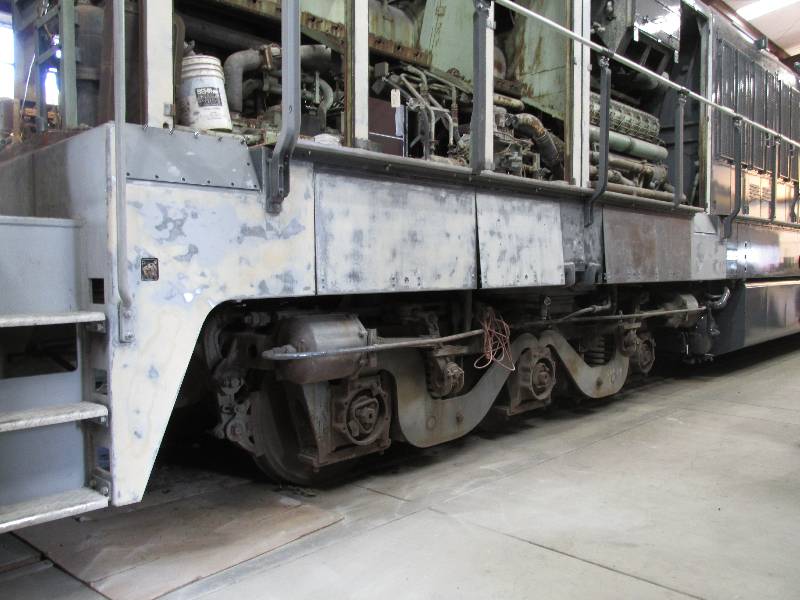
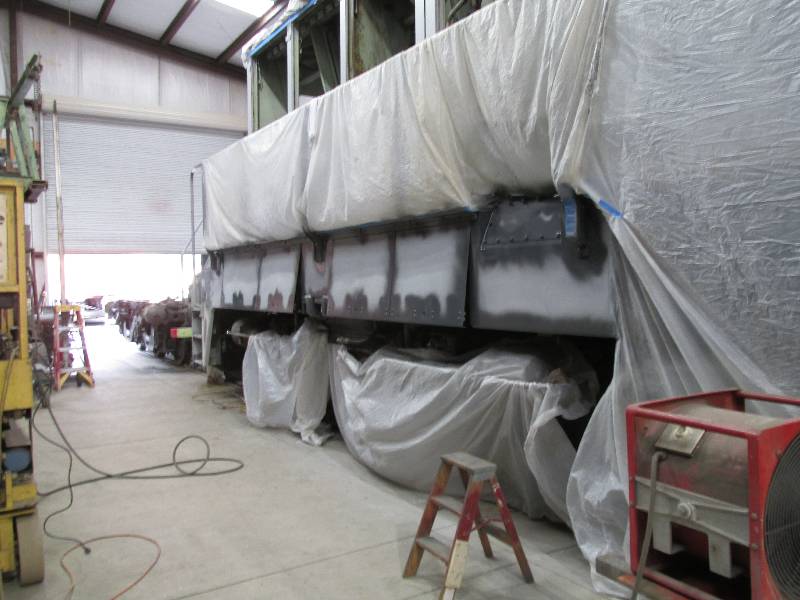
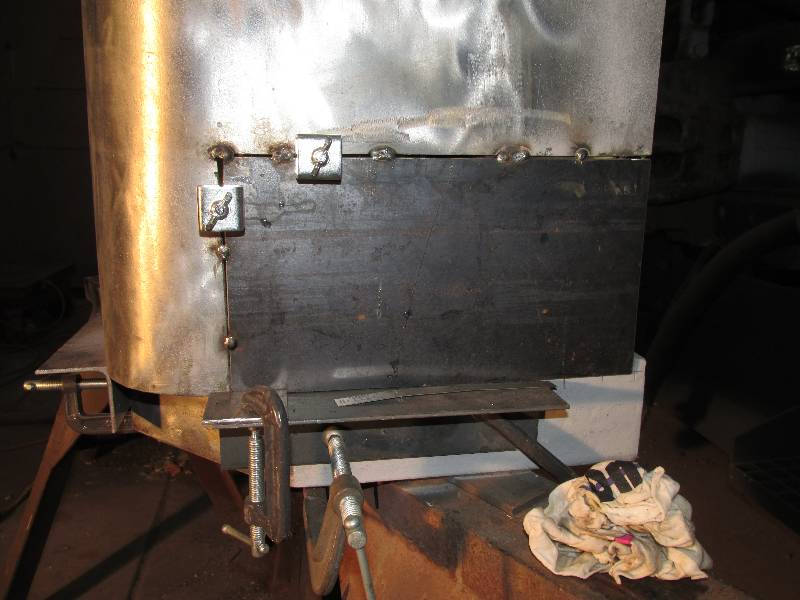
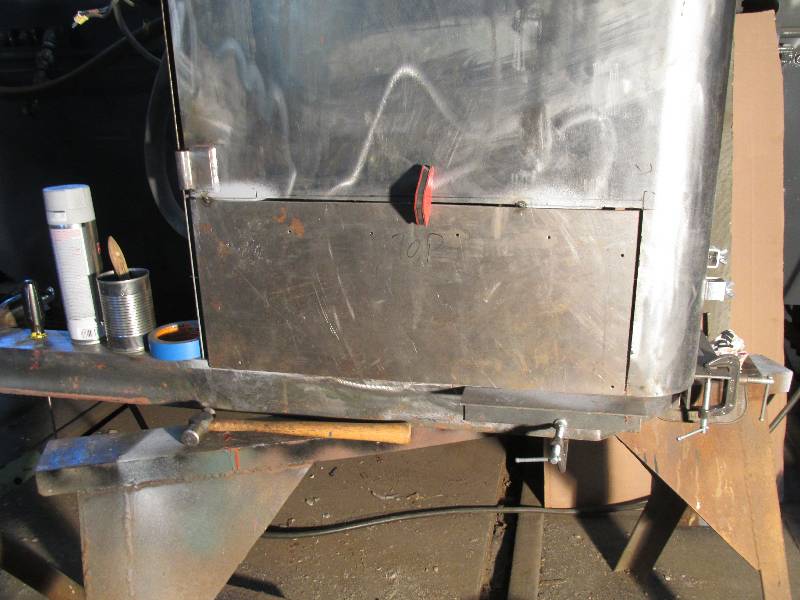
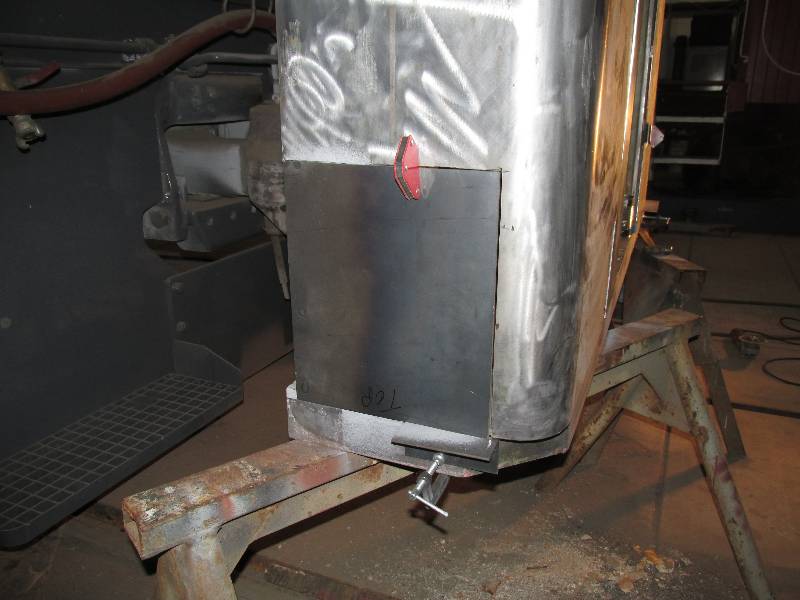
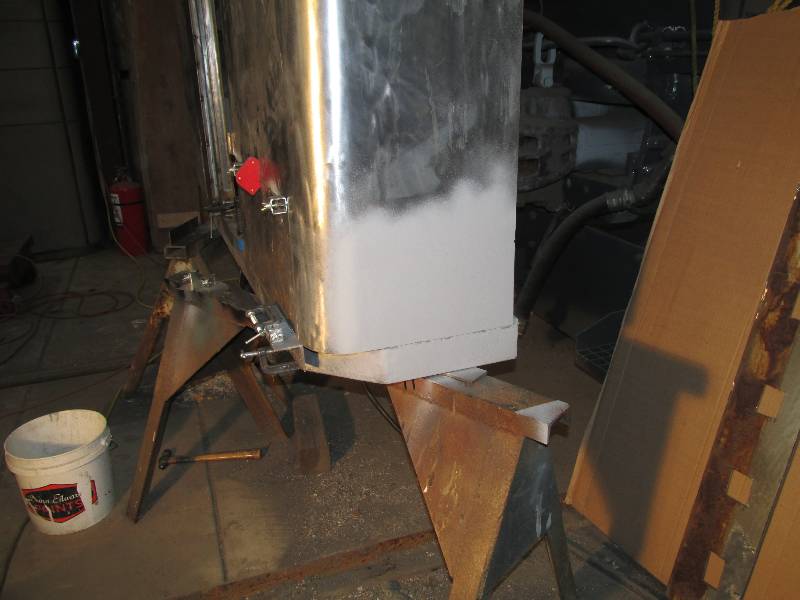
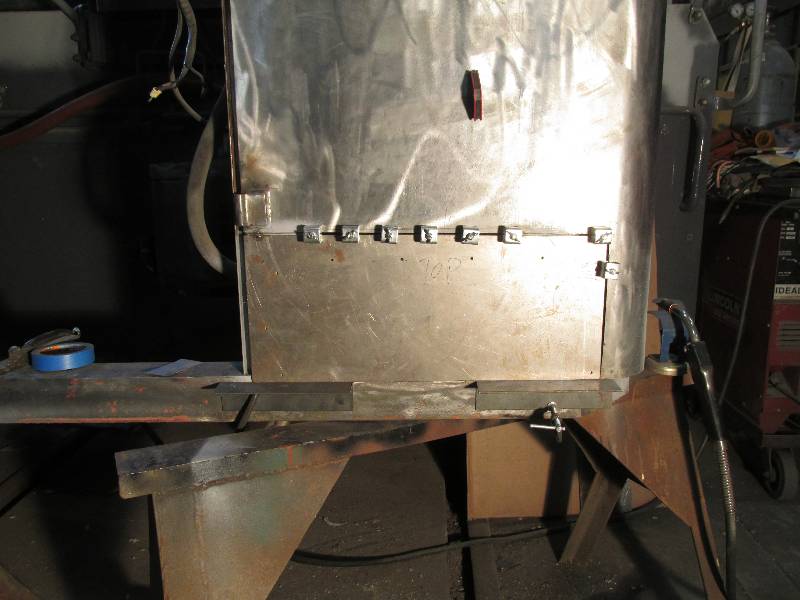
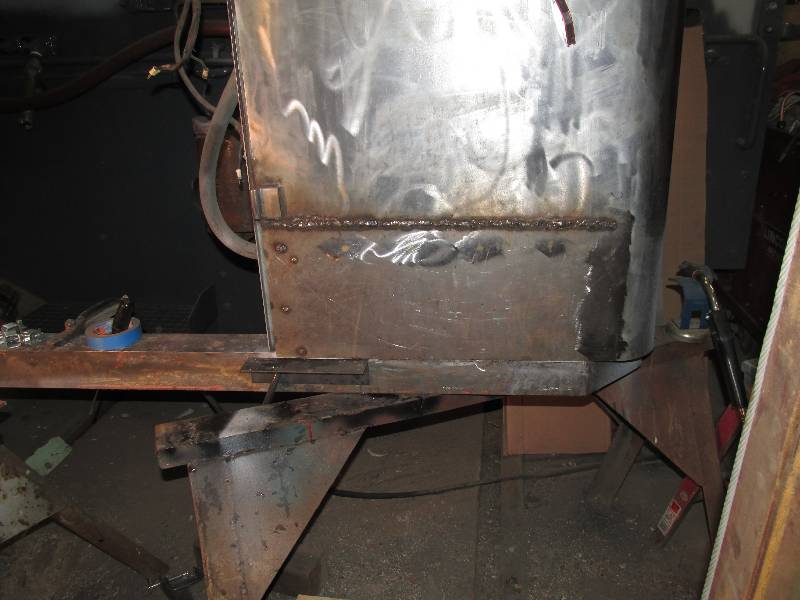
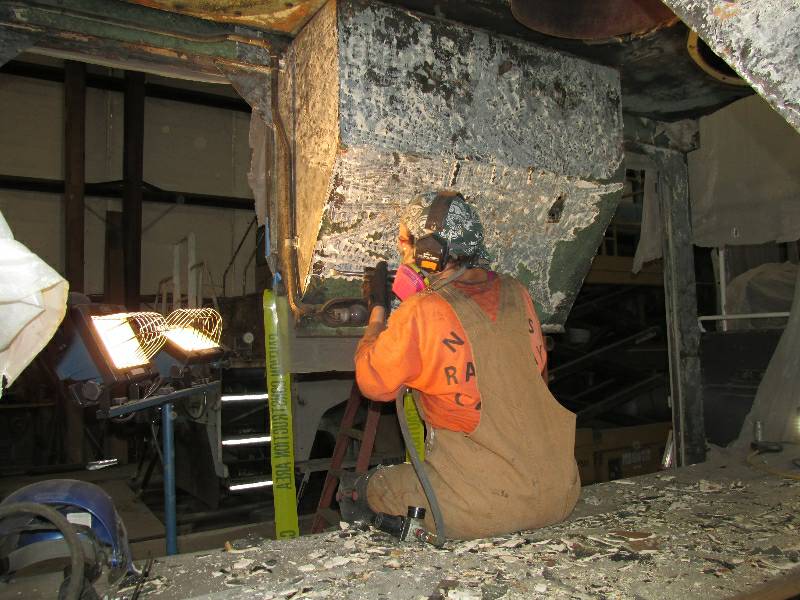
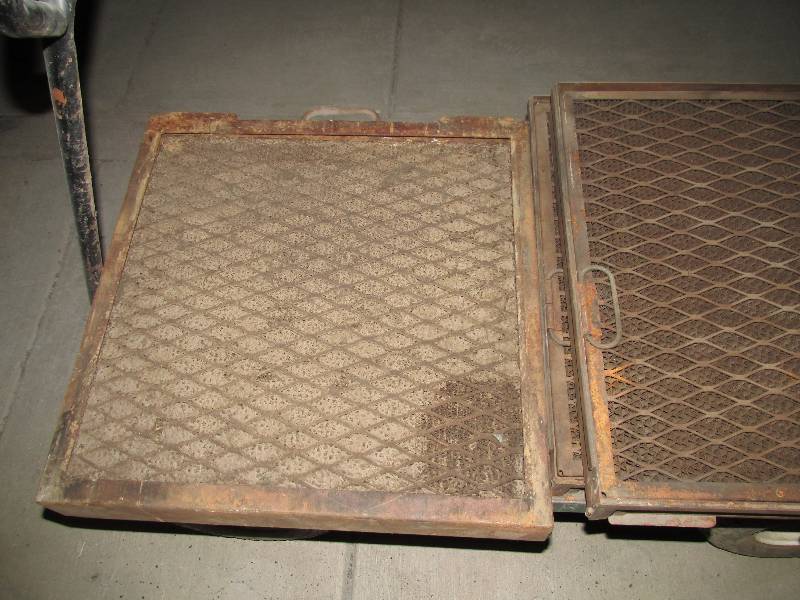
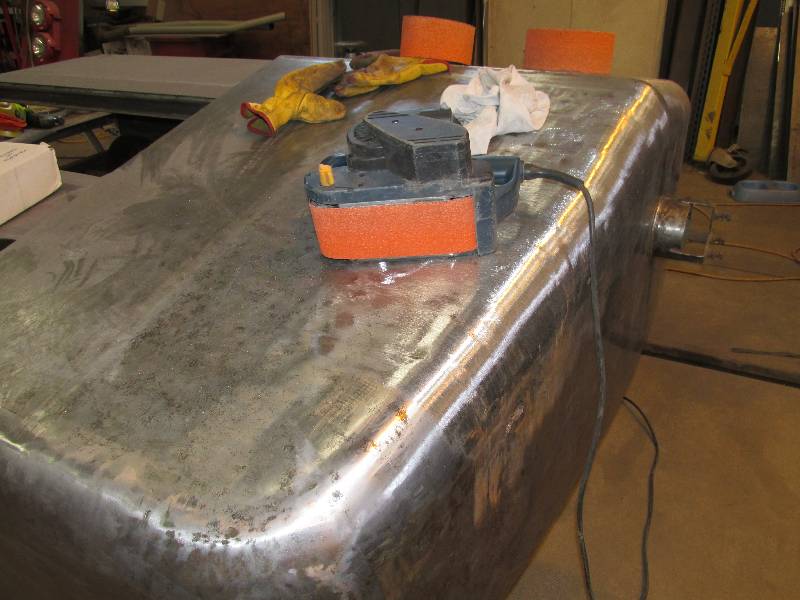
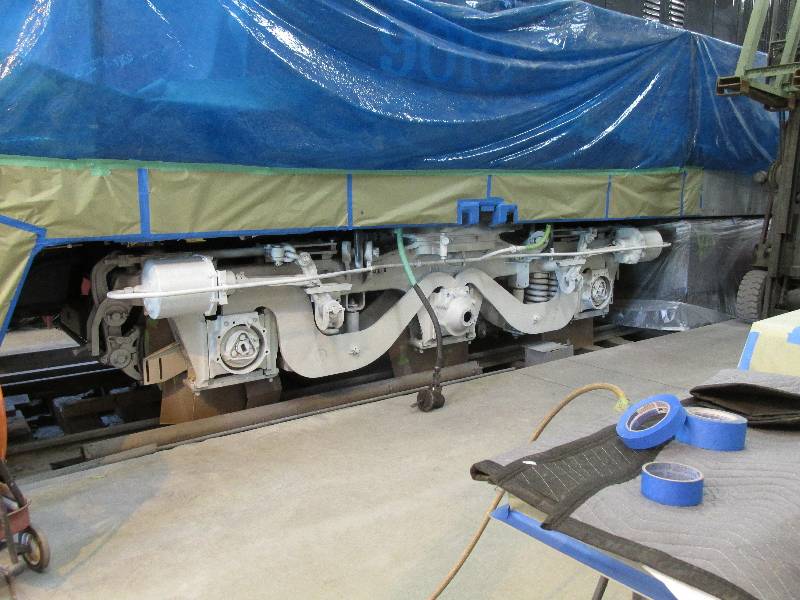
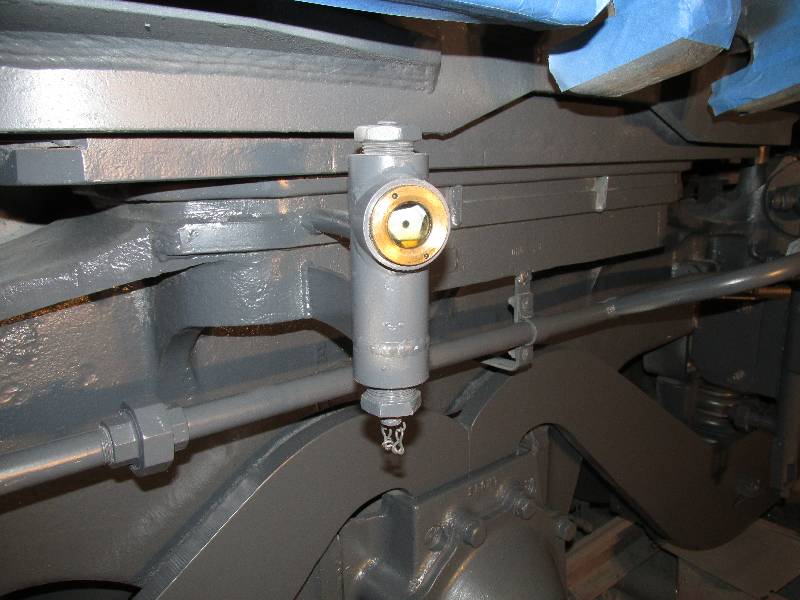
The main air reservoirs each have two drain systems, a manual valve and an automatic valve that is actuated by the compressor unloader. Every time the air compressor stops pumping (by reaching 140 psi), air pressure is sent to the control port on the drain valve, forcing the valves to open and drain condensation from the tanks. As you can see in the third photo, the valves were totally plugged. Rich has been busy cleaning the rust and corrosion out of the bottom of the lower main air reservoir. It appears that the tank has not been drained in many years, the result of which is the plugged drain valve noted.
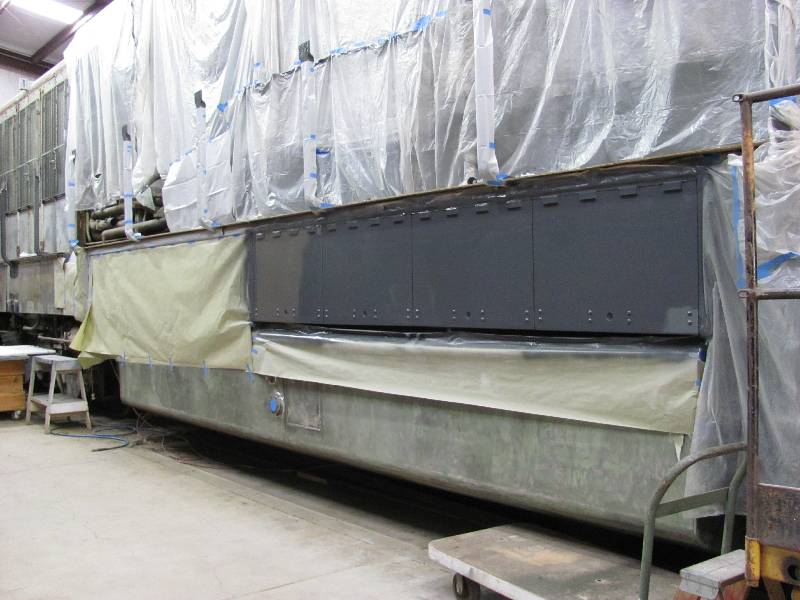
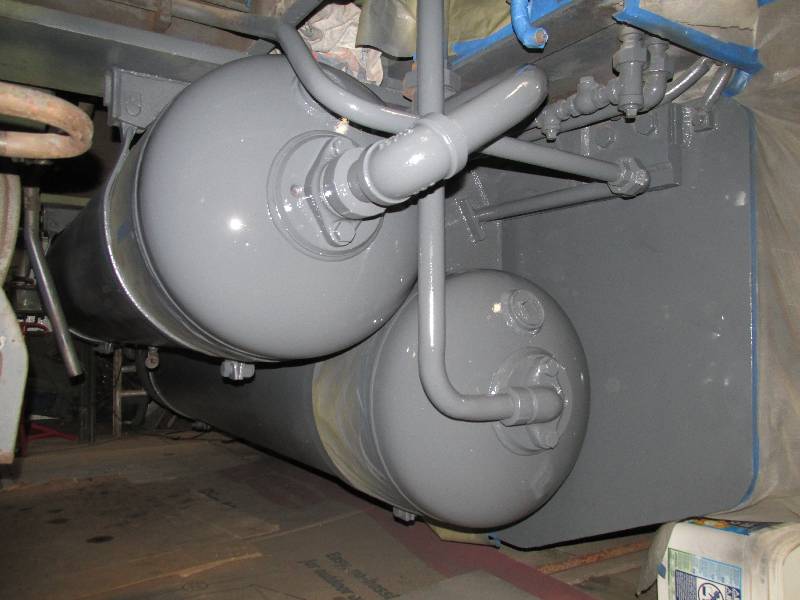
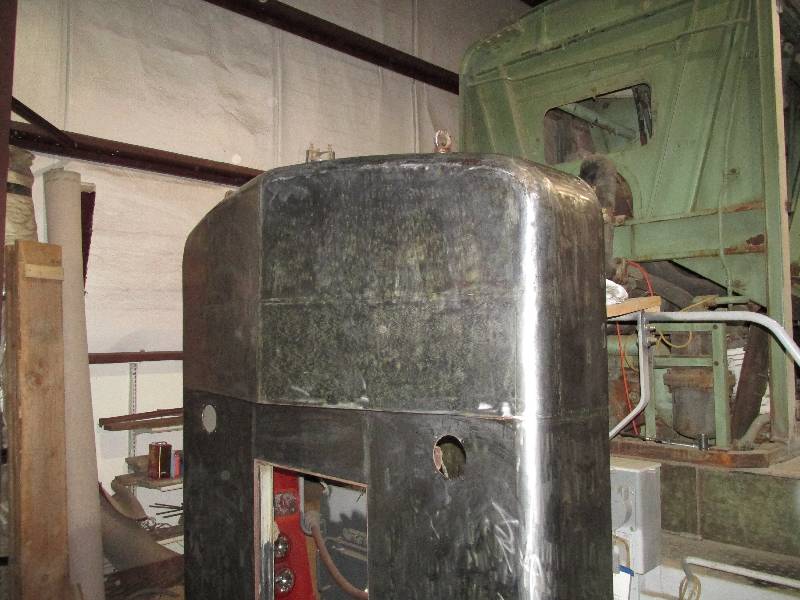
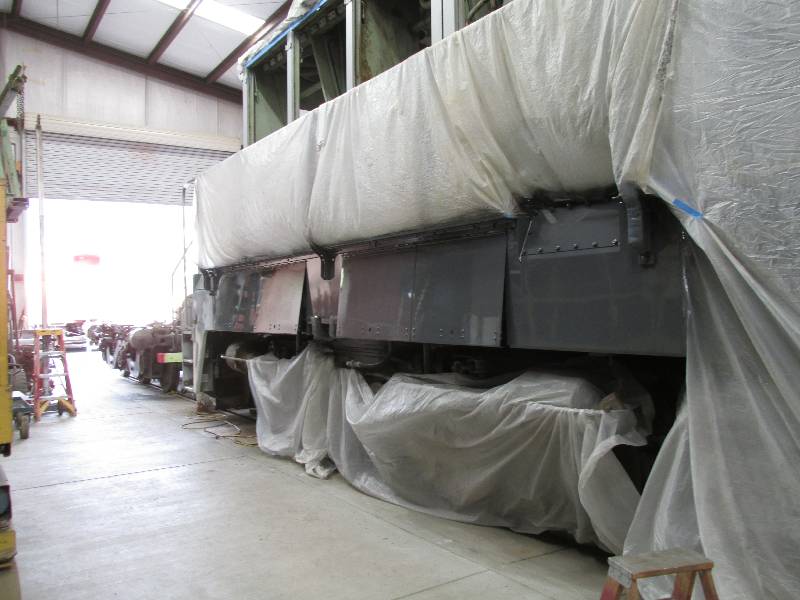
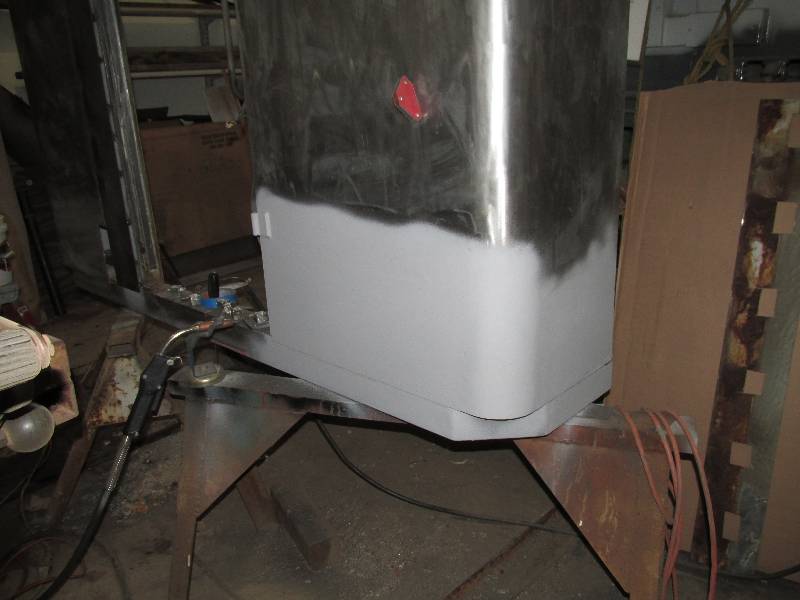
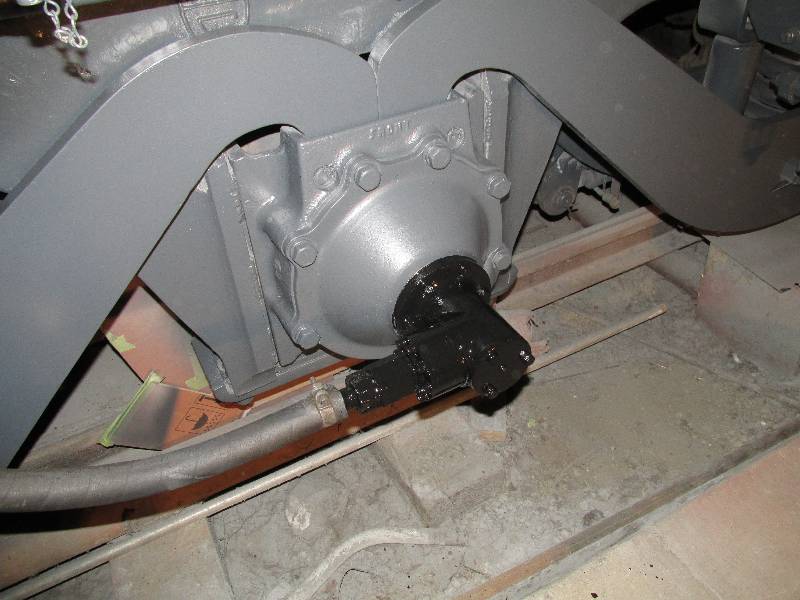
An extraordinary number of hours
were put into cleaning the air tanks with needle gun, wire brush and
sand paper. They were covered with road grime, engine oil and
goodness knows what else. But, eventually they were stripped,
cleaned and painted. The final job was re-installing the
manual and automatic drains and the new water filler neck.
The
left end of the tanks received a newly certified safety valve.
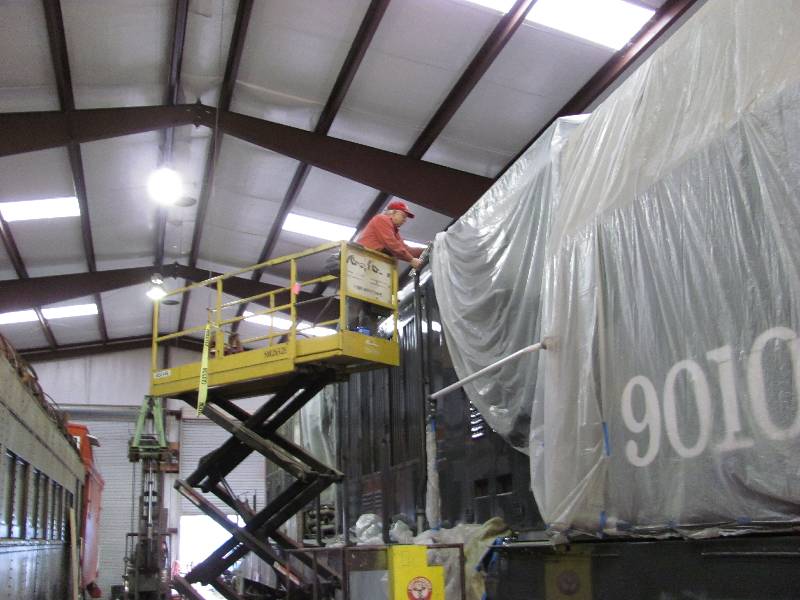
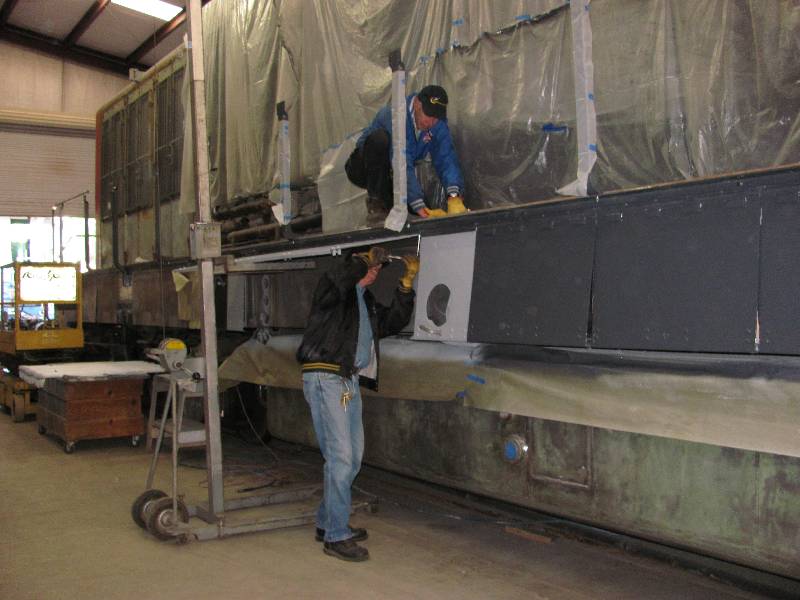
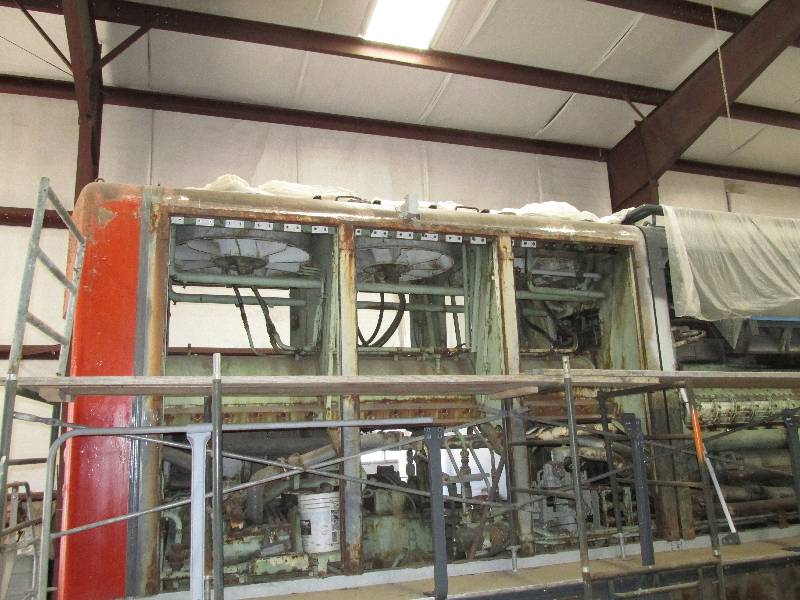
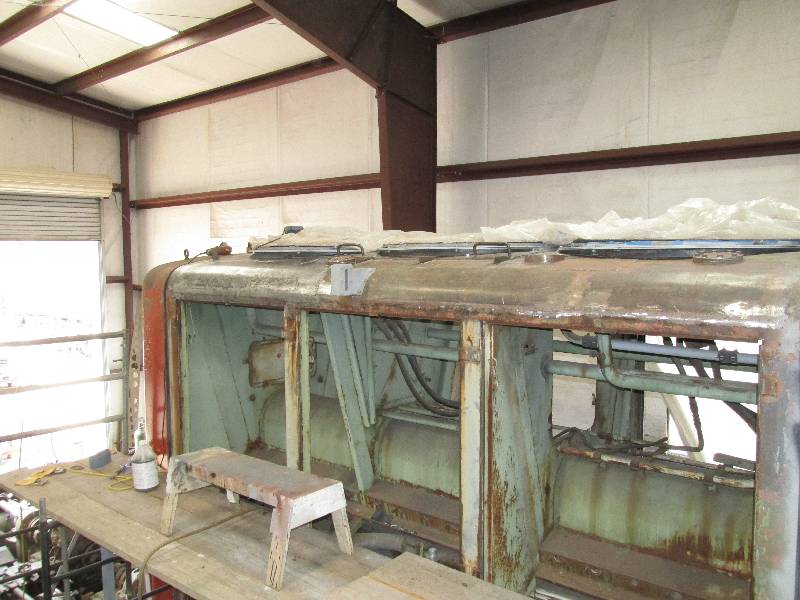
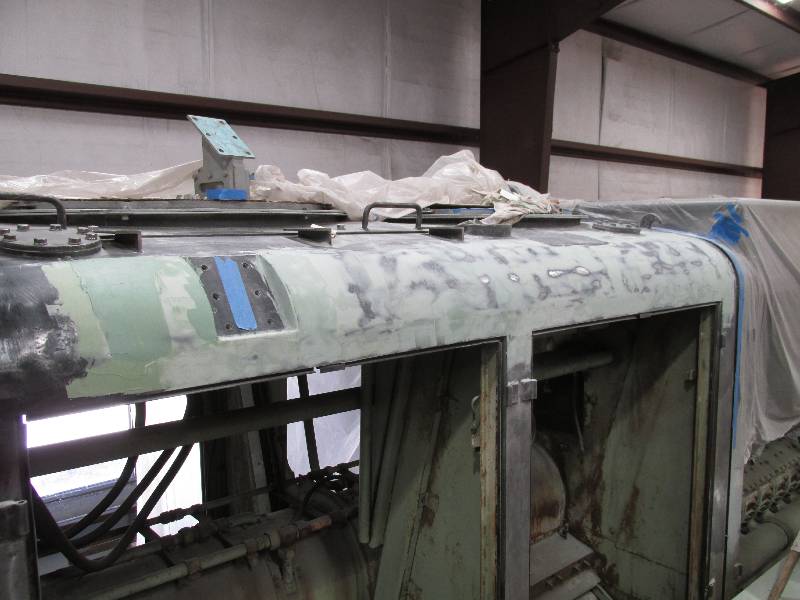
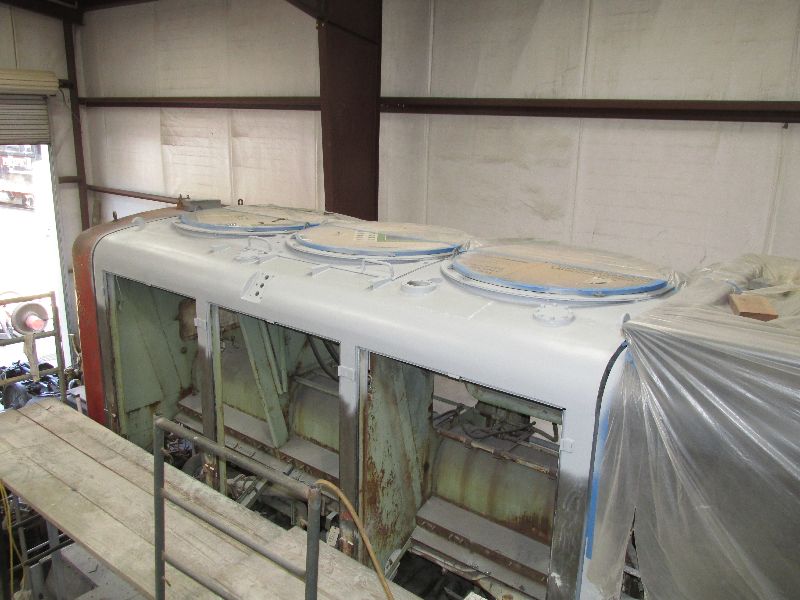
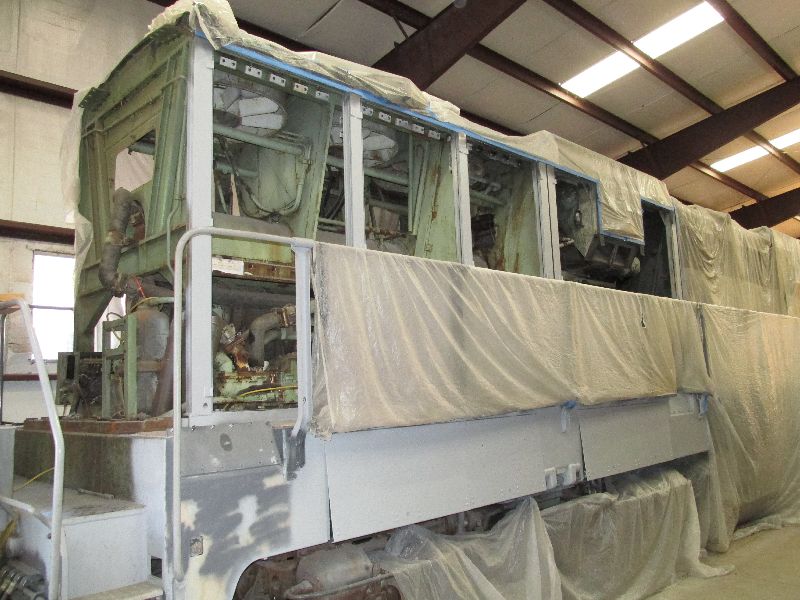
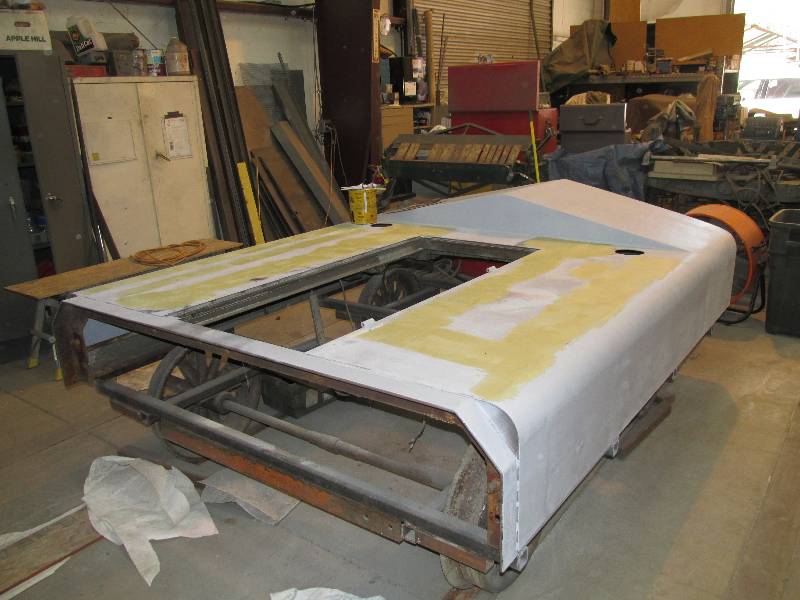
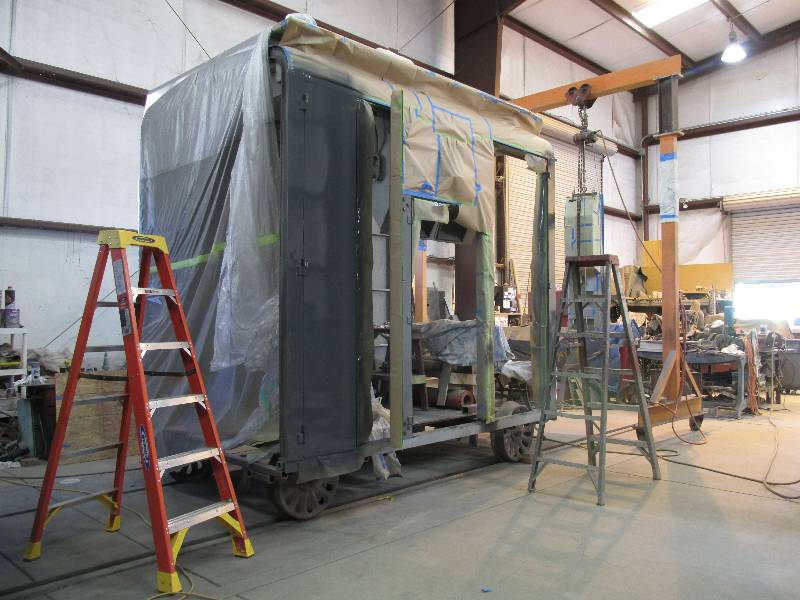
-- Update September 16, 2014 -- Bill has been hard at work on the last of the roof restoration. The metal of this section had suffered some serious damage from the installation of the 'hump' radiator expansion tanks (and the removal of same) and had required significant welding repair. After some serious filling, sanding and a couple of coats of primer and paint, it was done and the scaffolding could finally be removed.
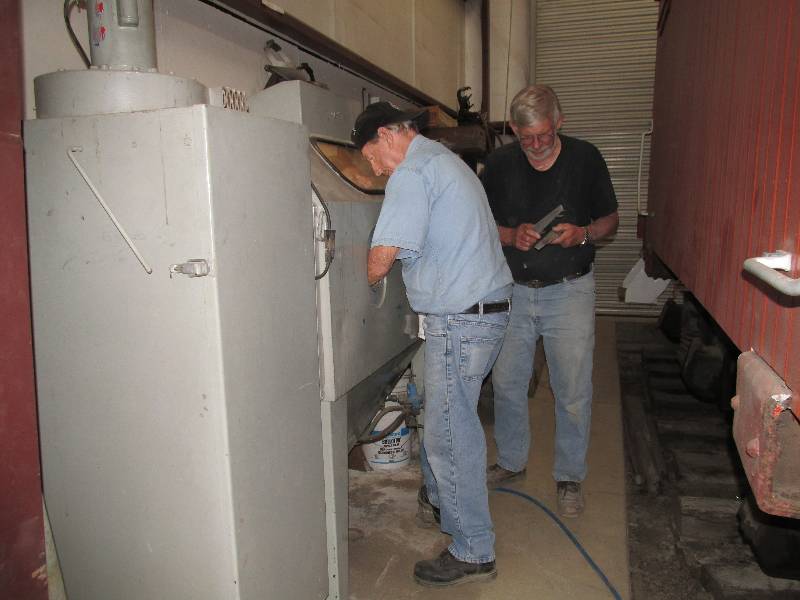
While Dennis steadfastly refuses
to
allow one bit of old paint, body filler, or
rust to remain on the hood doors or shutter assemblies, Rich
has
started working on the cab seats and is putting our bead blaster to
good use.
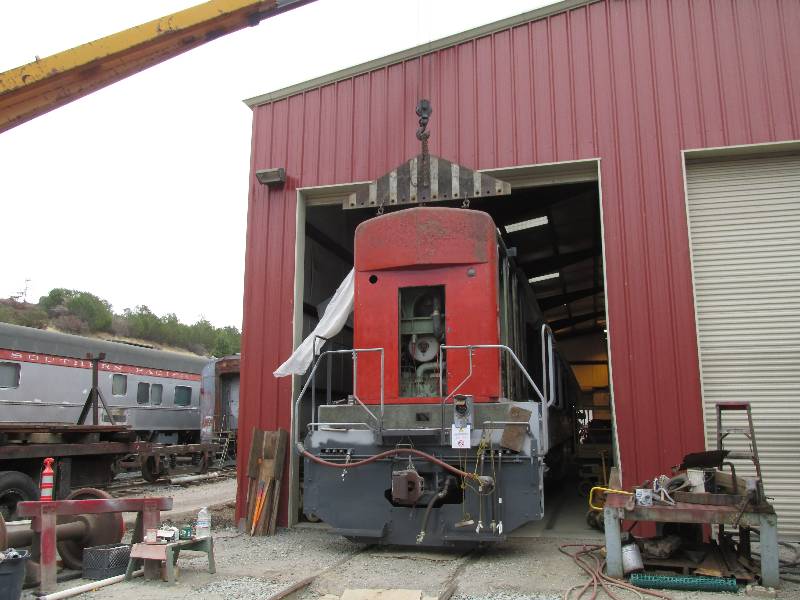
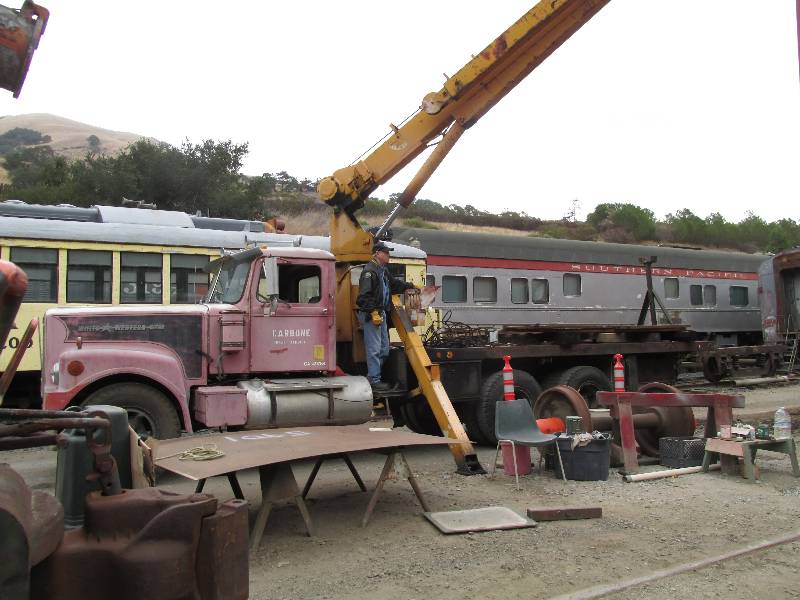
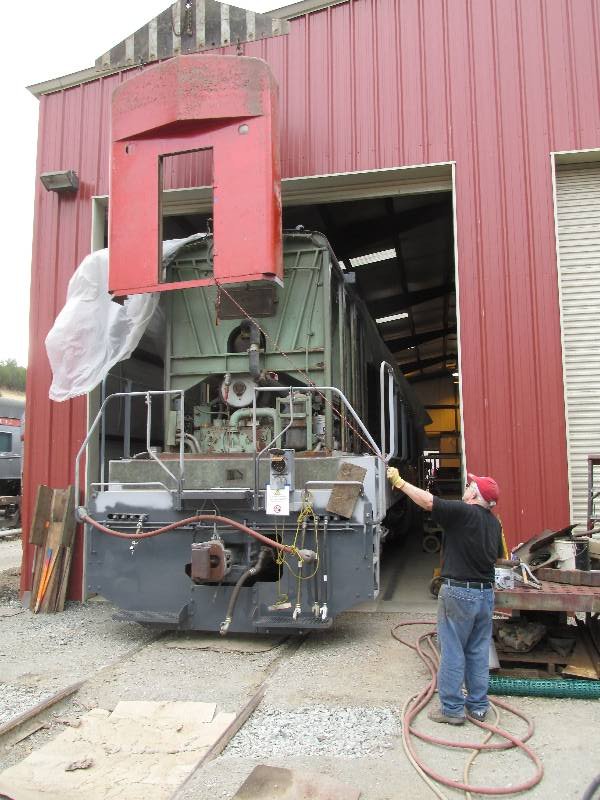
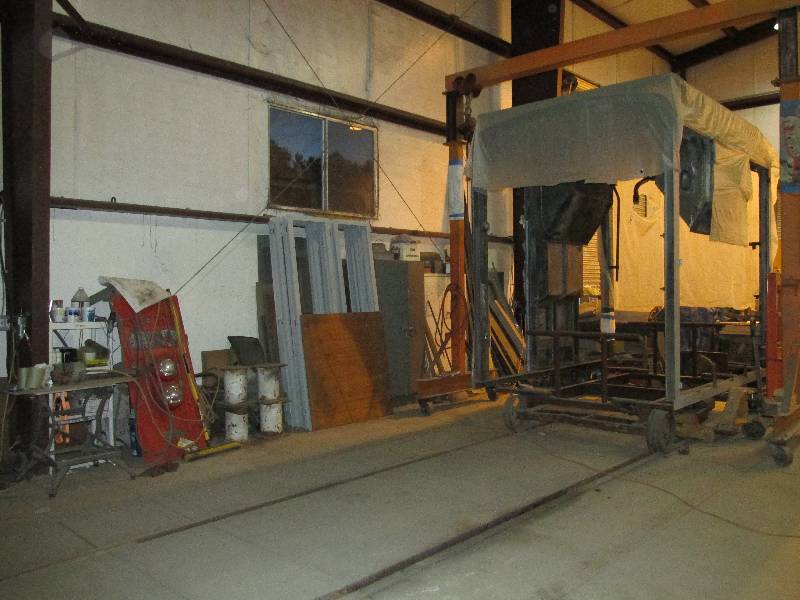
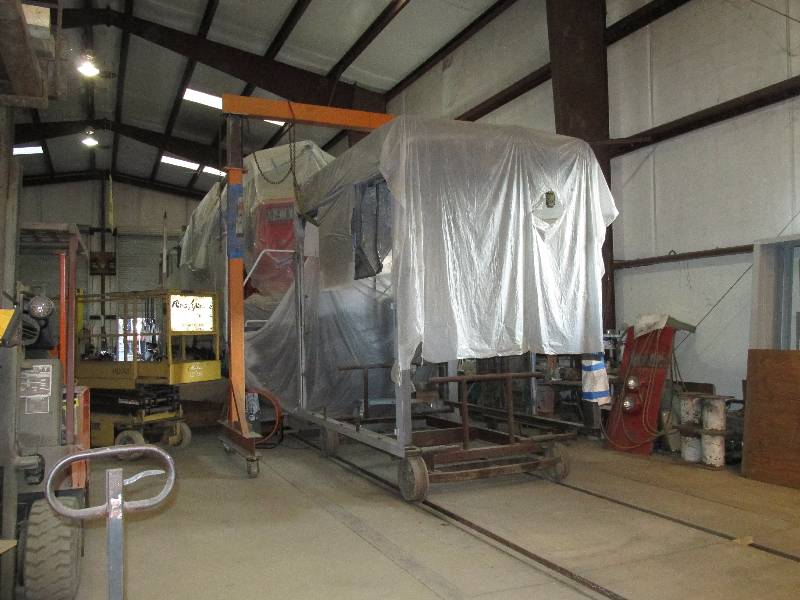
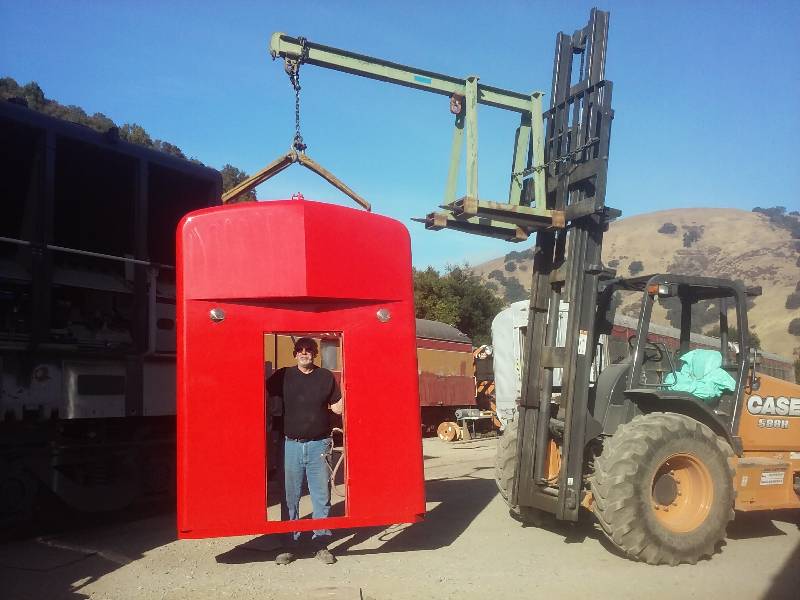
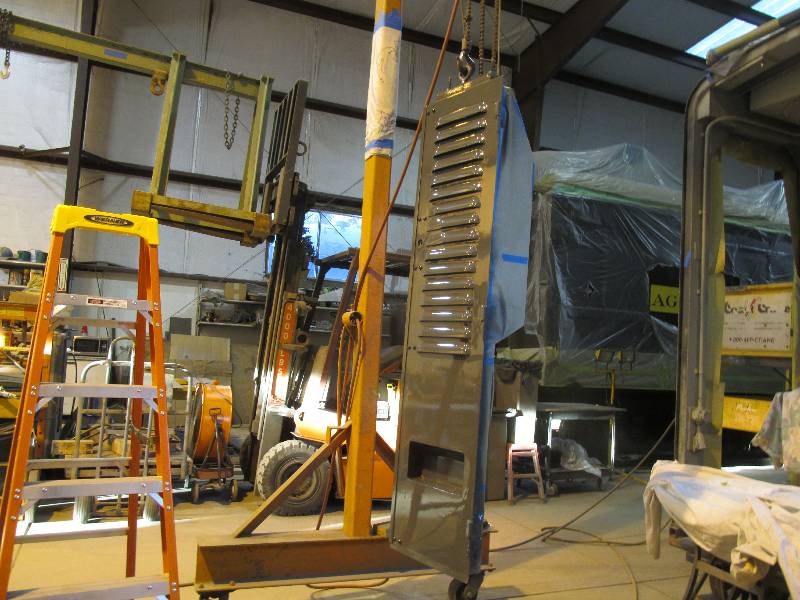
-- Update October 03 , 2014 -- We decided that in order to do the cosmetic work on the rear short hood, it should be removed. After all, it is only held on by 15 bolts and gravity. Well, we tried to pick it up with the shop forklift and found that it would not budge. It was decided that the hood was simply too heavy. So, we moved the 9010 outside and used our "vintage" hydraulic crane to do the job. With Rich on the controls, a slight lift was applied and with a "bang", one side of the hood came up. At first I though we had sheared a hidden bolt but after a good look, we realized that there are 2 locating pins, one on each side, that were frozen in their holes. After a good shake and use of a pry bar, the hood rose easily into the air and the 9010 was put back in the shop. The nose was put on the shop floor where we picked it up with the fork lift and set it on stands in front of the 9010's rear coupler. It hood is now attached to the rear hand rails with planks and clamps so it won't fall over. We now have a good view of the rear end of the transmission and the process of rewiring the locomotive's rear end will be much easier.
--
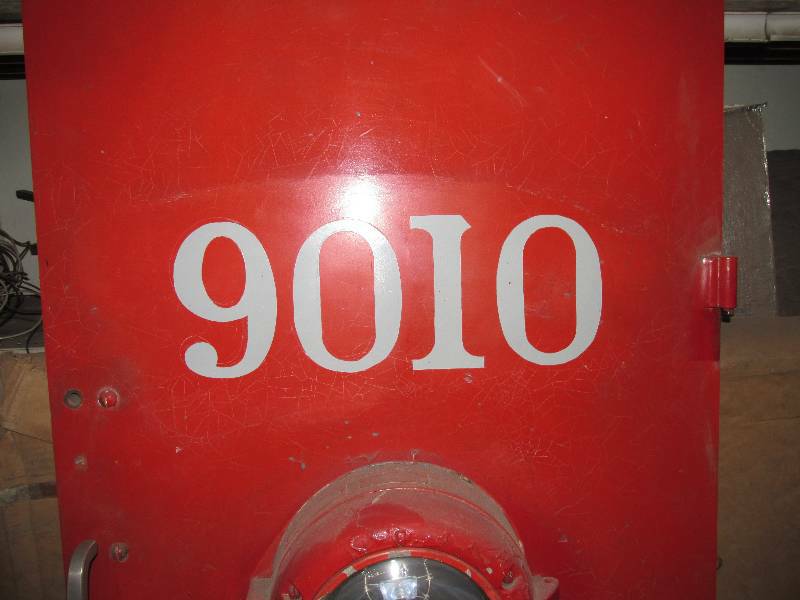
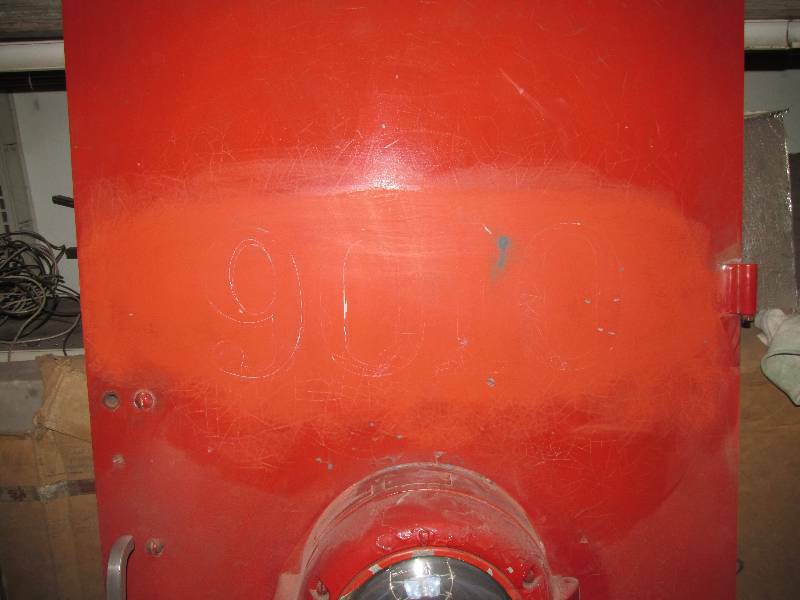
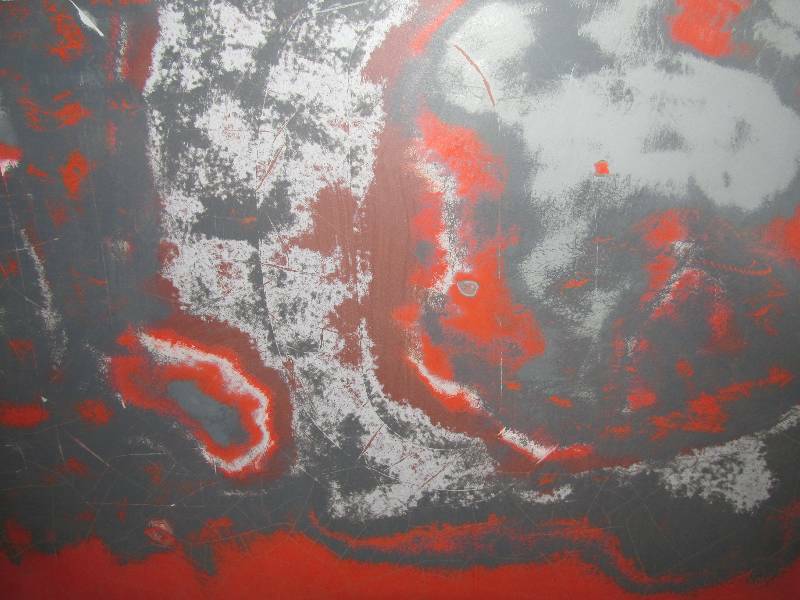
Update November 26 , 2014 --
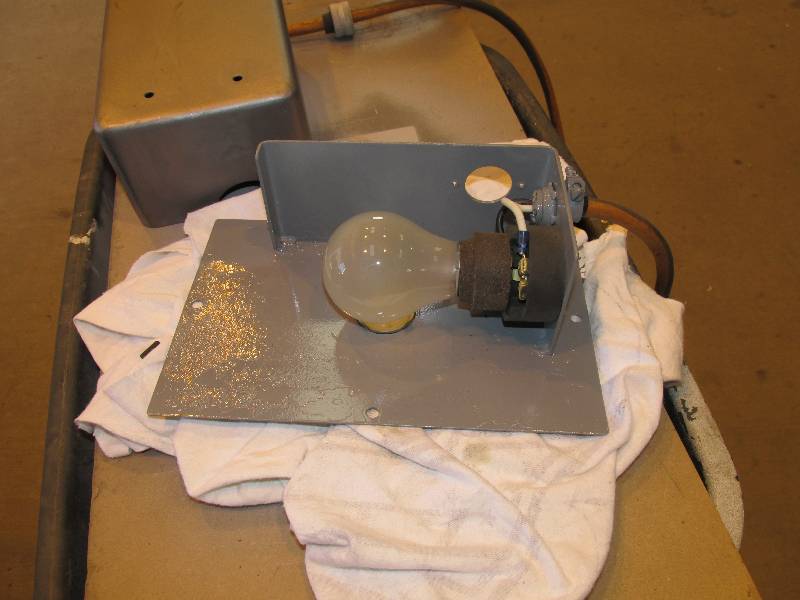
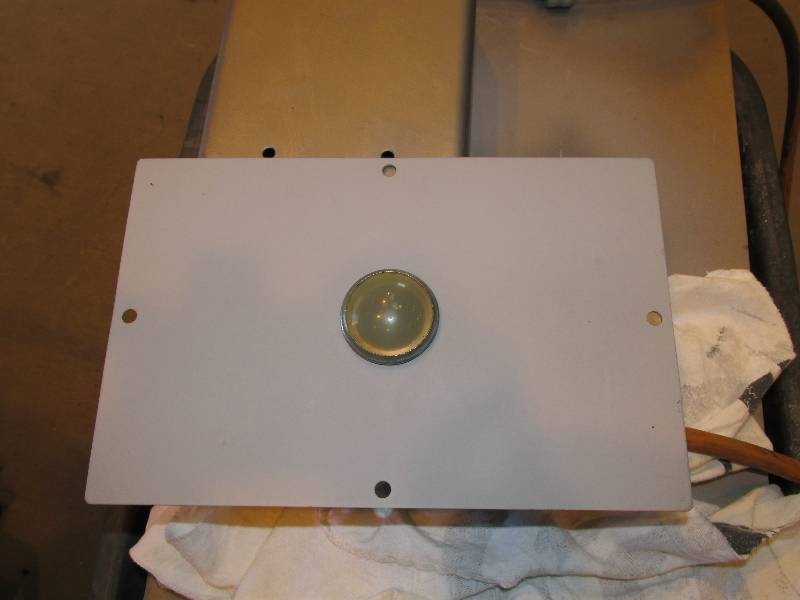
Paint stripping continues. We were hoping to find traces of the "9113" and the original "9010" on the short hood door but there are quite confusing layers of paint that have not been found elsewhere. This will be investigated further as time permits. Denny has taken on the rather large task of stripping the short hood while Mike is working on cooling hood shutter blades. Also at the rear end, Bill has been doing the filler work on the last of the right side frame doors and panels. And, the rear MU light fixture was removed, bead blasted, and had a new lens installed. The plate will be reinstalled when its mounting area is ready for paint.
--
Update February 7, 2015 --
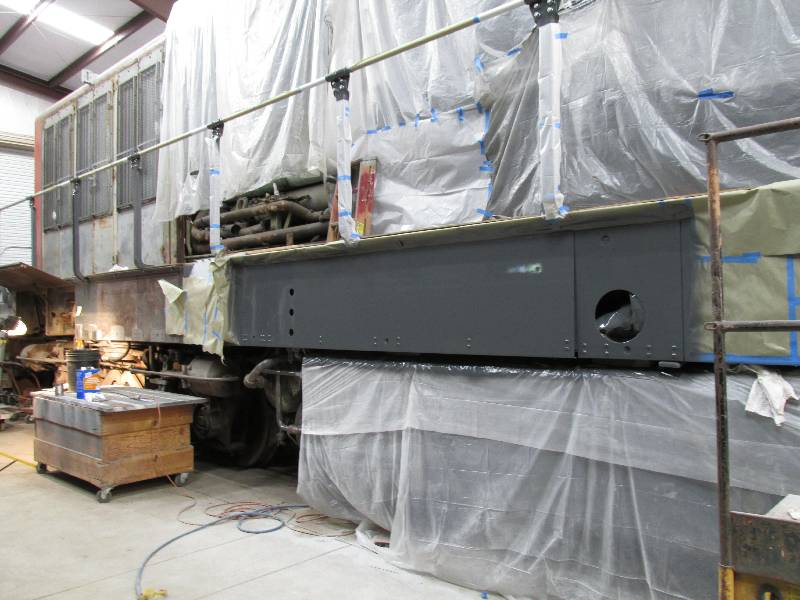
Bill and I finished the last of the frame doors on the right side. The end piece by the steps will be painted when we are finished working in that area.
There were 4 areas on the short
hood that needed replacement. This is due to water getting
between the internal frame structure and the external sheet metal.
The bad areas were cut out, cleaned, treated with acid and
painted. New metal was cut to size and welded into place.
The number 2 engine
hood has been sitting on a cart on the shop floor for nearly 18 months
and now is the time to do something about it since the #2 cooling hood
is back on the locomotive. We moved it down in front of the
9010 and then got it off its supporting cart and onto the shop floor
where it would be easier to work on. Dee immediately went to
work removing all of the nasty old sound deadening foam.
Dennis
and I mounted the last of the old untouched doors to the engine hood.
We did this to check the hinges and make sure the doors fit
properly. These four doors are the last vestiges of the old
Southern Pacific paint.
--
Update October 21, 2018 --
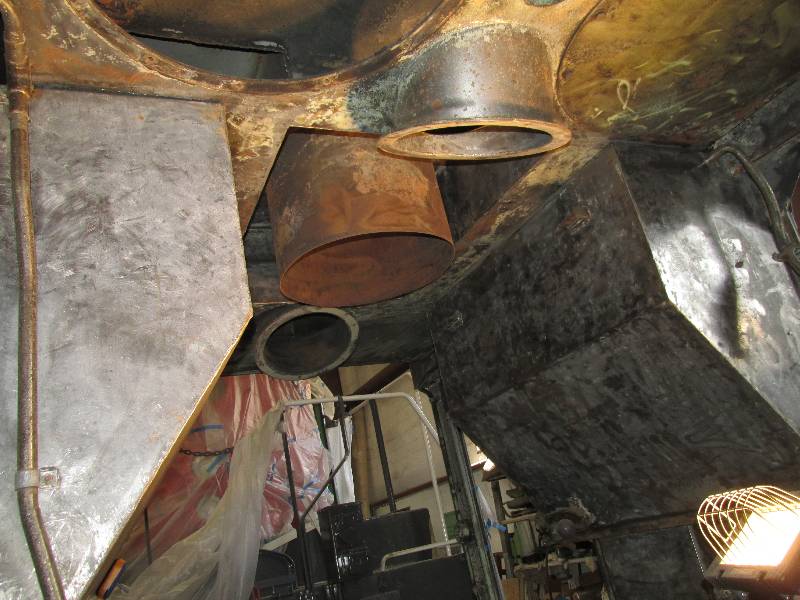
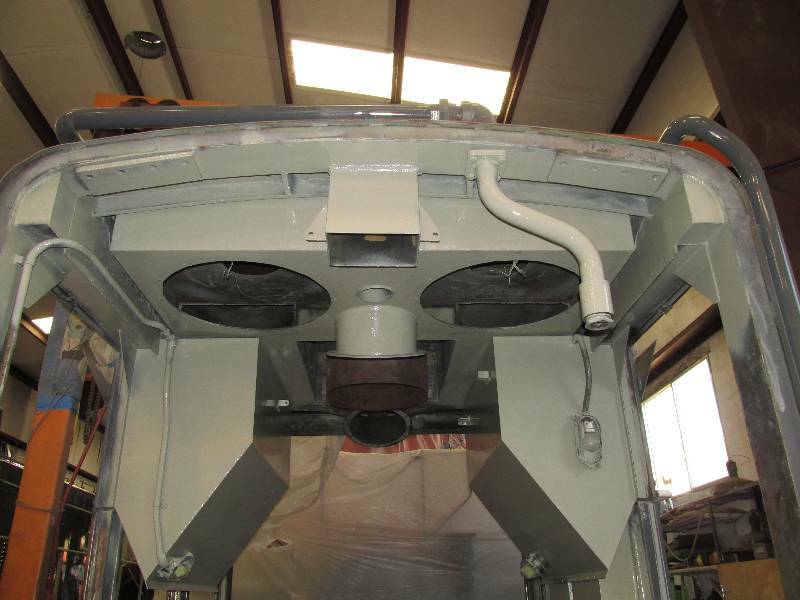
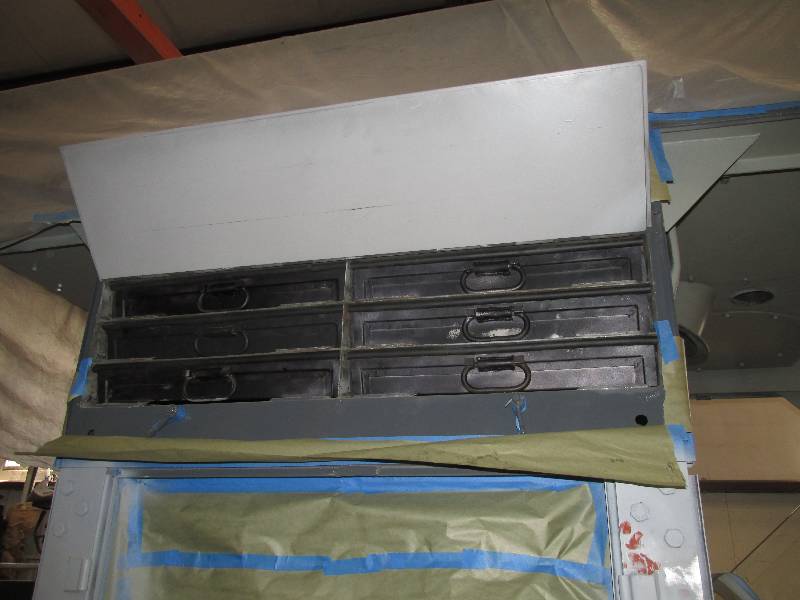
When Dee finished all of the cleaning, we applied a coat of Suede Gray. The open holes in the underside of the hood are where oil bath air cleaners were mounted. The SP removed these cleaners and plated over the holes.
After the oil bath
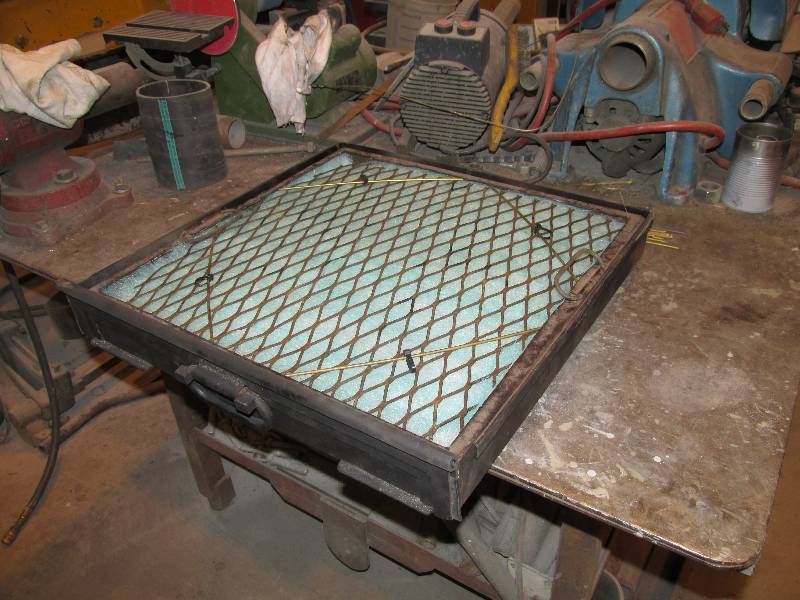
air cleaners were removed, the only engine air filtration was the metal
mesh filters mounted above the short side doors in the hood.
There are 6 of them on each side and they looked like they
had not been cleaned in years. I decided to remove the metal
mesh from 4 on each side and install oiled fiberglass pads.
These
pads will be much more serviceable.
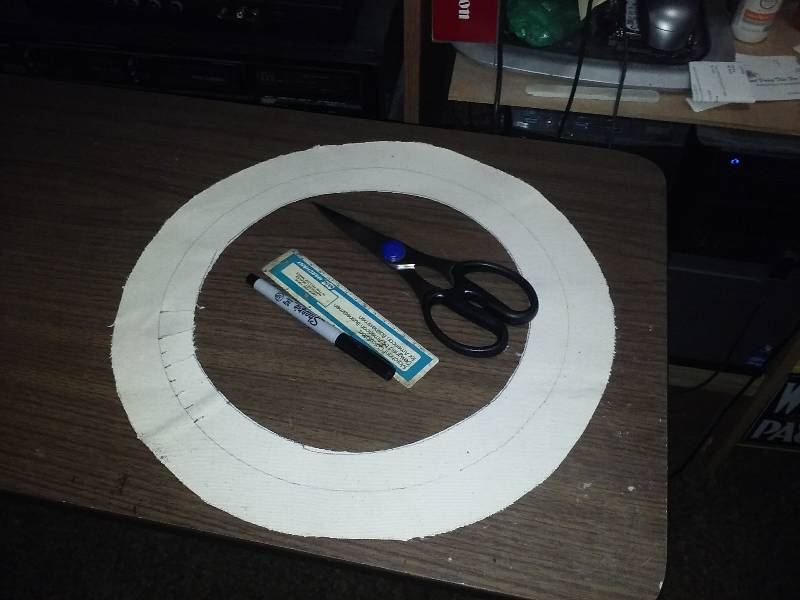
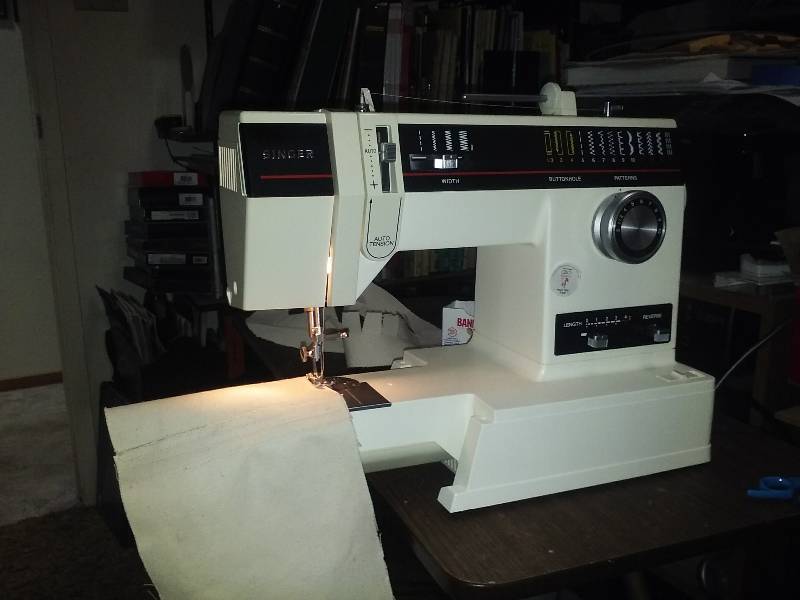
The turbocharger
intake ducts are connected to the hood air plenum by 2 flexible
bellows. Between the 2 engines, there was only 1 bellows that
was remotely usable so I decide to make new replacements using
heavy canvas and my wife's sewing machine.
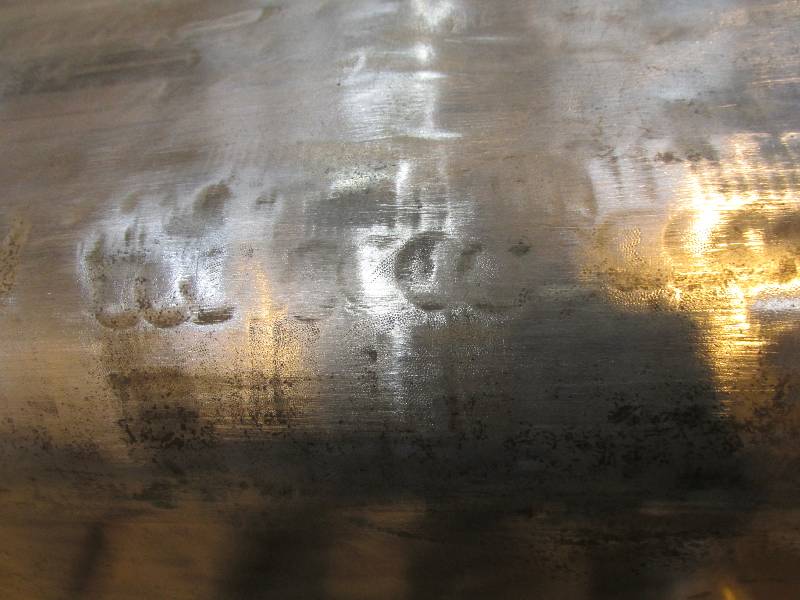
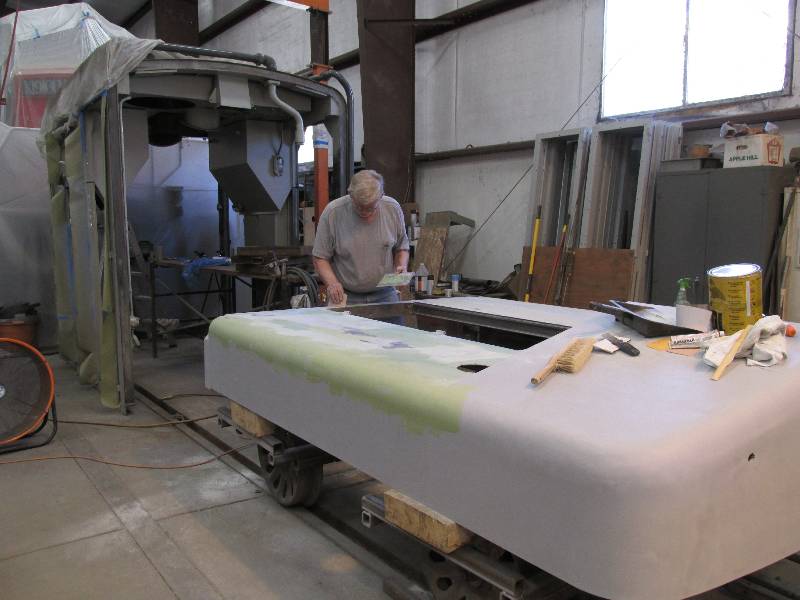
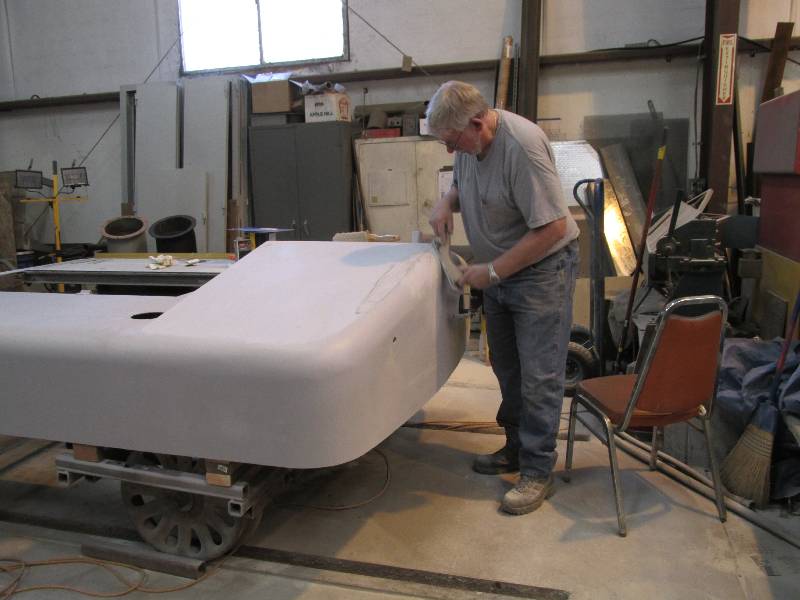
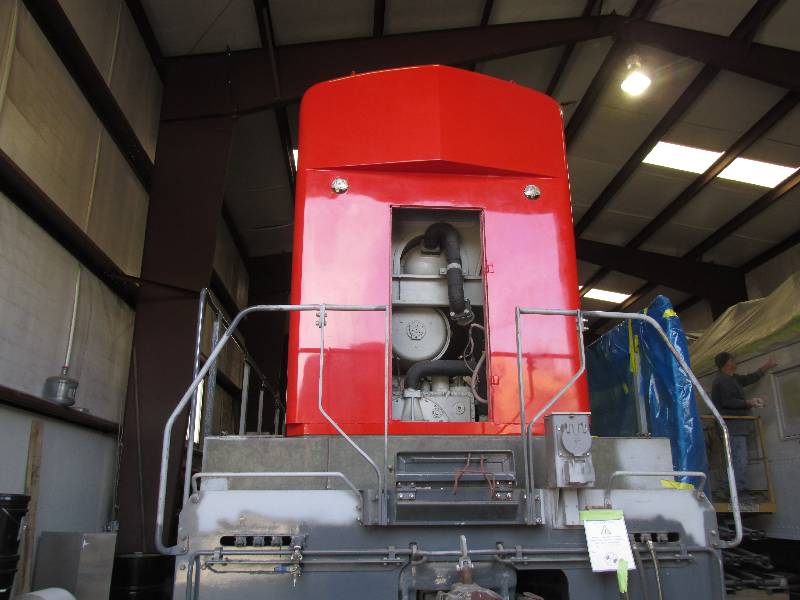
We also needed to
finish the work on the short end hood. It was positioned in
the
space that the engine hood just vacated. We first attacked
the rounded surface at the top of the hood. According to the
presence of hammer marks on the metal, it was originally
formed or
at least fine tuned over a wooden form. KM had simply applied
a thick layer of body filler all over such surfaces but I would rather
eliminate minor irregularities by using a belt grinder and a 36 grit
sanding
belt. Next, the hood was given a heavy coat of self etching
epoxy primer after which Bill began the filling and sanding.
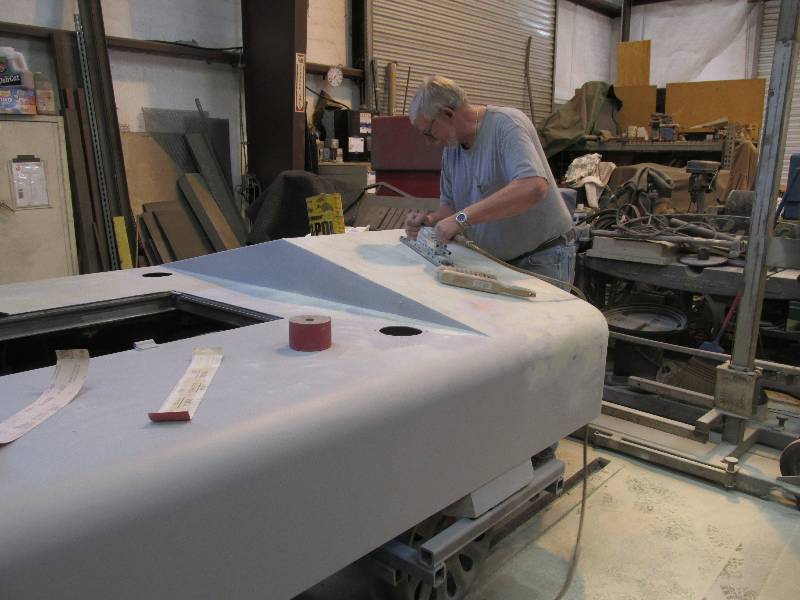
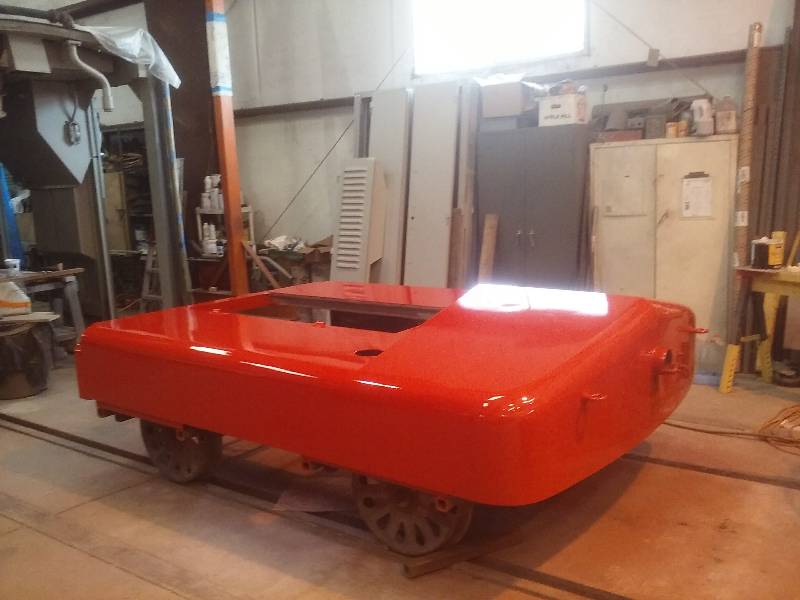
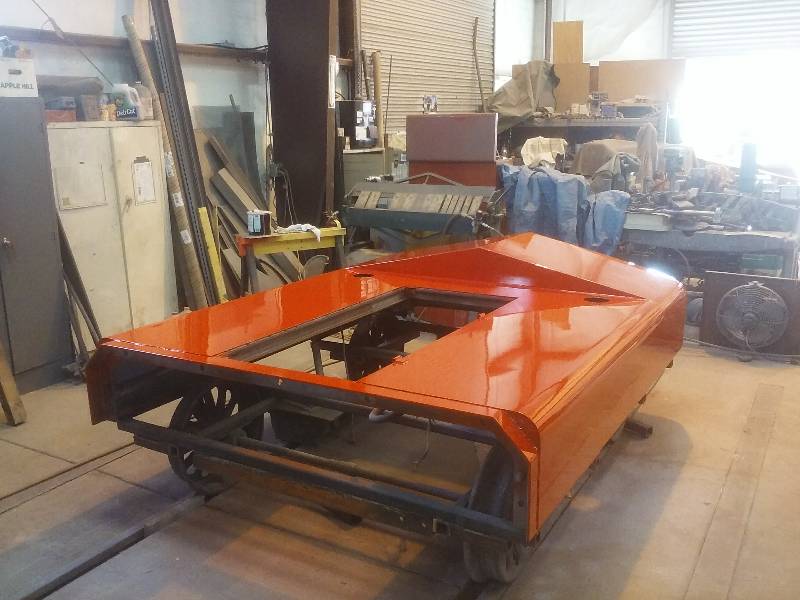
When
Bill finished the body work, I applied a couple of coats of SP scarlet
to the hood, hood door and headlight parts. We then mounted
the
hood on the rear of the locomotive where it belongs. The
orange
color of the hood in the first 5 photos is due to the lighting in the
shop.
--
Update December 22, 2018 --
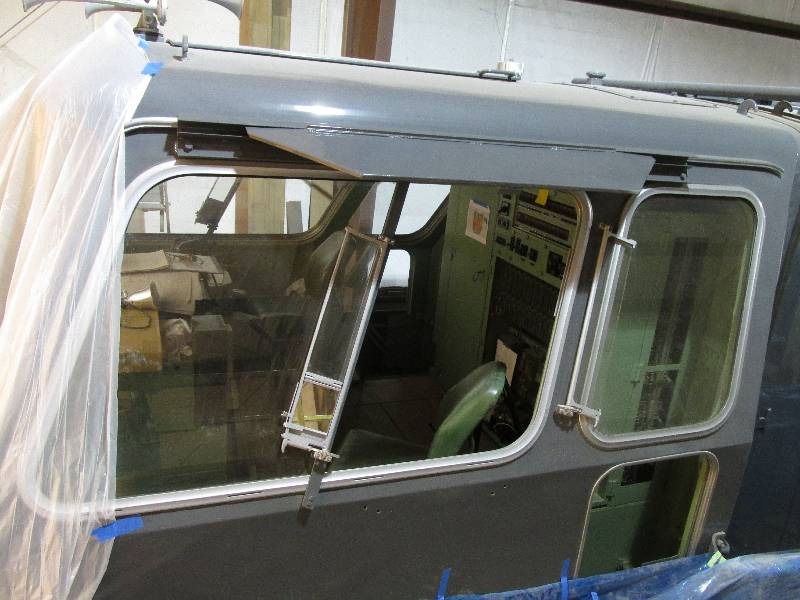
We had to manufacture tracks for the window shades that were a characteristic of SP locomotives. Luckily, we had a pair of the shades in storage and after test fitting the tracks and painting all of the parts, the shades now have a new home on the cab. The intermediate gear oil sight glass bracket was missing from the front truck so I made one and welded it to the left side front truck frame. Primer and paint were then applied to the truck and the sight glass assembly bolted into place. The sight glasses assemblies were made several years ago and it was nice to finally have them both mounted.
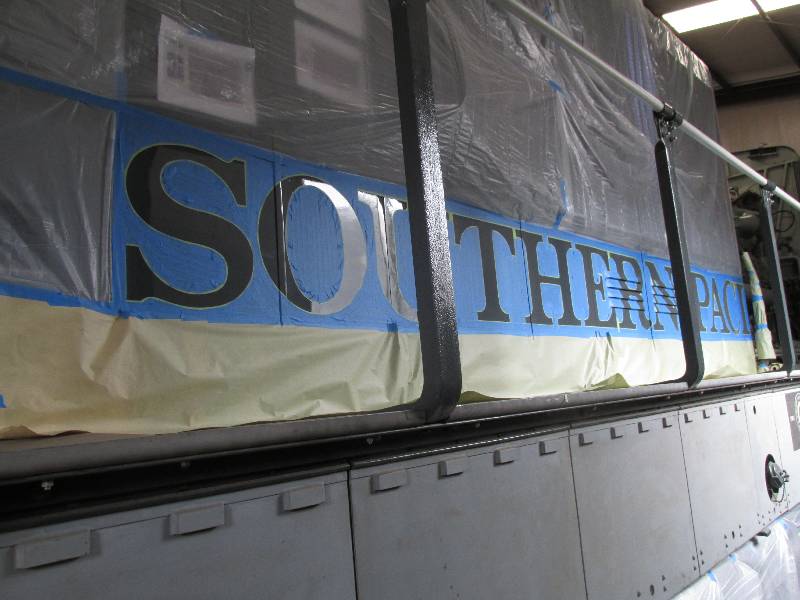
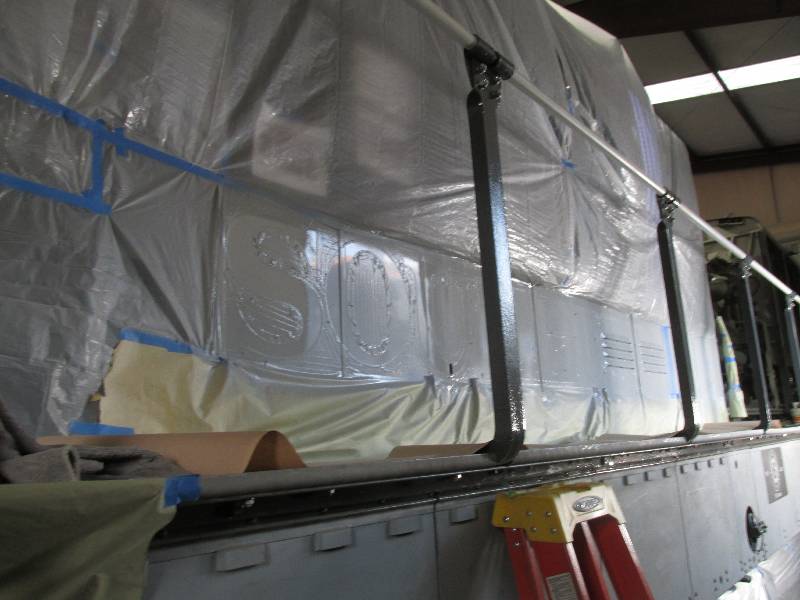
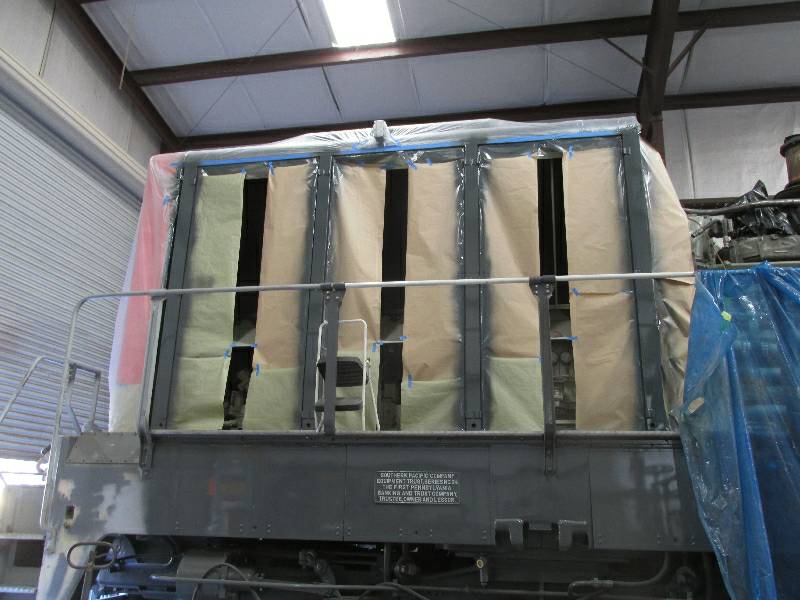
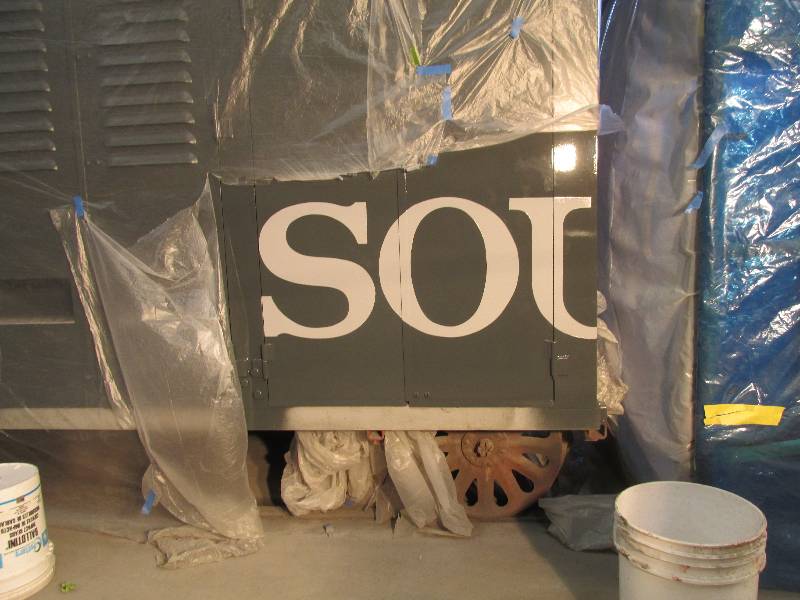
We got back to work
on the number 2 engine hood doors and painted on the first of the
"Southern Pacific" lettering.
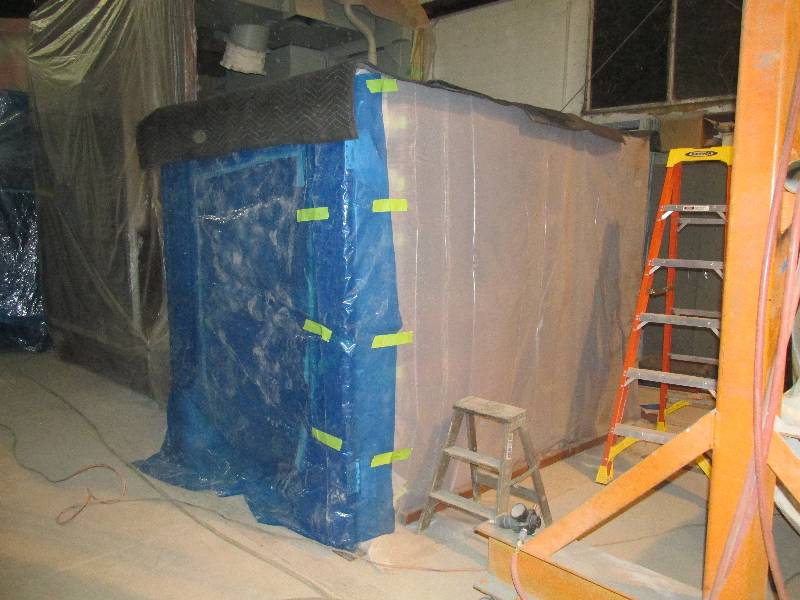
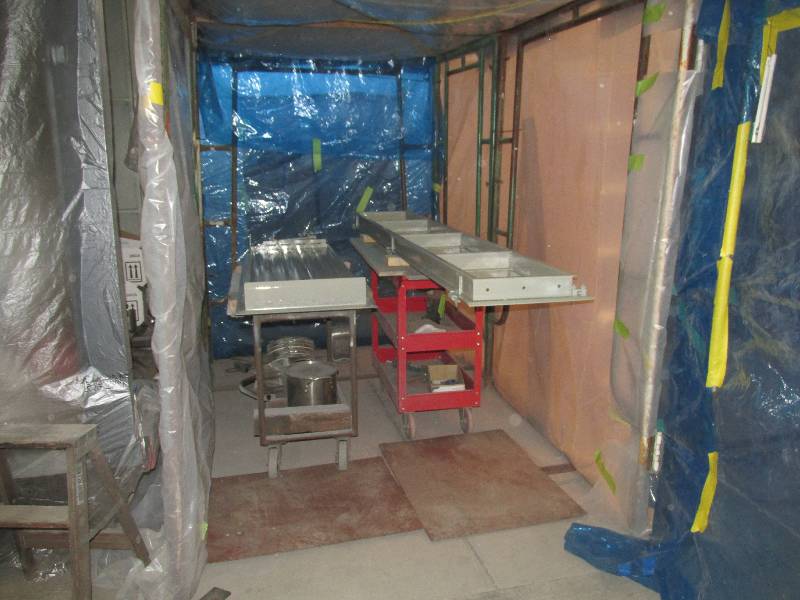
Painting this time of
year (November) is usually difficult because of the temperature.
It can easily get to 35F in the shop at night and rarely gets
above 60F during the day. Polyurethane shoots and cures
nicely above 50F but alkyd enamels are pretty reluctant to set up at
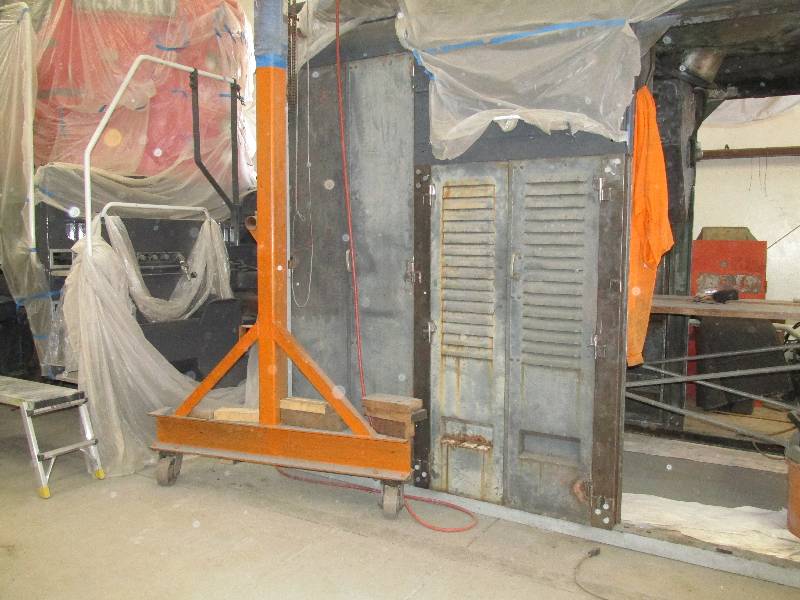
the lower temperatures. In order to dry the alkyd paint being
used on
the inside of the doors and shutter assemblies, we built a warming room
out of scaffolding and plastic sheet. A small electric heater
keeps the interior toasty.
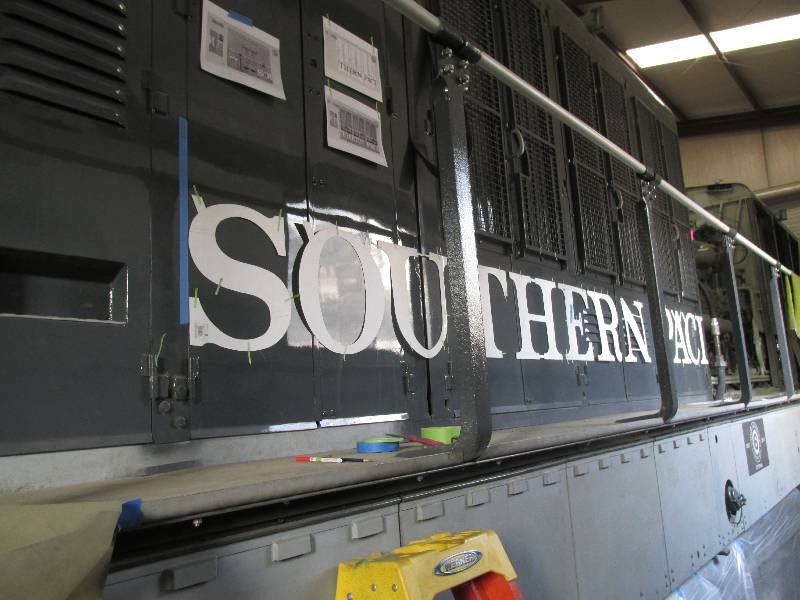
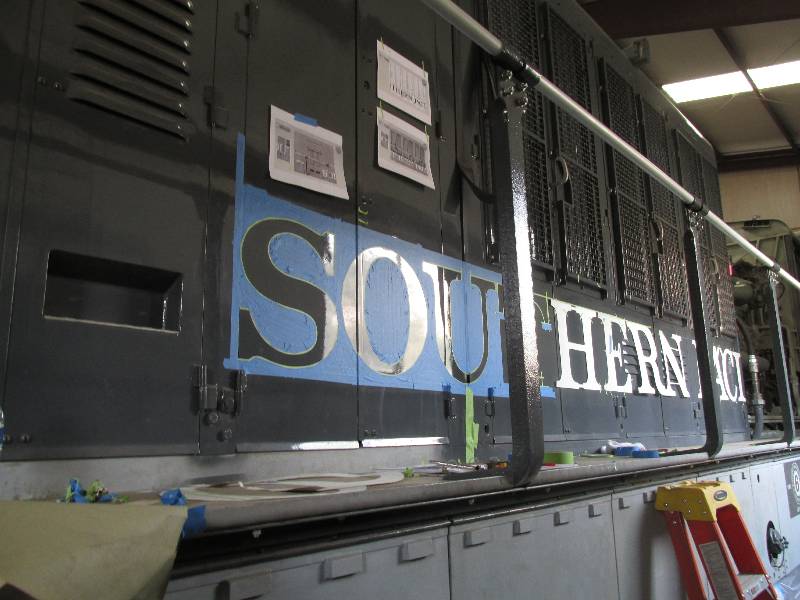
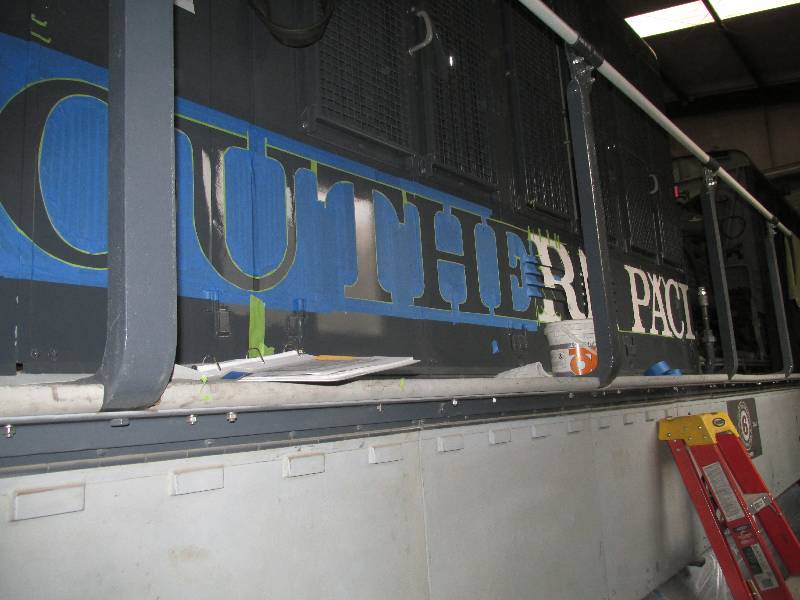
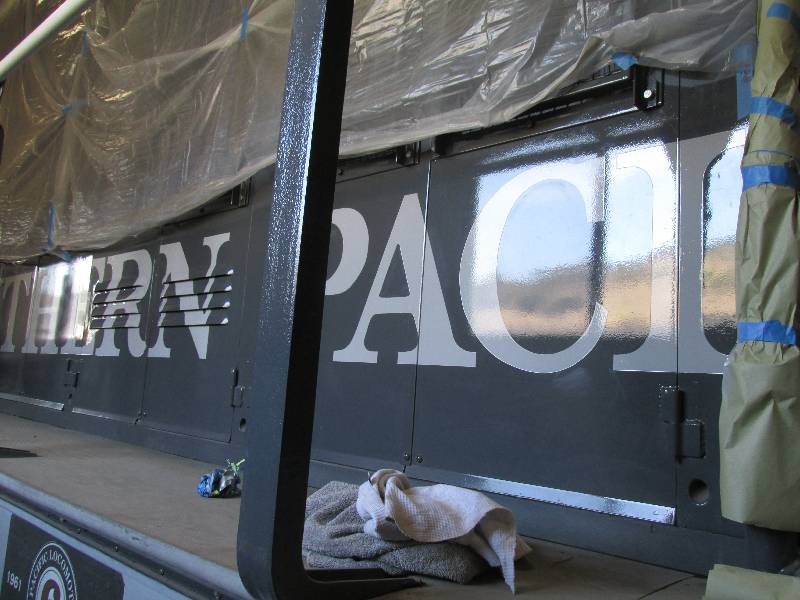
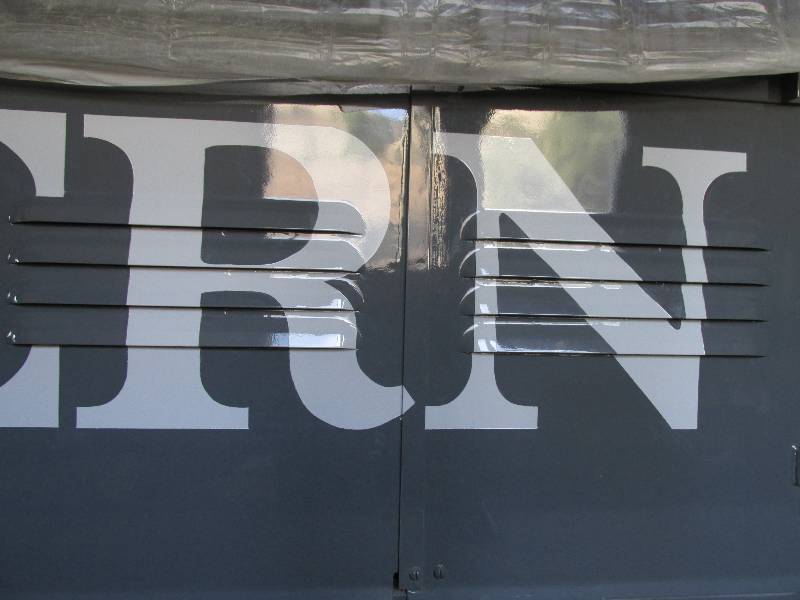
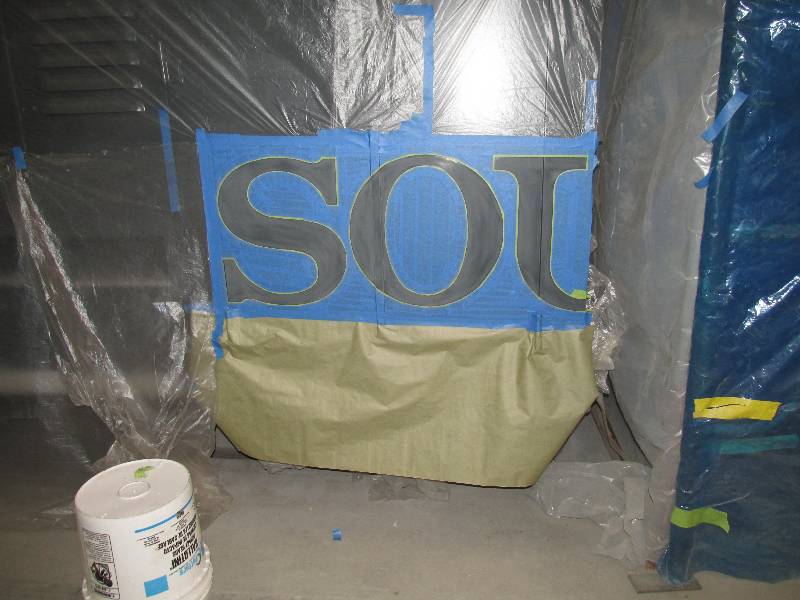
Work on the lettering on the long hood is also under way. This is pretty hard to do because it is located only about 10" above the surface of the walkway but the left side hood was eventually all masked, painted and unmasked.
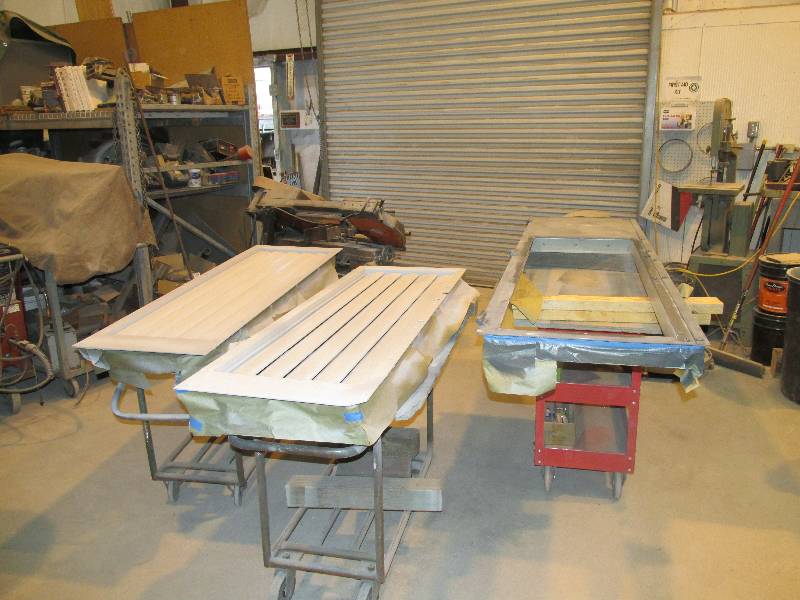
There are 12 doors
left to paint. These 12 are for the number 2 cooling hood
that was sitting on the shop floor.
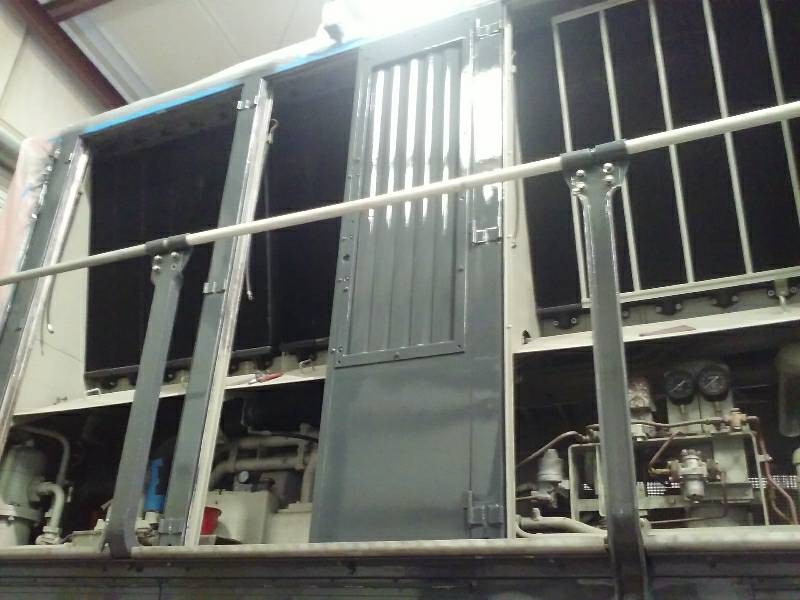
In addition to work on the doors, it was necessary to repaint
the
hood. Actually, the hood has been painted 3 times!
First
time was back when we had no idea of actually running the #2 engine.
Second time was after radiators had been installed and some
leaks
were discovered in the top tanks. And the last time (I hope)
was
when I discovered that the paint applied the second time was not a good
color mix. It was so much easier to paint it when it was on
the
shop floor instead of 10 feet in the air but, you do what you have to
do.
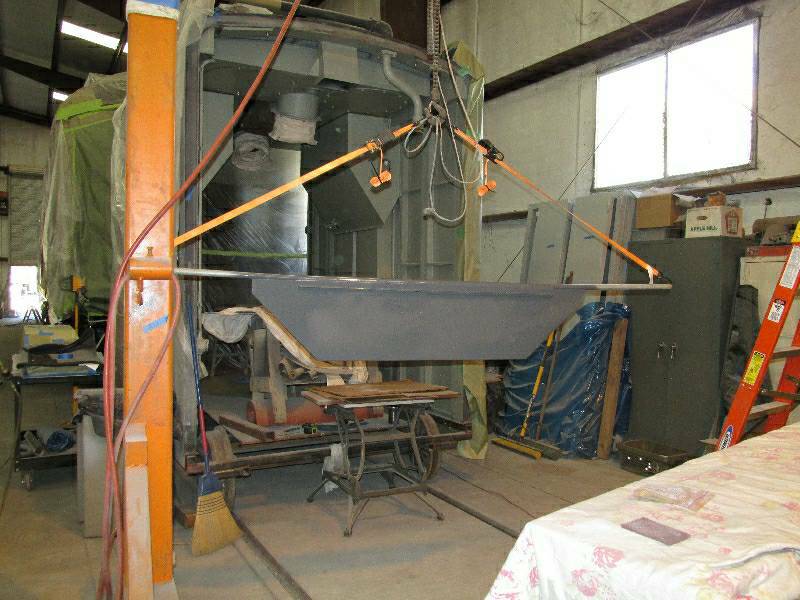
We assemble the doors
laying down flat and then hang them from our gallows to paint.
They are then transfered to the shop fork lift to mount them
on the hood. While the door work is going on, letting
continues. The letters on the #2 engine hood are now finished
which completes the work on that hood. It will be reinstalled on the locomotive later.
Return To Main Page |