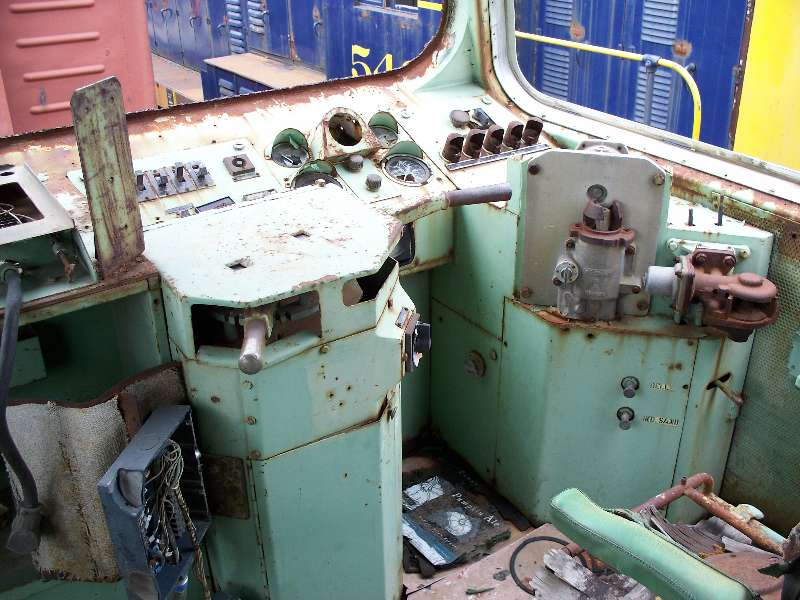
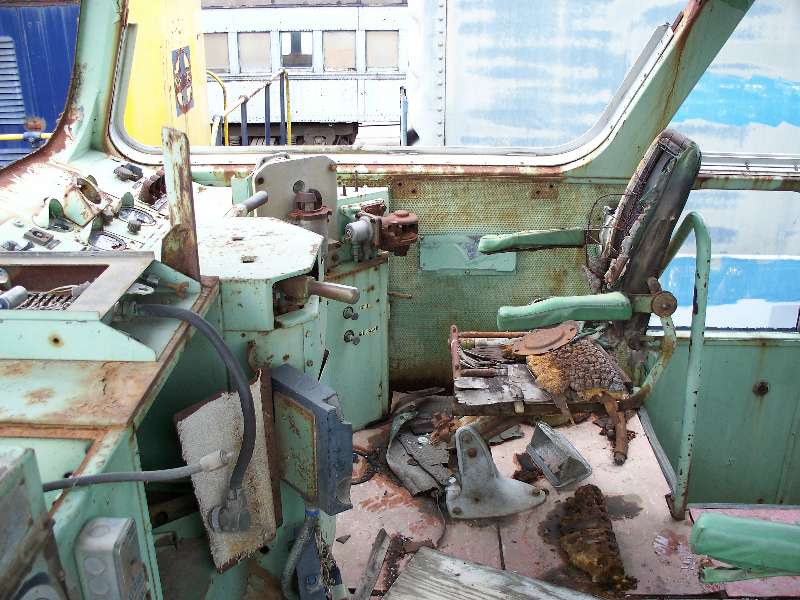
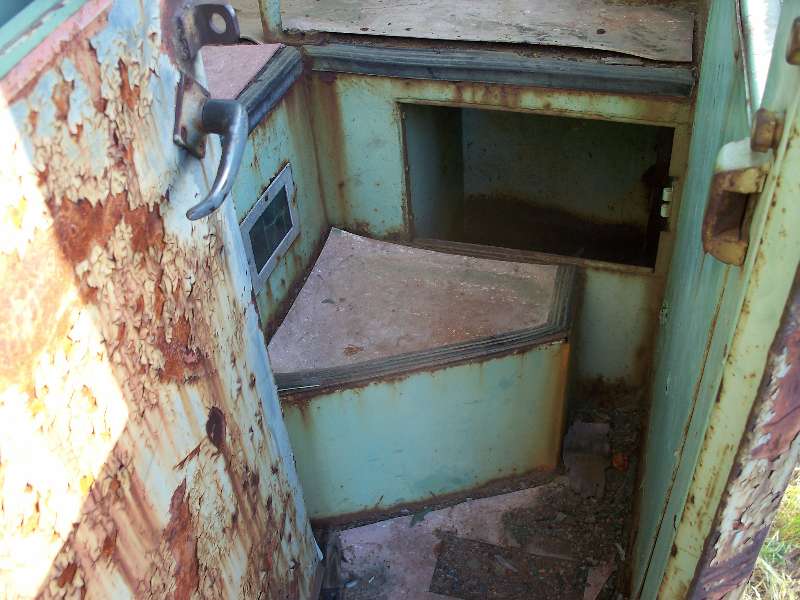
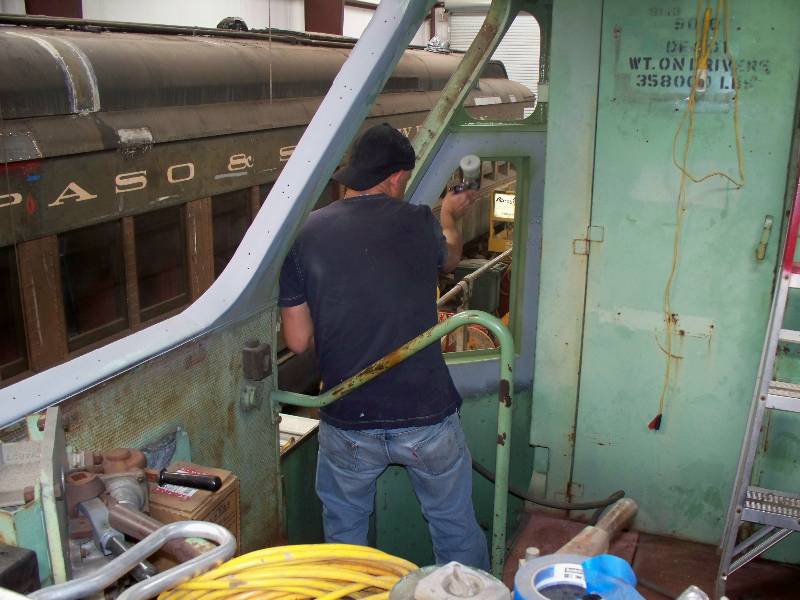
Cab Interior Work
Page 1
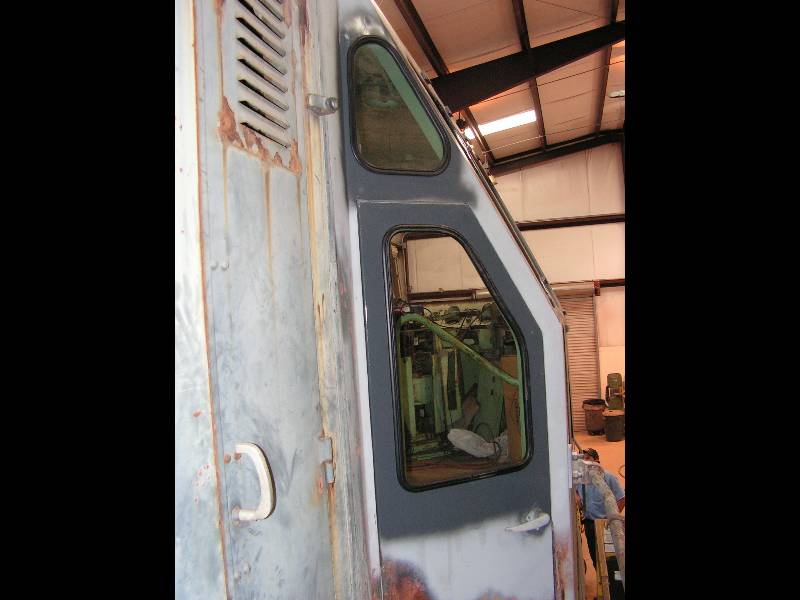
The cab of the
locomotive is in
pretty sad
shape. Because all the windows had been removed 20
years
ago, the interior has been exposed to the elements. Open
doors to
the cab have let in anyone interested in stealing anything of interest
or potential value. Nearly all the gauges and lamps are
either
missing or smashed. Any wire larger than #14 is
gone. But,
it has the feel of a foreign built locomotive and the potential to once
again look like it did way back in 1964.
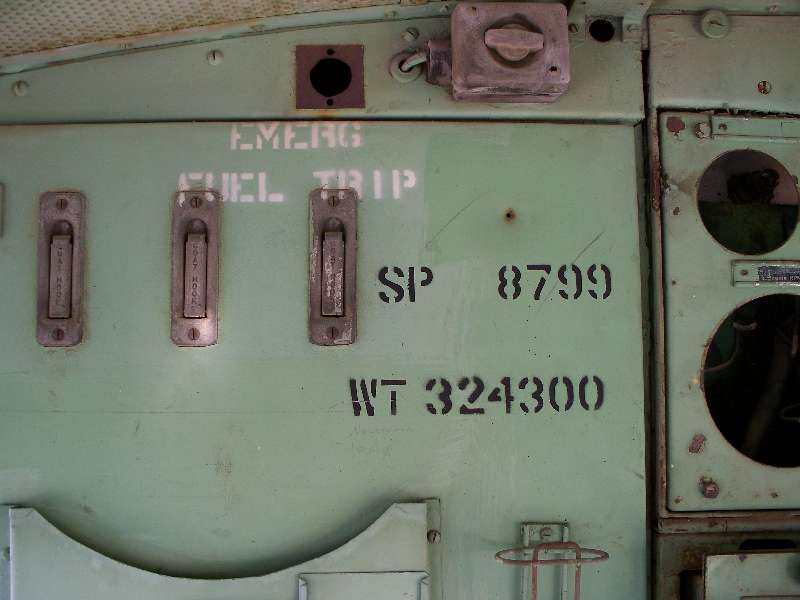
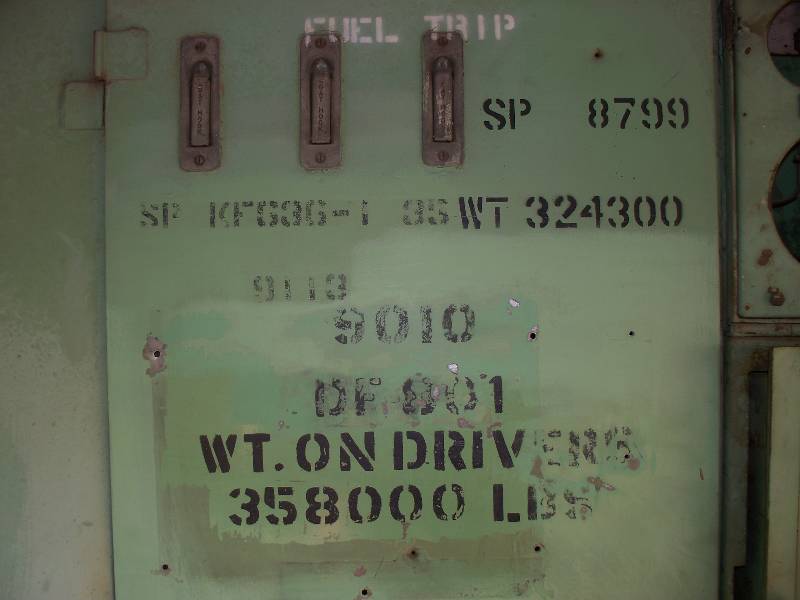
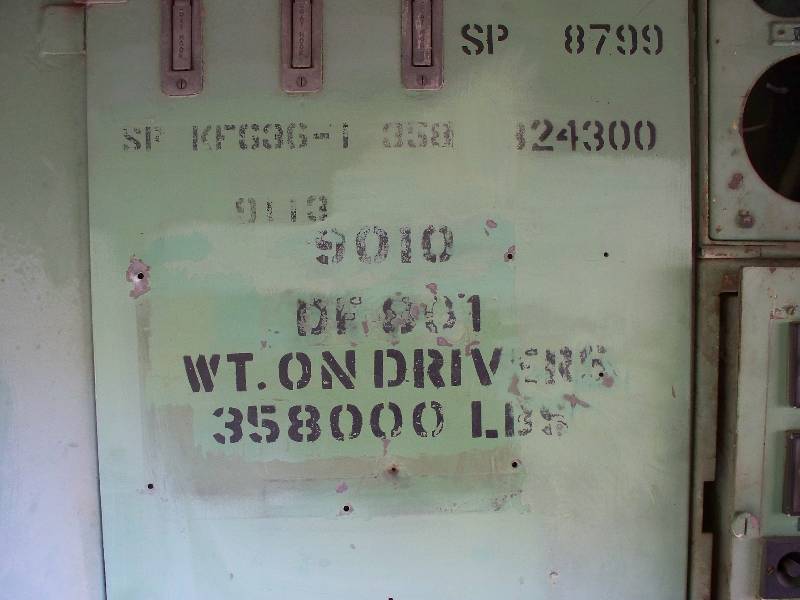
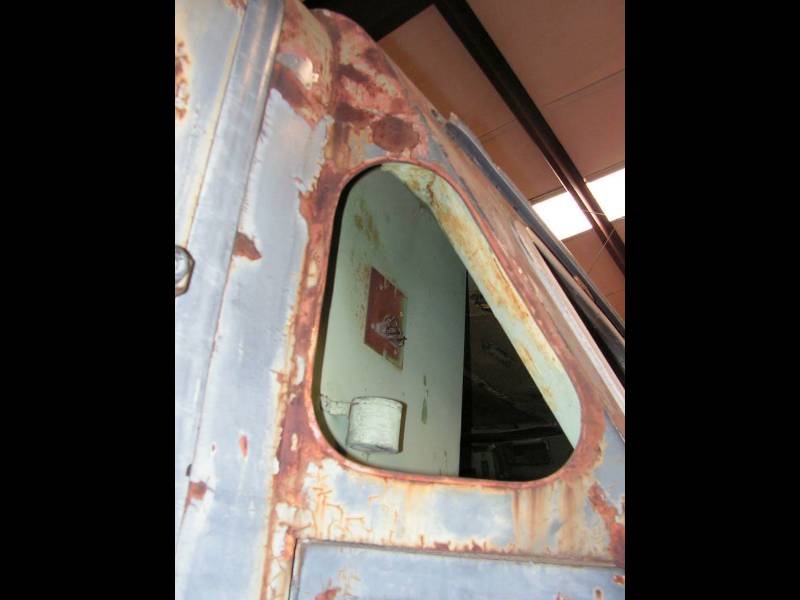
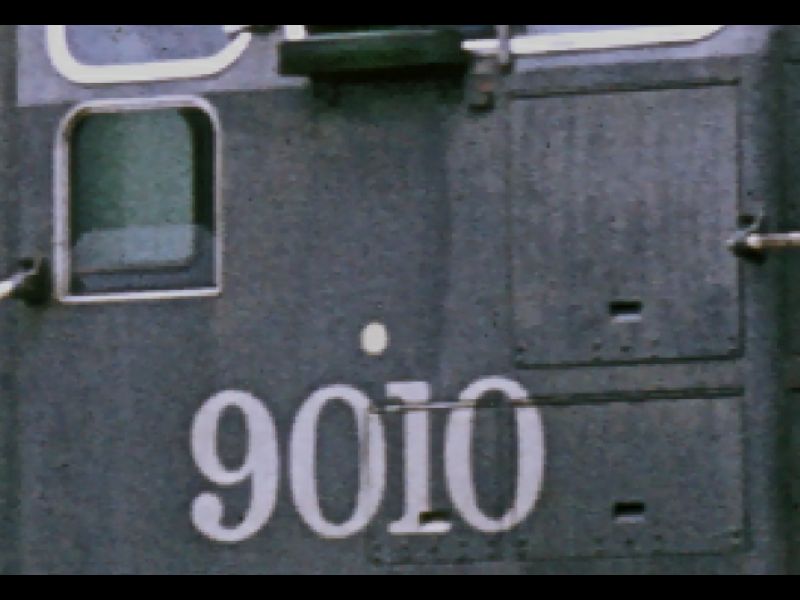
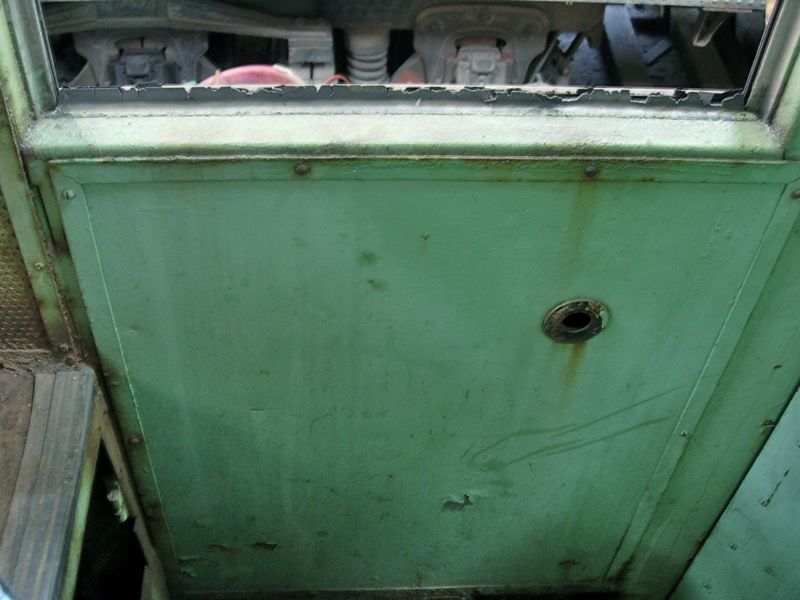
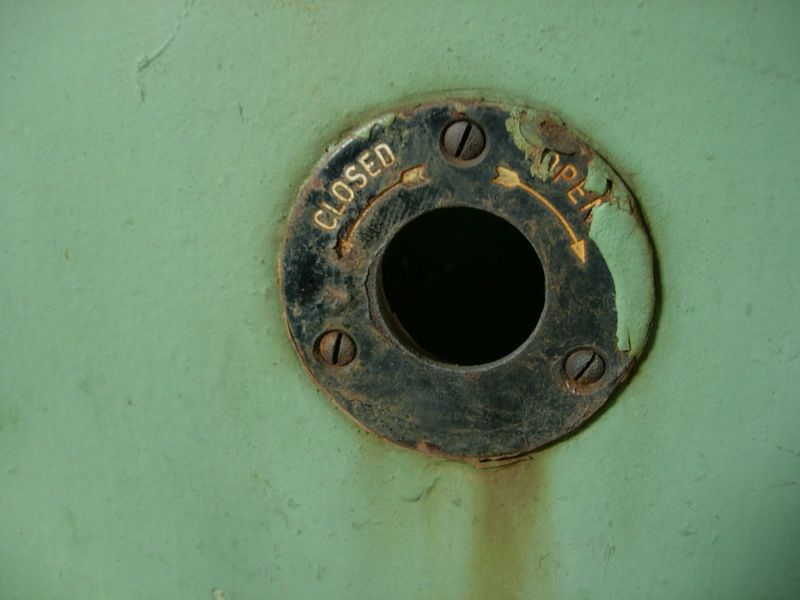
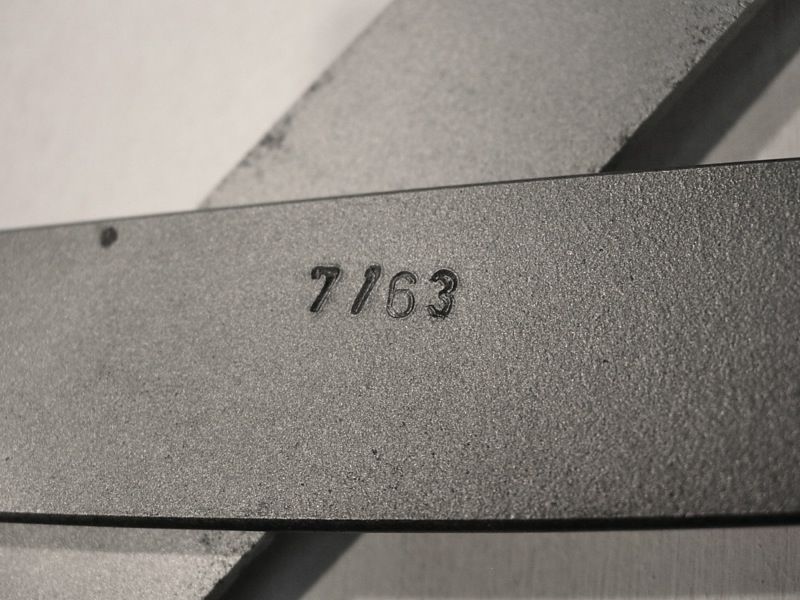
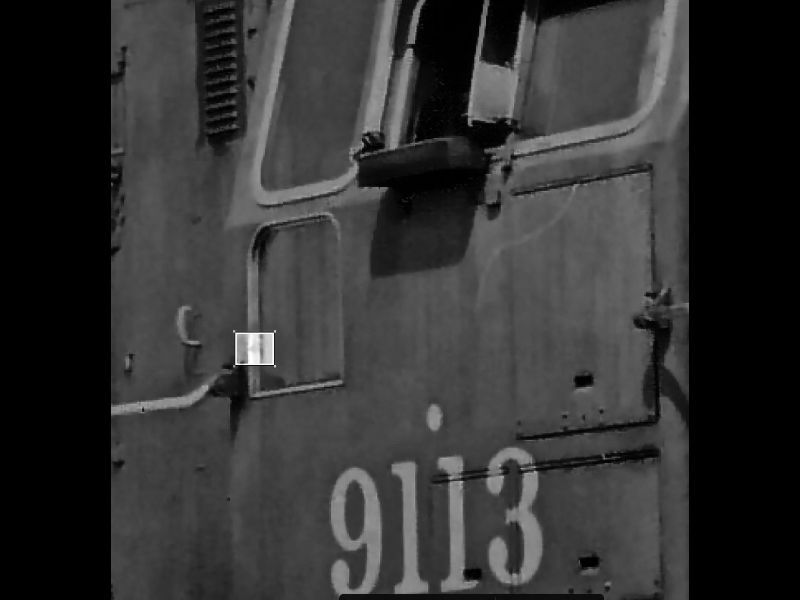
Part of restoration is documentation of evidence of the artifact's past. In the case of the 9010, I decided to do a little "sandpaper archeology" on the cab door where there was some stenciling. What I found was the entire history of the locomotive contained in 3 coats of paint. First was a coat of good looking glossy enamel green with the 9010 stencil on top. Second was a coat of semi-gloss green with the 9113 lettering on top. Finally, there is a coat of flat green that looks like it was applied with a brush. The 8799 lettering was on this surface. 1964 - 1965 SP 9010 class DF-801 (Diesel Freight) 1965 - 1969 SP 9113 class KF636-1 (Krauss-Maffei Freight, 6 axle, 3600 horsepower) 1969 - now SP 8799 class none on the door (within the SP, it was class "camera") Note the weight decrease between the 9010's 358,000# and the 324,300# of the Camera Car. This decrease resulted from the removal of the front transmission and all the ancillary equipment from the number one radiator room The weight for the 8799 is on top of the 9113 lettering so I documented that in photo 1 before sanding any further. Photo 2 shows the "358" of the 9113 weight but there are no zeros after it.
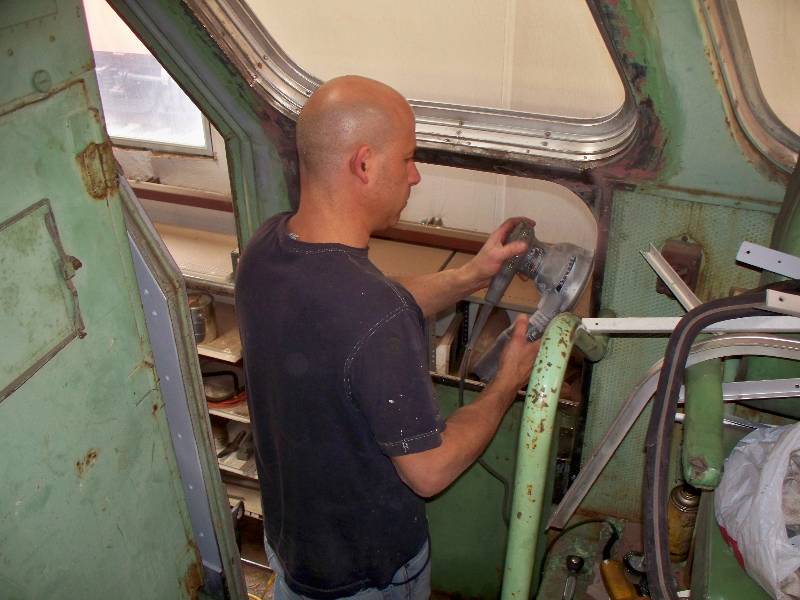
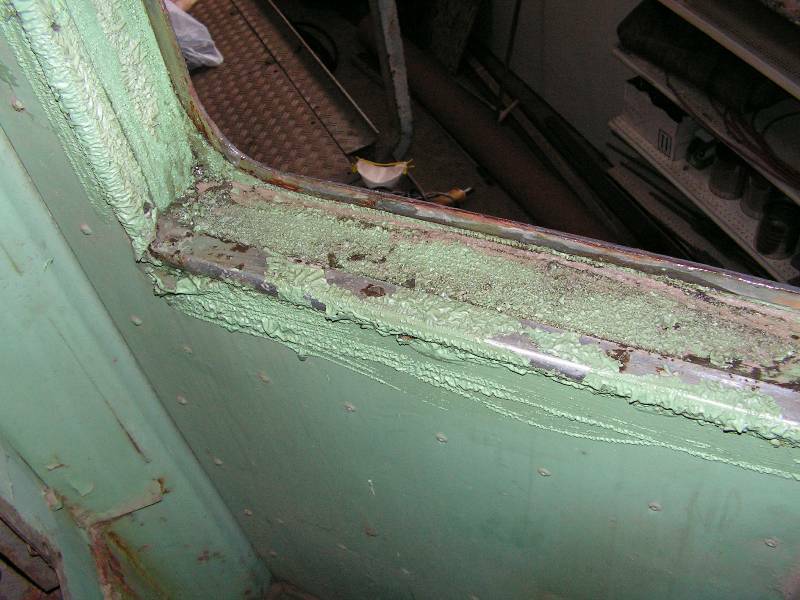
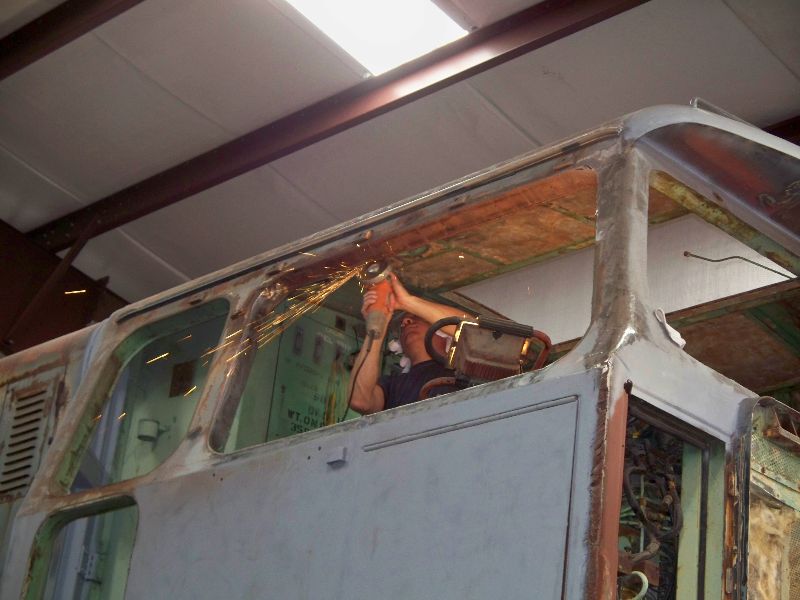
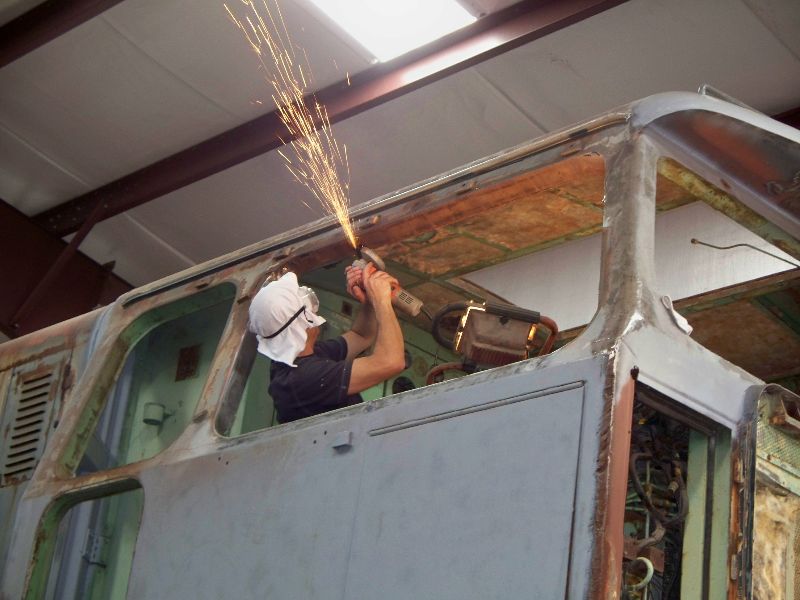
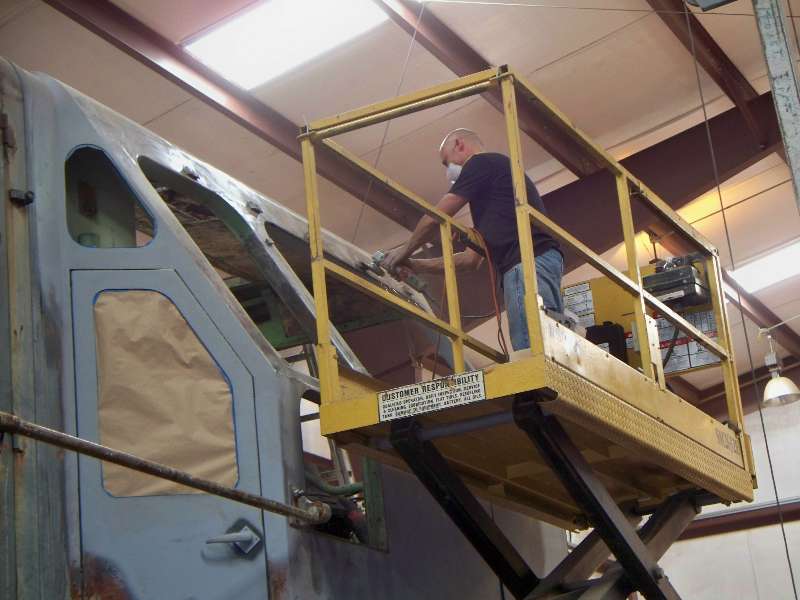
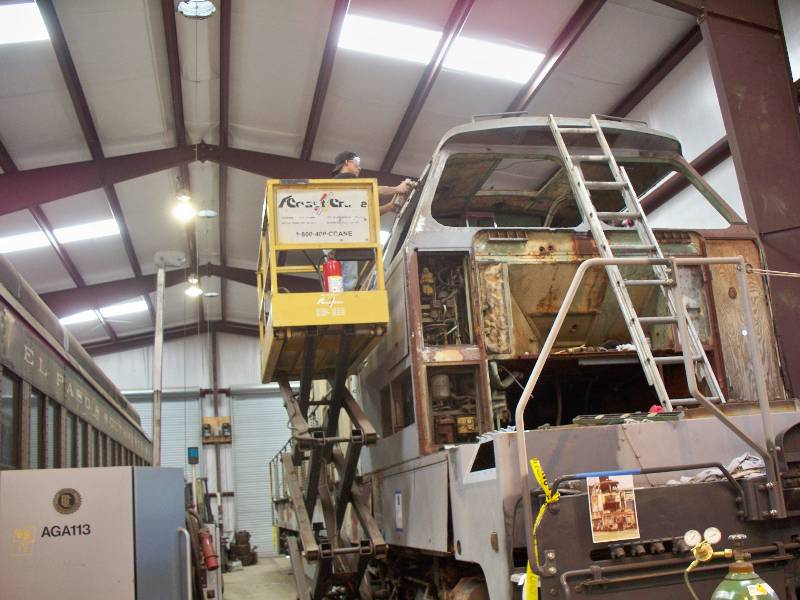
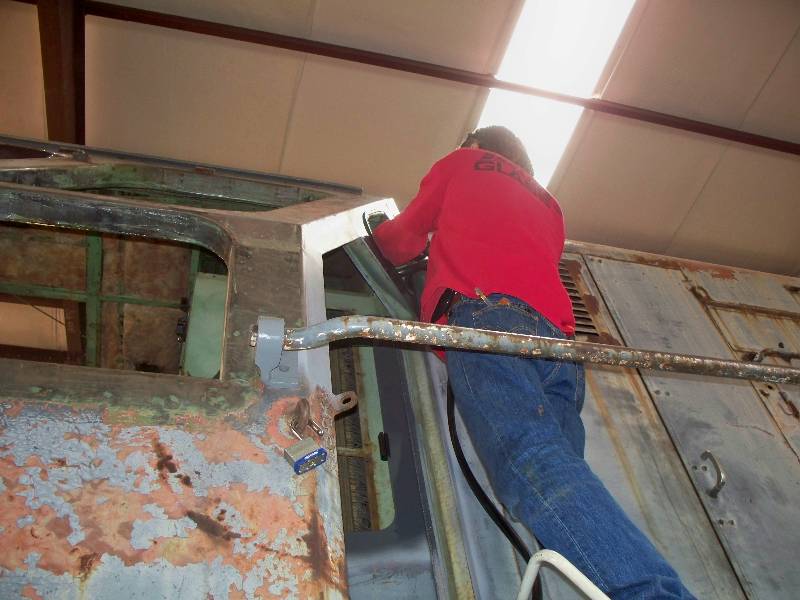
-- Update March 12, 2010 -- Dan Furtado has taken on the task of paint removal and metal cleaning on the cab surfaces. Initially, he is working on the areas surrounding the windows so we can paint under where the new molding for the glass will go. On most surfaces, he is using commercial paint stripper followed by a good sanding.
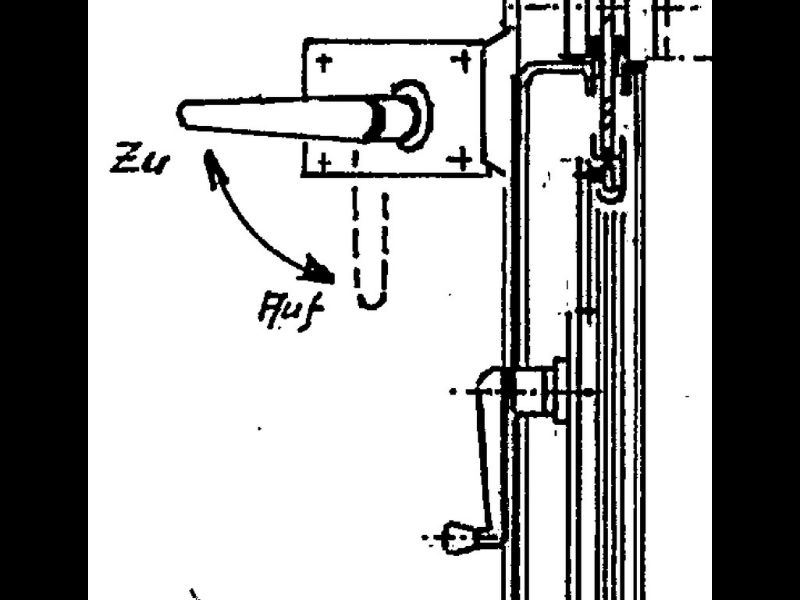
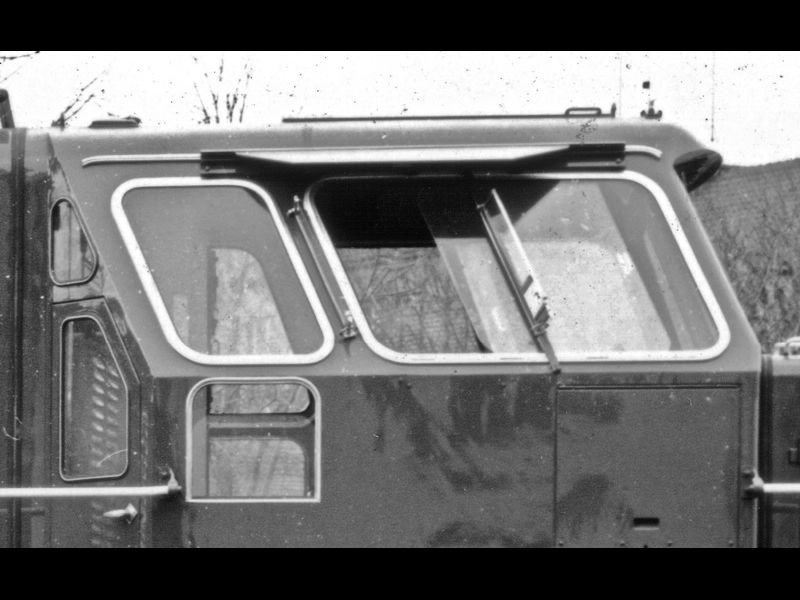
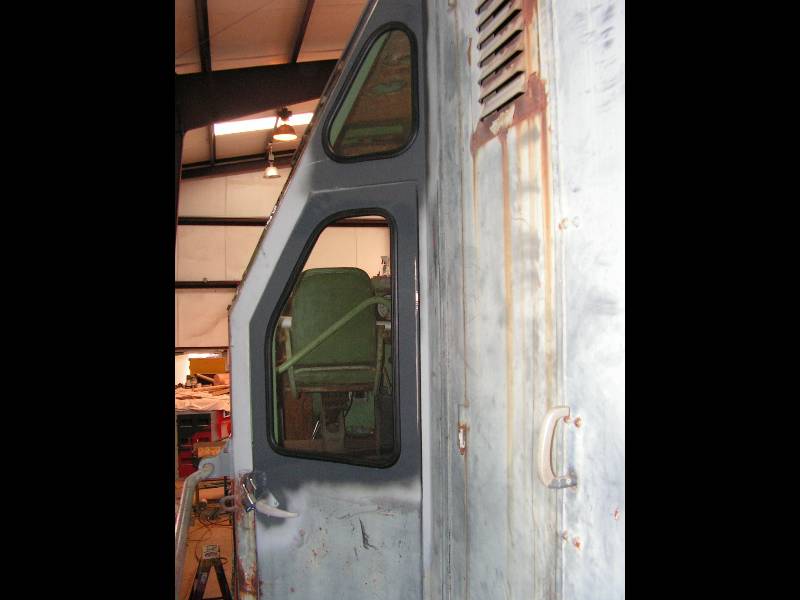
And from guest columnist Bob Zenk: KM built two retractable windows into the 9010's cab. (They're the smaller, lower ones next to the rear handrail mounts. ) These windows are accessed from behind the engineer's and fireman's seats, and it's a step down to running board level. They raise and lower with a hand crank, just like a car window. (Younger readers may need to look this up in Wikipedia!) SP crew members tell us these windows were sometimes used to catch train orders handed up 'on the fly' in bad weather -- the KM cab floor at the operator's stations was so much higher than normal U.S. locomotives in order to clear all the spinning bits below, and it could be a long reach from a cab seat.
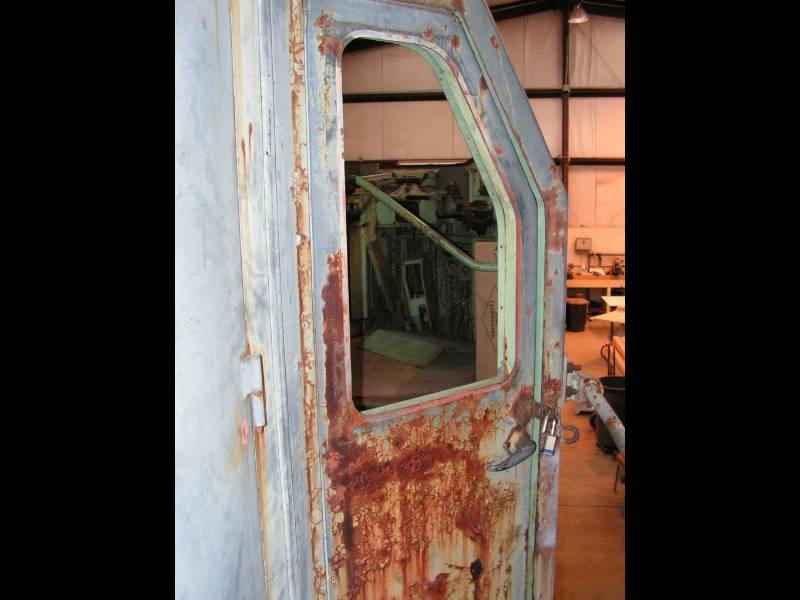
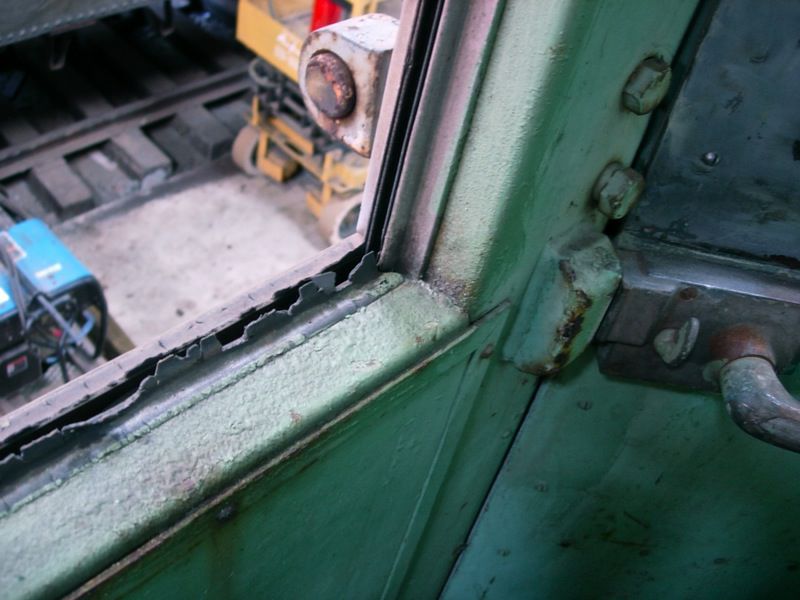
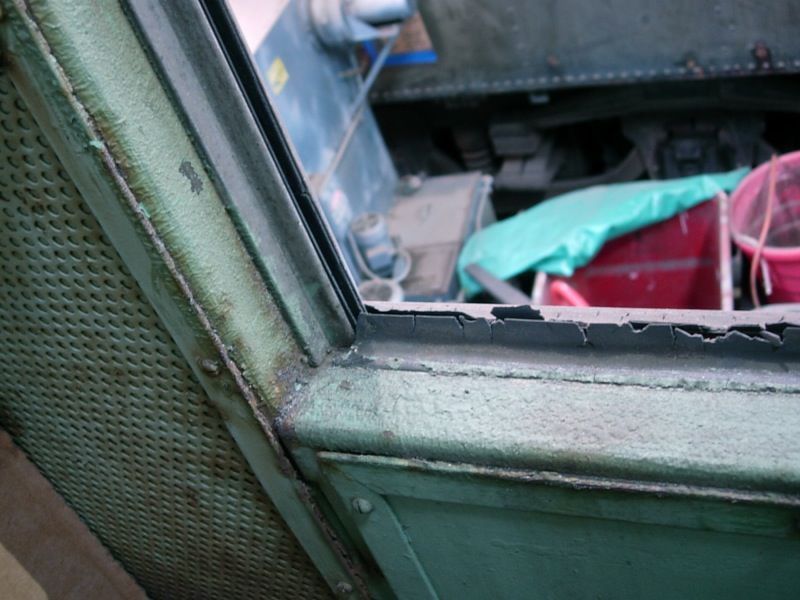
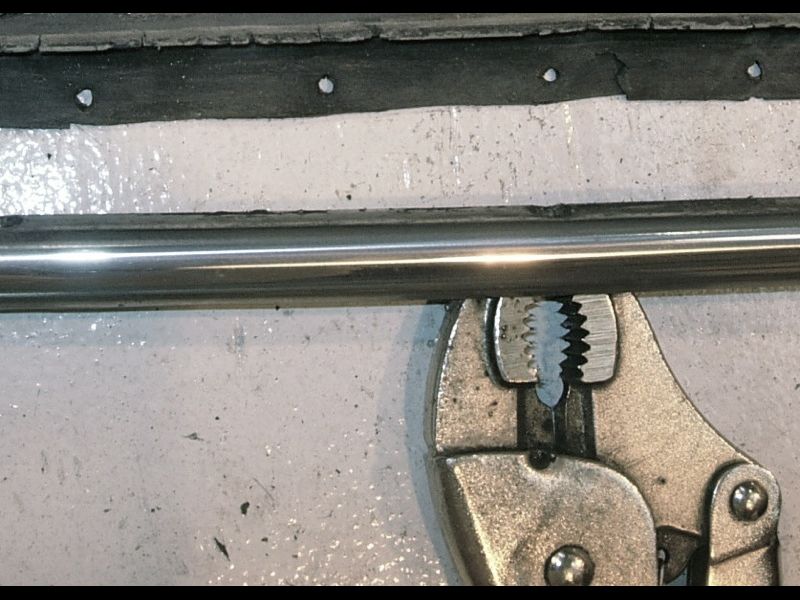
Both pieces of 9010's glass were broken out at some point, and the aluminum frames had to be removed to properly prep the body sides for paint. The crank handles were also long-missing, and there was a suspicious lack of a gear head and shaft on the engineer's side.
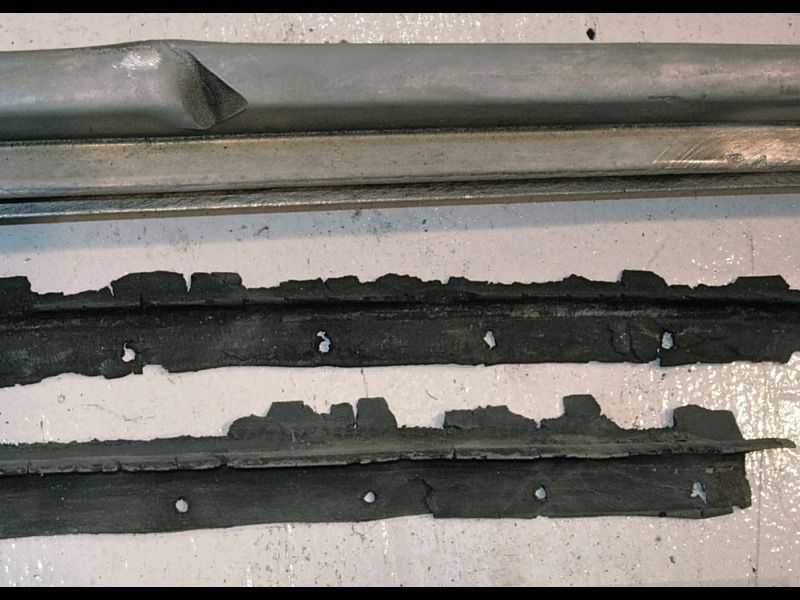
Removing the inner panels revealed some interesting details of KM construction, which bear close relationship to German autos of the period, such as Mercedes or Porsche. There were a couple dozen small flathead slotted screws holding the frame to the body, and more flathead slotted screws keeping the rubber 'scraper' molding in place. All the rubber is rotten, and must be replaced.
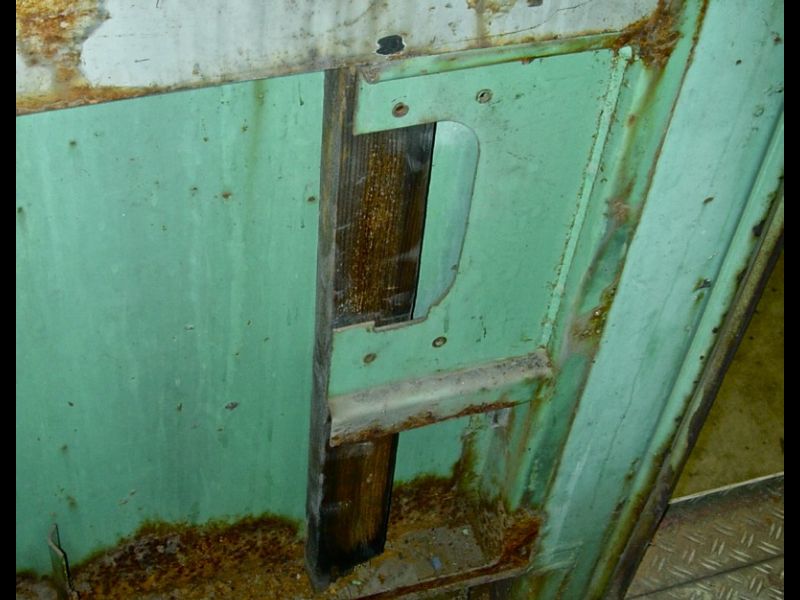
When we pulled the interior cover panels to expose the window regulator mechanisms, we found three surprises. One isn't a big surprise, which is that the window regulator mechanism (der Fensterheber-mechanismus) was an automotive-style part. The surprise was on the engineer's side, when we discovered that the window on that side was being held up by a genuine Sacramento General Shops length of 2x4 softwood!
The other surprise was how heavy the interior panel turned out to be. The back of the steel panel is covered with at least a quarter-inch thickness of heavy rubber mastic sheeting. Or maybe not surprising, considering how much effort KM invested in sound-deadening the cab, from stone wool in all the air spaces to rubber isolation cones for the mounting of the cab itself to the frame.
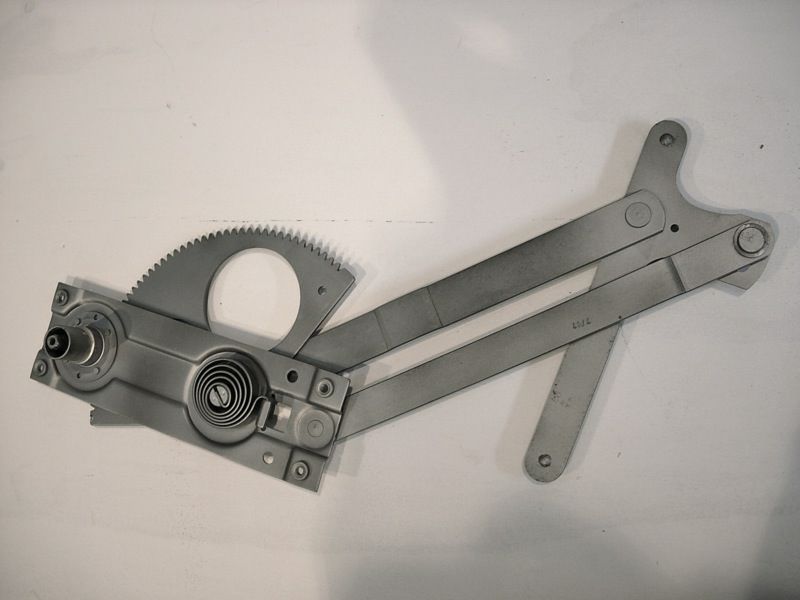
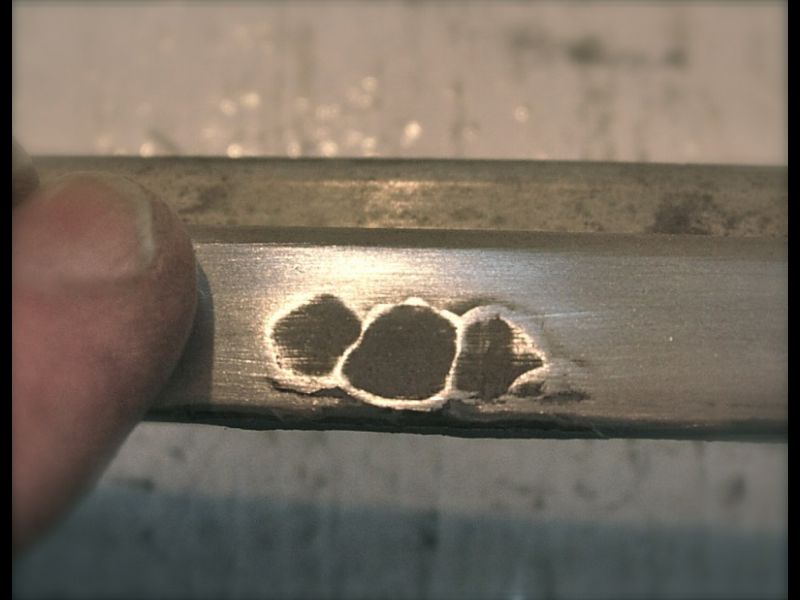
We're now looking for one replacement regulator mechanism. We discovered that the regulator from a 1964-vintage Porsche is configured in a similar manner, but with shorter arms and a smaller geared quadrant. We figure the KM mechanism is likely from the catalog of a light-duty German truck, but German vintage truck info is hard to come by here in the U.S. even with the advantage of good search engines. With Porsche mechanisms relatively easy to find in the U.S. we may end up modifying one of those by extending the arms and adding a few more degrees of teeth to the 'rack'. When bead-blasted and re-coated with a zinc paint, our one remaining regulator looks pretty good. It still needs a couple of gnarled gear teeth repaired, but should be good to go. A build date of 7-63 proves that this part correctly precedes the locomotives own build date -- important for those 'concours judges' at car shows!
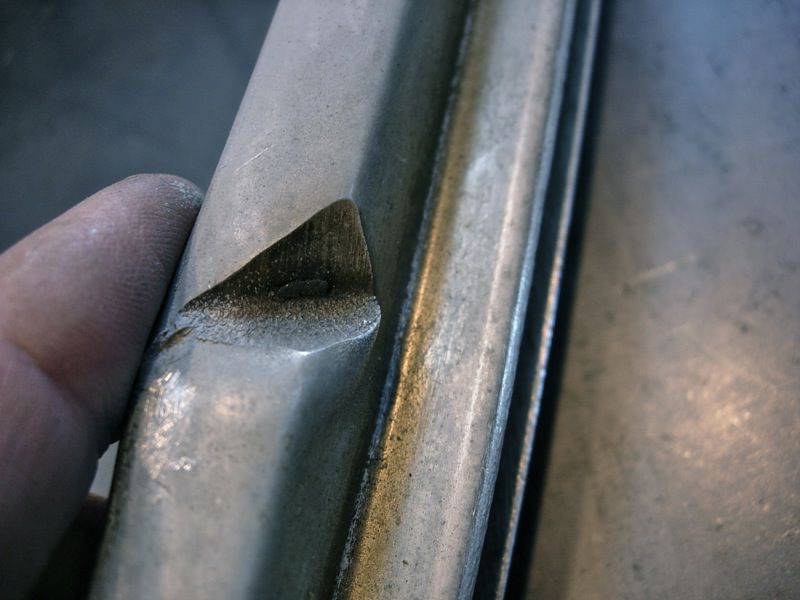
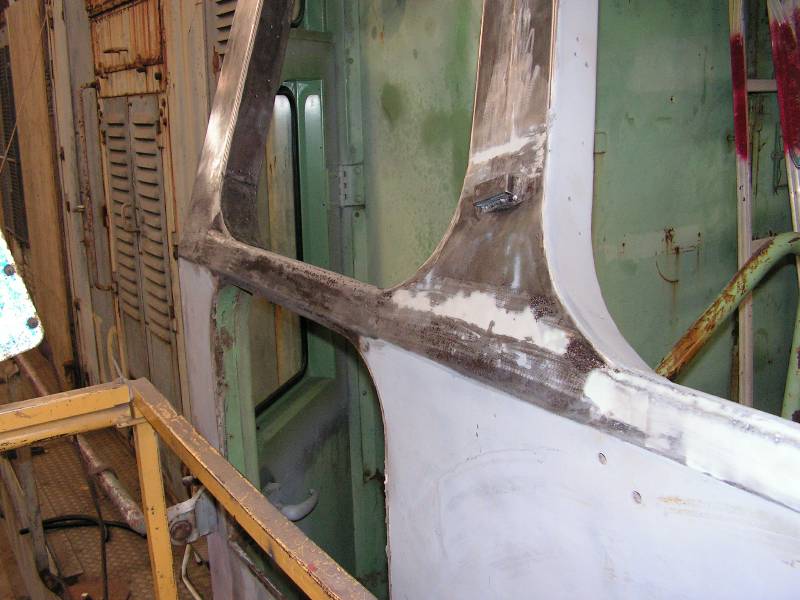
Removing the snappy KM-signature aluminum trim, we discovered a lot of dings and dents -- and one huge gash, also on the engineer's side. Photos seem to show this very gash appearing on 9010 as early as 1965! But certain kinds of damage, if deliberately uncorrected for the sake of history, would just look like sloppy restoration. So it got some straightening out of the distortion around the whack. We'll decide later if the gouge is worth filling, or best left alone, the better to 'tell the story' of our used locomotive's hard life!
The process of 'dinging out' the aluminum requires a lot of careful tapping on the back side to "tent the dent", some very judicious file work, and then some hand block sanding with progressive grades of automotive sandpaper. A final pass on the buffing wheel with some aluminum compound brings back the original luster.
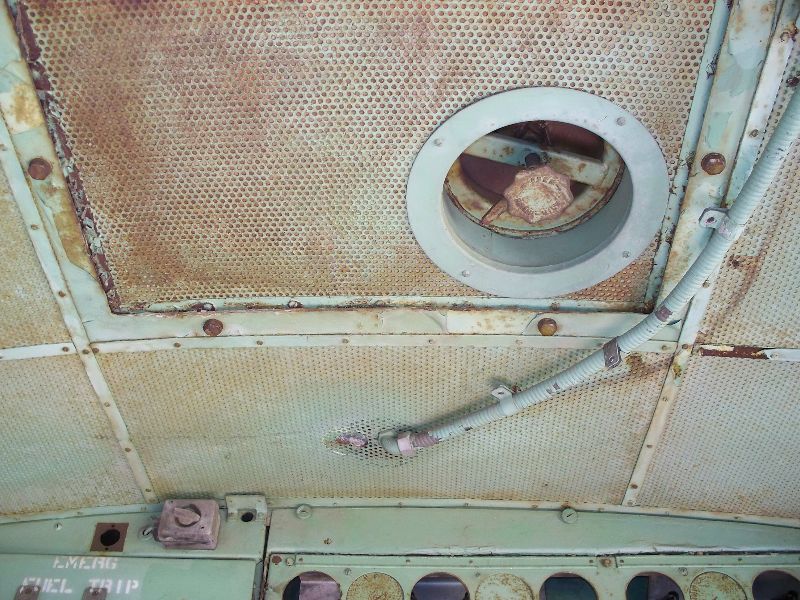
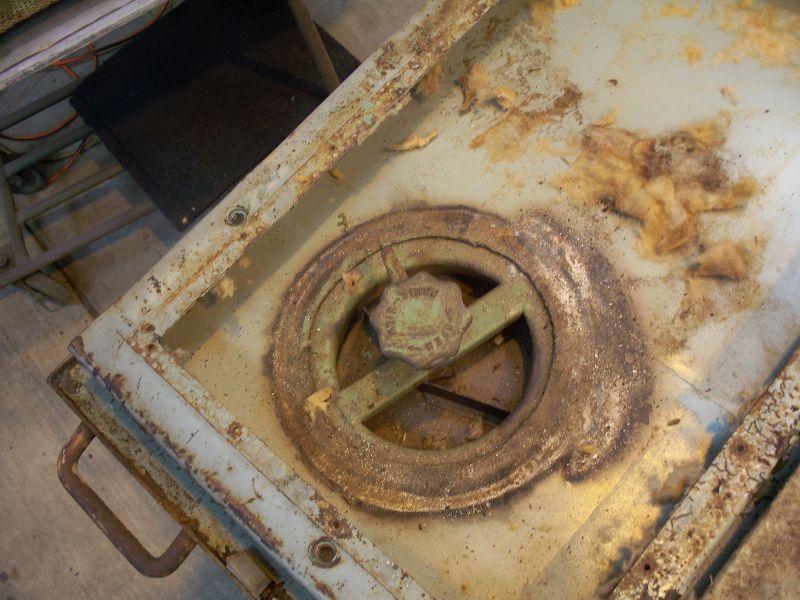
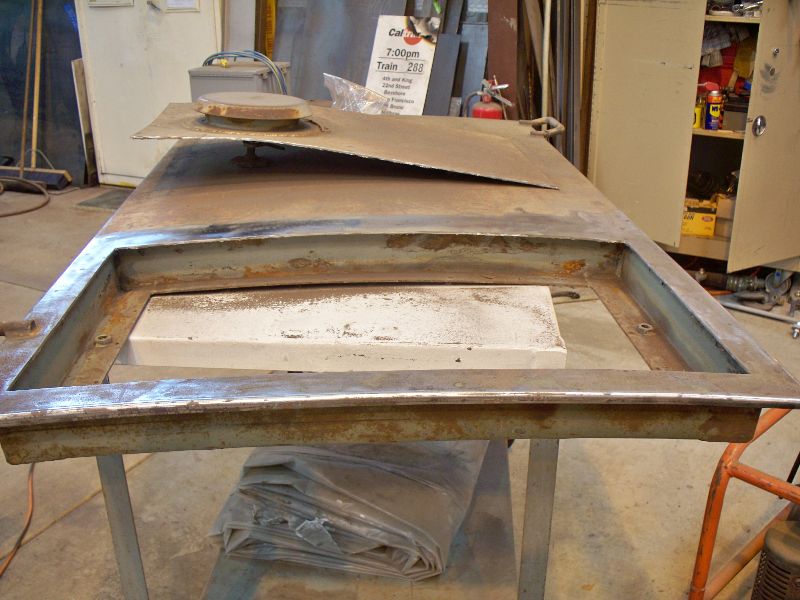
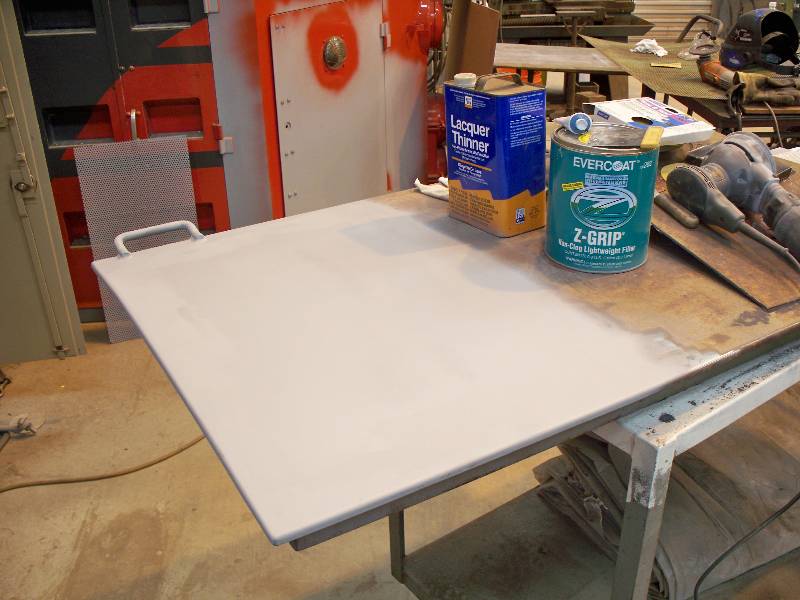
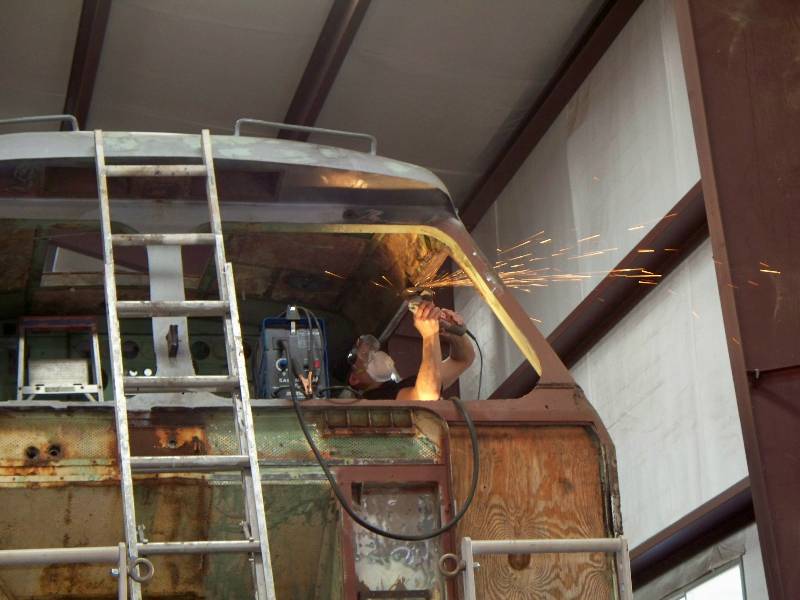
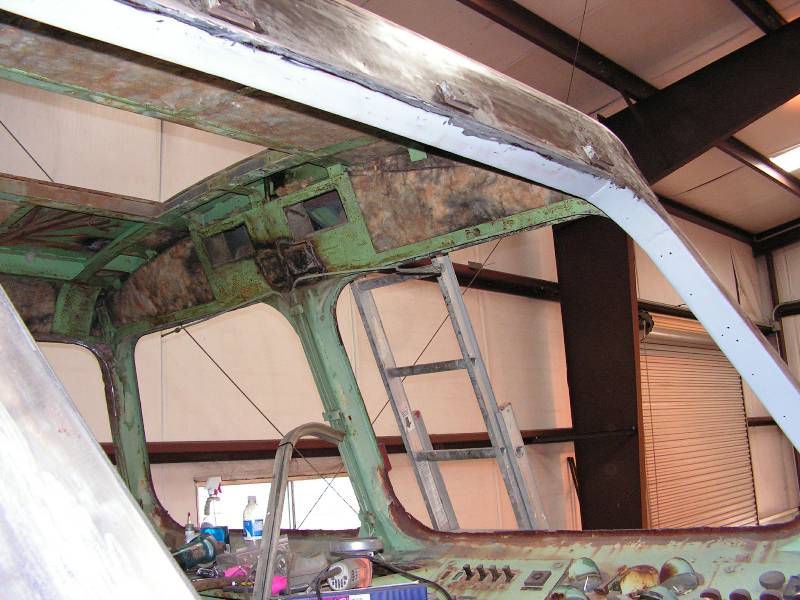
We'll let this naturally weather to a satin aluminum sheen. Nobody likes 'over-restored' showpieces, but in many areas the KM was built that way, to automotive standards of detail. They just didn't weather very well on the SP, without the weekly attention to which German machines of the period were accustomed. But they sure looked sharp in 1964, and very 'German'. -- Update May 25, 2010 -- Photo #1 illustrates two problems. First is the Prime vent that the SP installed during the R7 shopping in late 1966. It does not belong in our restoration time frame and was excised. Luckily, it was part of a hatch in the cab roof which was easily removed. Due to the deformation of the plate to which it was attached, the entire plate was cut out and replaced.
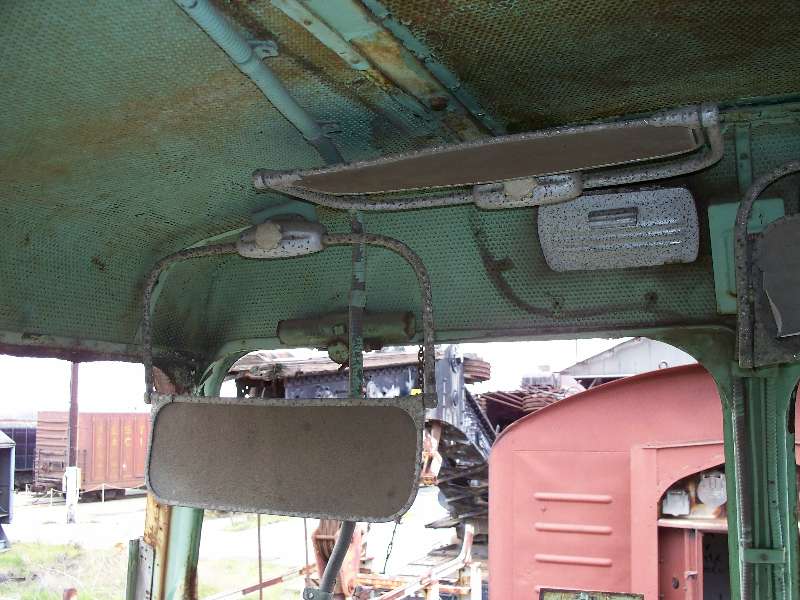
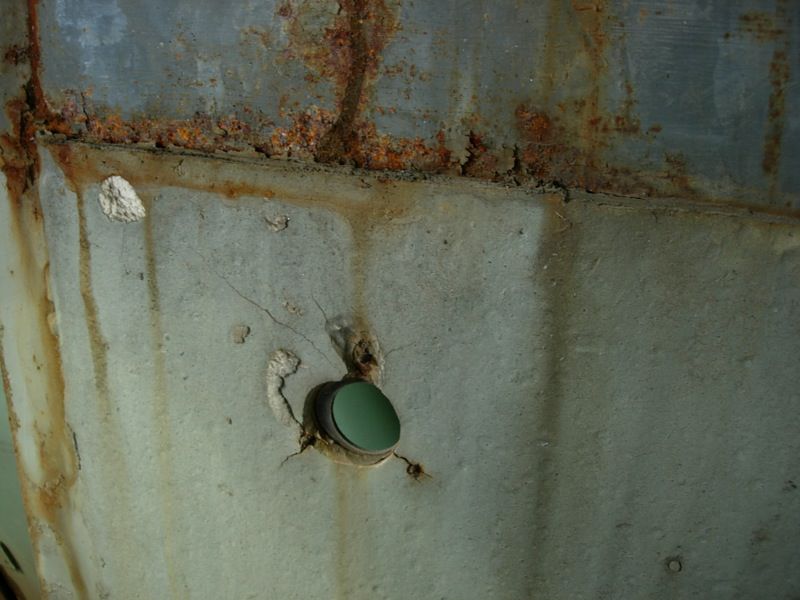
The other issue is with the really ugly antenna cable that the SP hung from the ceiling. The holes needed to be patched and the antenna cable will be routed in a less conspicuous manner.
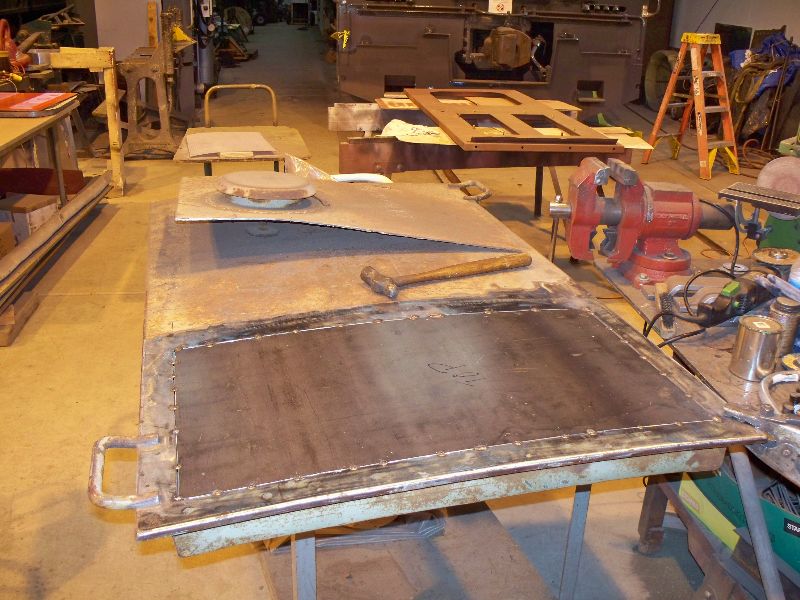
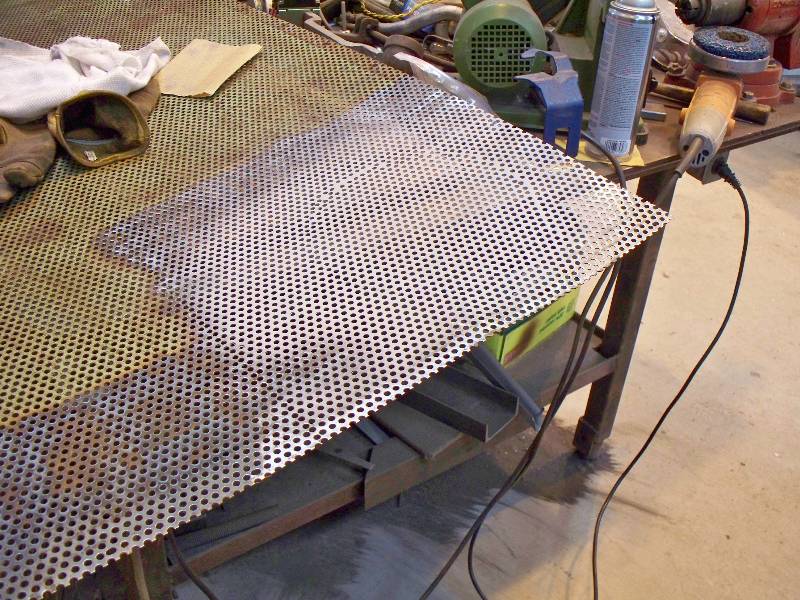
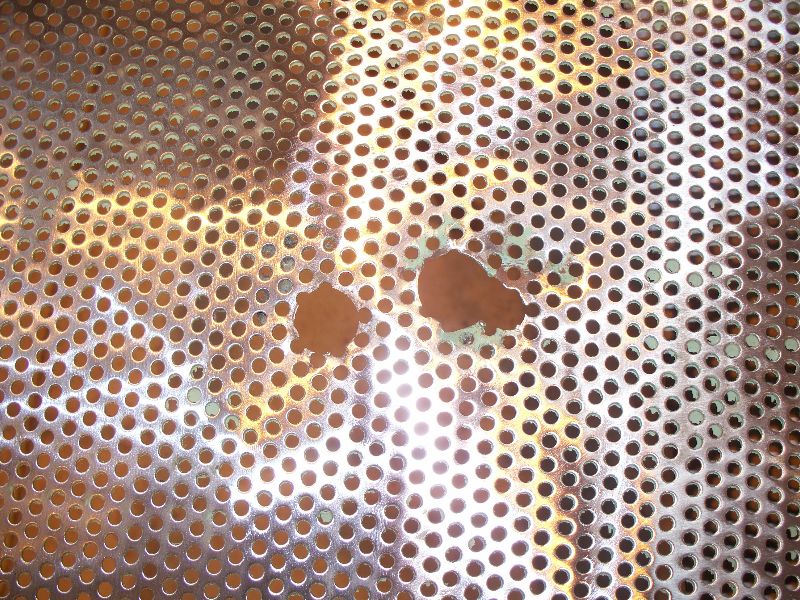
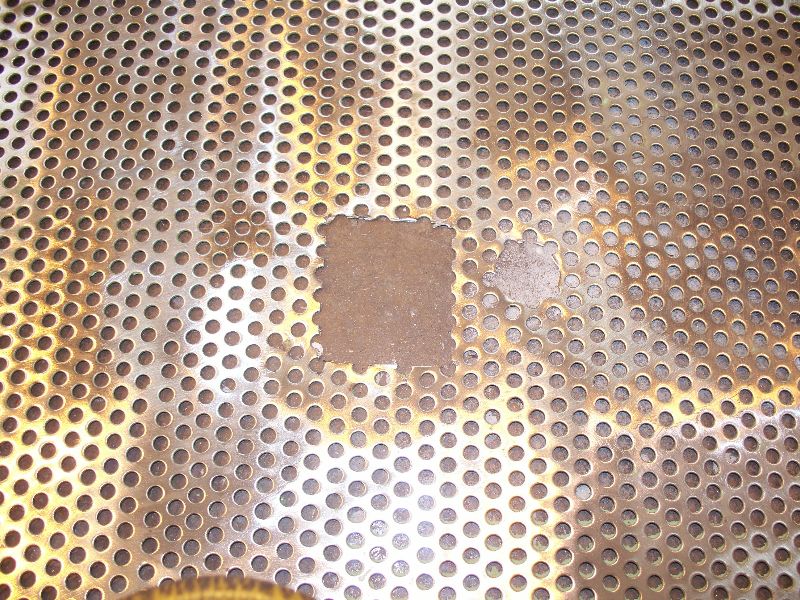
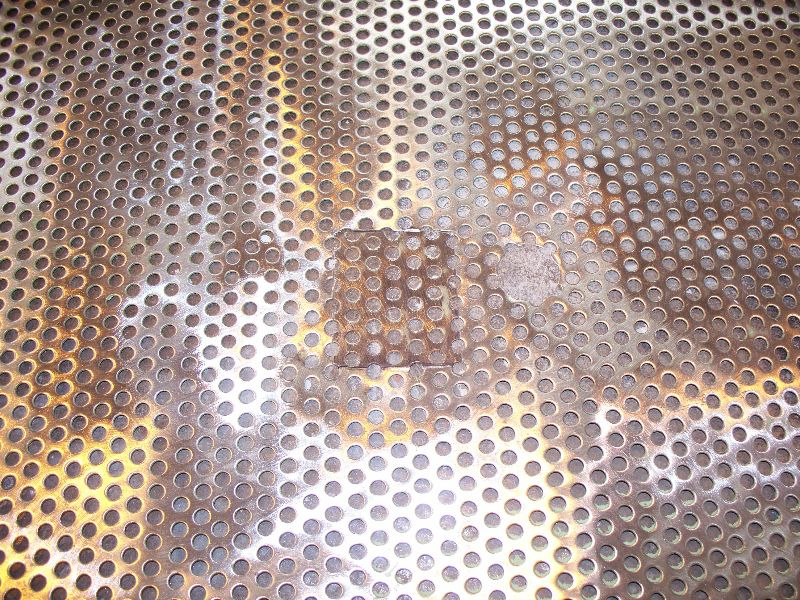
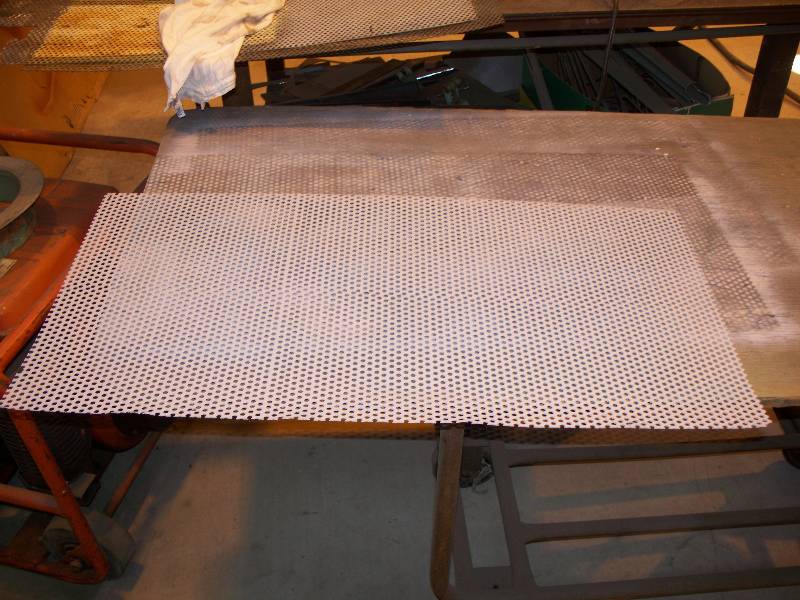
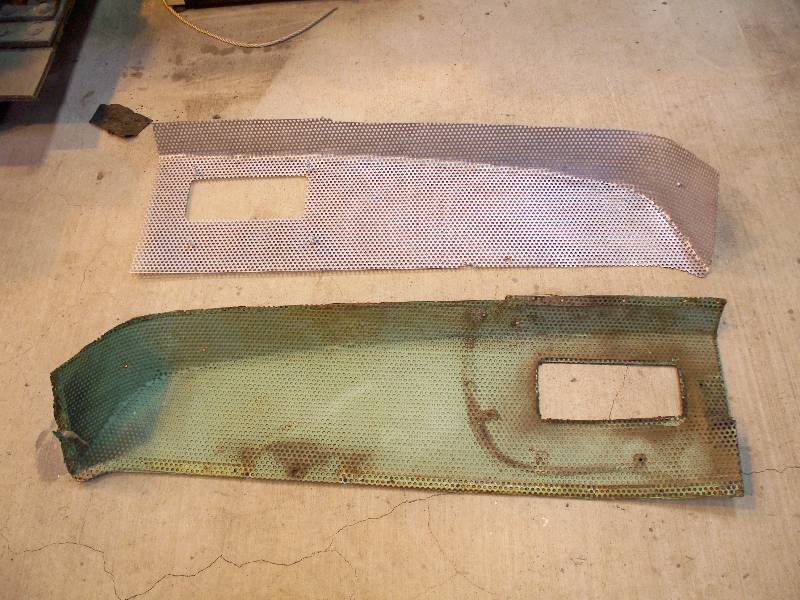
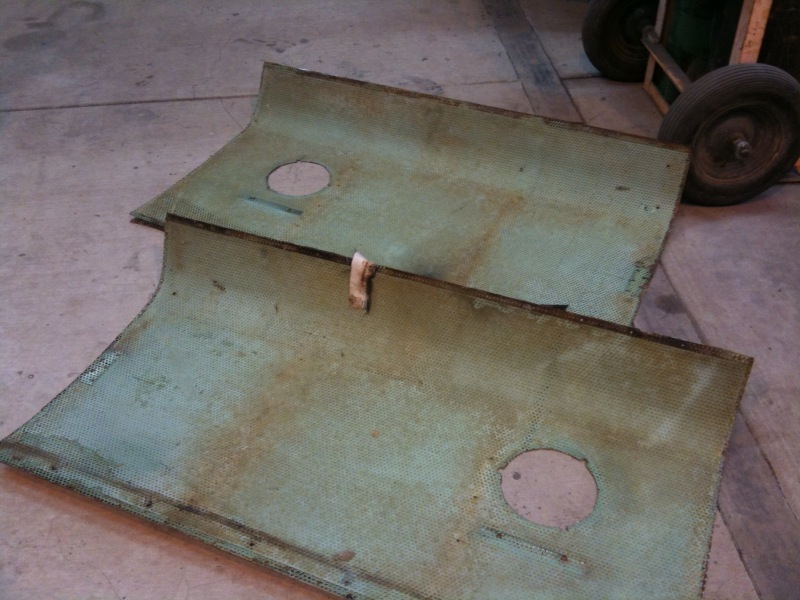
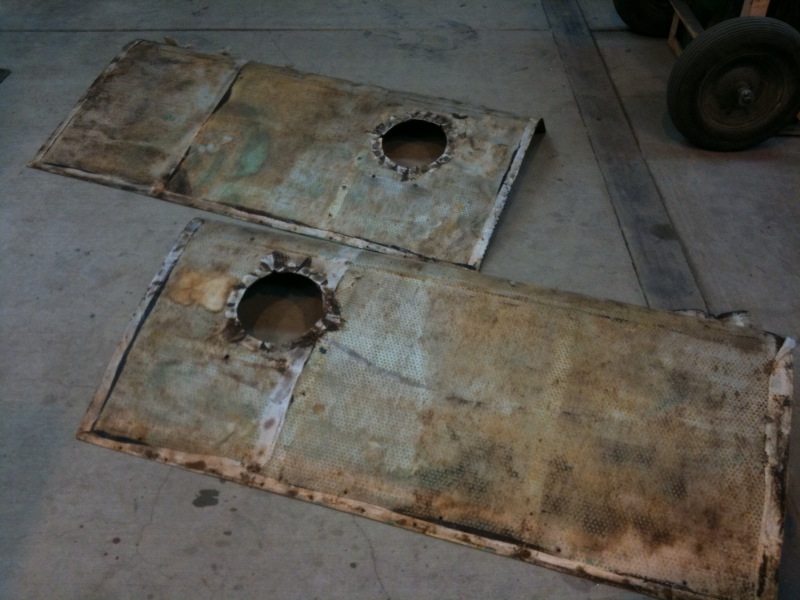
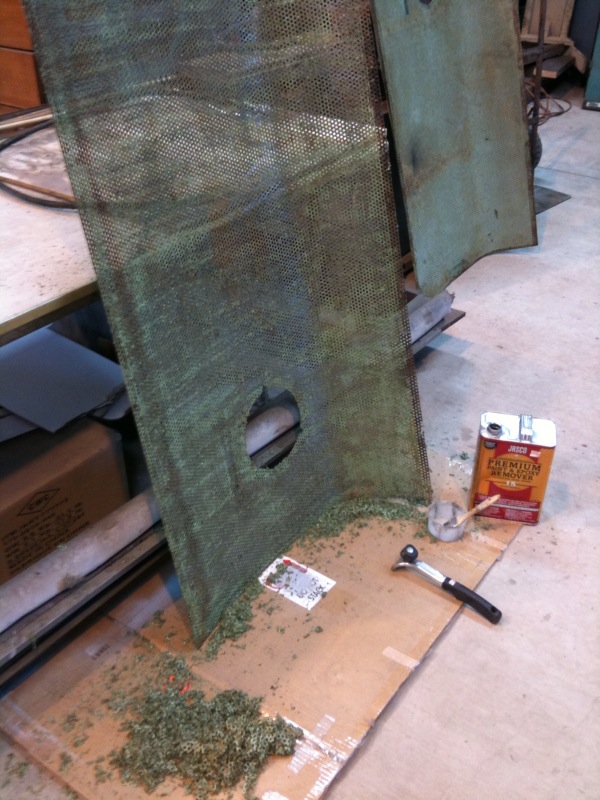
We elected to remove all of the perforated ceiling panels. They have fiberglass cloth glued to the top side and because of various paintings, the holes are plugged with green paint. They were stripped and painted and fresh cloth was glued to the top surface.
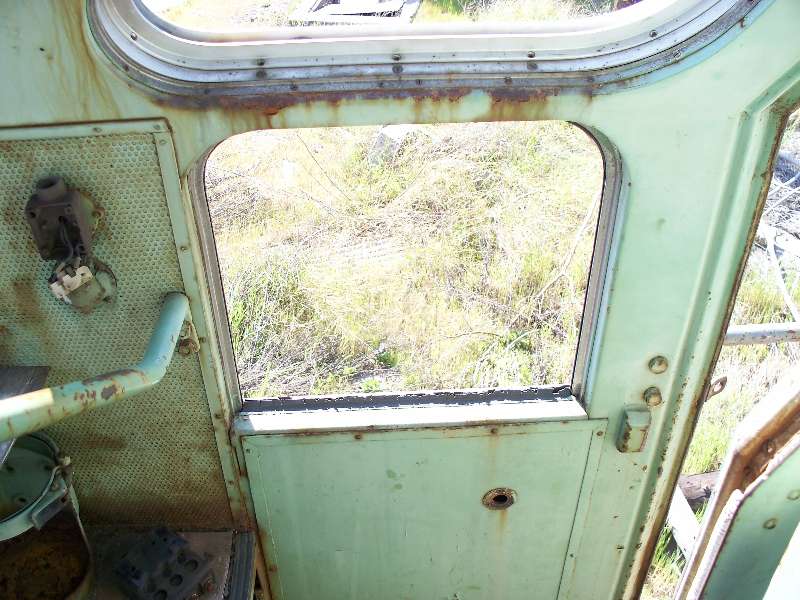
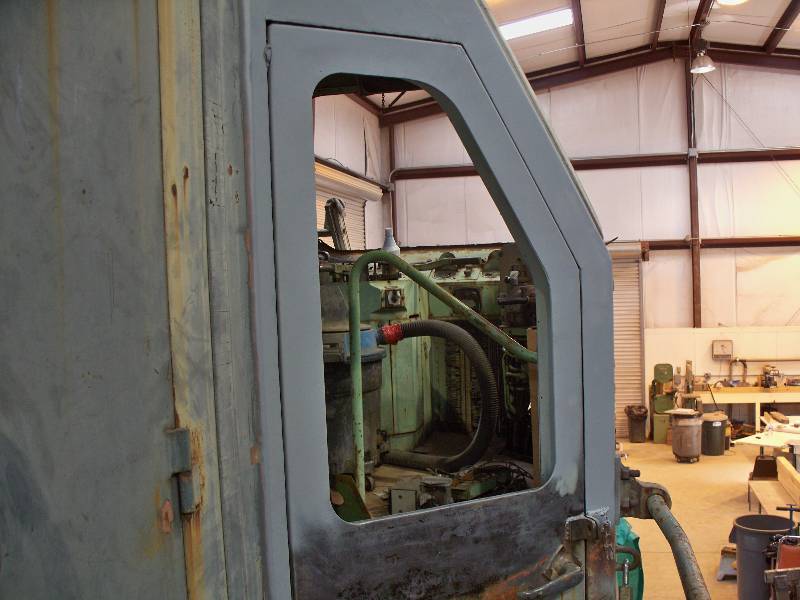
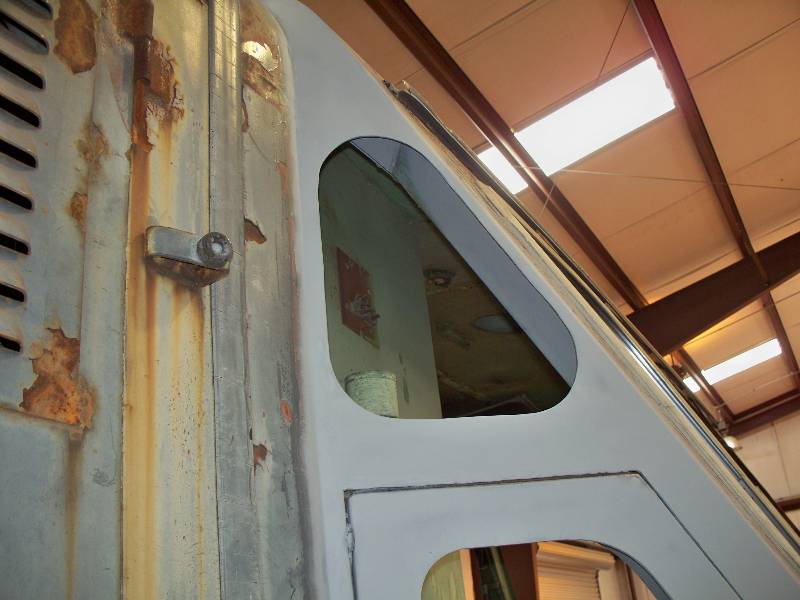
Dan continues working on the window cab openings. Note the hole in the cab roof where the hatch was removed for rework.
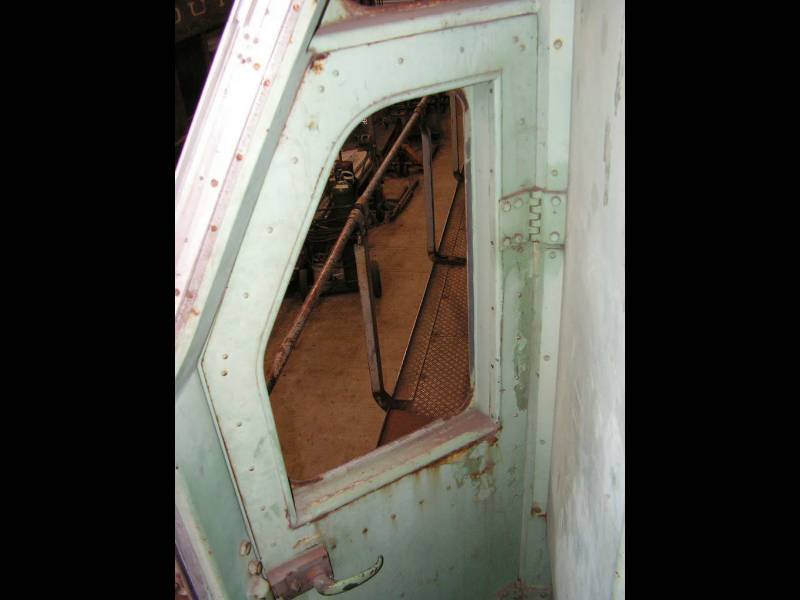
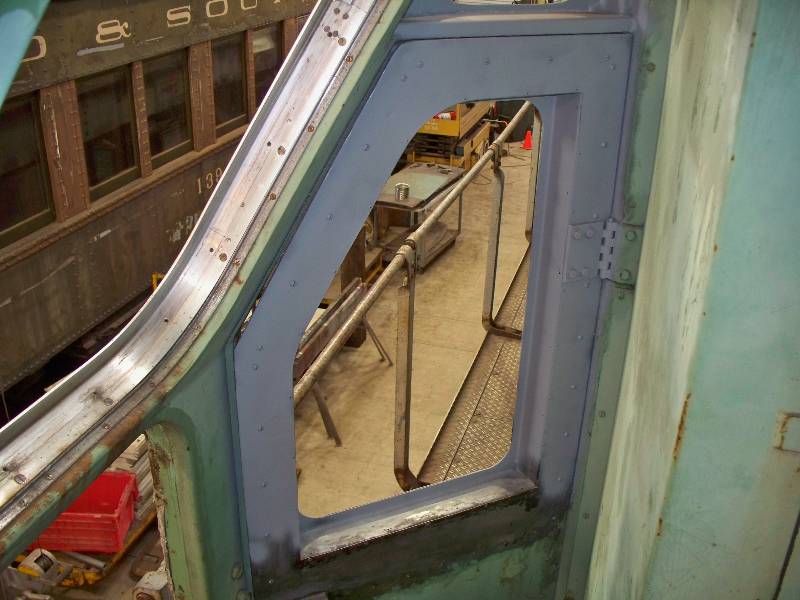
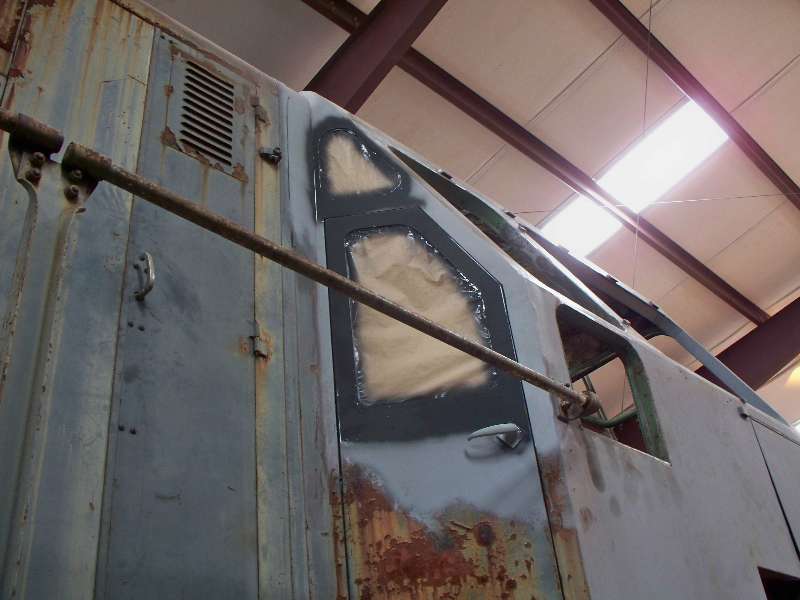
He also cleaned and painted the interior and exterior surfaces surrounding the door window openings so we could have new glass installed. The glass man came a week later and it really looks nice.
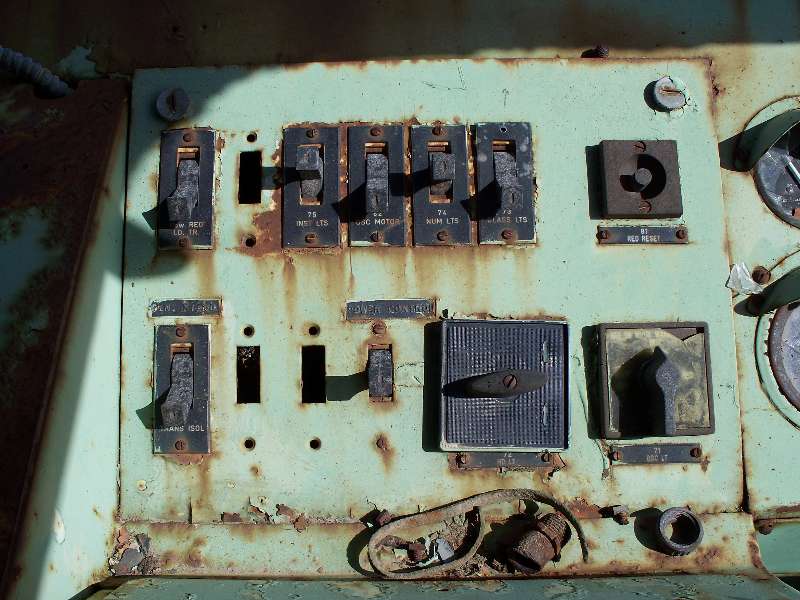
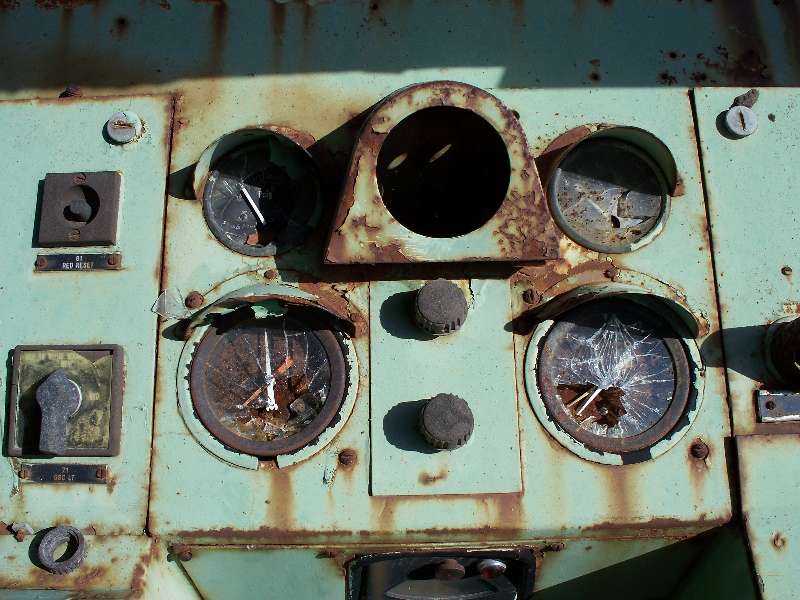
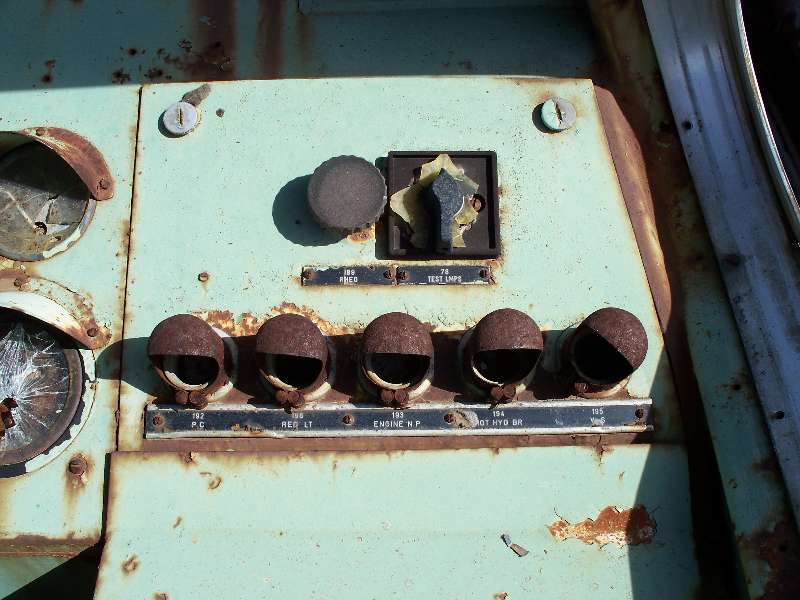
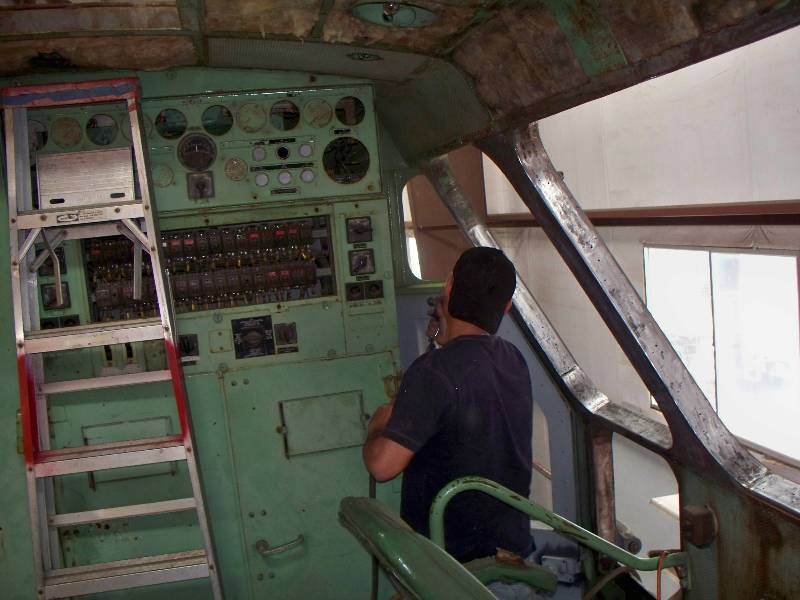
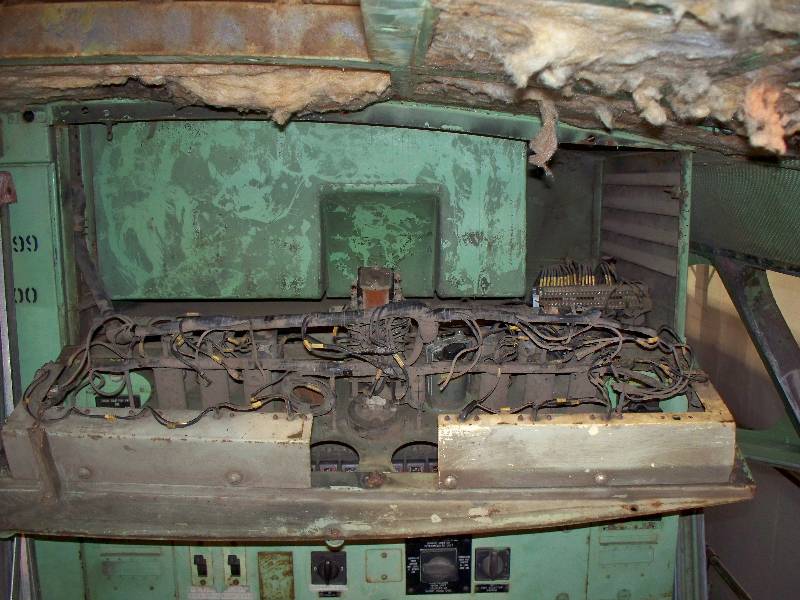
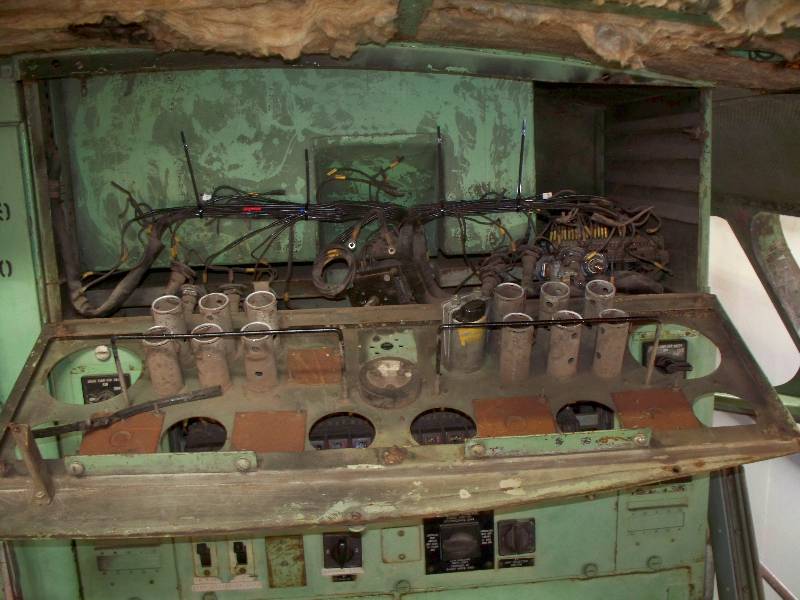
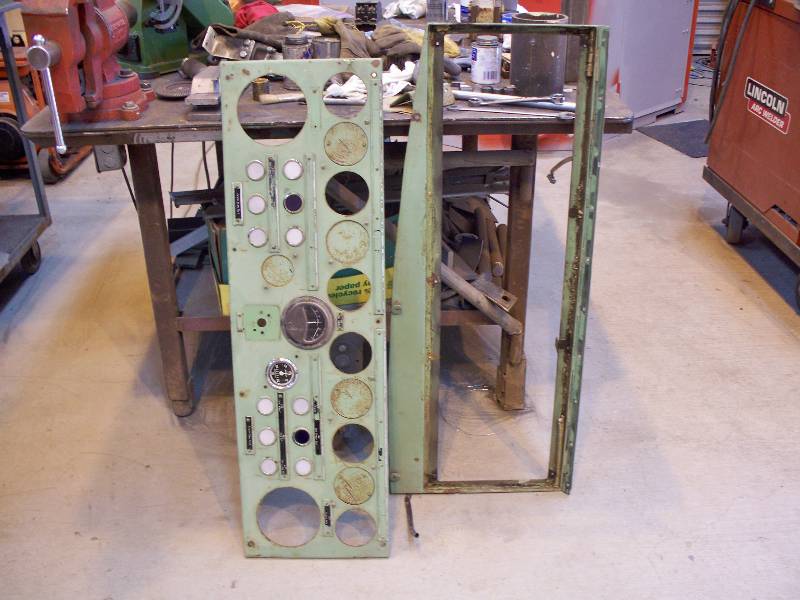
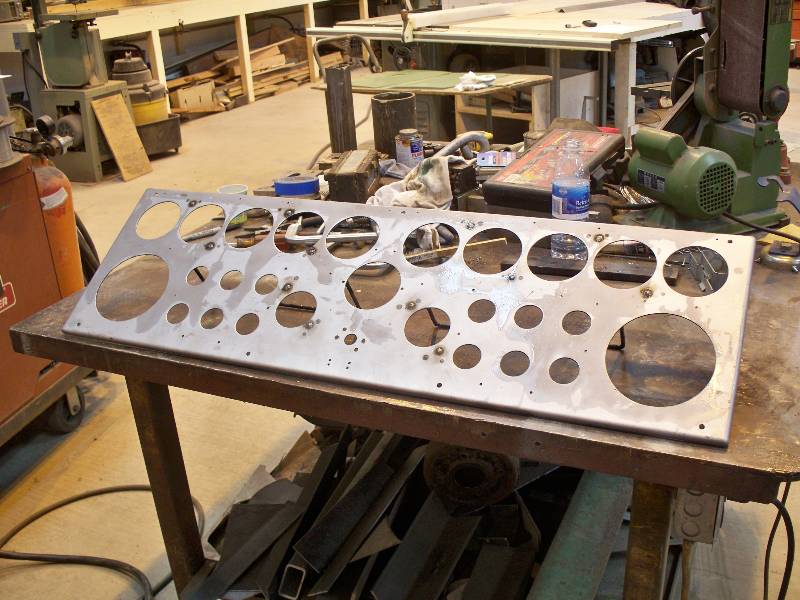
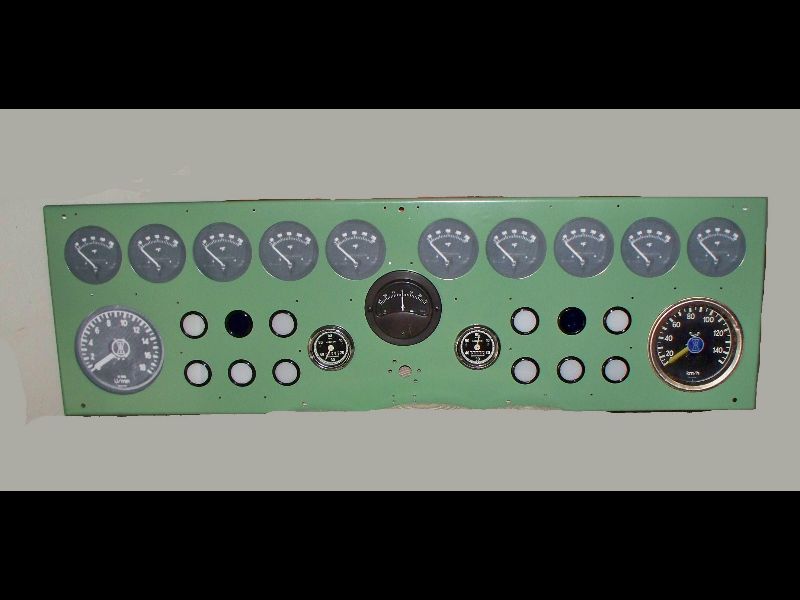
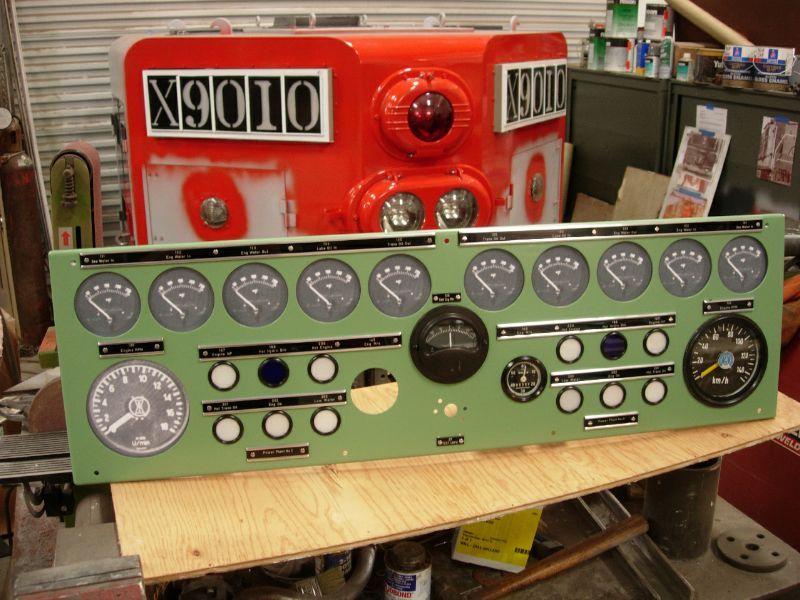
I decided to remove the gauge panel for refurbishing as the SP had drilled holes to plug unused gauges. The goal is to return it to stock appearance so the holes were welded closed and then the panel was painted. The computer generated gauges give an idea of what the panel will someday look like.
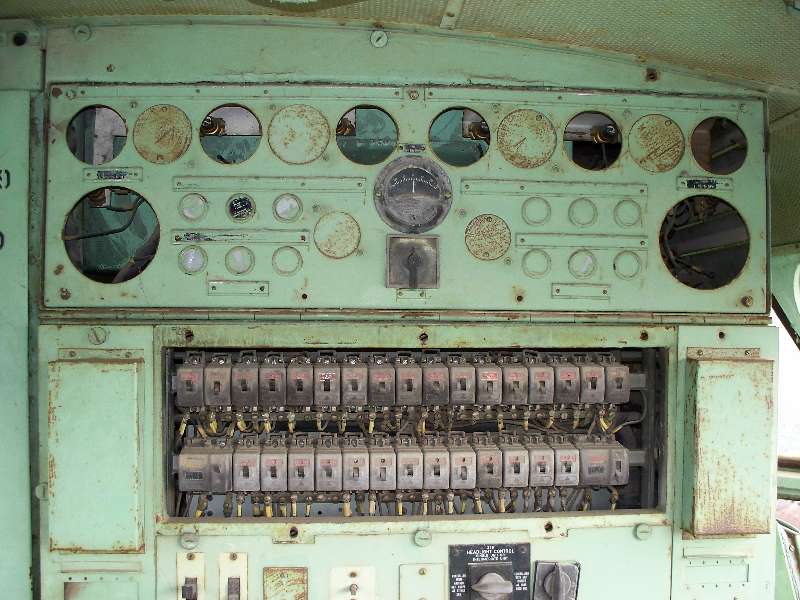
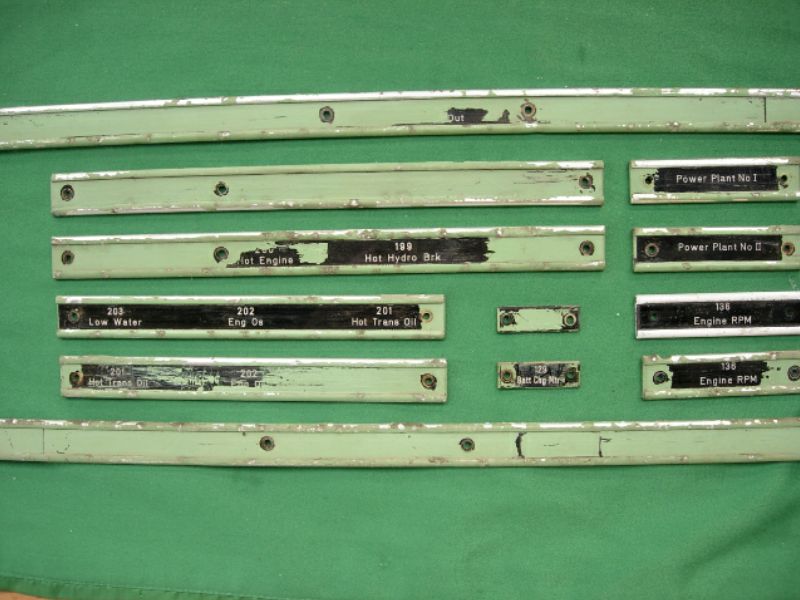
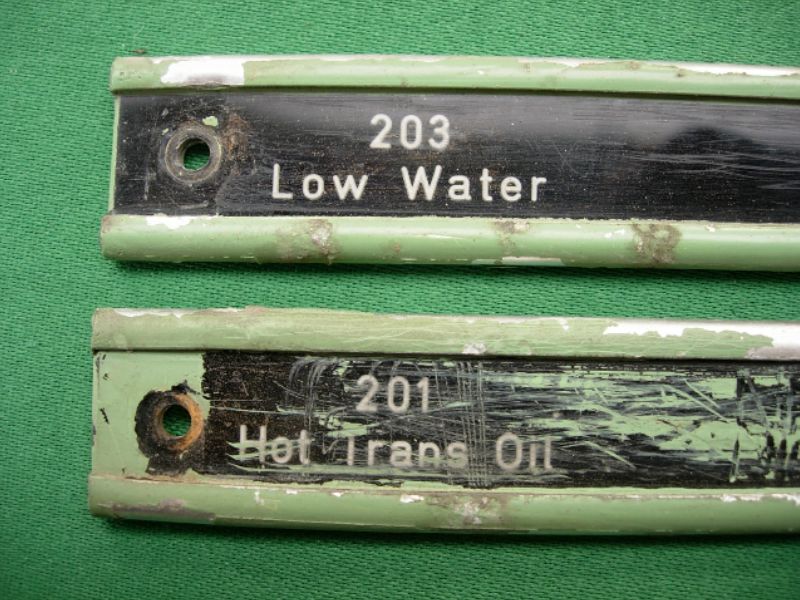
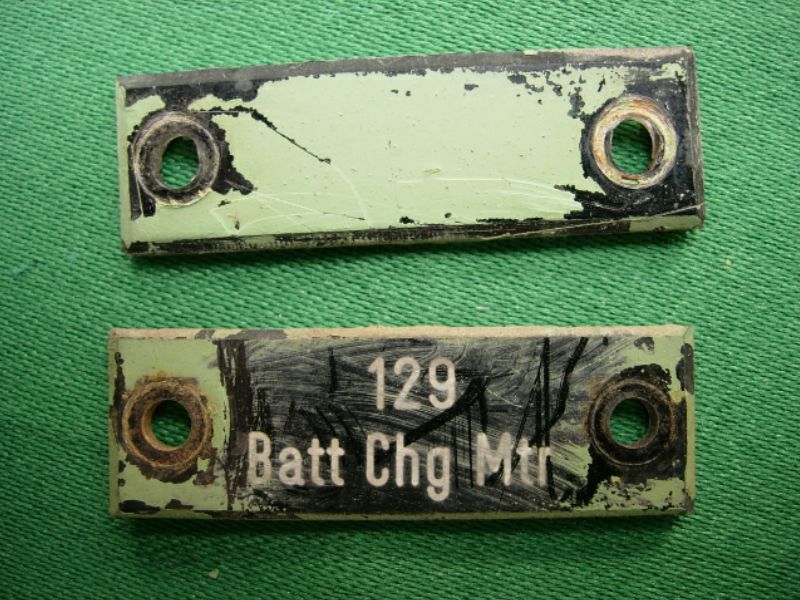
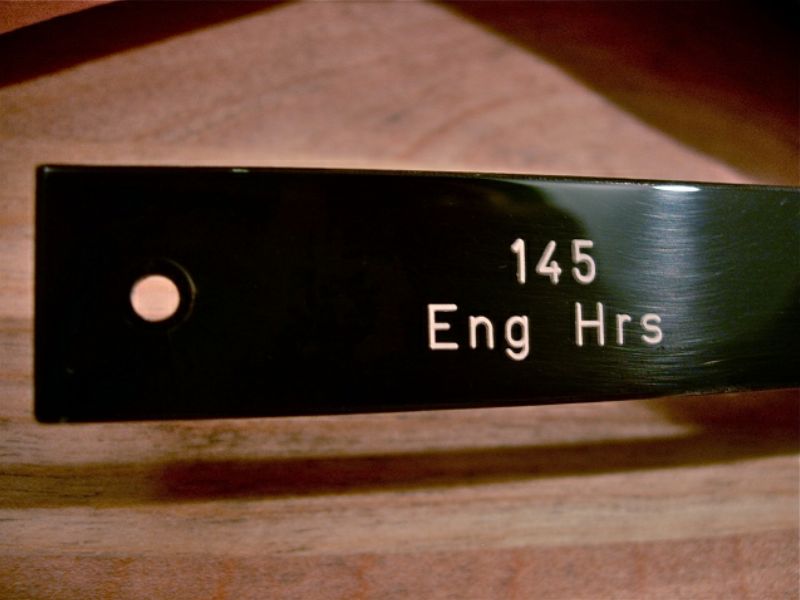
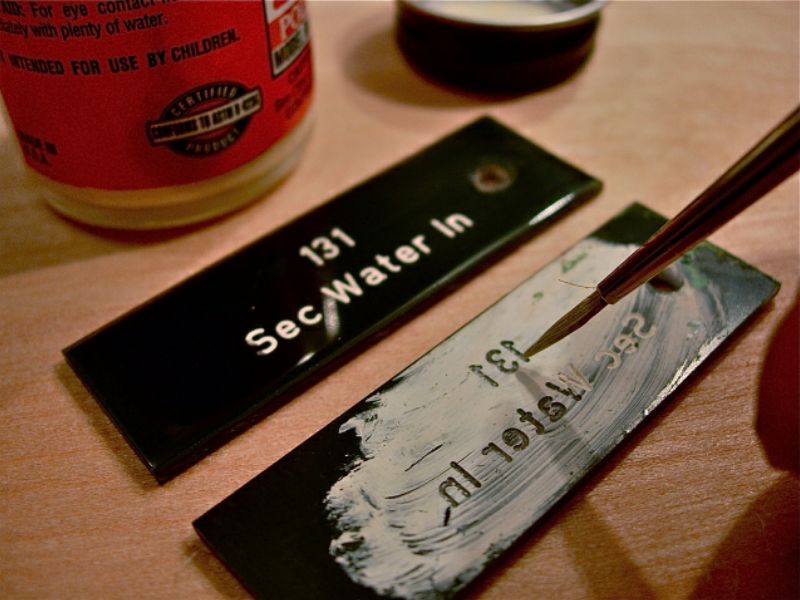
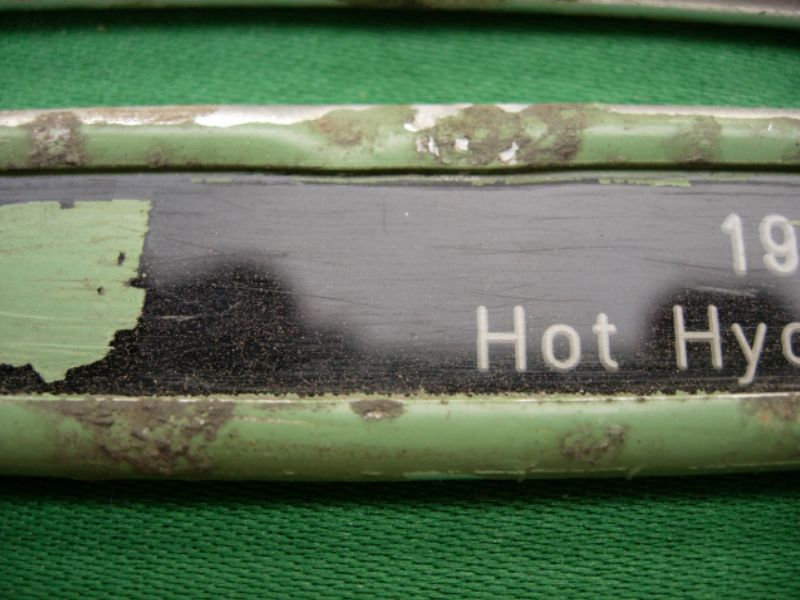
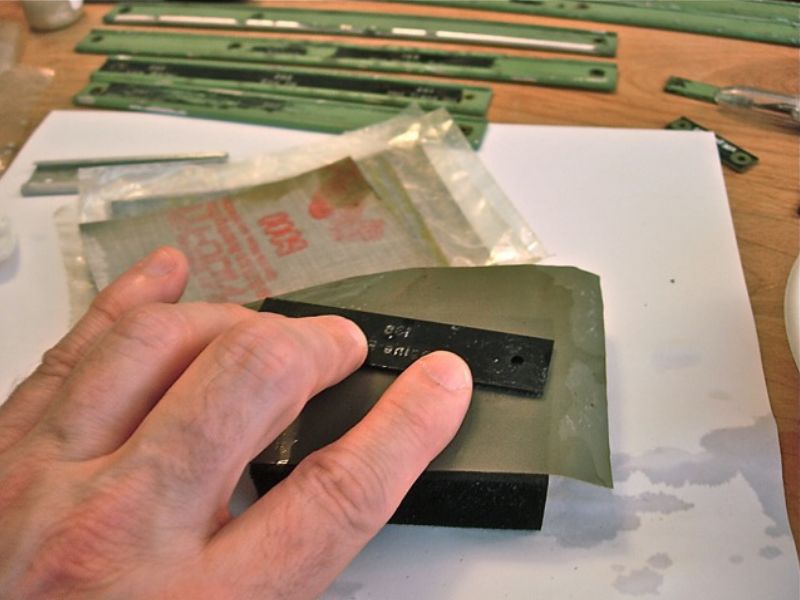
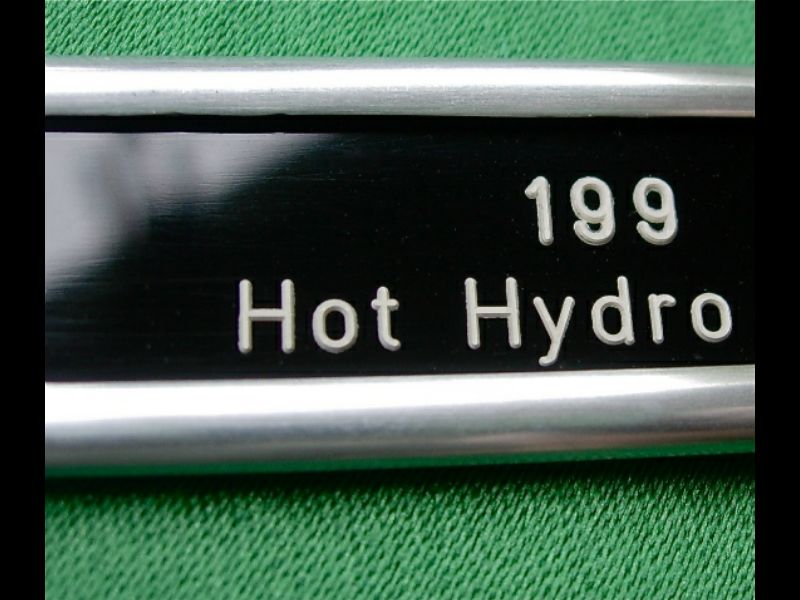
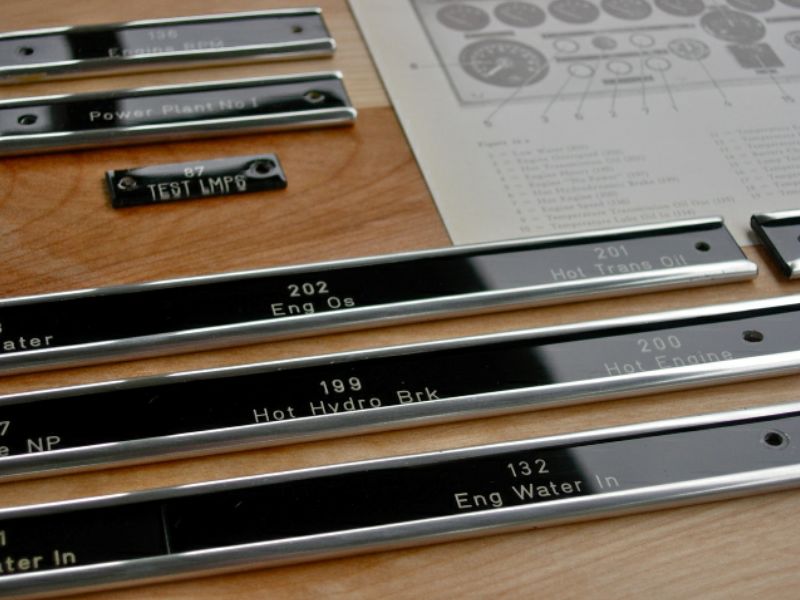
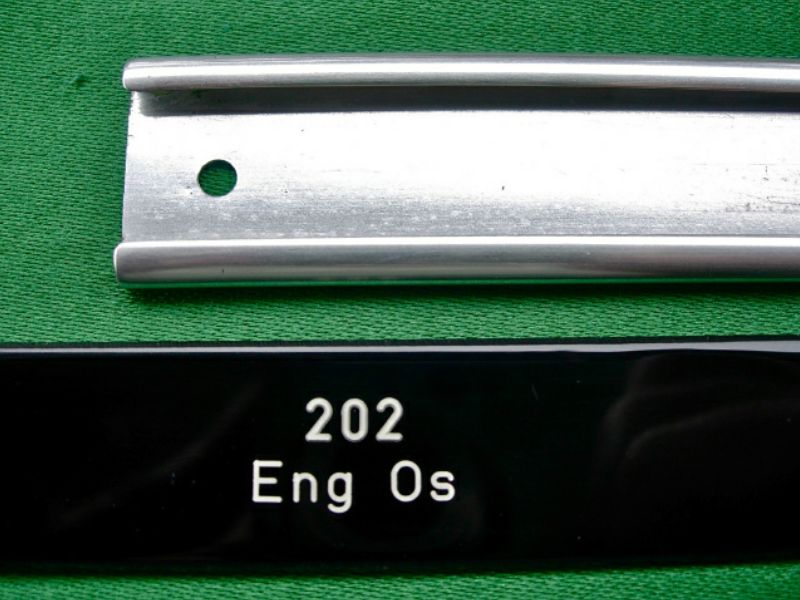
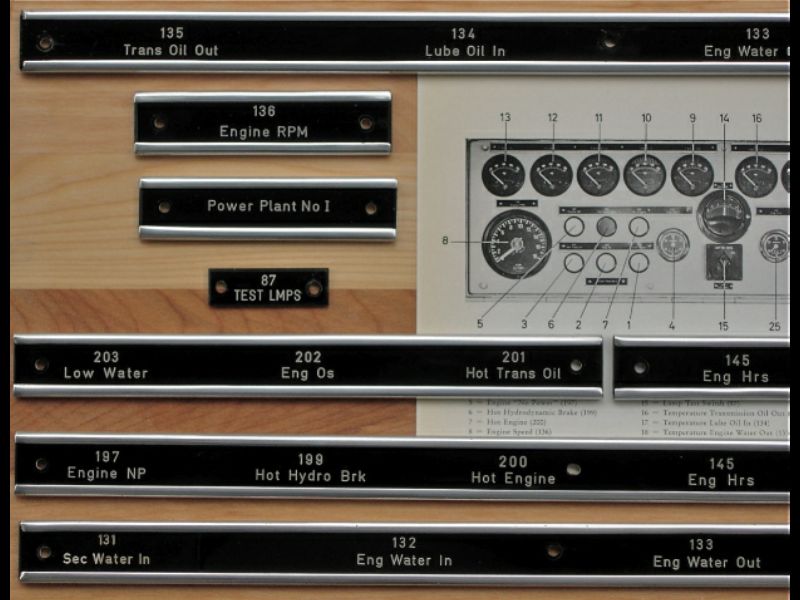
-- Update June 13, 2010 -- -- From Bob Zenk -- The engraved plastic labels for the cab back panel switches and gauges were in sorry, sorry shape. The SP had removed or blanked many of the instruments and switches during various phases of 9010's life. They'd painted over the labels with a brush during the conversion to Camera Car, and the aluminum frames had suffered a lot of pitting and dents.
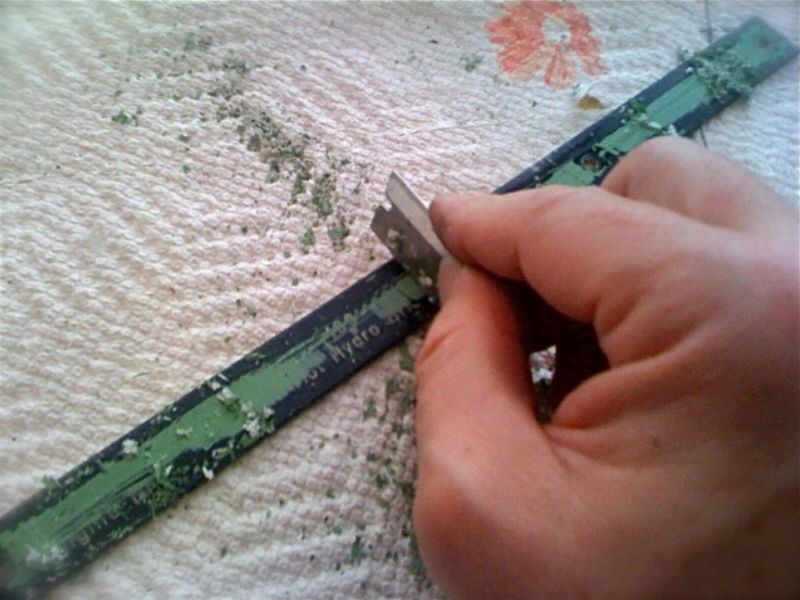
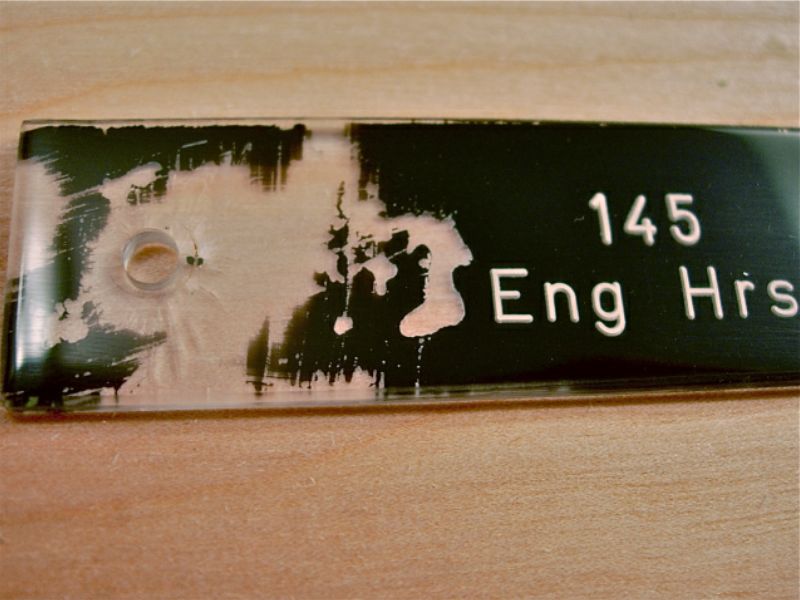
Paint remover was not an option, because the plastic pieces are clear strips, back-painted black and then engraved from the back, with those engraved characters then filled in with off-white paint by hand. So any attempt to remove the green paint with solvent would have destroyed what remained of the original lettering. The answer was like so much of 9010's restoration -- elbow grease and time. First, the plastic labels had to be separated from the frames, which was a very delicate operation with a razor blade to keep from cracking the old plastic. Then a fresh razor blade was used to 'plane' the surface and get rid of the old paint and any surface scratches. Then came time for the hard labor -- a tedious series of fine sandpapers meant for plastic polishing, in grits from 2000 to 12000, followed by fine hand polish and a coat of wax. Any missing areas of back-painting were recoated with black, and any missing white in the letters was replaced with a #000 brush.
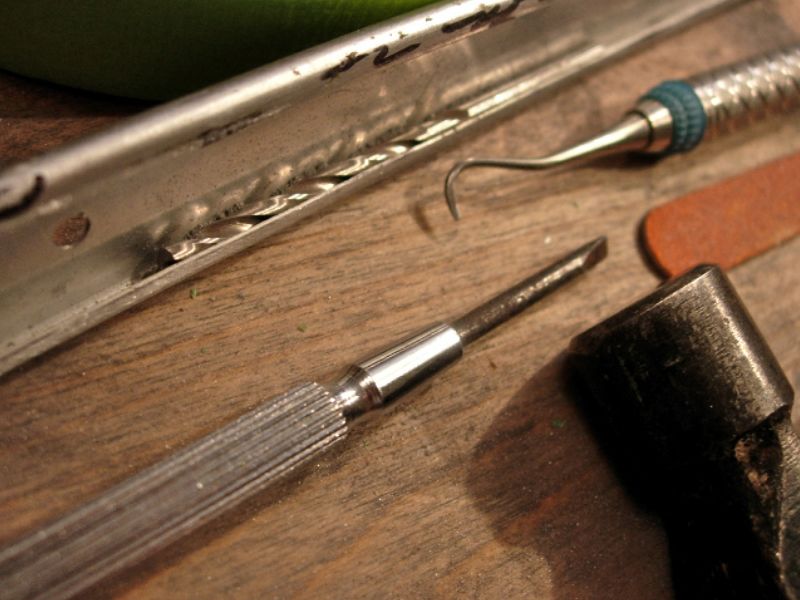
The aluminum pieces required dinging out with a drill rod inserted into the fold, and light taps of a hammer. Then the pits were addressed with sandpaper from 220 up to 600, before starting the same procedure with finer grades. The last pass was a medium paint polish and then a metal polish. Here's a before and after of the same area of the same piece.
And as we say in German, viola! The final pieces will go back when the rest of the cab panels are refinished.
|