--
Update September 25, 2010 --
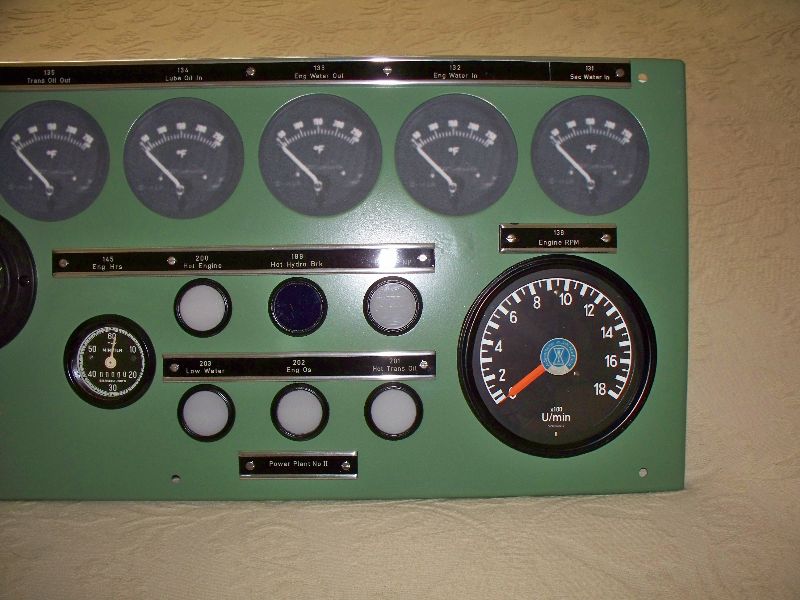
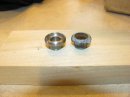
One
of the many on-going cab projects is finding replacements for
the
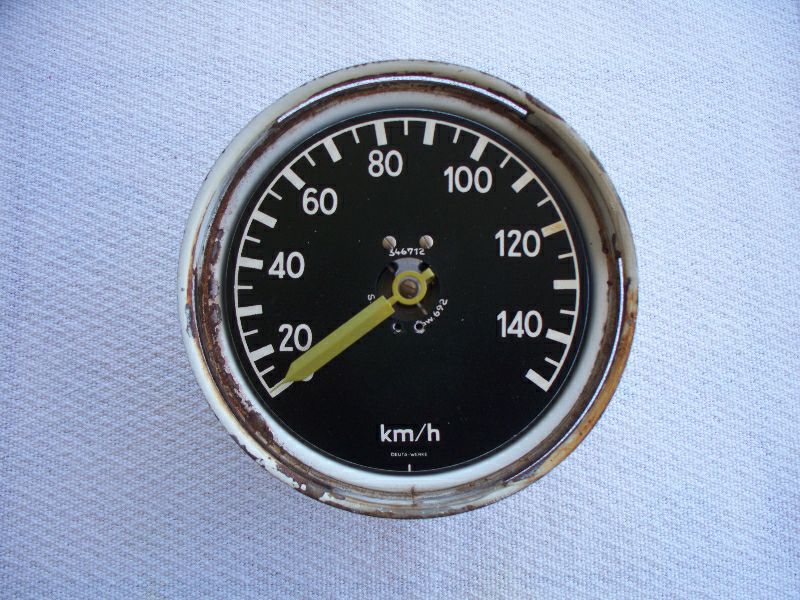
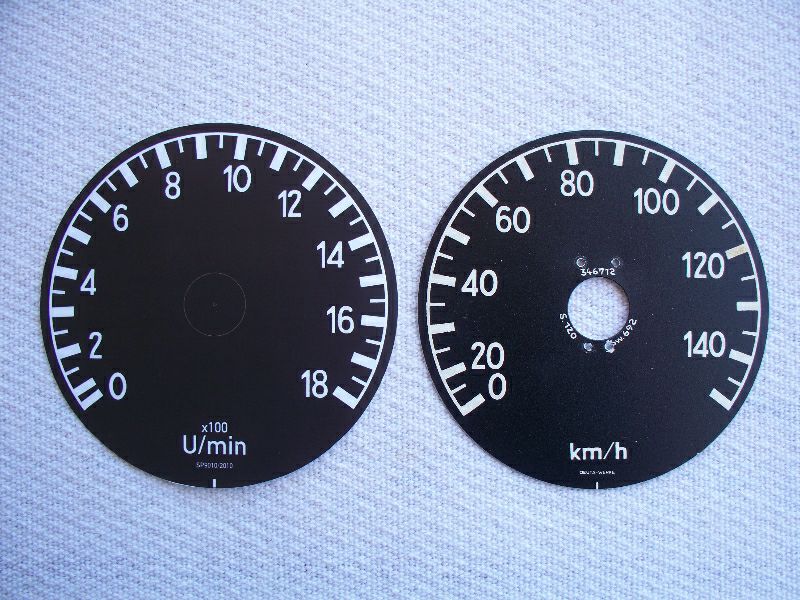
missing cab gauges. Our friend Richard Oed in Germany
located,
purchased and shipped two Deuta speedometers which are electrically
identical to the missing tachometers. He then produced 2
beautiful replacement tachometer faces which were applied to the
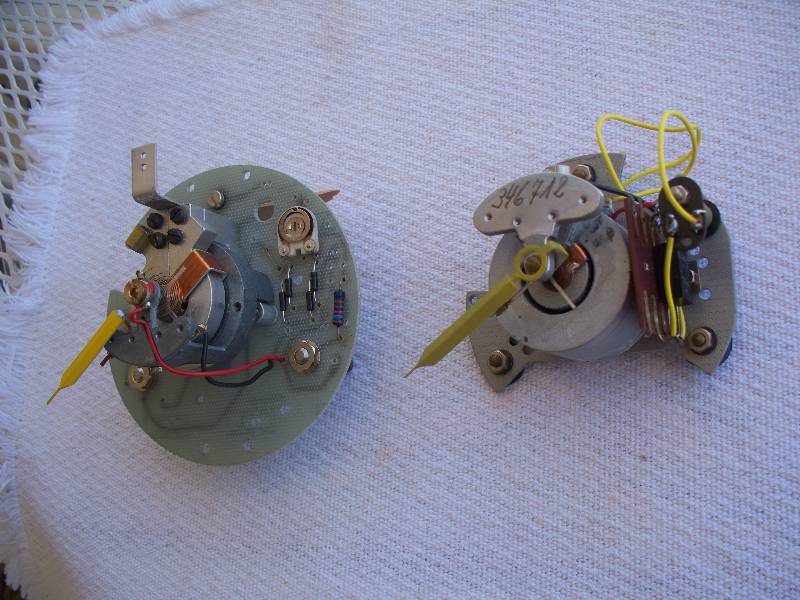
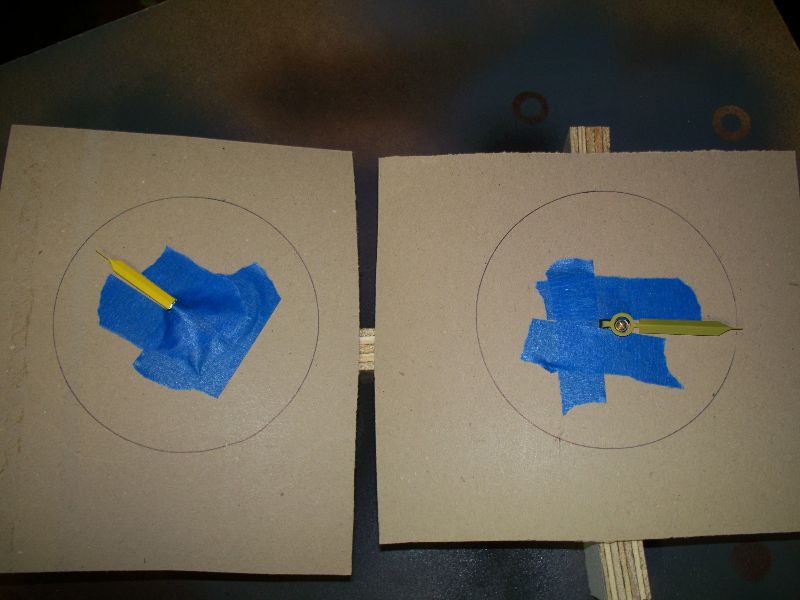
mechanisms. Bob Zenk produced a paint formula and the paint
for the needles and we soon had two lovely replacement tachometers.
It was interesting to find that the movements are DC
voltmeters
with a built in bridge rectifiers which are needed because the
tachometer generators on the engines produce AC. Richard also
contributed the pair of Engine Hour Meters.
Dan
was found working on the bathroom door. Two of the hinge pins
were broken and there were some 20 unused screw holes in the
door
surface. There sure were a lot of things hung on there over
the
years. Liberal applications of paint remover and elbow grease
produced a nice clean surface and then a bit of welding and body filler
took care of the holes.
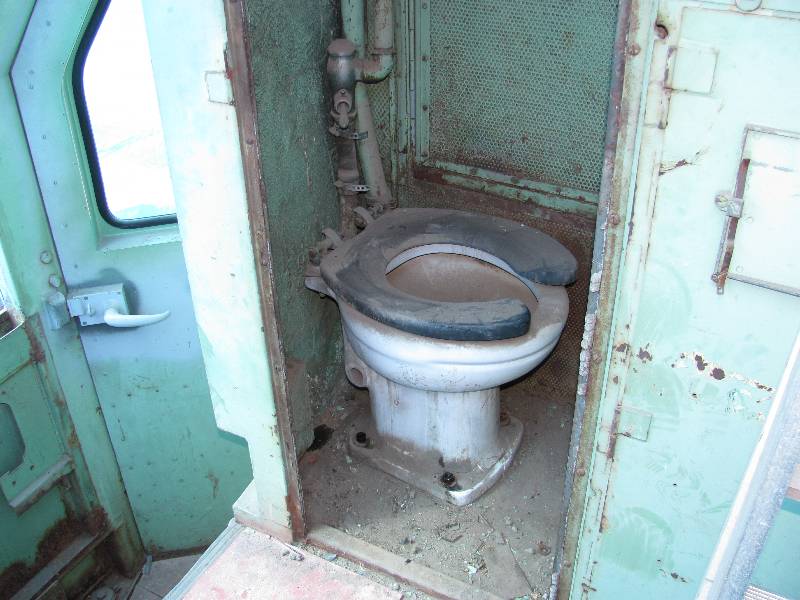
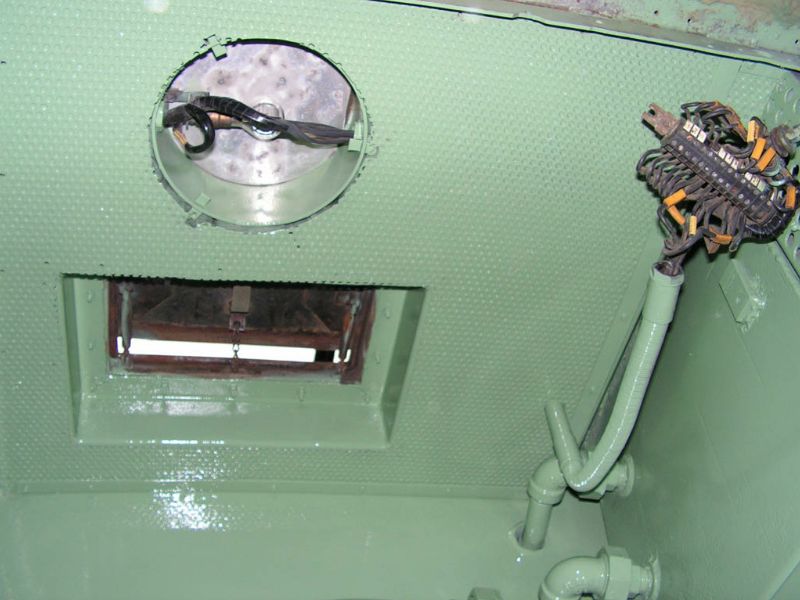
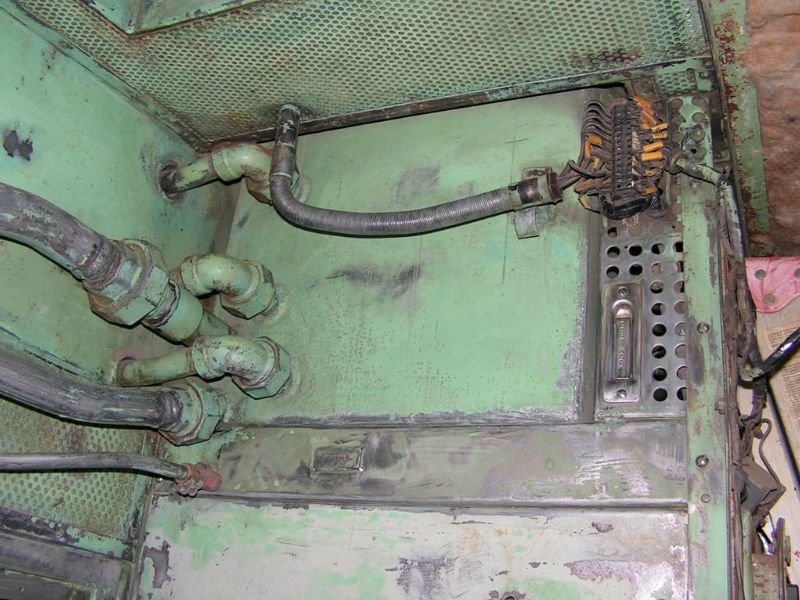
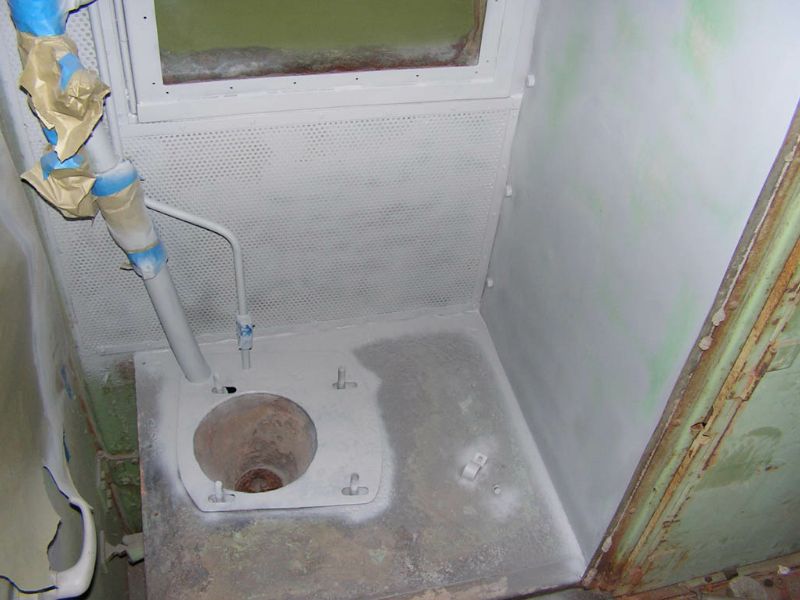
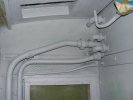
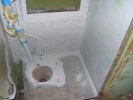
Dan
also took on the task of striping the interior of the bathroom and
preparing it for paint. We removed the right side wall in
order
to make the work easier and to get access to the ceiling panels.
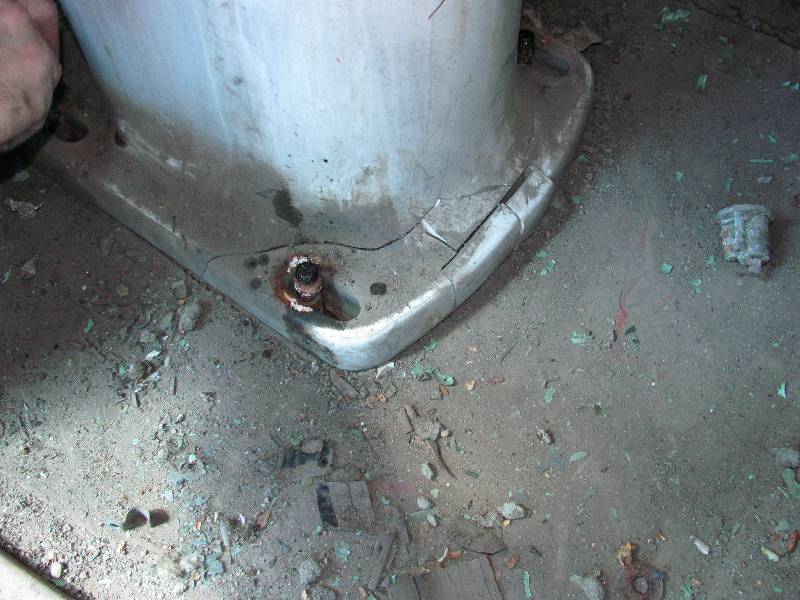
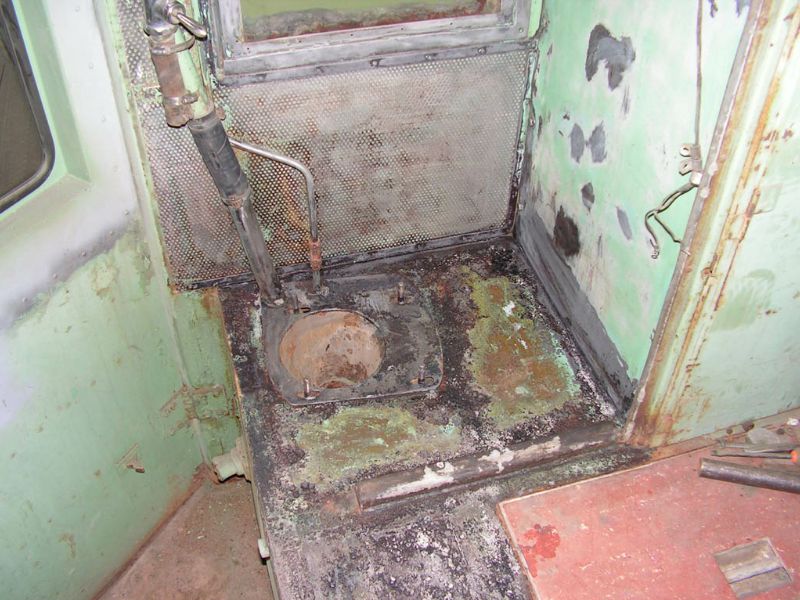
After removing all the garbage from the floor, Dan discovered
that the base of the toilet was broken in a multitude of pieces.
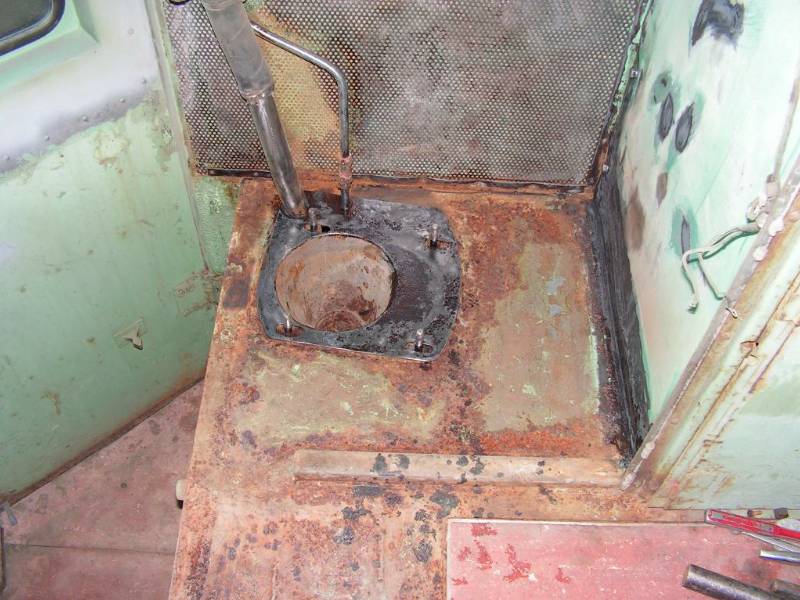
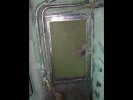
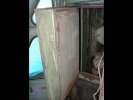
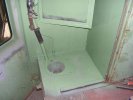
That's just one more darn thing to deal with. The
door in
the back wall of the bathroom was something of a
mystery and the only explanation we could find was that it was an
emergency escape door. That is until we got an email from our
friend Carl-Peter Zander. He explains the door as follows:
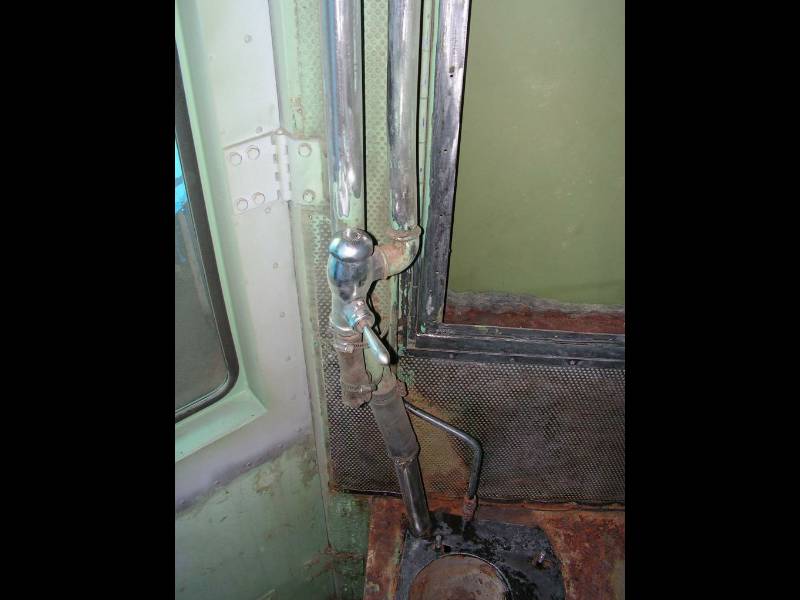
"The
UIC code asks for an escape opening, if there is no direct door from
the drivers compartment to the outside, or if the side door in a hood
type unit is more than 7 meters from the front end of the locomotive.
Both are not the case in the ML 4000.
To explain this small door, we have to go back into the
history of the prototype units, which in the very beginning of their
operation, suffered from some trouble in their diesel engine
governor/regulator, which is a very sophisticated mechanical item. The
Maybach specialists were able, to do some setting or repair in the
locomotive, but it was very difficult to reach the vital parts of no.1
engine. Therefore SP asked to have this door for the second locomotive
type. Problems with the governor were overcome ,
and I do
not know whether this door was ever used."

Dan
Furtado Photo
|
Dan
Furtado Photo
|
Dan
Furtado Photo
|
Dan
Furtado Photo
|
--
Update October 29, 2010 --
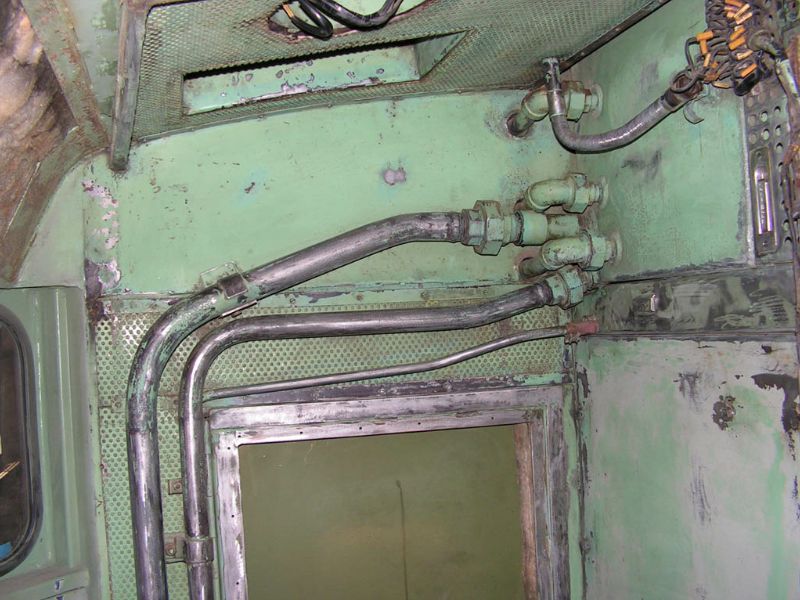
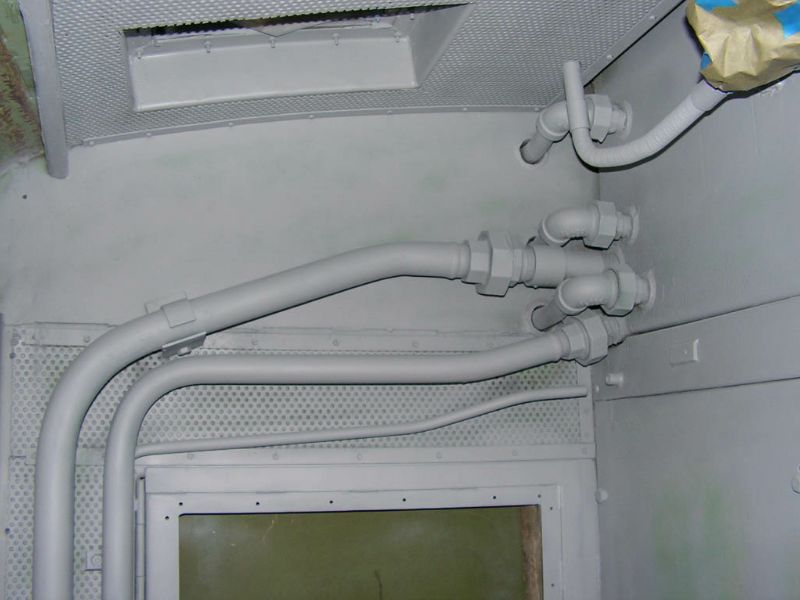
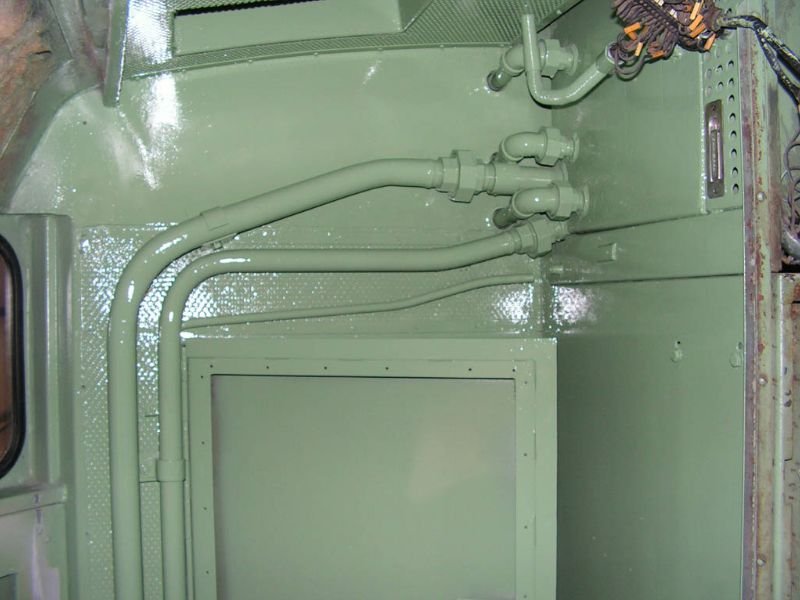
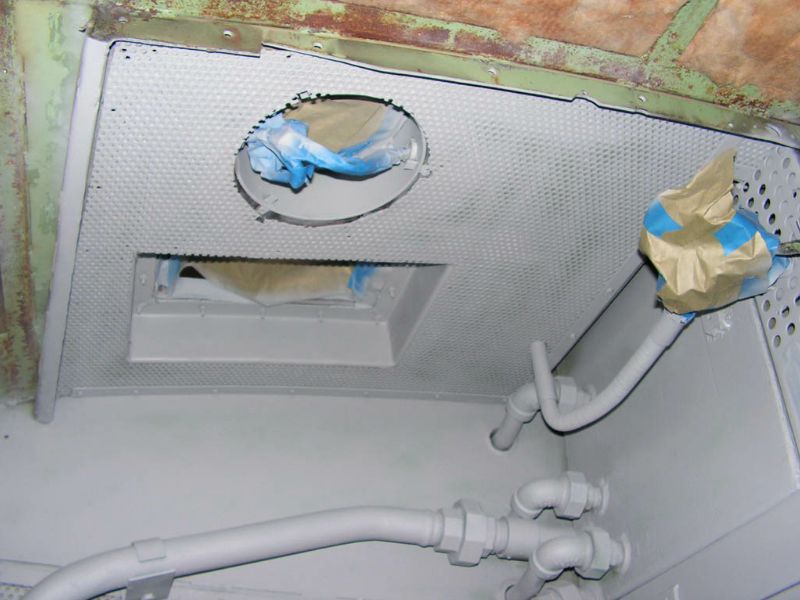
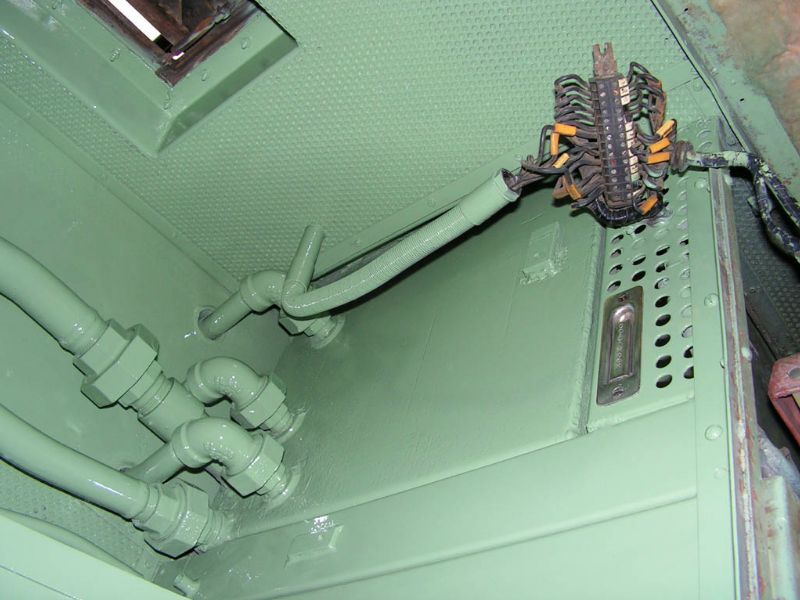
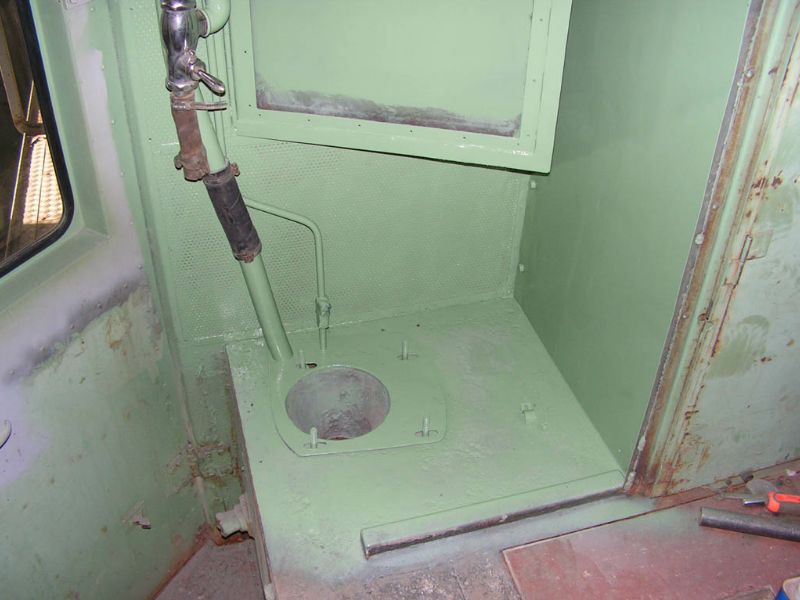
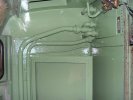
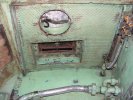
Dan
has been doing wonders in the bathroom area. He stripped
nearly
everything, applied rust neutralizer, primered and painted.
This
is the first area of the cab interior to have the "new" look.

Dan
Furtado Photo
|
Dan
Furtado Photo
|
Dan
Furtado Photo
|
Dan
Furtado Photo
|

Dan
Furtado Photo
|

Dan
Furtado Photo
|

Dan
Furtado Photo
|
Dan
Furtado Photo
|

Dan
Furtado Photo
|

Dan
Furtado Photo
|
Dan
Furtado Photo
|
Dan
Furtado Photo
|
--
Update October 30, 2010 --
Guest Worker Bob Zenk,
filing this report from Location: Brightside.
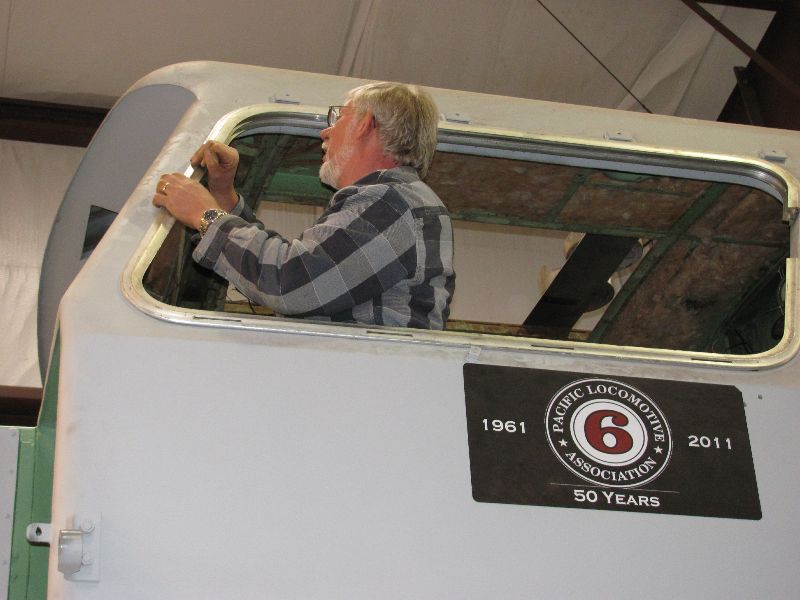
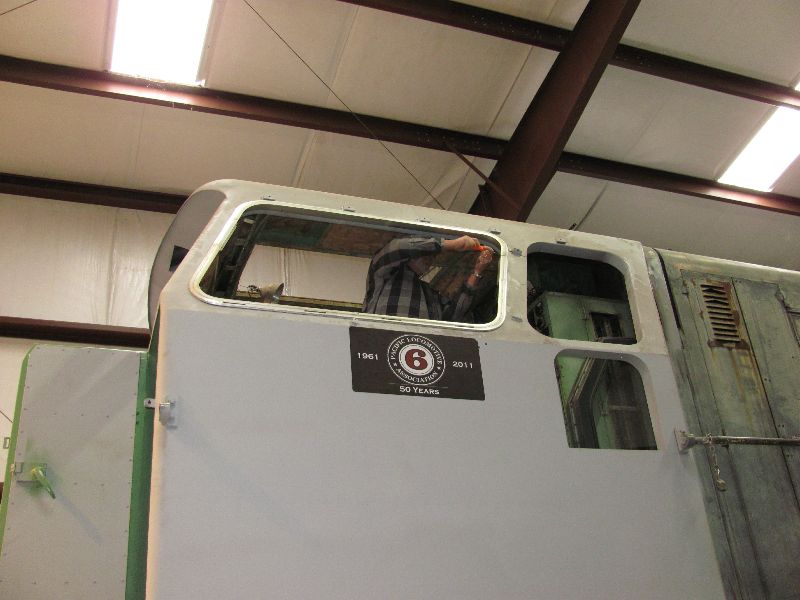
Restoration on the cab interior is progressing rapidly. So it's time to
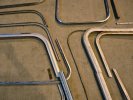
start making sense of the cab window frame system.
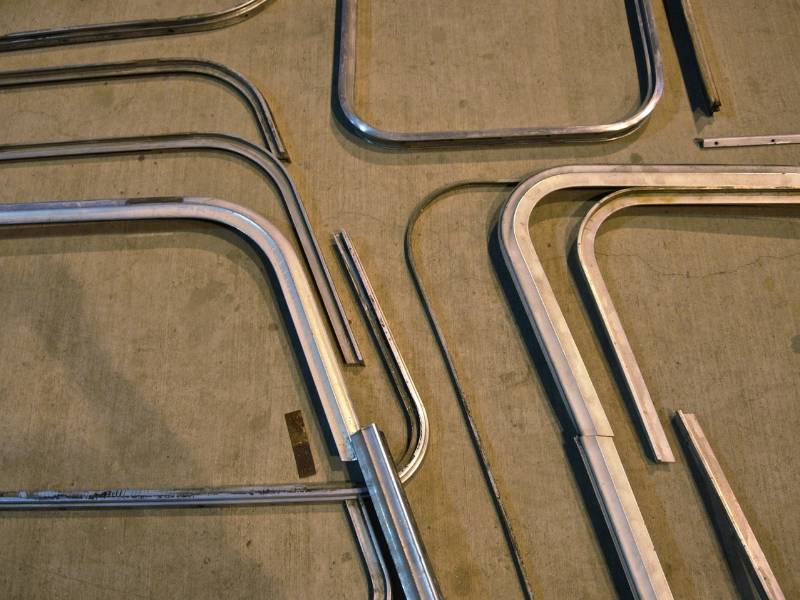
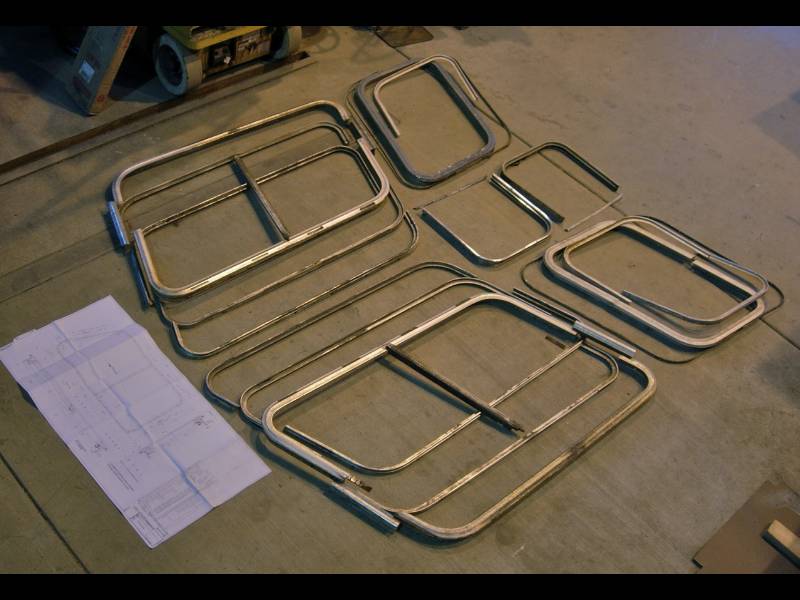
'System'
is not an exaggeration. The side window frames were originally supplied
by the German firm of Happich/GHE, a major supplier to this day for
transit hardware. They are designed in the German style, which favors
aluminum exterior brightwork. It's a signature look for SP 9010.
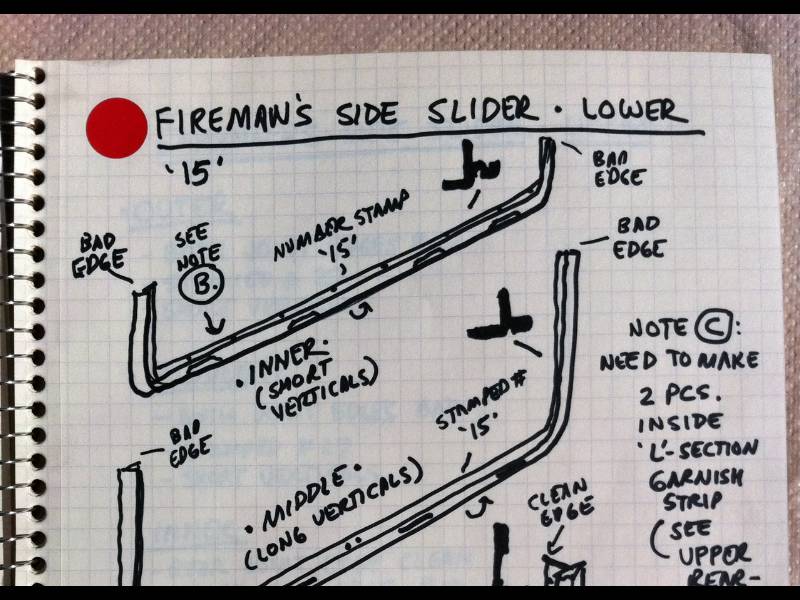
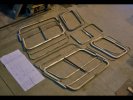
There
are four dozen separate pieces of aluminum extrusion making up the six
cab side window assemblies. Sorry -- 'systems'. The sliders, for
example, are made up of three separate extrusion profiles in a
rubber-sealed sandwich, six pieces total not counting the center
dividers, glide rails, or glass. They are also milled for drainage.
Bob
Zenk Photo
|

Bob
Zenk Photo
|
Bob
Zenk Photo
|
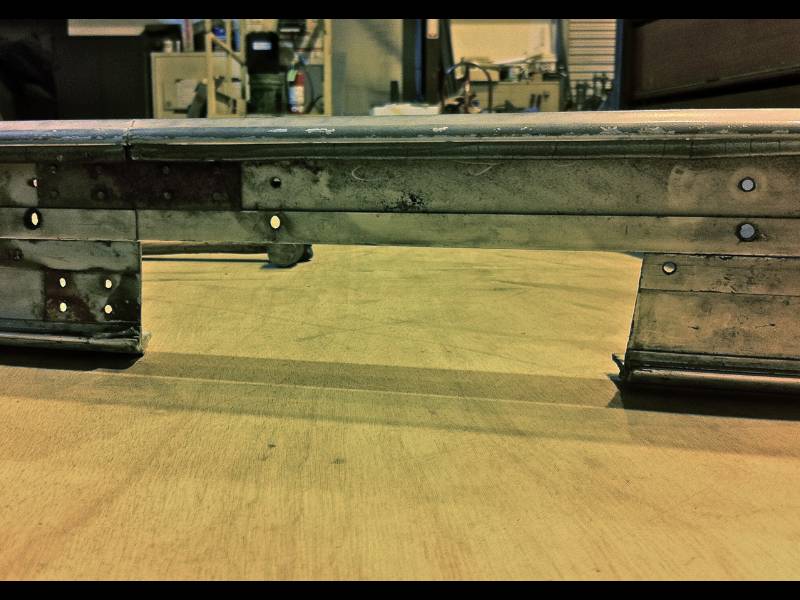
SP
9010's windows suffered a number of indignities through the years, not
the least of which was having the large sliders cut down by 9" in an
effort to control cab heat and rain ingress. The shop forces were
likely instructed to, well, git 'er done. That nobody fussed too much
is clearly revealed by the vise marks in the center dividers.
Bob
Zenk Photo
|
Bob
Zenk Photo
|
Bob
Zenk Photo
|
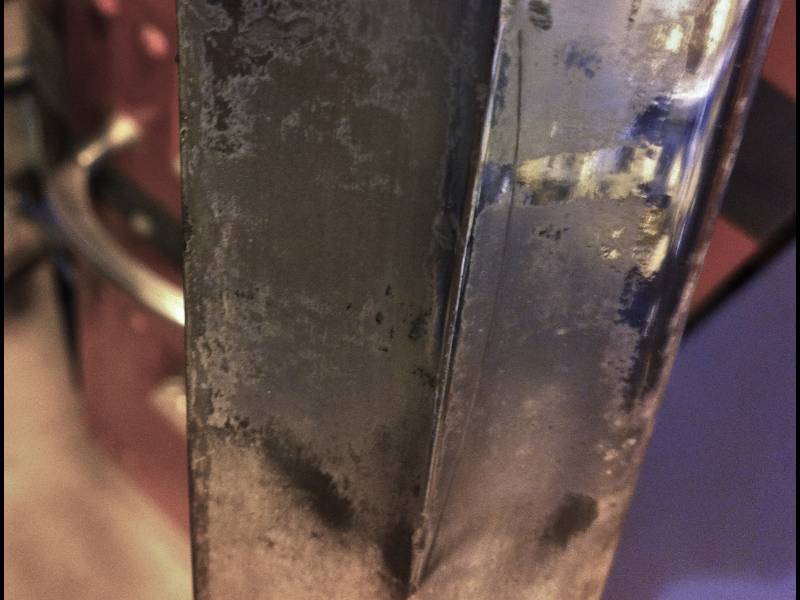
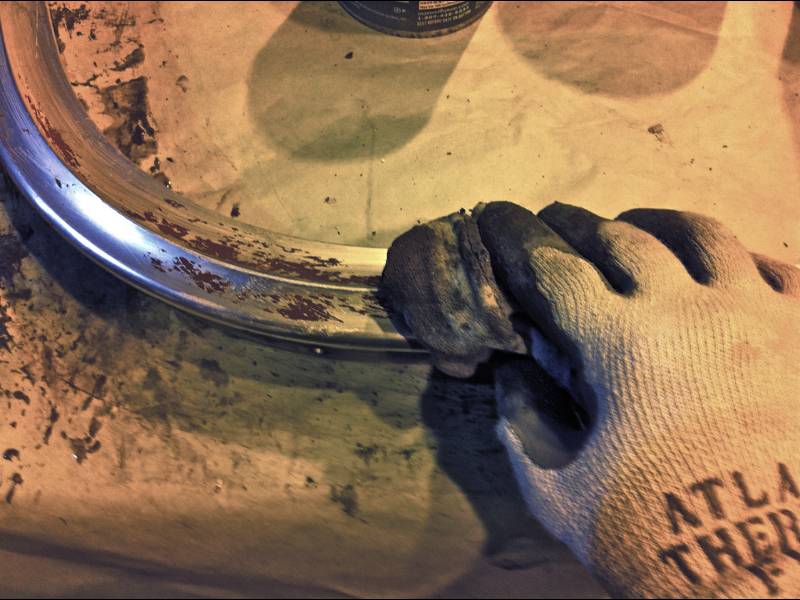
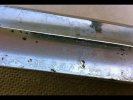
The
clear anodized bright finish tends to fend off corrosion to a certain
point, and then it develops metal leprosy. We used cloth polishing
wheels and compounds to try and bring back some of the less crusty
pieces. A couple turned out okay. But once anodizing goes bad, it stays
bad, and the surface has to be cut completely.

Bob
Zenk Photo
|

Bob
Zenk Photo
|
Bob
Zenk Photo
|
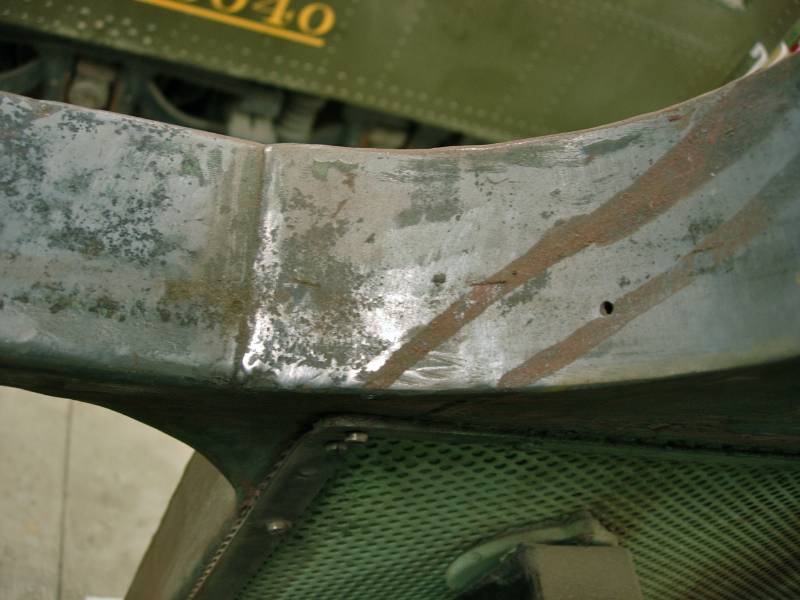
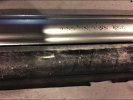
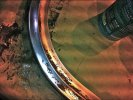
There's
also the problem of aluminum being softer than most of the things which
tend to hit it in a railroad environment. Some of the pieces are
dinged-up badly enough that the marks can be seen from fifty yards
away. No amount of buffing will fix that. They have to be taken down
past the damage, and that eats time.
Bob
Zenk Photo
|
Bob
Zenk Photo
|

Bob
Zenk Photo
|
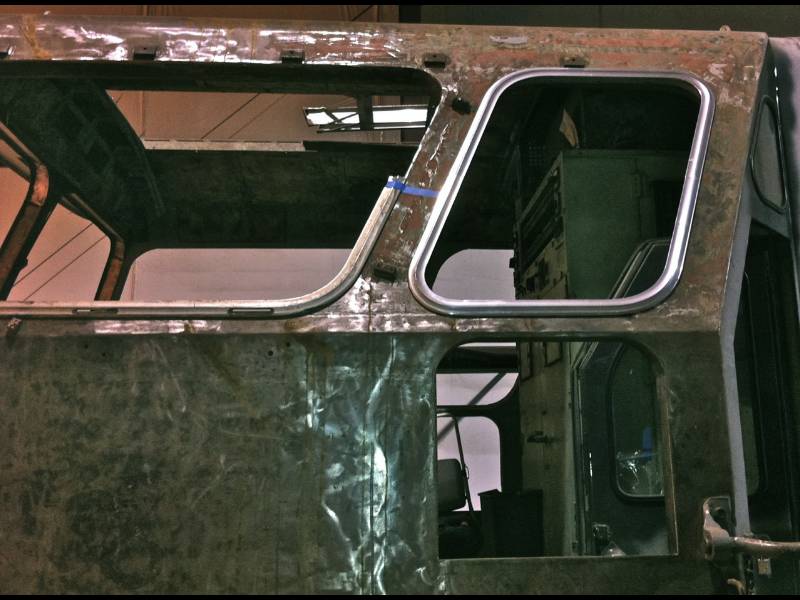
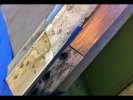
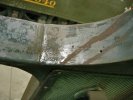
The
upper rear frame on the Fireman's side had been painted over by the SP
in 1969 to combat heat, and the paint stuck real good! We removed
it with paint stripper and elbow grease -- and when we were done, we
wished that SP had painted all the windows like that!
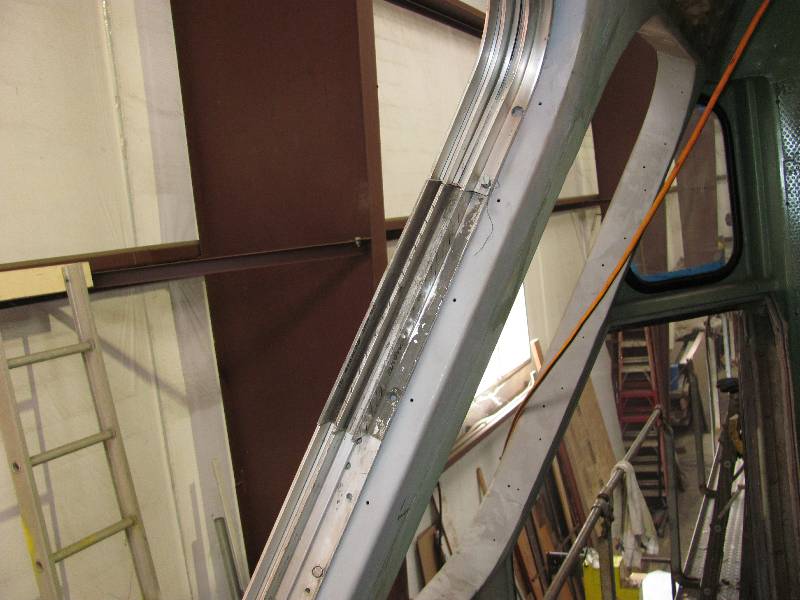
Now... how
to replace the missing nine-inch gap? SP threw away the pieces they cut
out, obviously. But in doing research, we found that other German
locomotives use the same extruded part. Contacting our fearless
European Away Team resulted in enough spare parts from a salvage yard
to at least make the 'plugs' for the exterior.
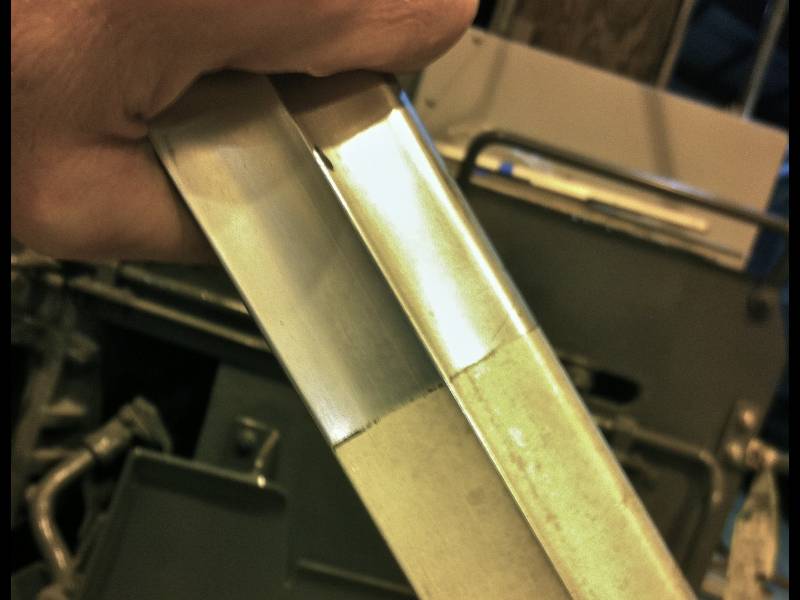
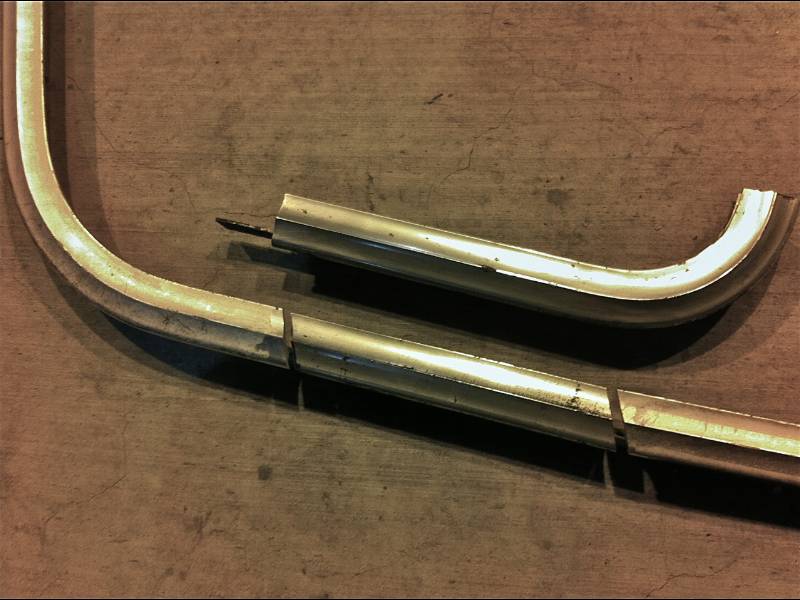
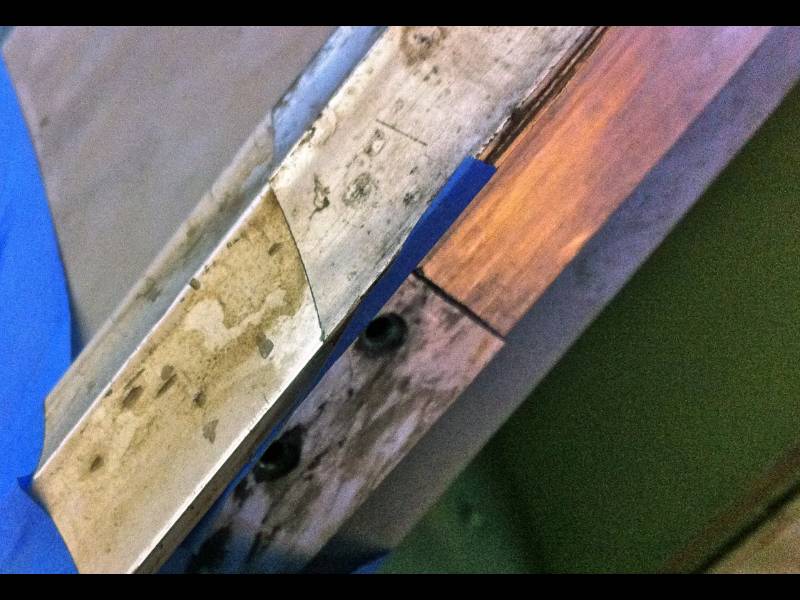
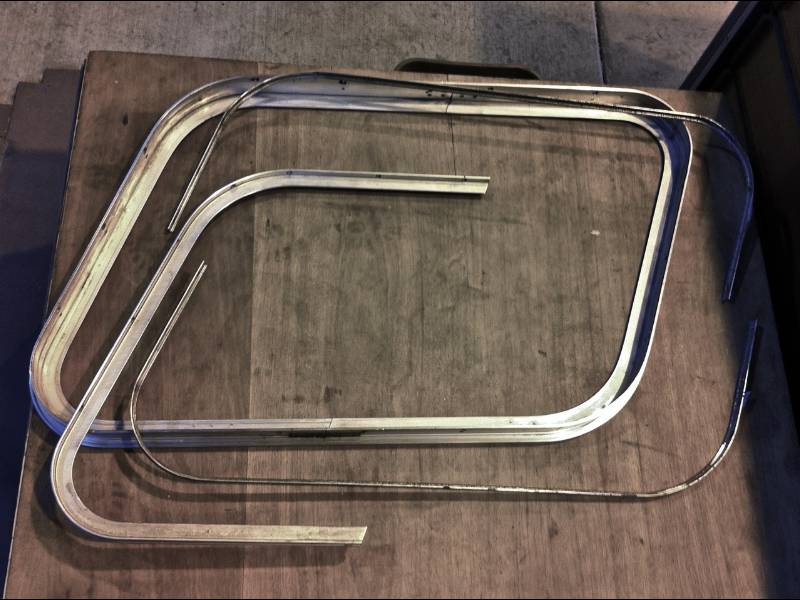
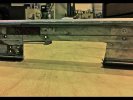
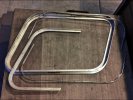
There is already
one factory joint in the sliders, matching the 70 degree slant of the
verticals. Making a test cut and fitting a salvaged section to the gap,
we determined that a second joint for the patch plug will be nearly
invisible, and suspended any plans to weld or otherwise try to make the
new repair joint disappear.

Bob
Zenk Photo
|
Bob
Zenk Photo
|
There
will be more salvage parts required: the middle and inner sashes are
also missing nine-inch segments. But first we have to determine if
those are custom parts for the Series units, or if we might be able to
tap our resources in Europe again.
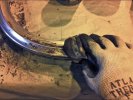
Moving on, the frame sandwich
'system' is useless without the custom rubber parts which seal the
glass, allow the sliders to slide, and channel the water to the drains
instead of the cab floor. There are eight different cross-sections of
custom rubber which do that job -- and all are either rotten or
completely missing.
Bob
Zenk Photo
|

Bob
Zenk Photo
|
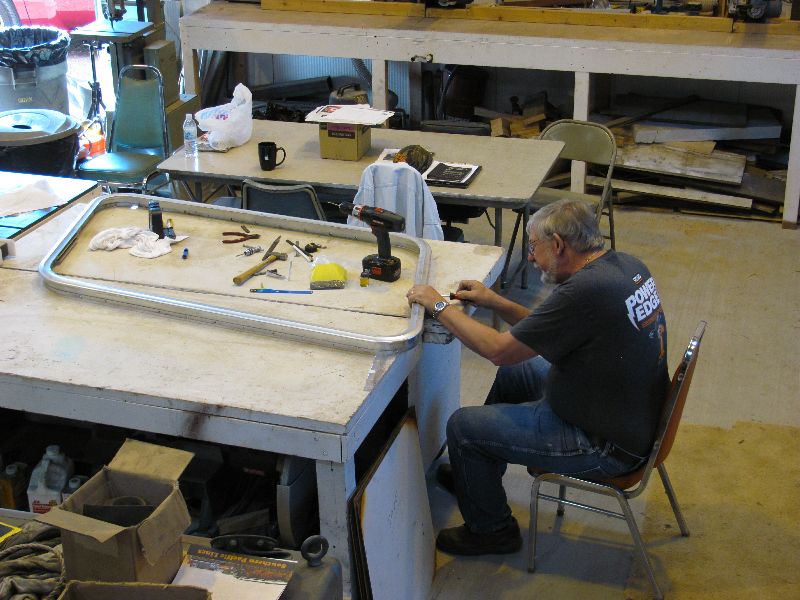
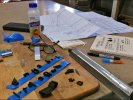
Laying
them out, cutting sections for samples, making extensive notes so we
don't get confused, consulting a Happich/GHE drawing provided by our
friend Franz Wunschik -- a lot of head-scratching will determine which
parts we can service with U.S. substitutes, and which parts we'll need
to source from Bavaria.
The window frames were designed as a complete and
self-contained glazing system, since the cab structure is just a
double-walled box with naked cutouts, waiting for these parts and their
rubber seals to be fitted.
Bob
Zenk Photo
|
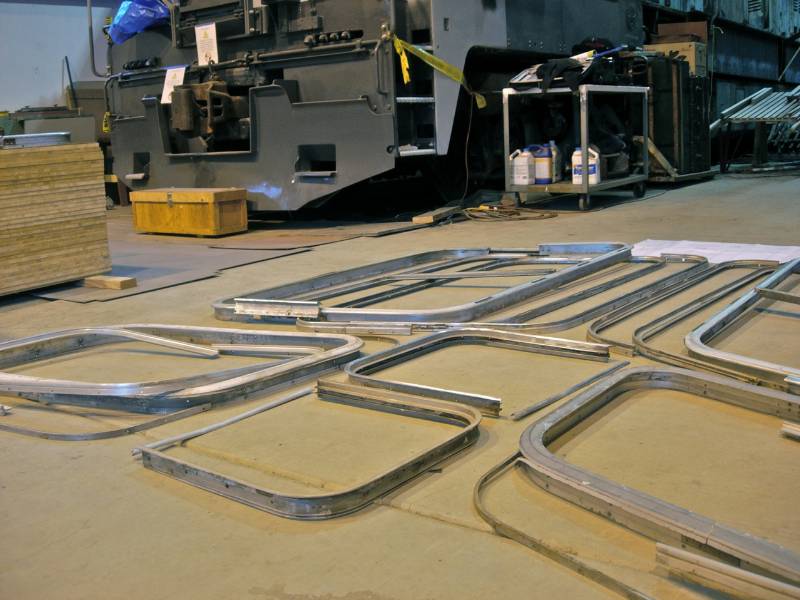
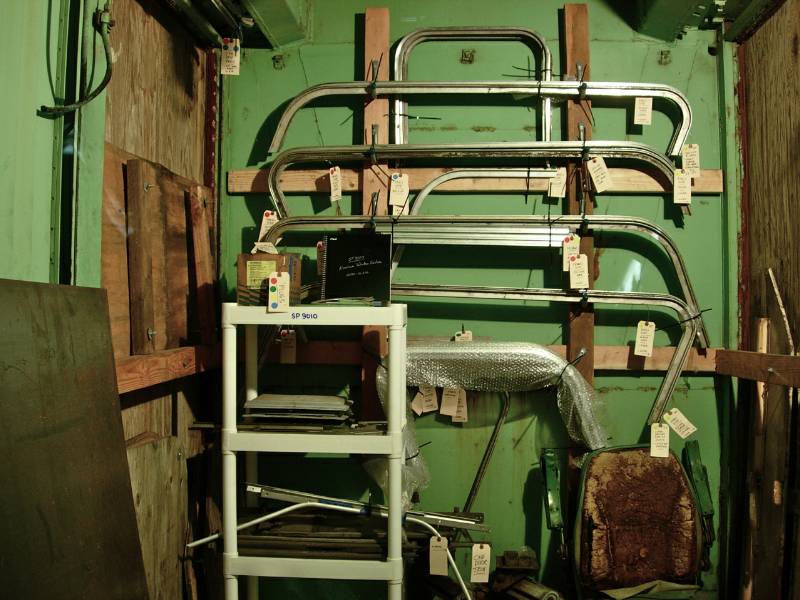
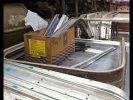
We
wrapped up our Fall 2010 Field Trip with a complete inventory of parts
on hand including missing pieces, and then engraved the parts locations
on all window frame bits so that they can be easily identified. They're
put away safely while we gather parts and materials, and prepare for
refinishing.
Bob
Zenk Photo
|
Bob
Zenk Photo
|

Bob
Zenk Photo
|

Bob
Zenk Photo
|
Which
is now what's being investigated. We've determined that simple
polishing won't repair the damaged pieces. Cutting the surface and
polishing it back to bright aluminum won't prevent immediate corrosion.
Clear-coating will eventually flake off. The original clear anodizing
technique is best done with new metal, is expensive, and doesn't last
forever either -- we have proof!
Best choices being considered
right now are in the powder coating realm -- there are aluminized
finishes which look for all the world like bright metal, and are hard
as a rock. This sounds good... don't want to do this more than once,
ever!
--
Update July 15, 2011 --
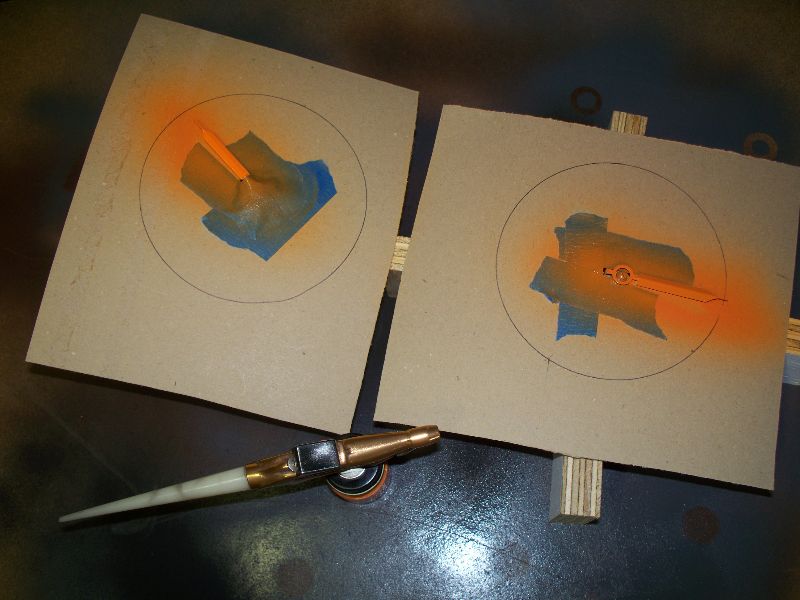
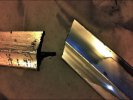
Good
grief, it has been over 8 months since this section has been updated.
This is mainly because all our efforts have been going into
the
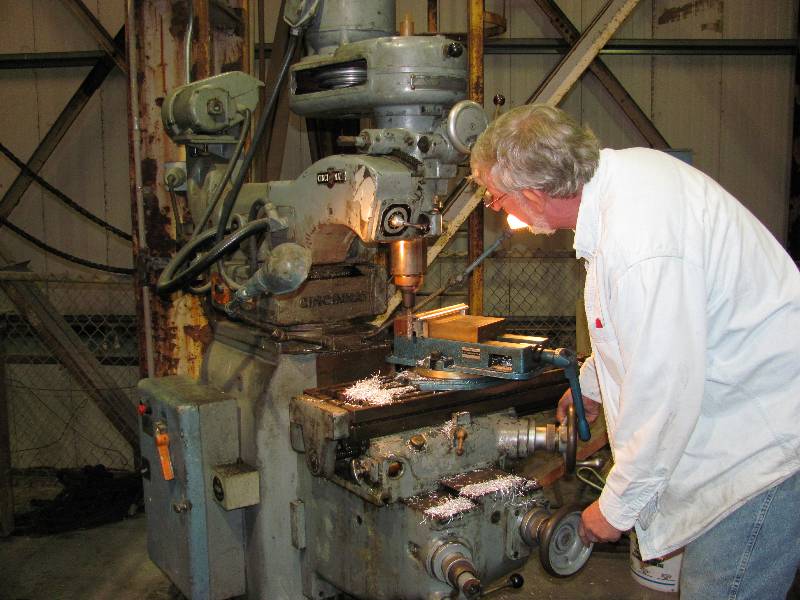
exterior body work . But, we have a new crew member who just
happens to be a cracker jack machinist. Bill has taken on the
job
of restoring the cab side window frames to a state of usefulness, for
which I am truly grateful. His current task is making the
"plug"
sections that Bob mention last update. The plug in the third
photo is a work in progress but, it is in progress after all this time
wondering what we were going to do.
--
Update November 21, 2011 --
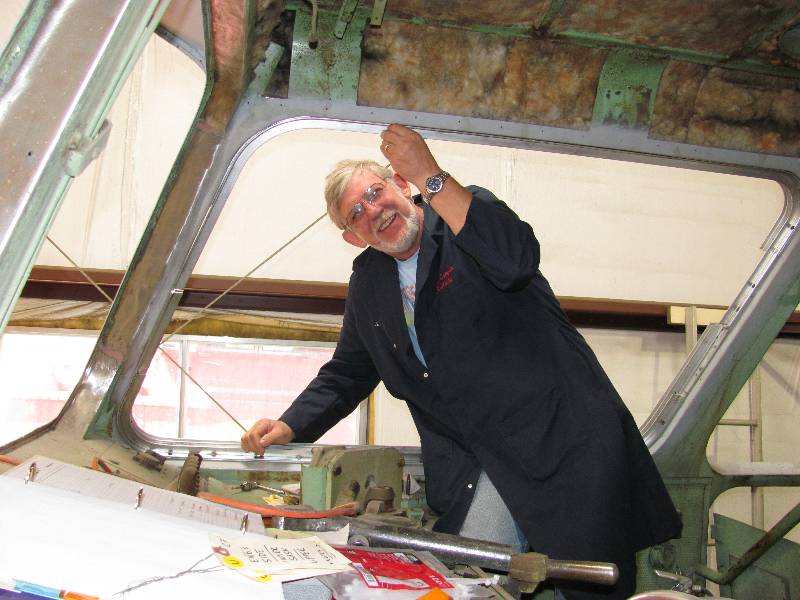
Bill
continues on the window frame project. He has completed the
main
machining work on the engineer's side and is now working on the
fireman's
side. The plugs are being made from sections of window frame
sent
from Austria by crew member Gerold Eckl. These have saved us
a
tremendous amount of work fabricating the plugs from aluminum bar
stock. He is also creating the window divider bars which were
removed during Camera Car conversion.
--
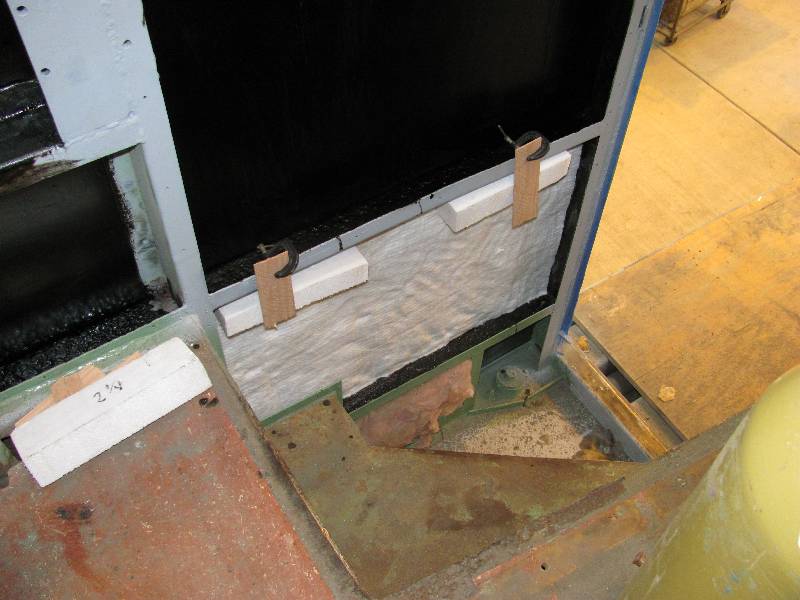
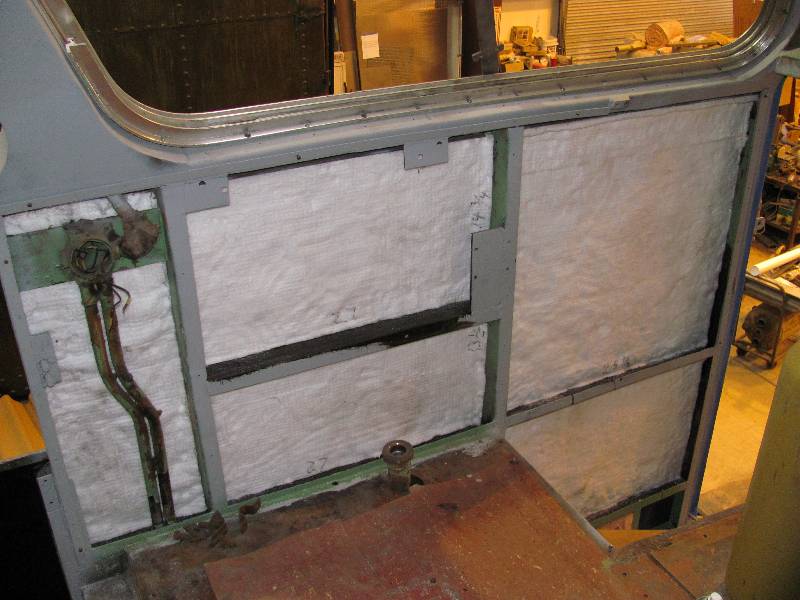
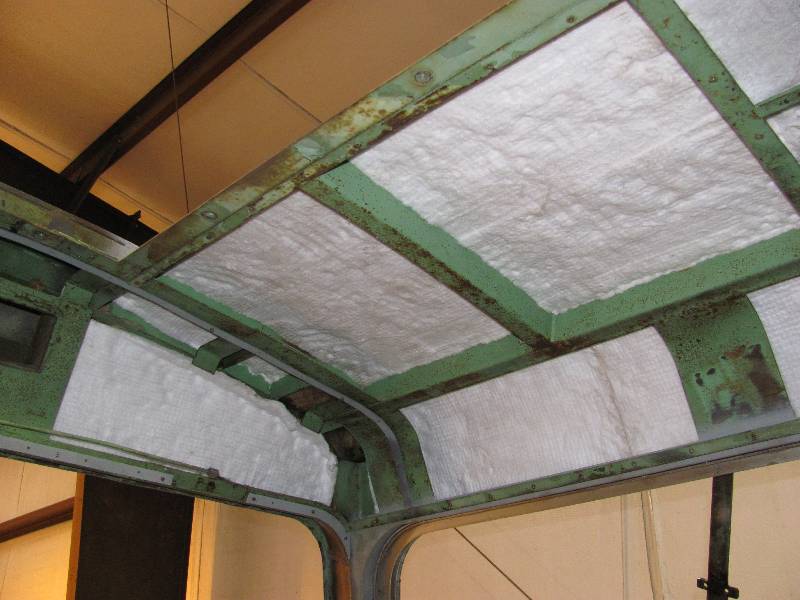
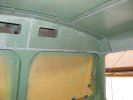
Update August 01, 2012 --
The KM's were notorious for the cab temperature they could maintain.
The flat metal surfaces coupled with the huge window
openings formed a fairly effective oven. The cab is insulated
with a product called "glass wool" which is like a dense fiberglass.
We decided that we would try to cut down the heat that was
transmitted by the metal walls as much as possible and turned to our
fiends in the steam locomotive crowd for advice.
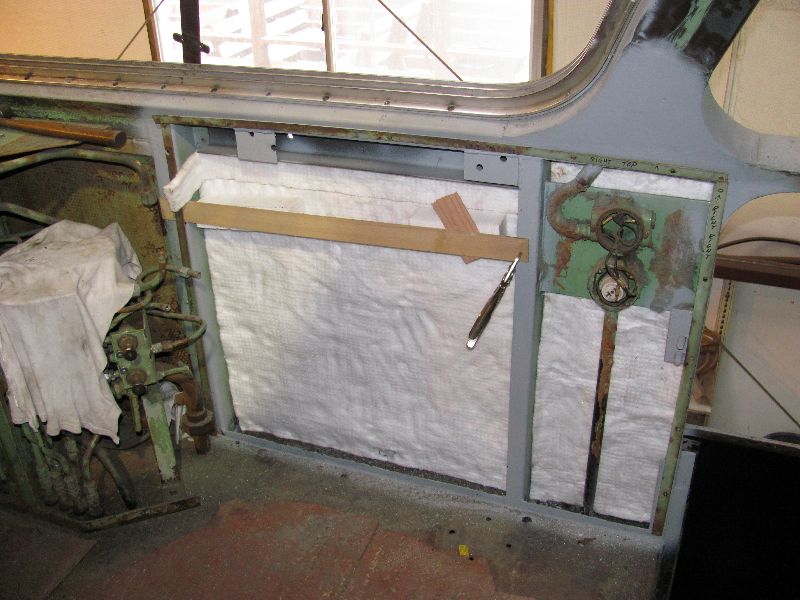
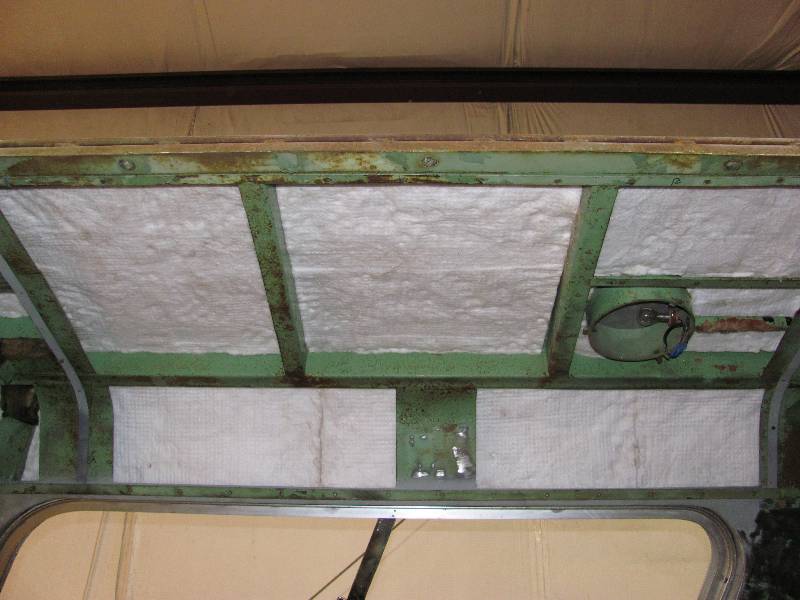
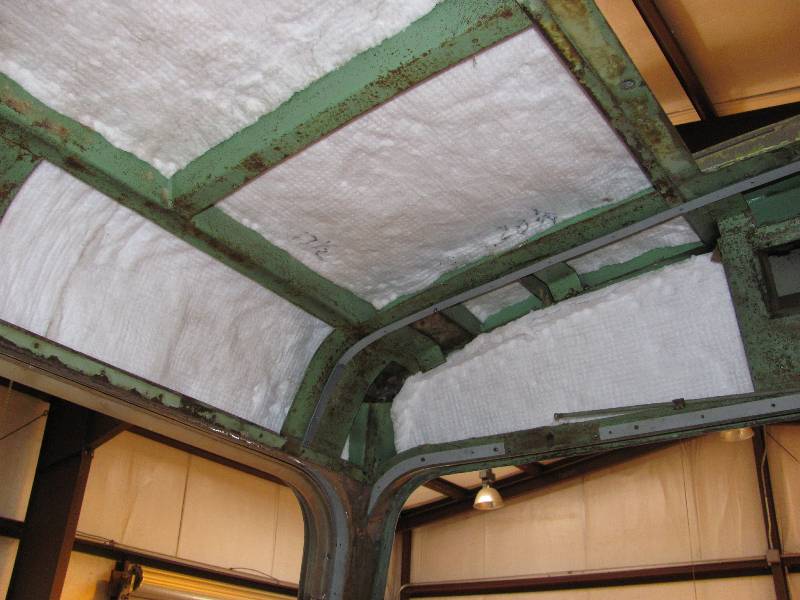
We learned that a spun ceramic fiber blanket was often used
to insulate locomotive boilers (and furnaces) and was obtainable
locally. I picked up a couple of rolls of 1/2" material and
began gluing it to the cab ceiling and side panels. The black
material seen on the inside of the side panels is a coating used on the
inside of water tanks. It will hopefully keep the rust away.
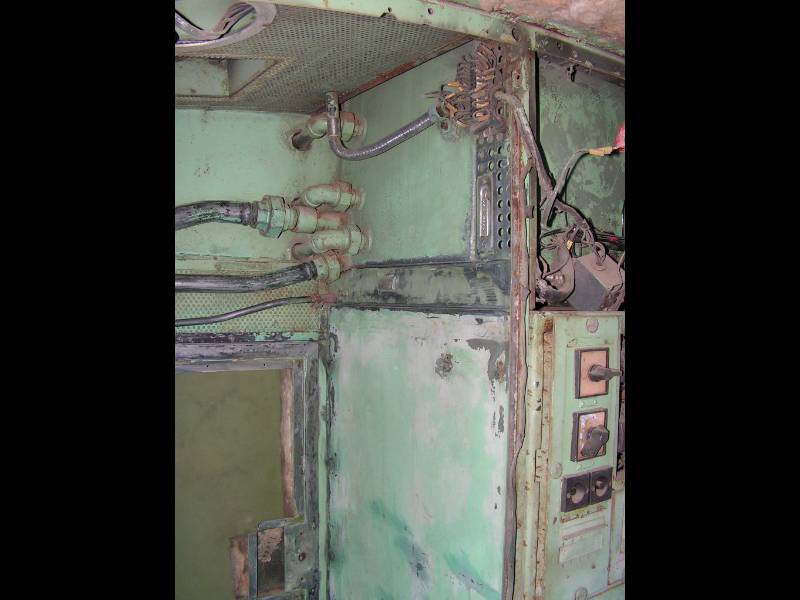
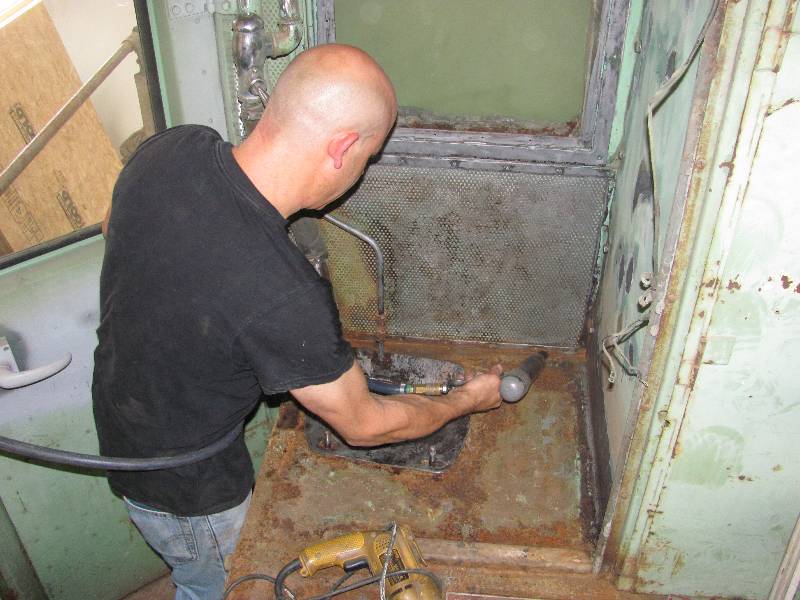
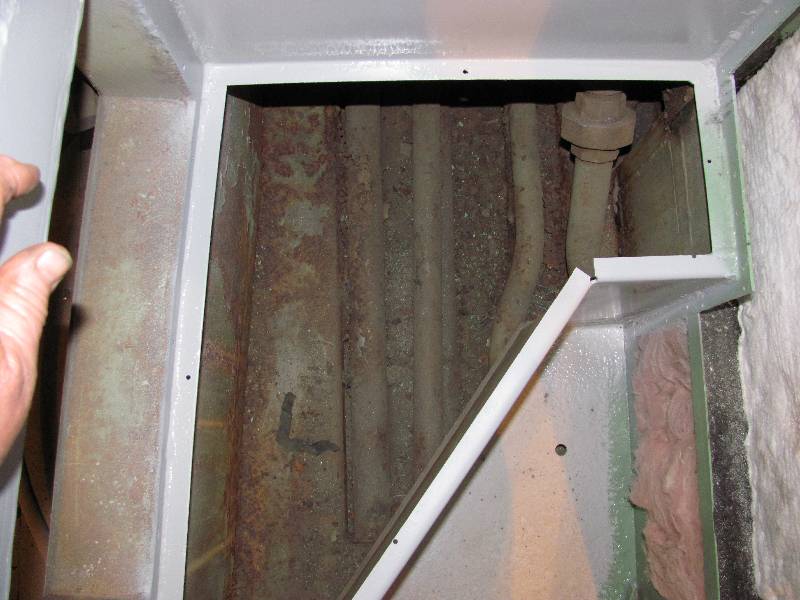
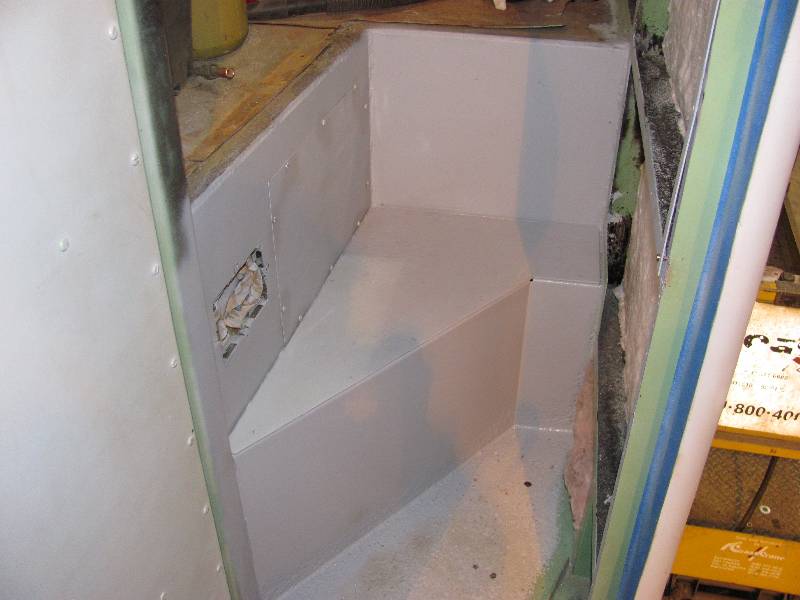
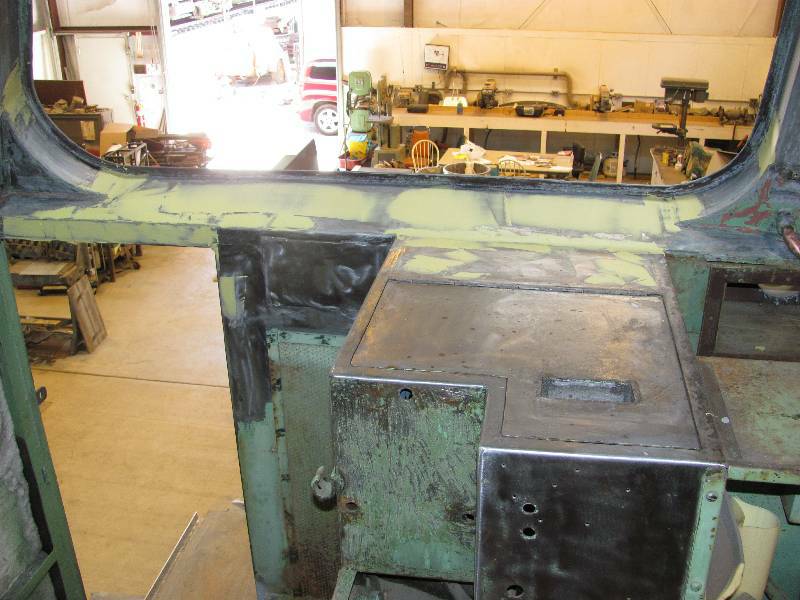
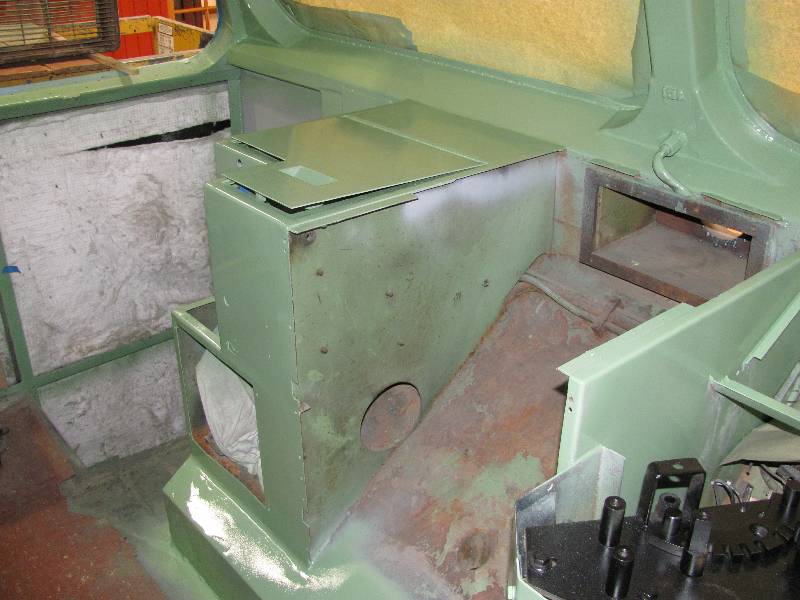
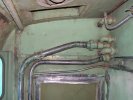
There is
a plate in the front step well that forms the step up
into the cab and covers access to the front cable conduits.
The plate had been removed while we were putting all of the
cableing back in the conduits but that is completed so the plate was
reinstalled and then the area was cleaned and primered. There
will eventually be linoleum on top of the step.
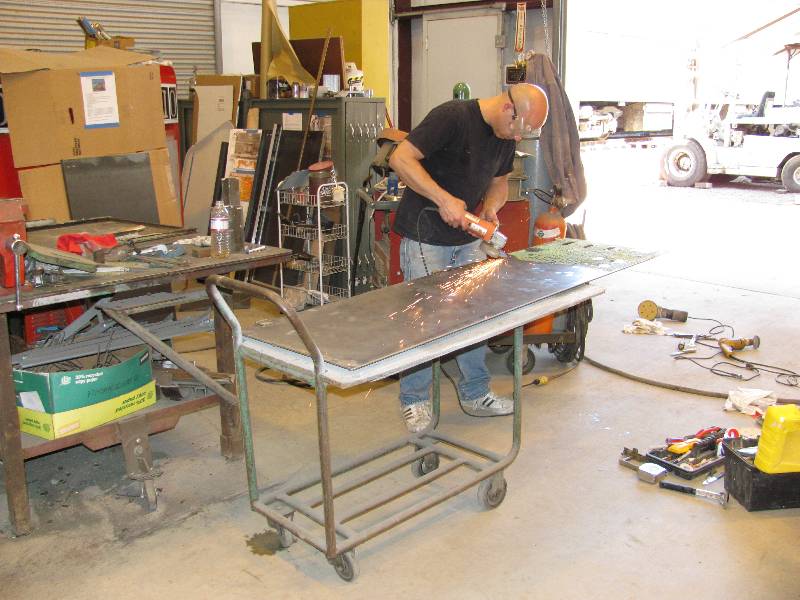
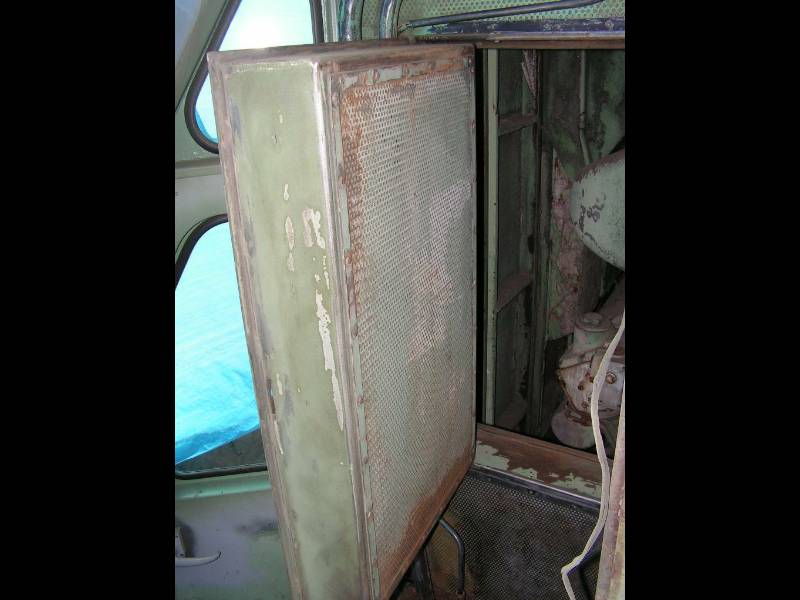
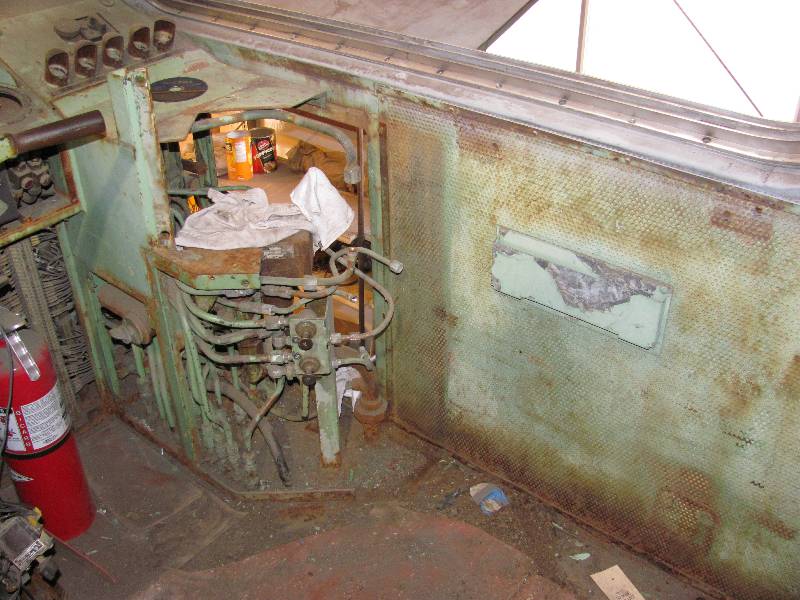
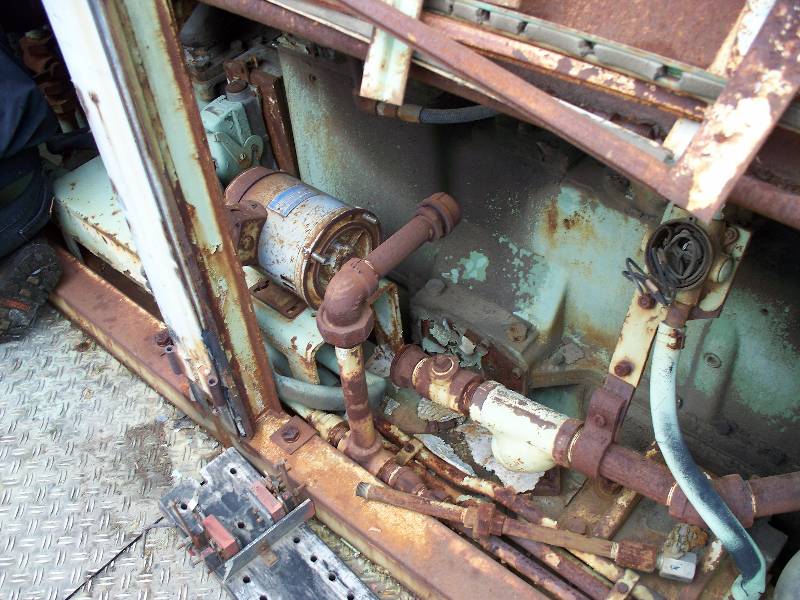
All of the interior perforated metal side panels needed to be removed
as they were rusty, bent and the glass cloth lining their insides
needed to be replaced. The engineer's side panel happened be
trapped behind part of the brake stand so the stand was cut apart.
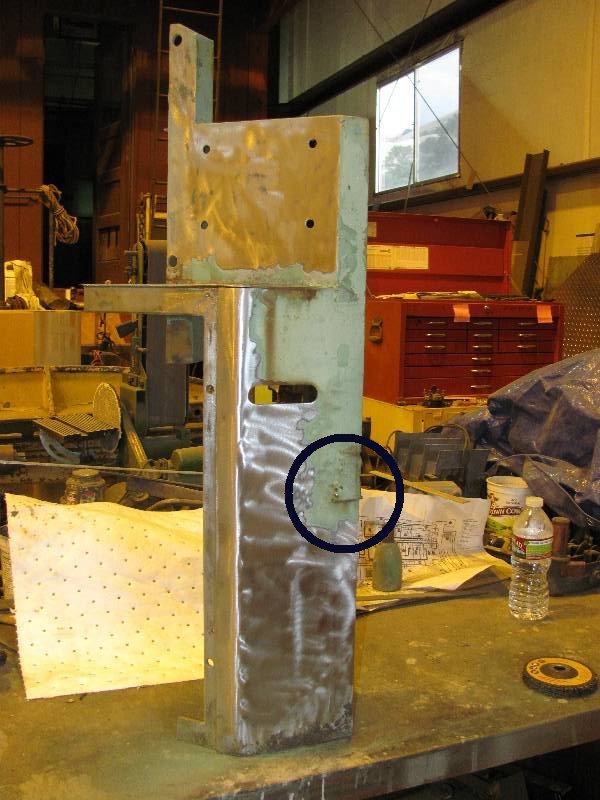
While cleaning the cut off piece, I noted the remains of a
bracket that had been welded to the stand. Research leads us
to
believe that this was originally the Automatic Train Stop Valve.
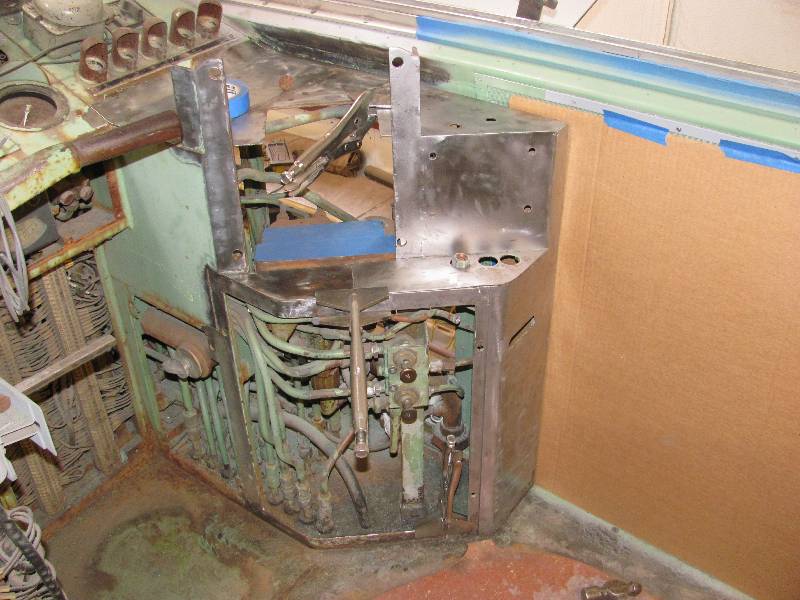
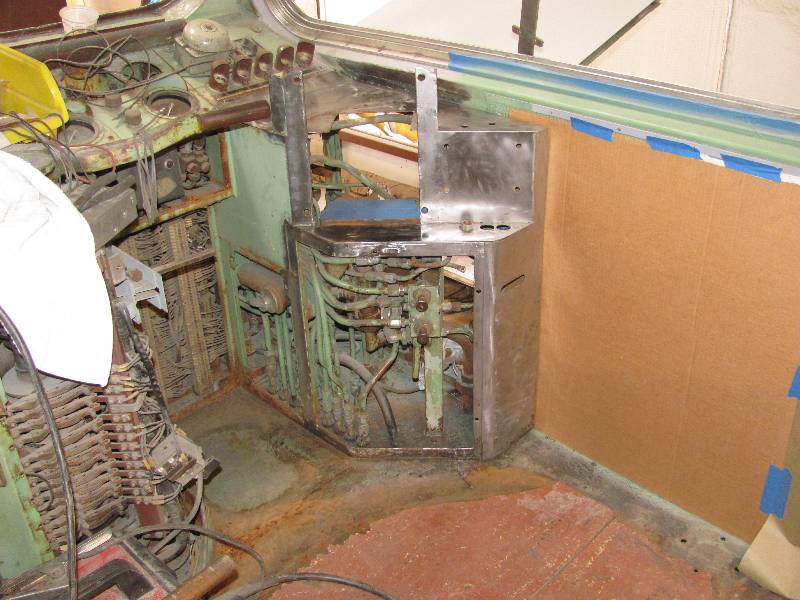
Once the panel was prepared, it was reinstalled, covered with
a
protective piece of cardboard and the brake
stand was welded back together.
--
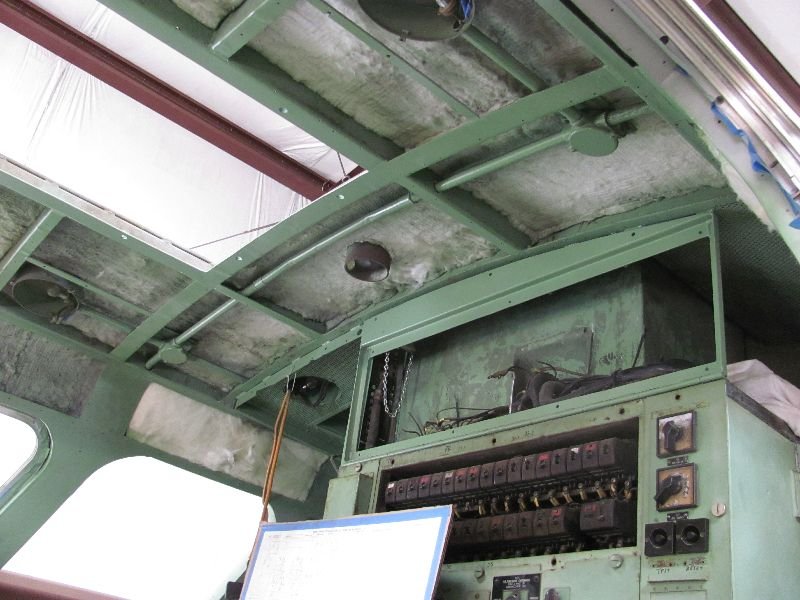
Update September 03, 2012 --
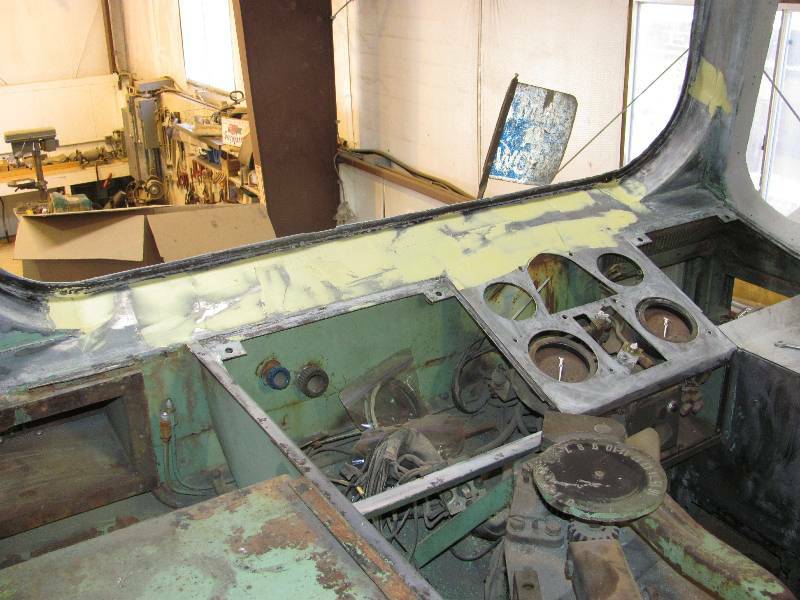
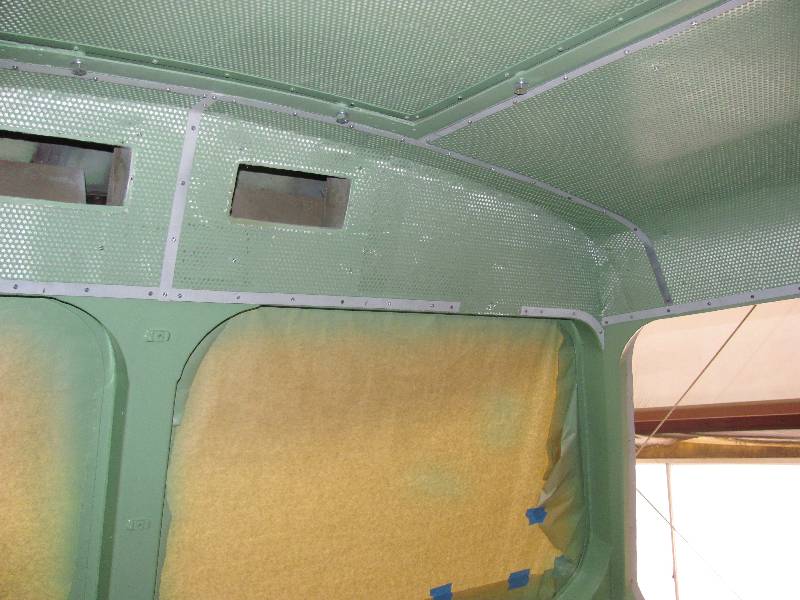
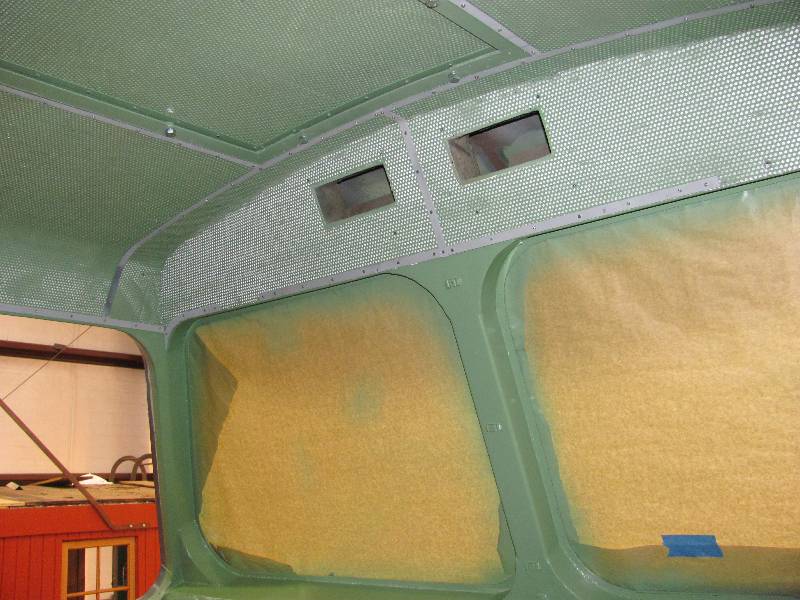
And so, in the due course of events, it
became necessary to paint the window sills. This was because
I wanted to have the new front windows installed but did not want to
put the new rubber glazing on bare or rusty metal. As things
usually happen, I wound up cleaning, stripping and painting the
entire front part of the cab. Life is never simple.
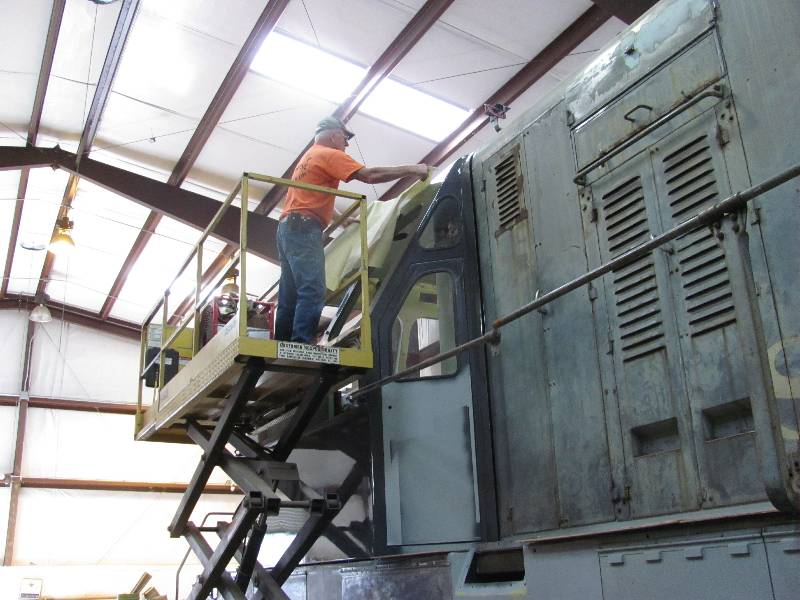
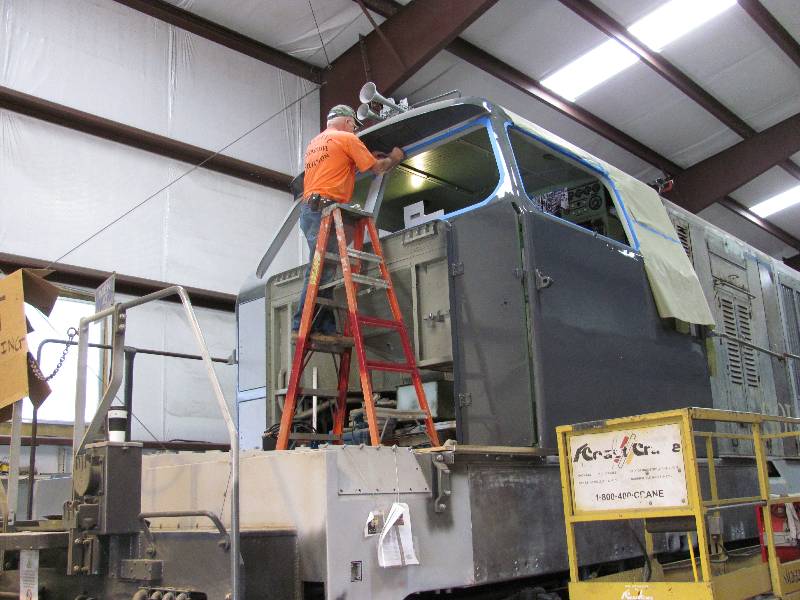
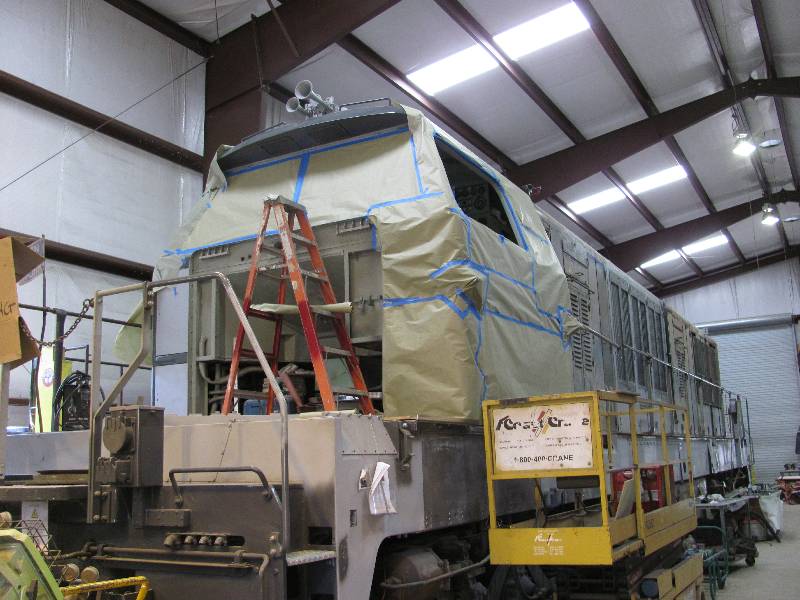
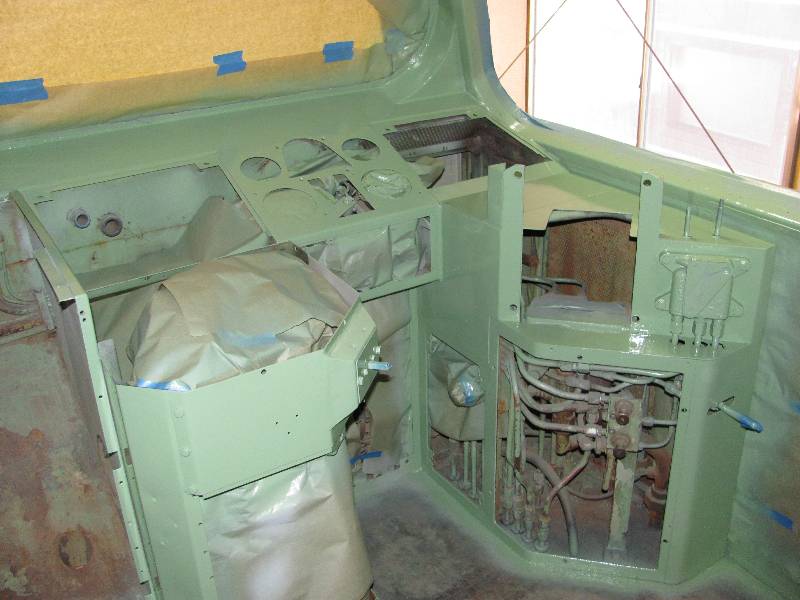
Our friend Wes Brubacher came down from Gyserville to spend a
day masking the exterior of the cab so my spraying of the interior
green did not settle on the fresh exterior gray. The cab
exterior looked as though it were mummified. Now, work is
progressing on painting the engineer's side cab exterior and putting
the front part of the cab back together, starting with the perforated
metal ceiling. What a difference this has made. By
the way, the flash I used accentuates the white color of the fiberglass
cloth glued to the backside of the perf metal.
 |
 |
--
Update October 29, 2012 --
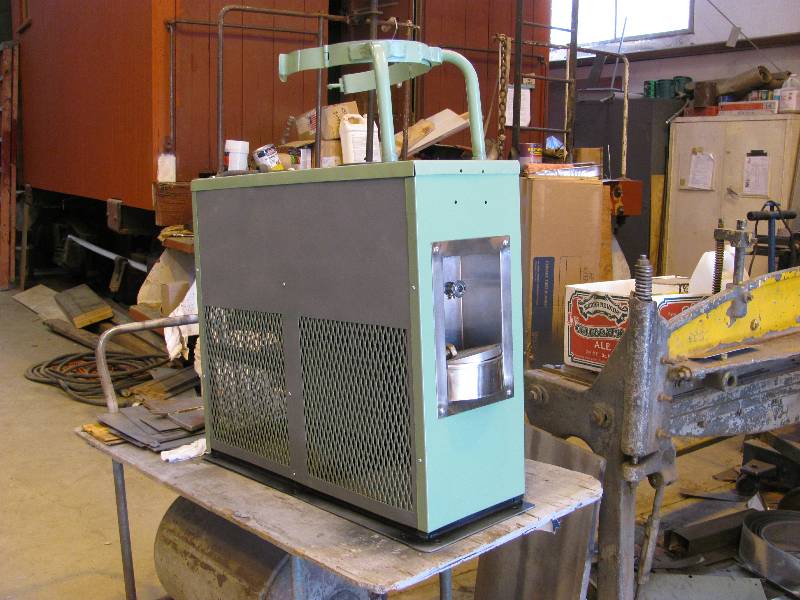
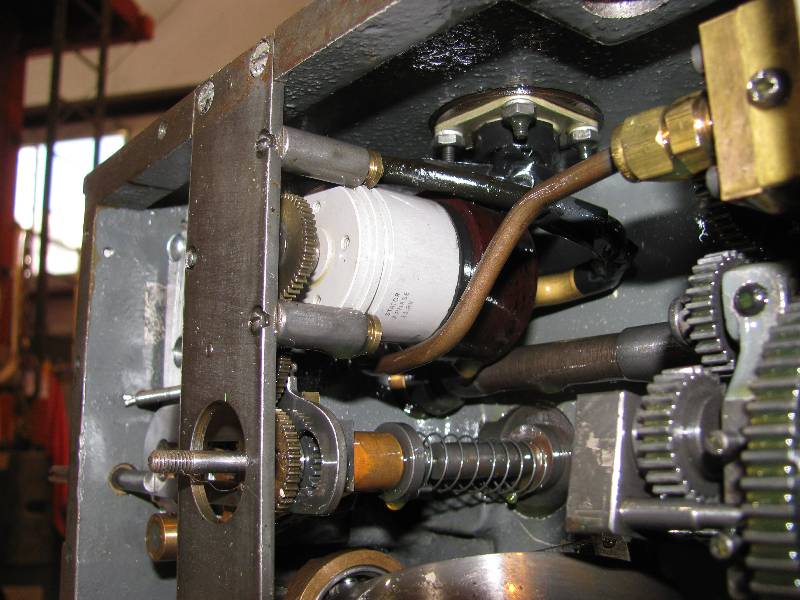
As if Bill did not enough to do, he took on
the rebuilding of the cabs water cooler.
Upon taking it apart, we discovered that the SP had
converted it from a 64 volt DC motor to a 120 volt
AC
motor. I am sure this was done during the Camera Car
conversion as the unit carried a large generator at that time.
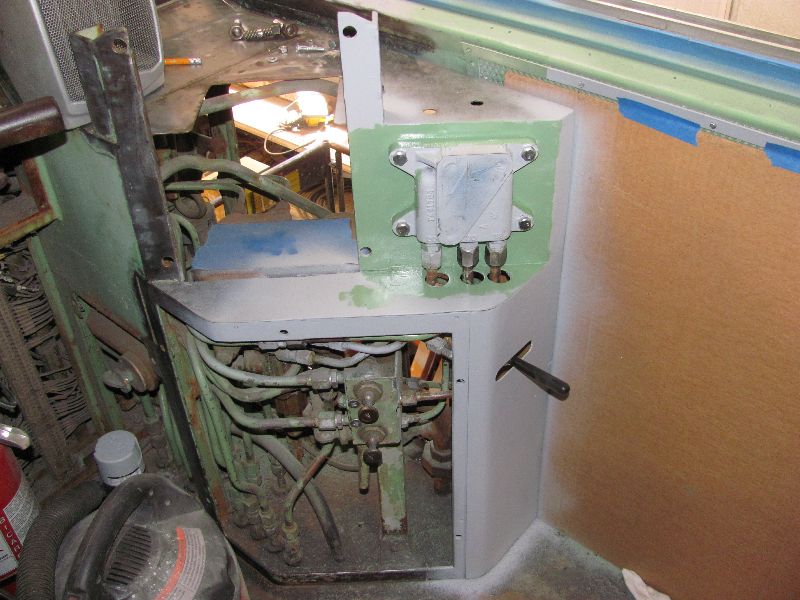
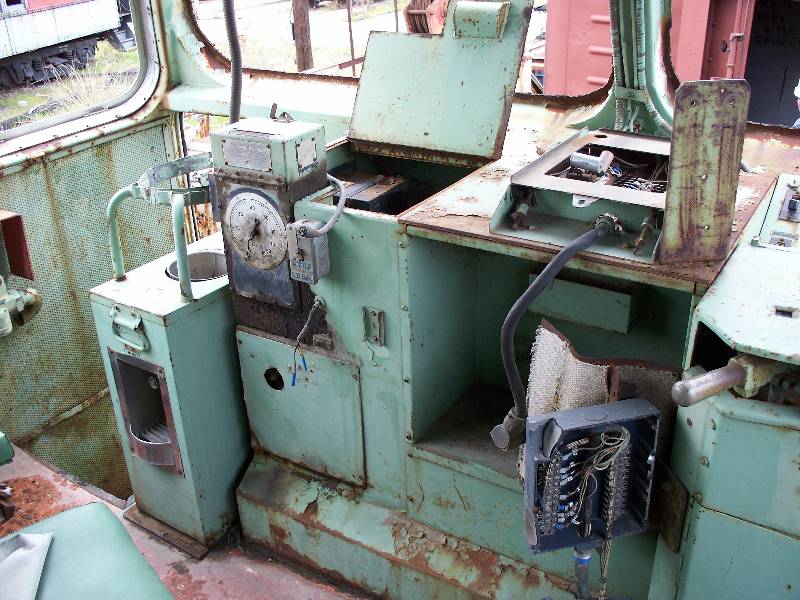
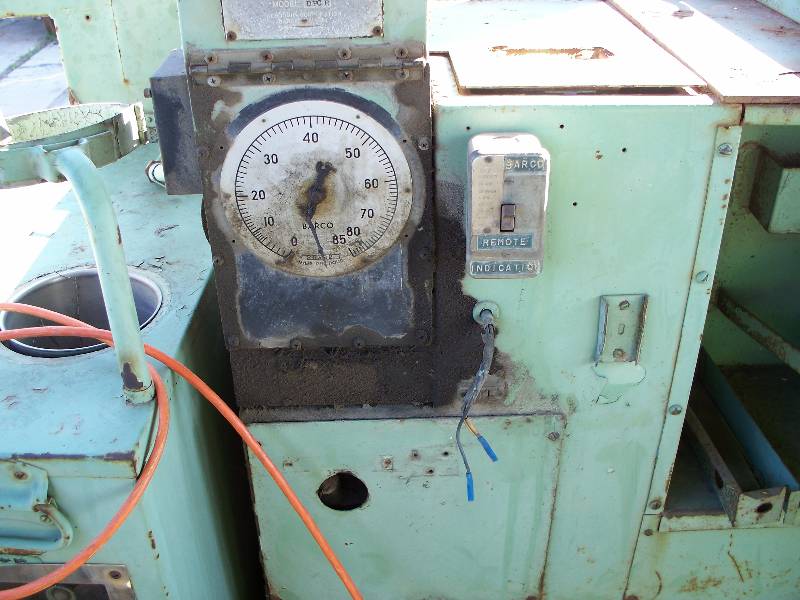
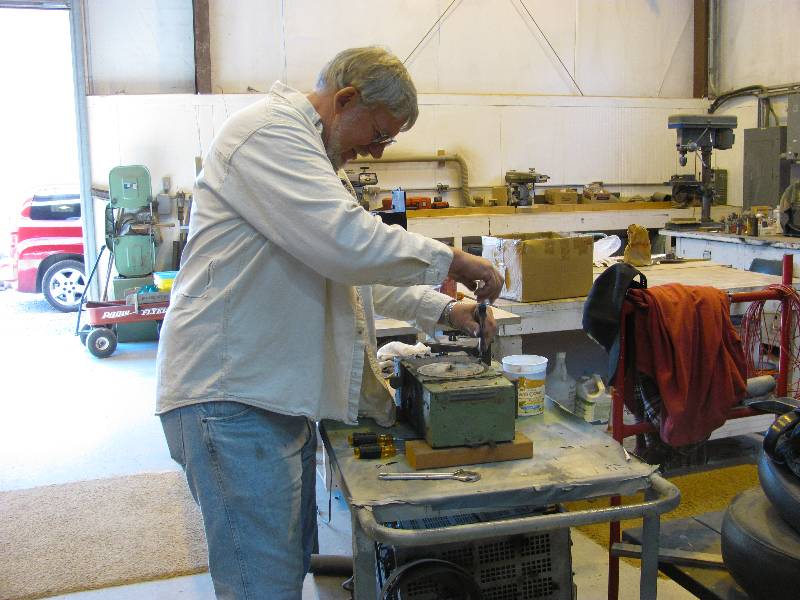
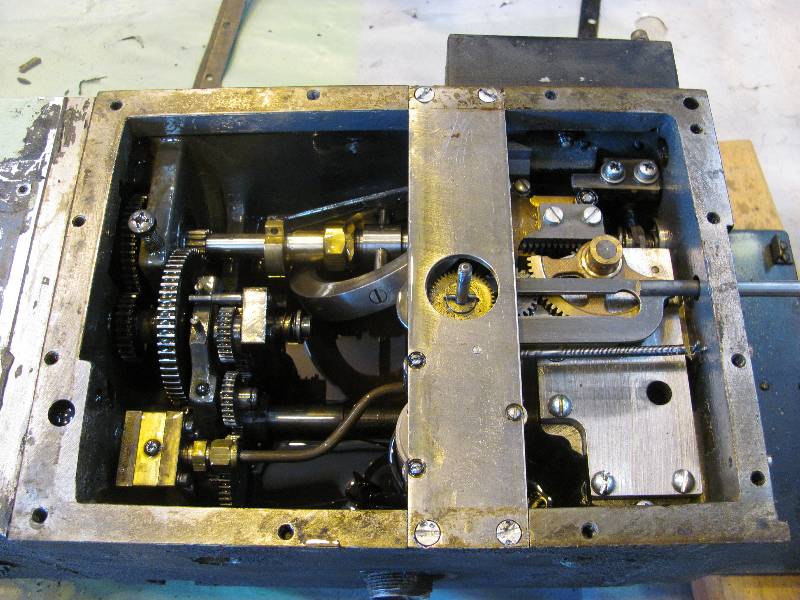
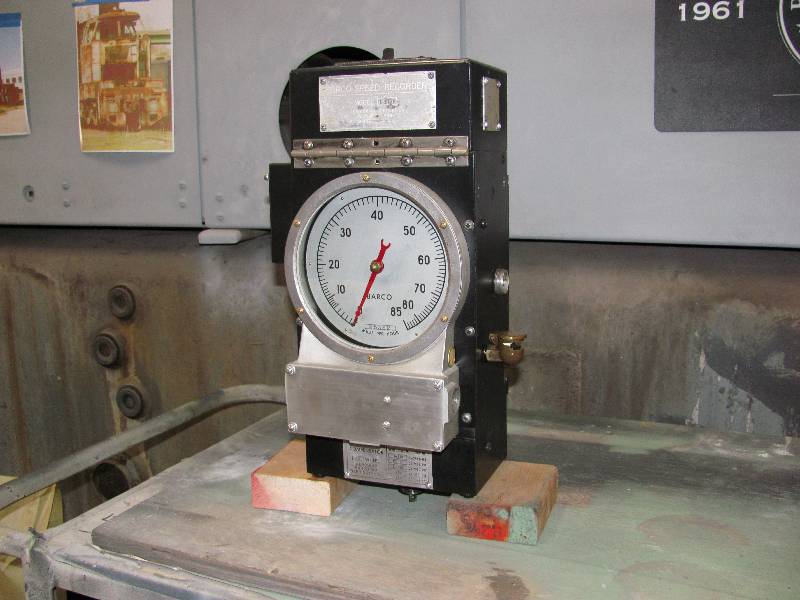
Bill
started working on the
Barco speed recorder as it had to be put back in place before the water
cooler could be returned to the cab. It has suffered some
damage and
had a leak somewhere, judging by the oil mess around its mounting
location. These instruments were very common in US
locomotives in the 1950's and we have two of them still in service in
our museum fleet. But, the one in the 9010 is the first I
have ever seen of this type.
We knew that the units were equipped with a "remote"
speedometer
located on the dash board but had no idea how it
worked.
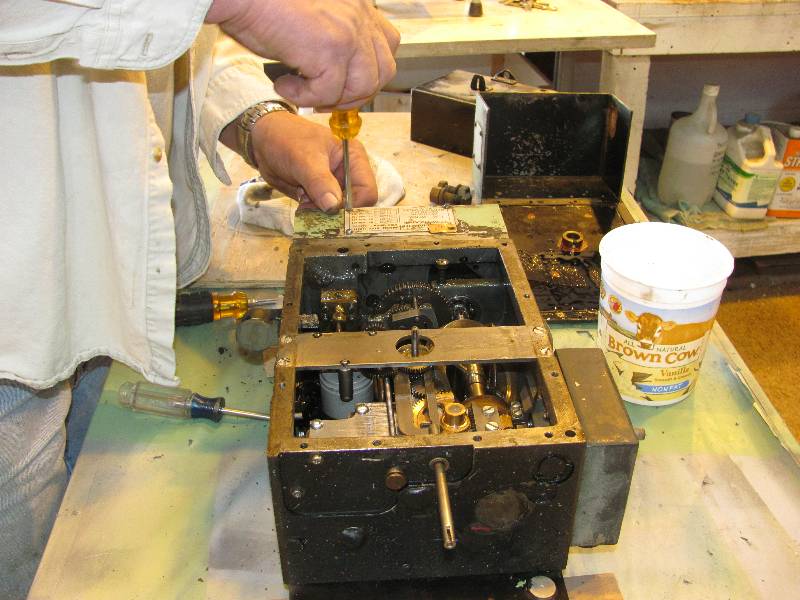
Today, that became clear. The Barco has a synchro device
which is driven by the positioning arm for the speed indicating
needle. The speedometer gauge would have had an identical
synchro device. When the Barco device rotated by the movement
of the speed needle, the device in the meter would have moved an
identical amount. It is now leak free and back in its proper
place.
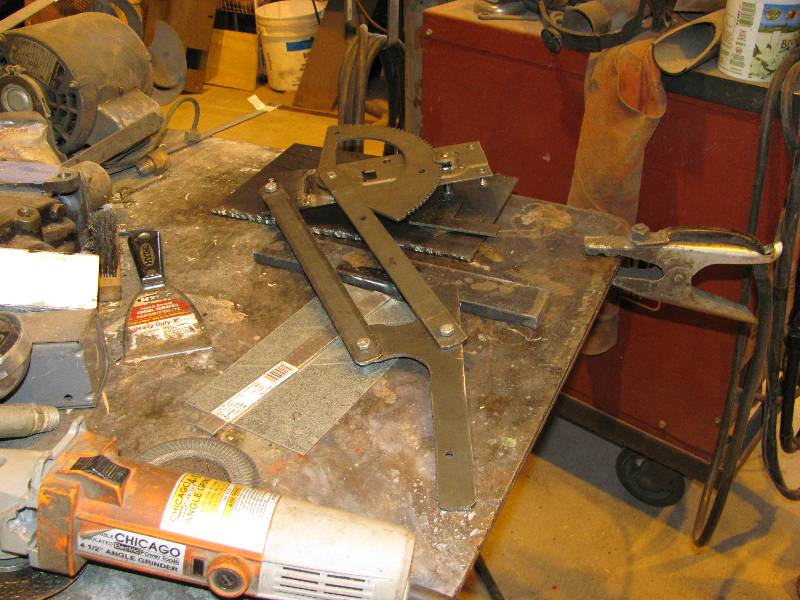
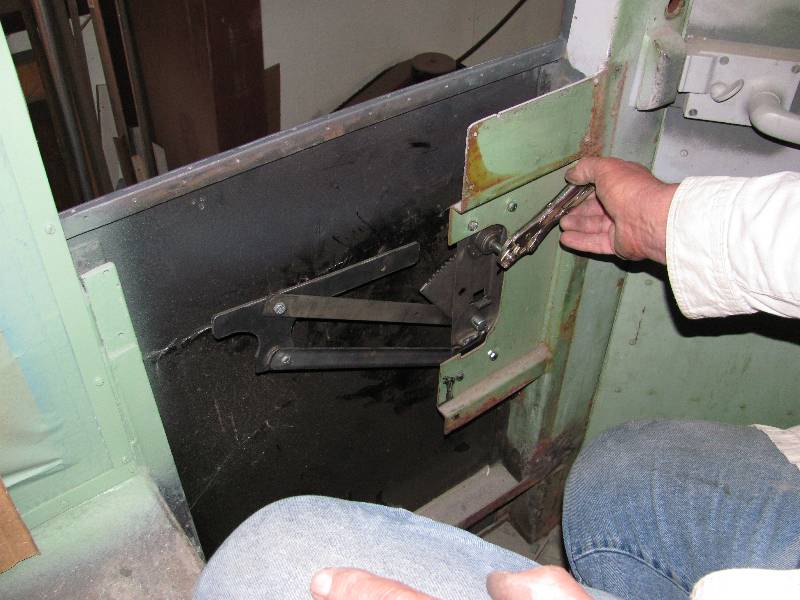
Once
done with the water cooler and Barco, Bill took on the window
regulator project. When we got the 9010, there was only one
window crank mechanism, on the fireman's side. Richard Oed in
Germany located one which could be modified to suit our needs.
Bill took Richard's basic mechanism and created a
mirror image of the one we had. He had to manufacture the
horizontal element and one of the control bars as well as the rollers
which ride in the window bottom channel.
 |
 |
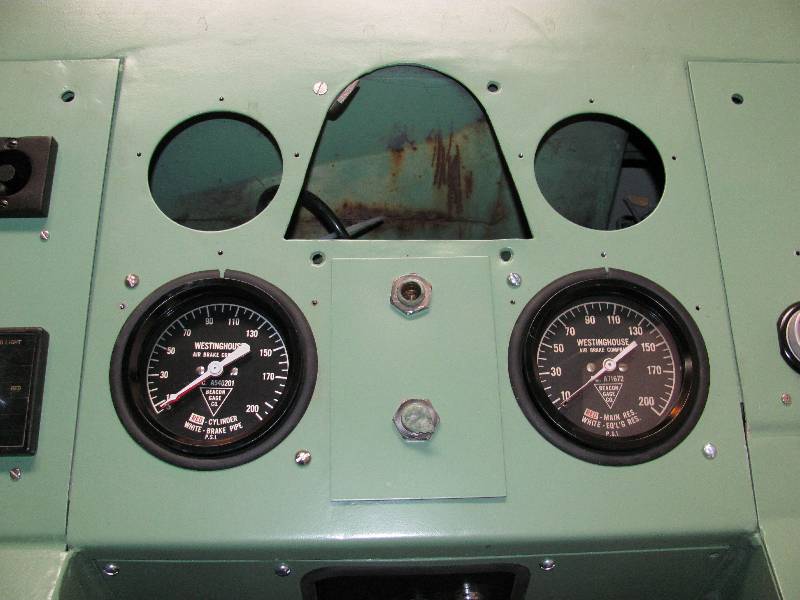
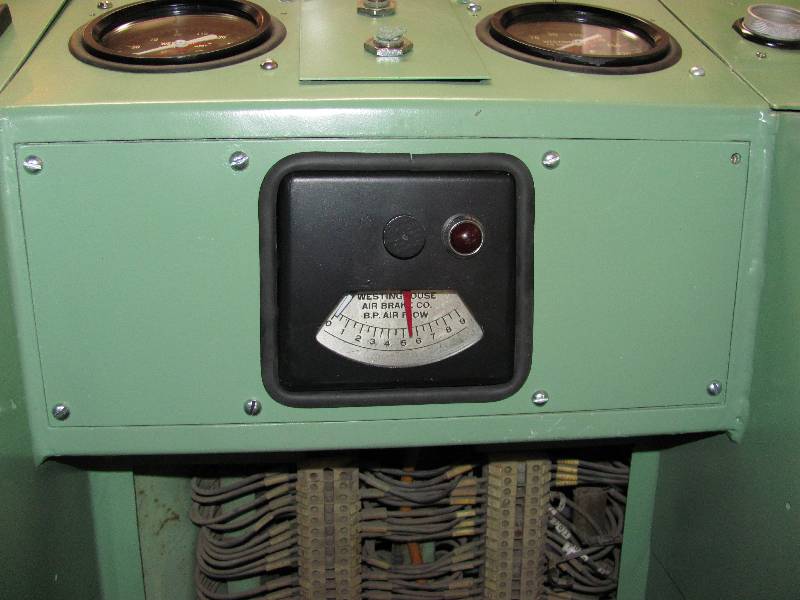
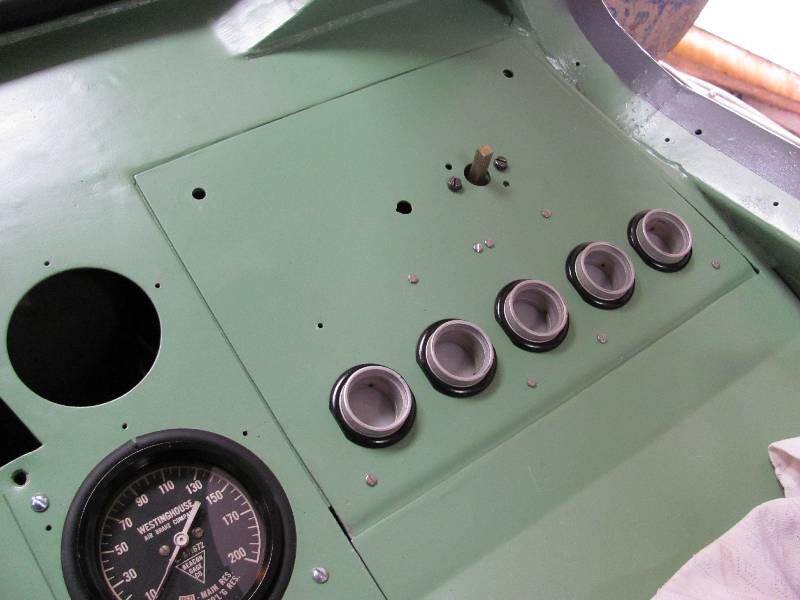
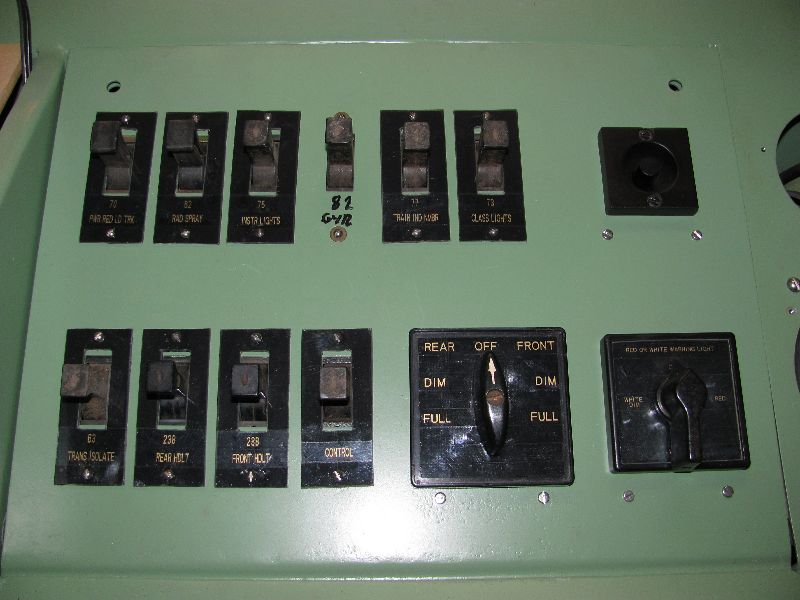
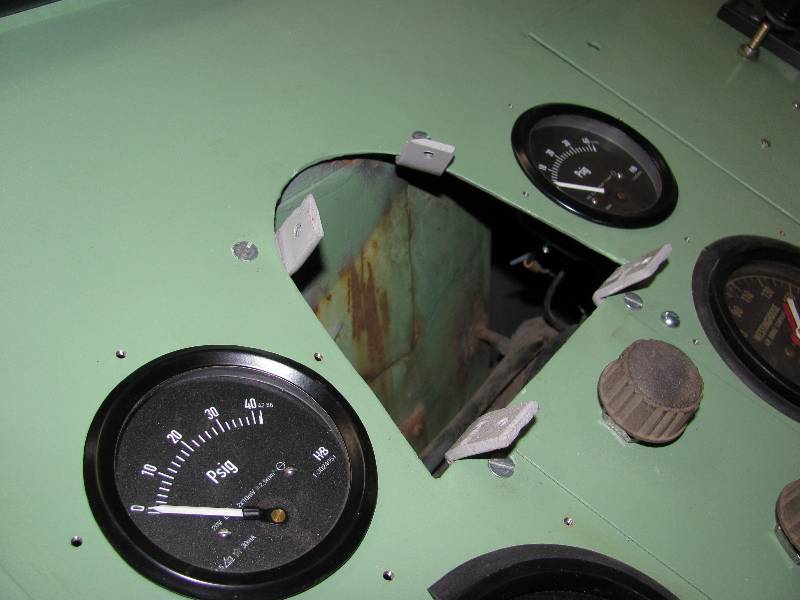
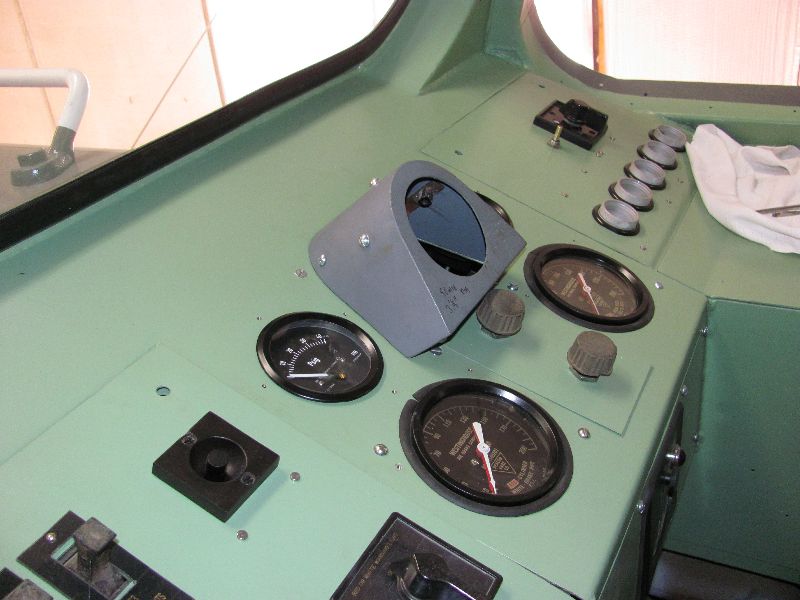
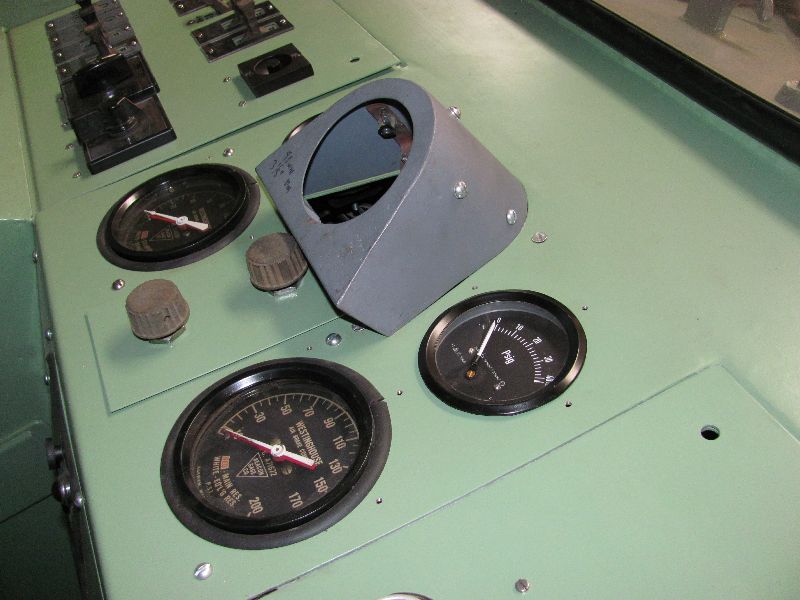
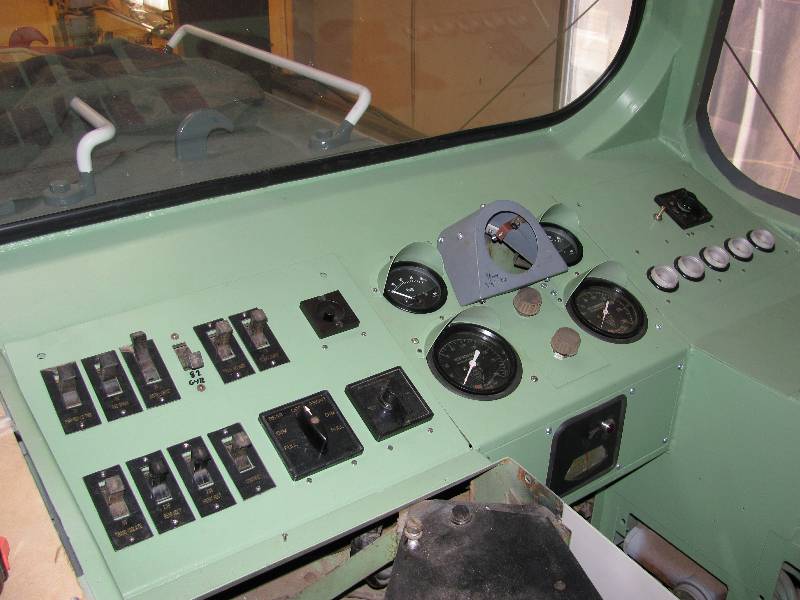
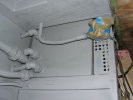
I
continued working
on the engineer's control panel. A pair of rebuilt air brake
gauges have been installed in the panel with new rubber cushion rings
around them. The brake pipe flow indicator was refurbished
and put back where
it belonged and the warning lamp panel was re-assembled and is
now functional, although needing labels, light shields
and knobs. The control switches were
reinstalled along with temporary label plates. New plates
duplicating the originals will be made later. Another challenge was the
remote speedometer mount. As originally
designed, the speedometer was mounted flat in the panel. Sun
light through the front window no doubt proved that to be a bad idea so
the angled mount was installed. The sun shields for the 4
gauges were installed at about the same time. The speedometer
mount will be finished at a later date.
|