|
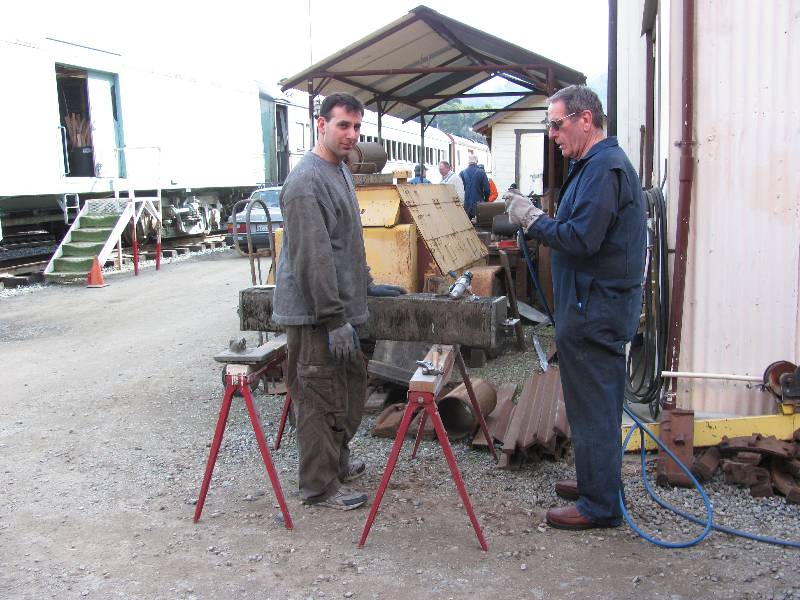
We
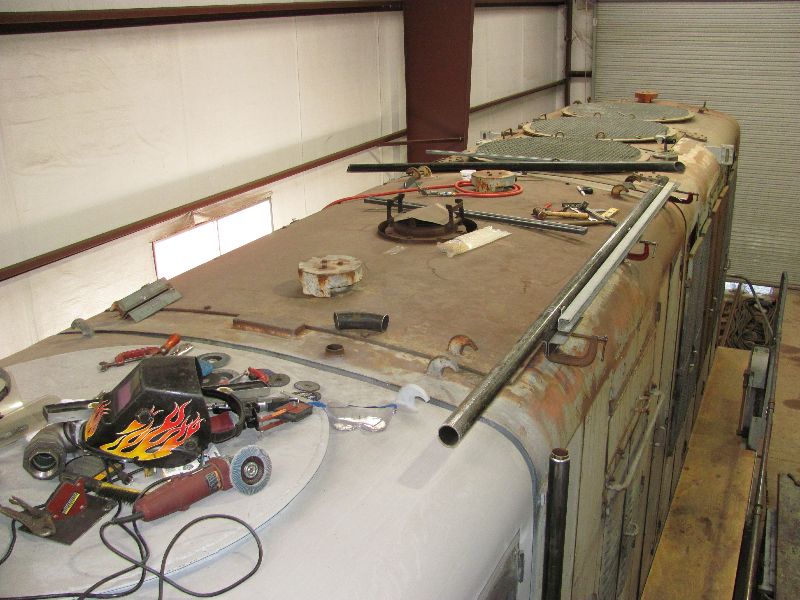
decided to finish the work on the roof mounted air cooling pipes.
This was started a while ago but efforts moved into other
directions. In order to do the work more conveniently, we put
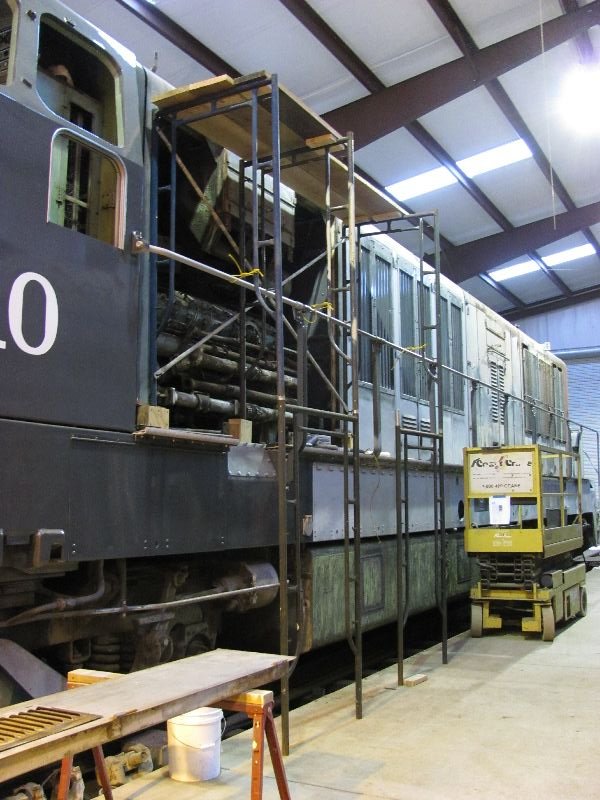
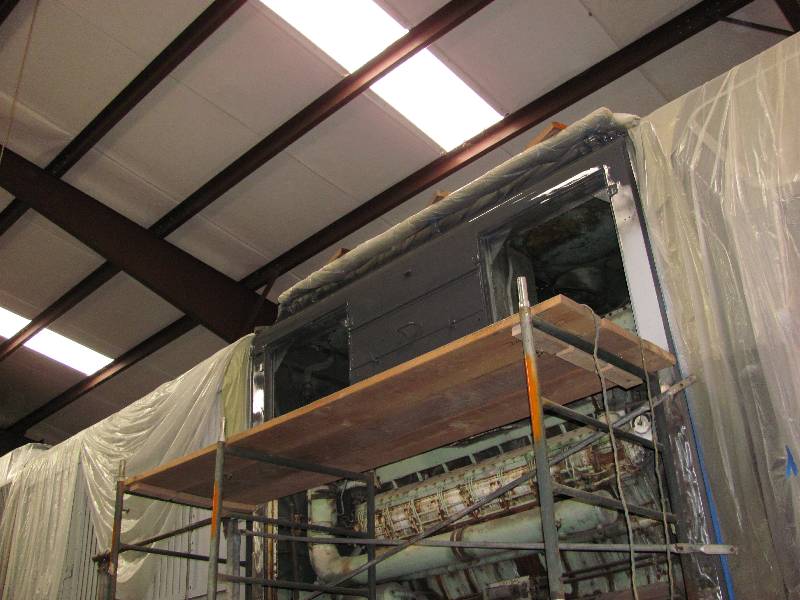
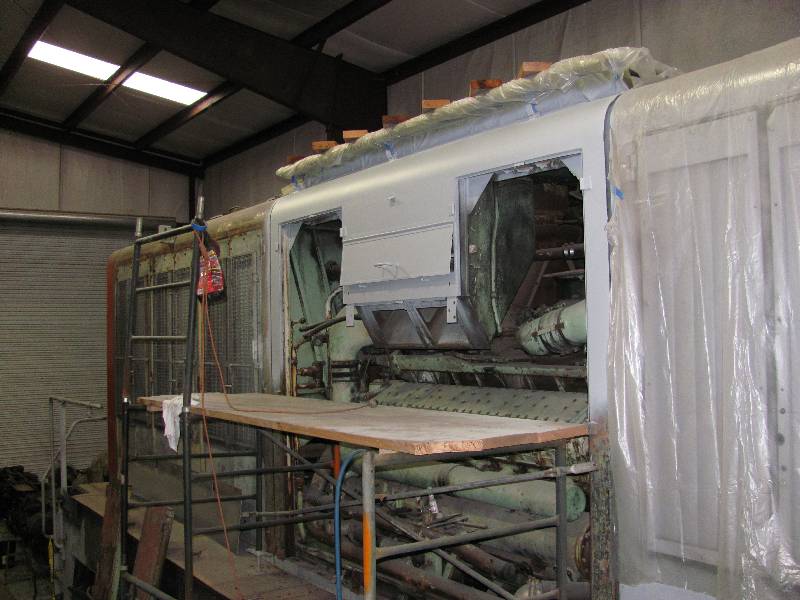
scaffolding on both sides of the #1 engine compartment. We
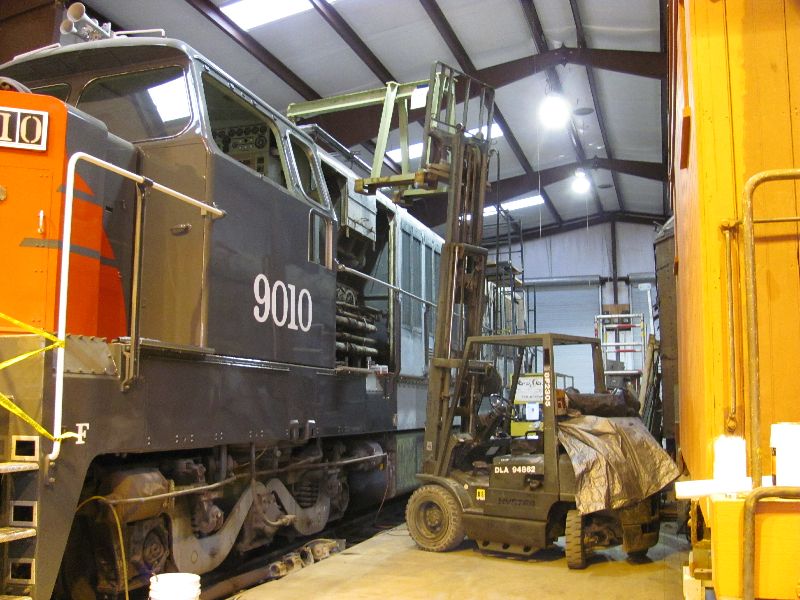
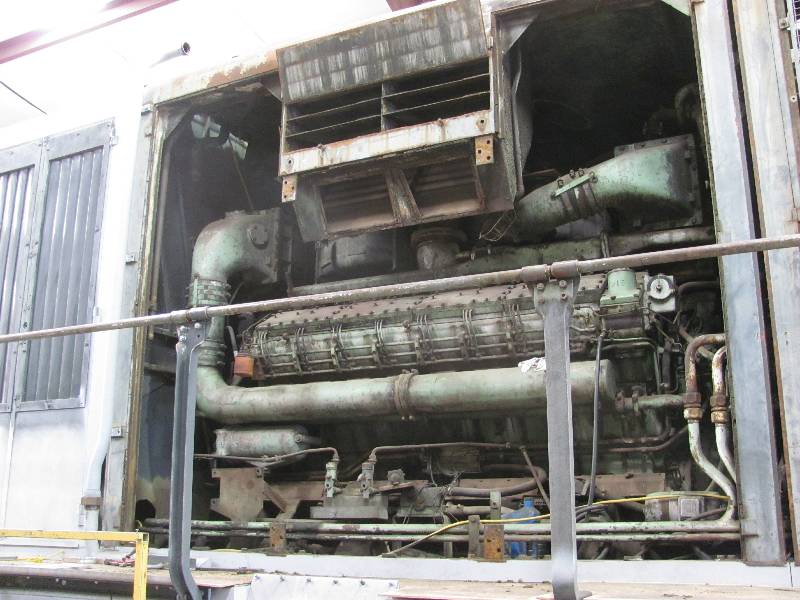
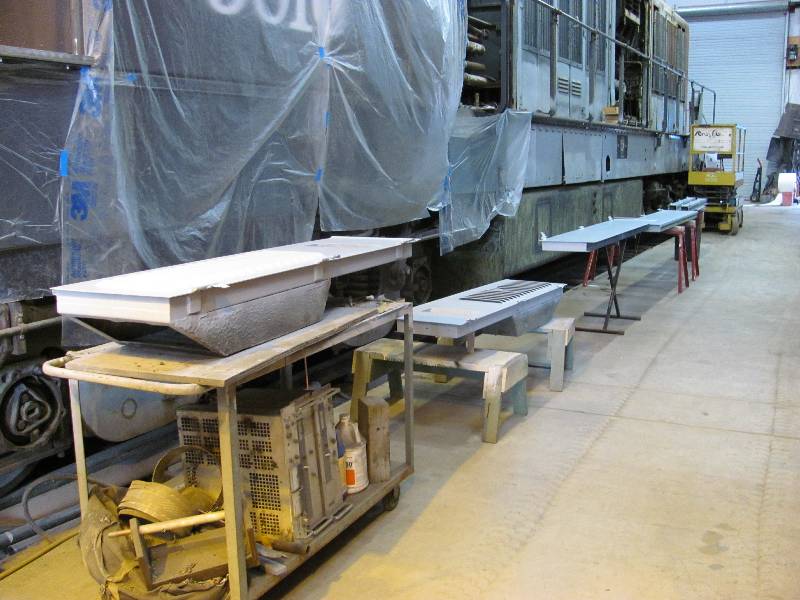
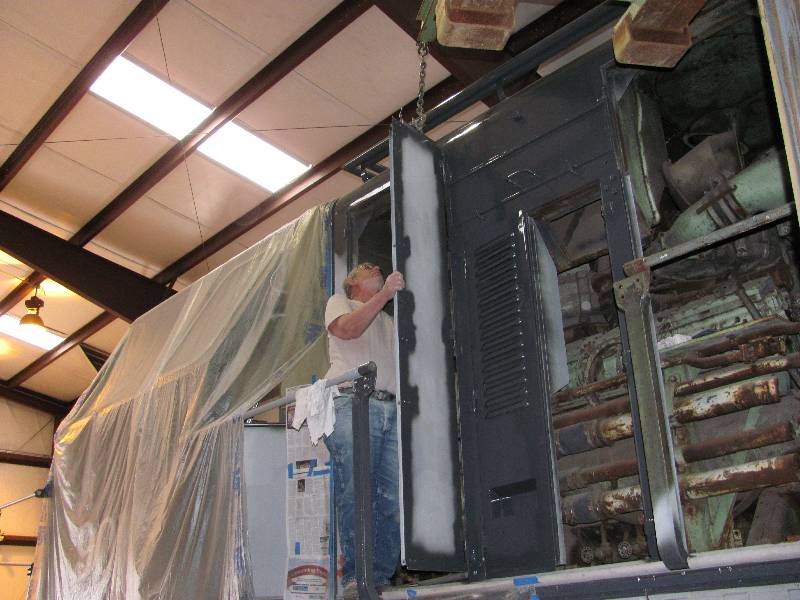
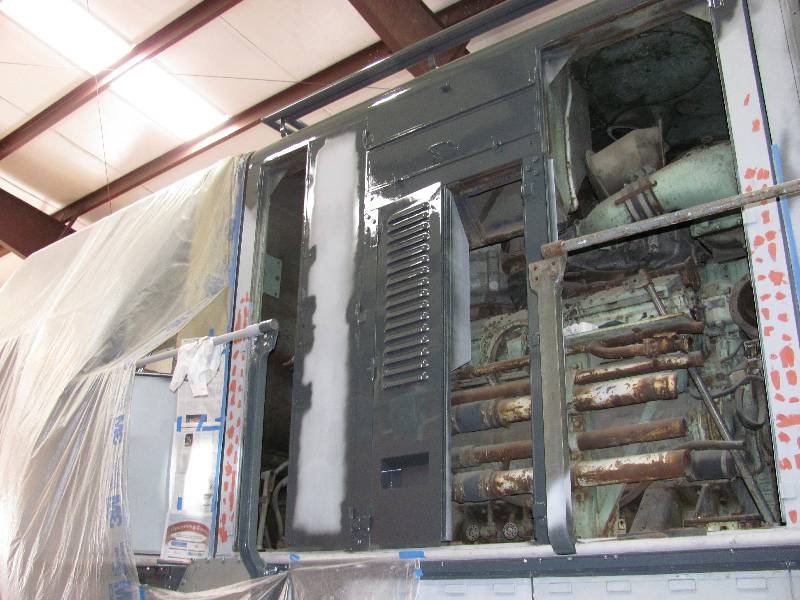
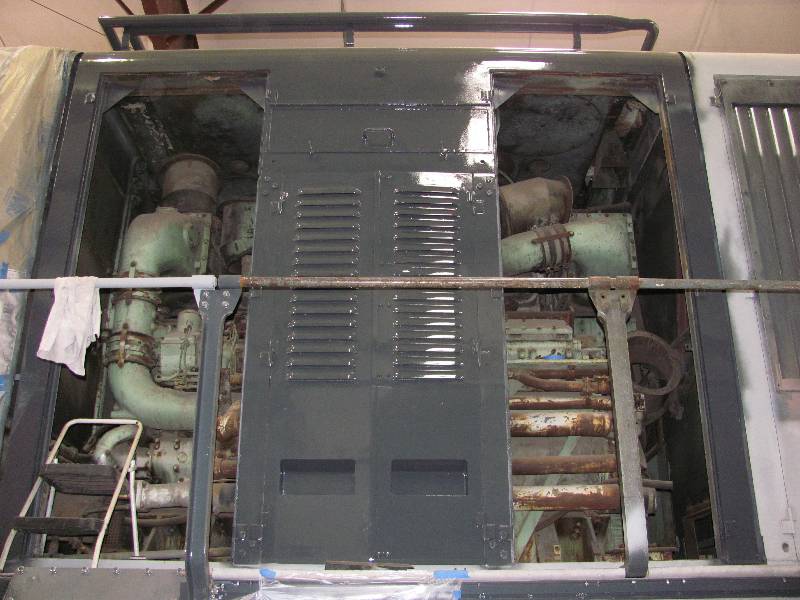
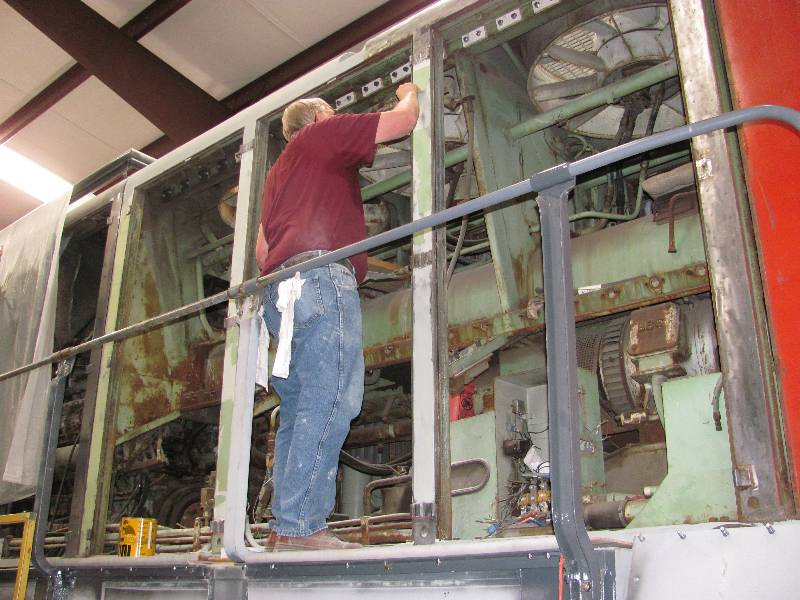
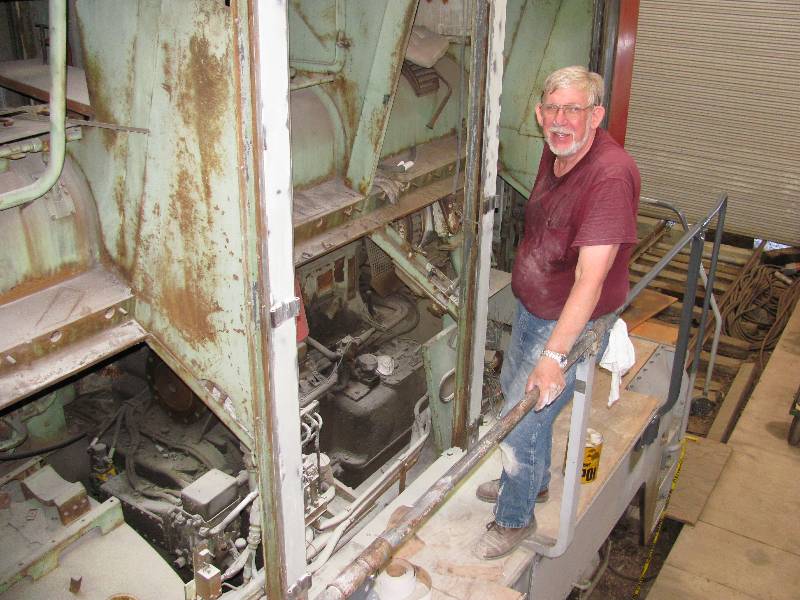
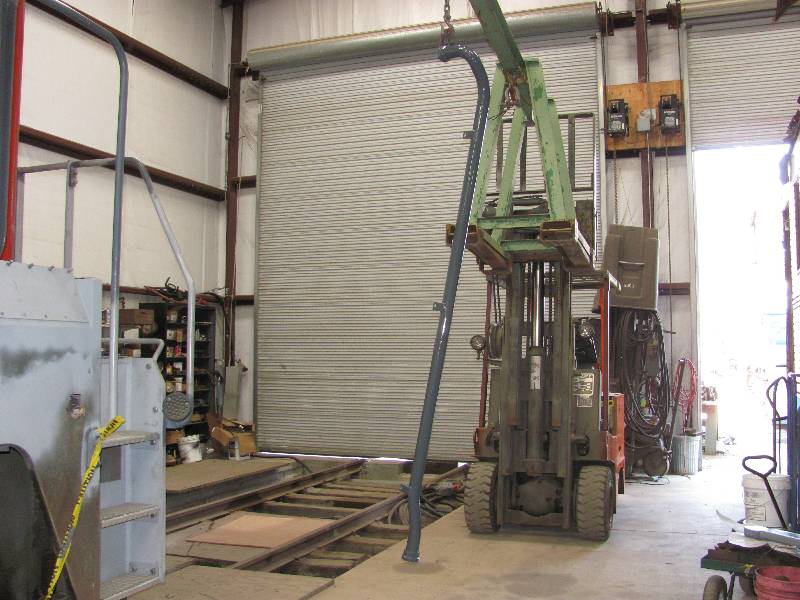
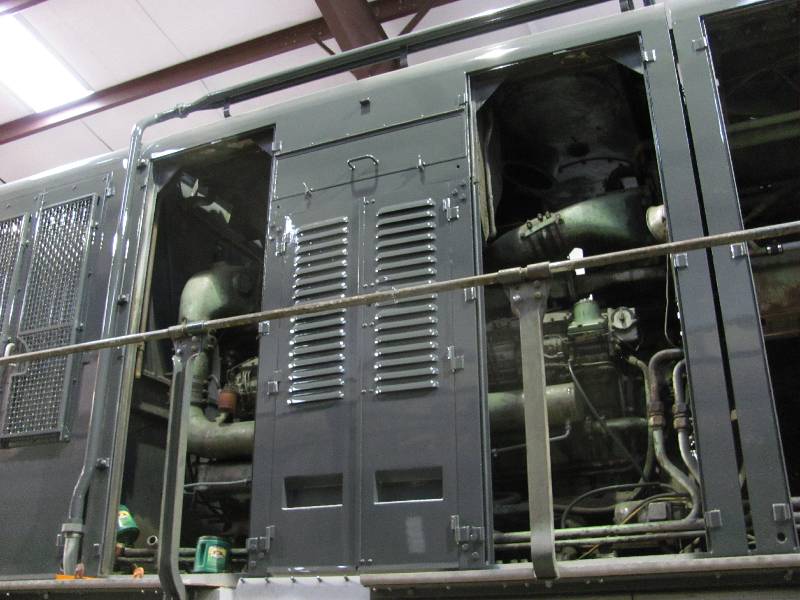
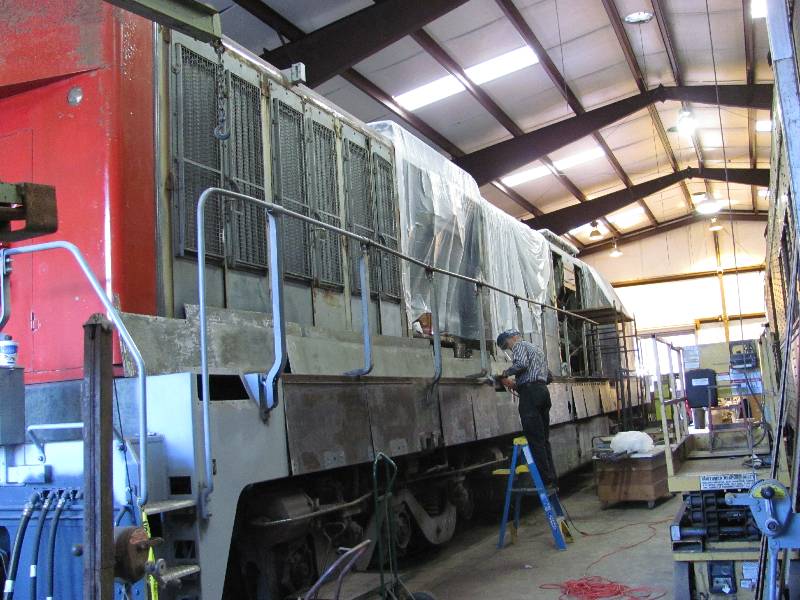
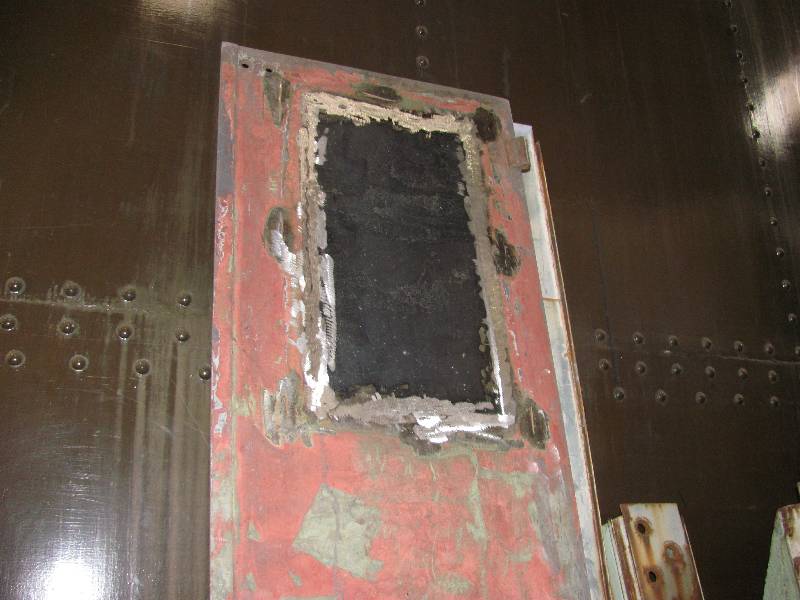
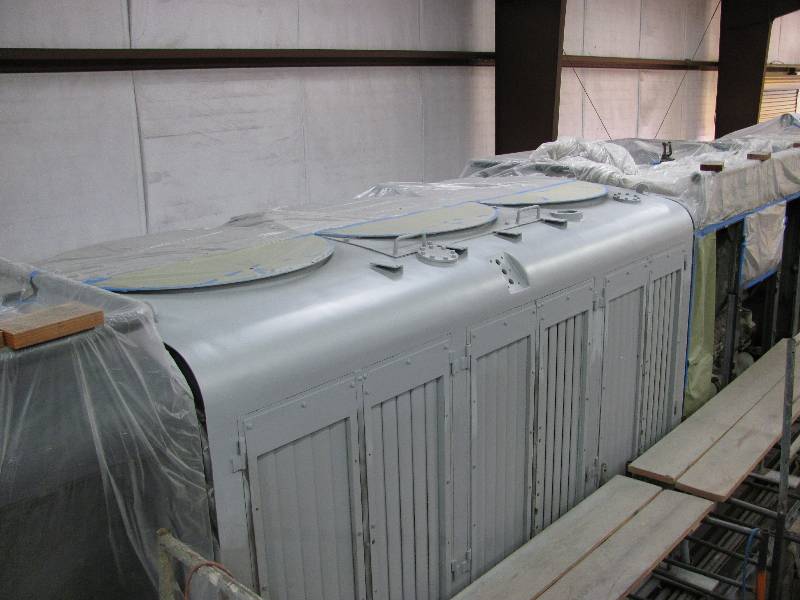
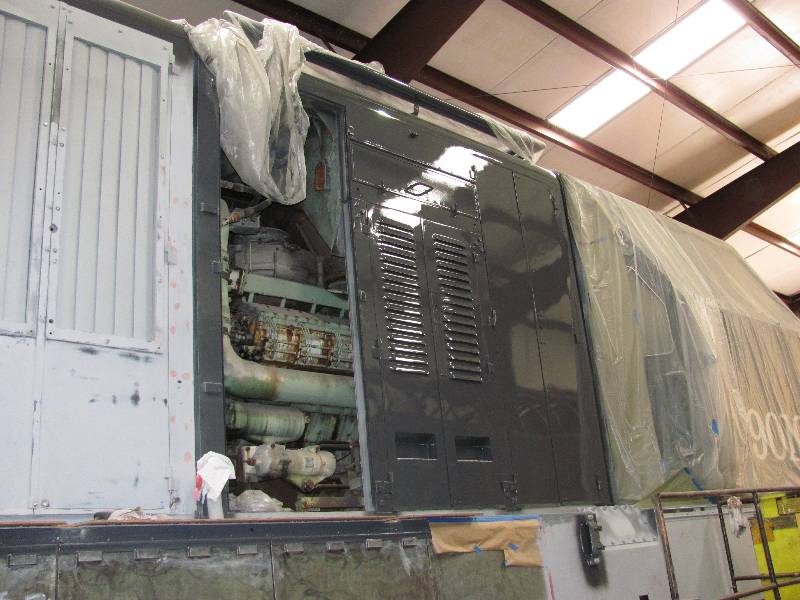
also decided to remove all the #1 engine doors on the fireman's side as
they are a whole lot easier to strip and prepare while laying on a
bench. One thing about having
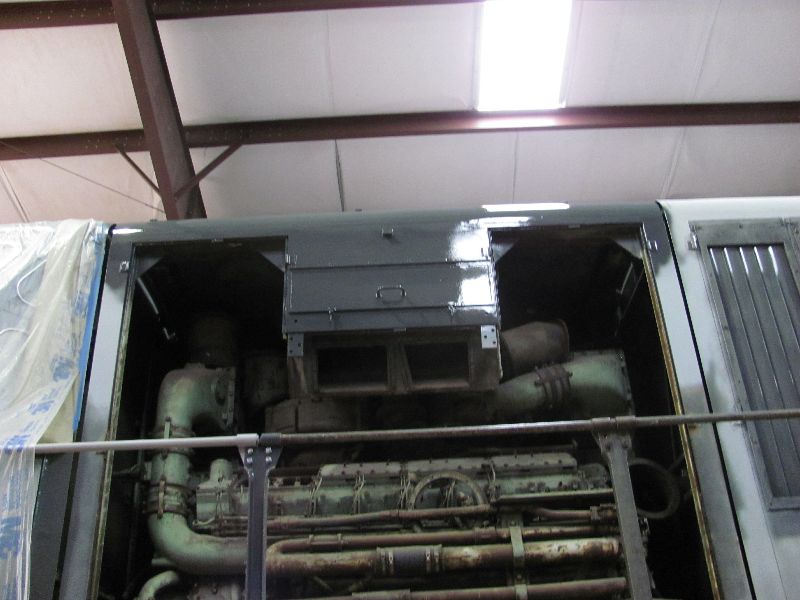
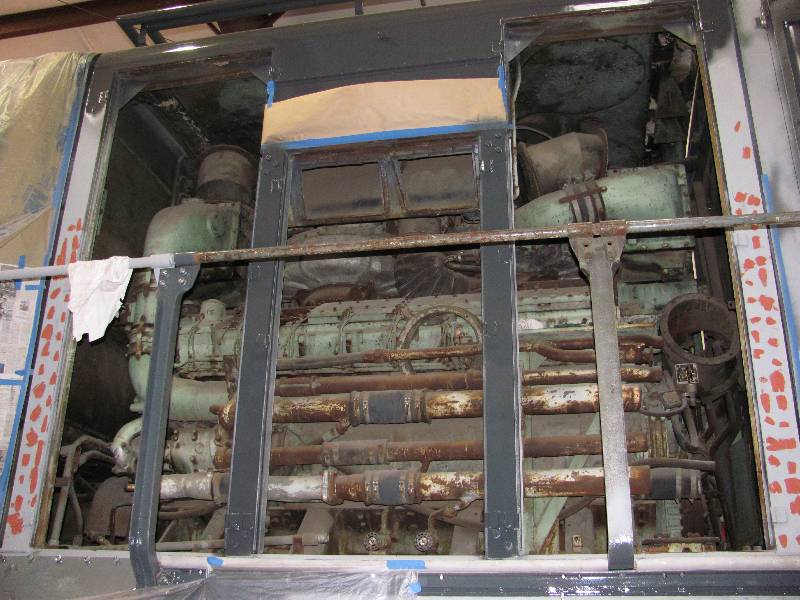
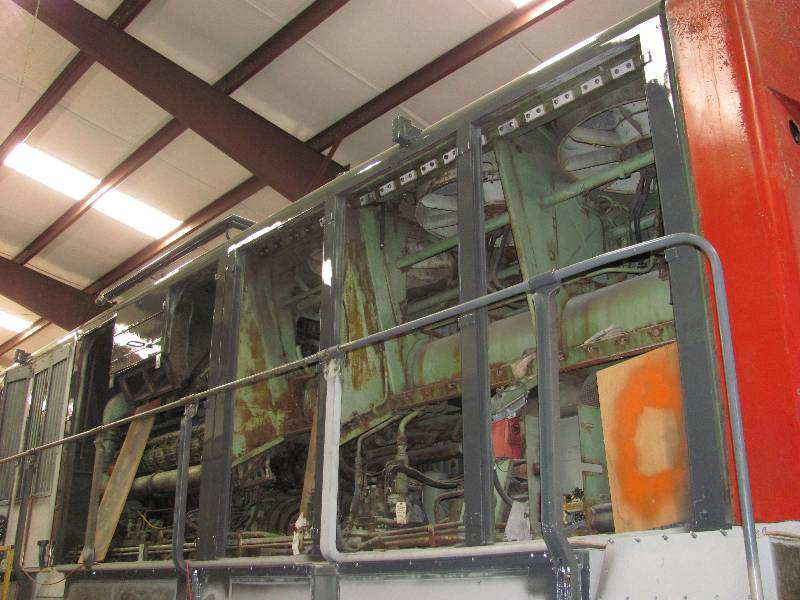
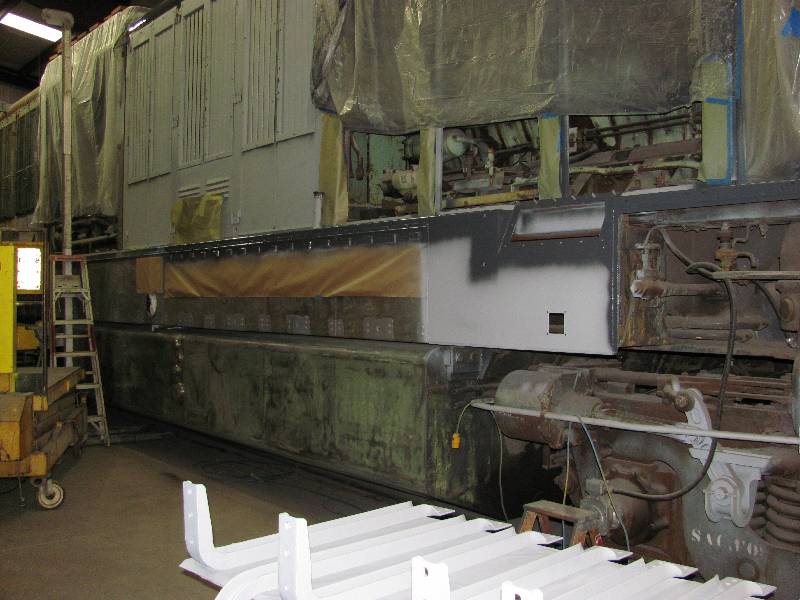
all the doors off, the side of the engine is certainly visible.
This is the engine that failed in 1968 and put the
9010 out of service. Note all the cut pipes on the right end
of the engine. These were torched off during the camera car
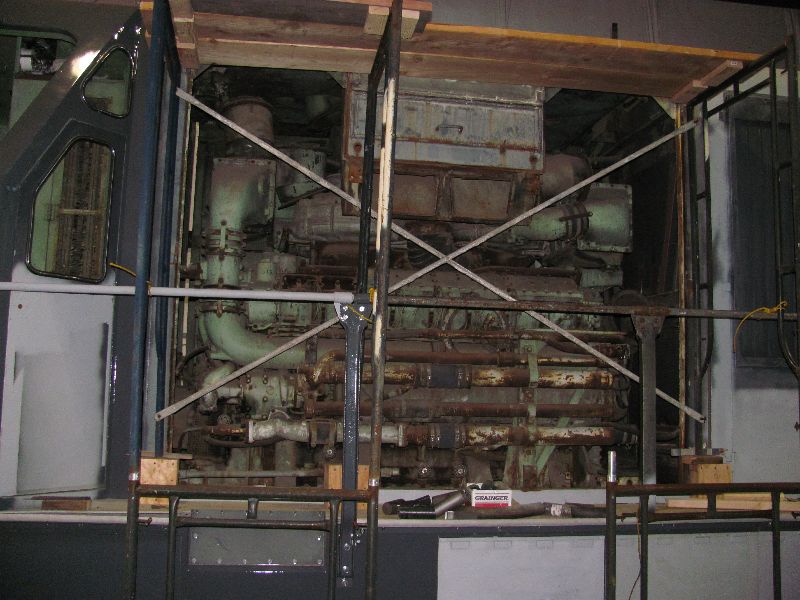
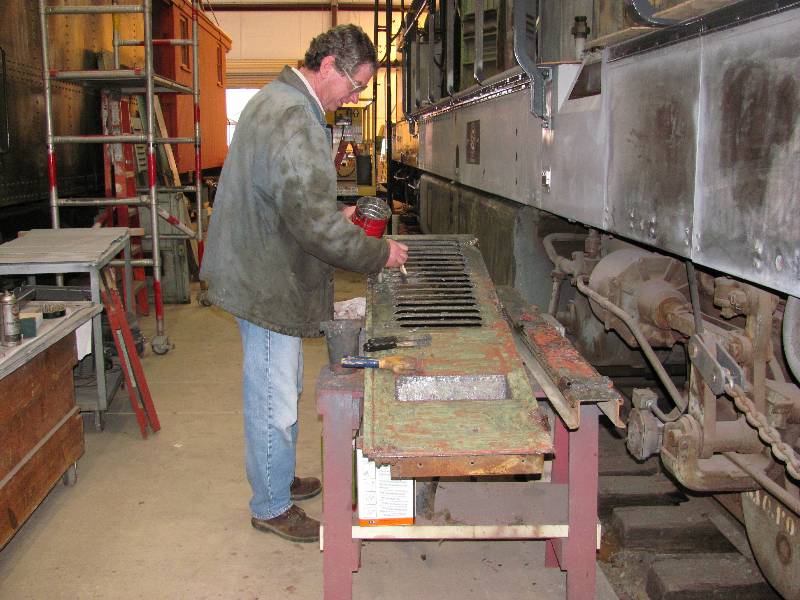
conversion. Bill
started removing a louver panel that the SP
installed as part of some upgrading.
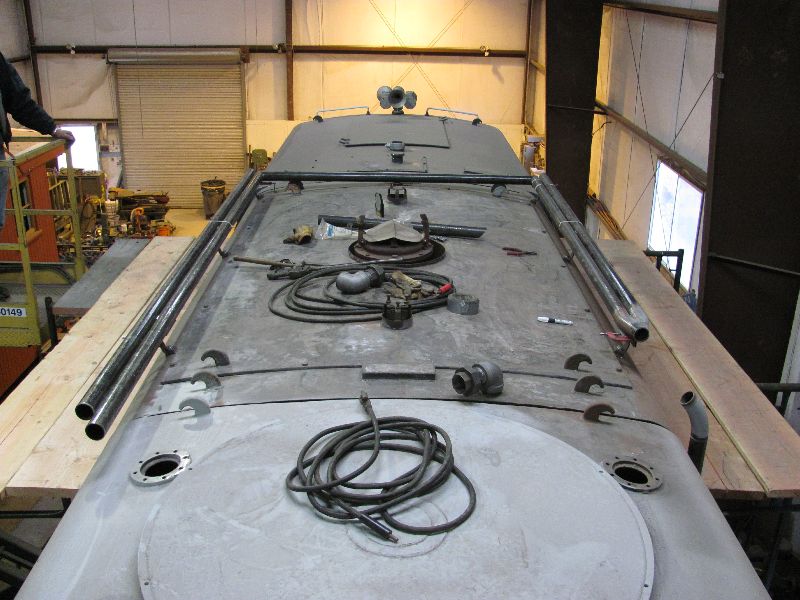
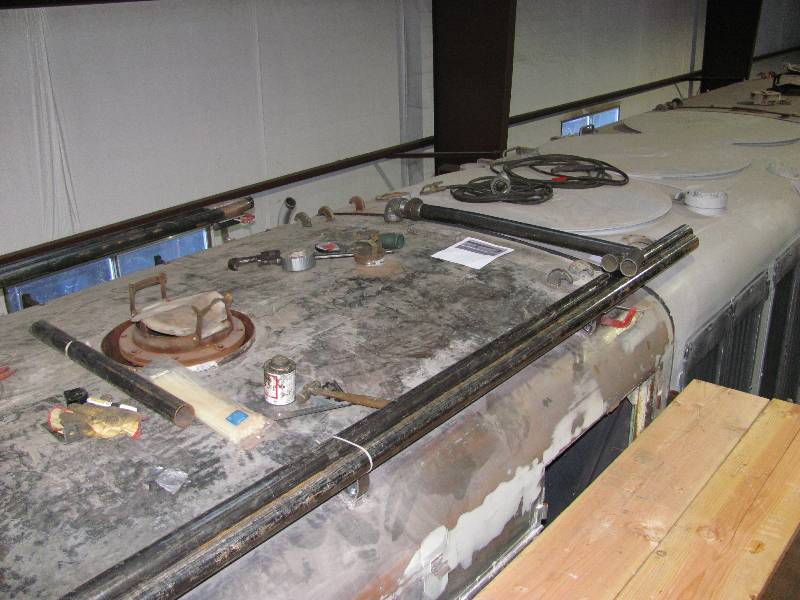
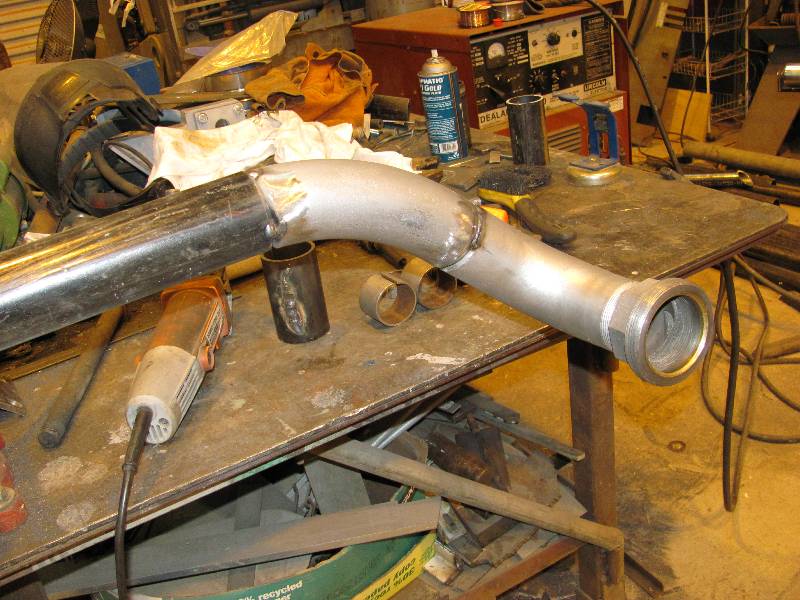
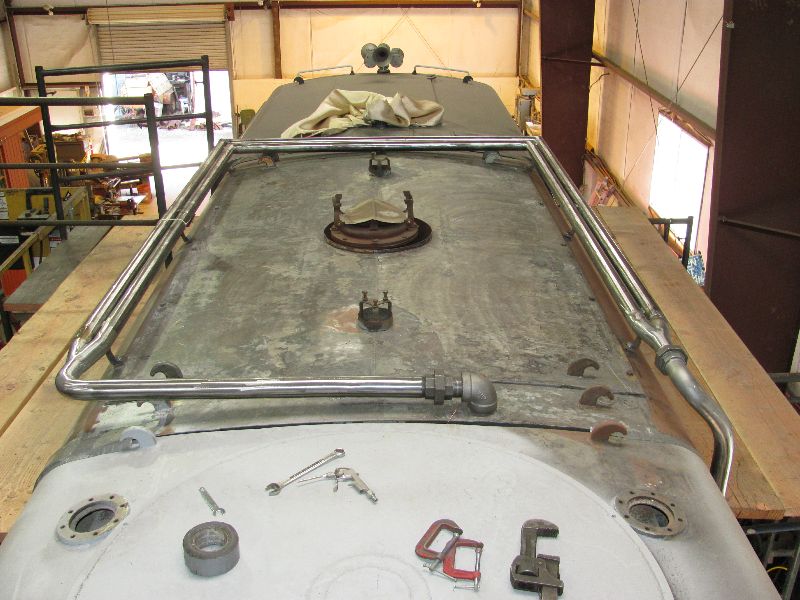
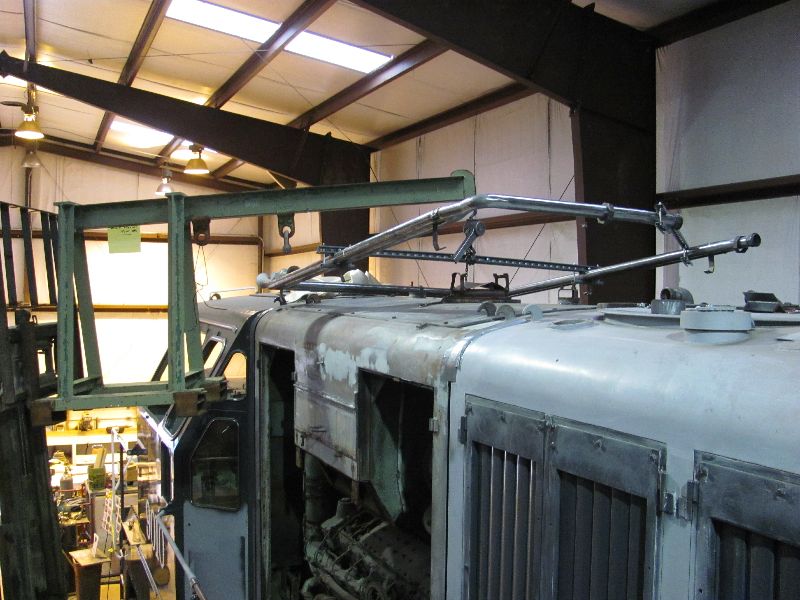
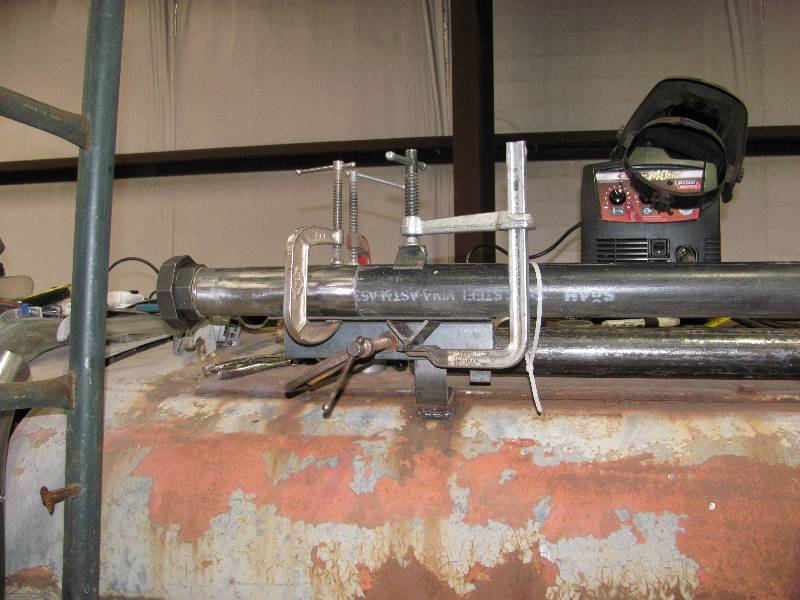
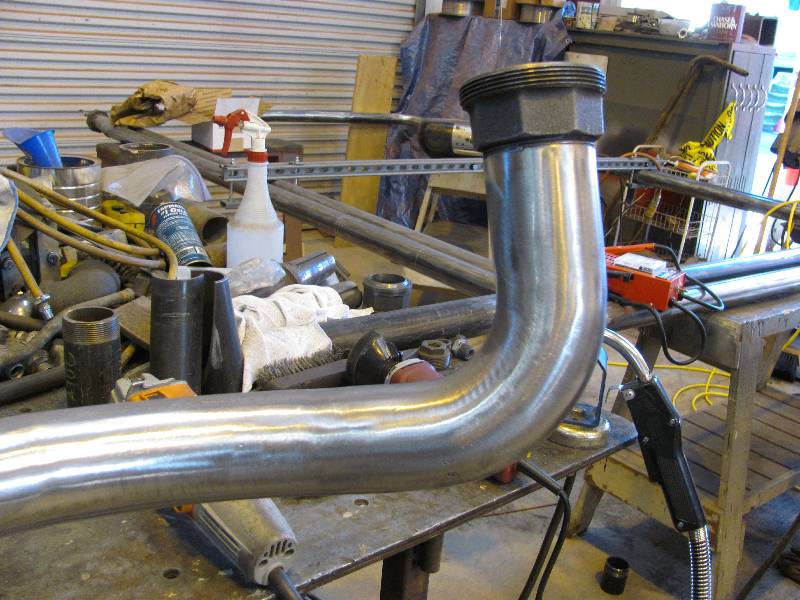
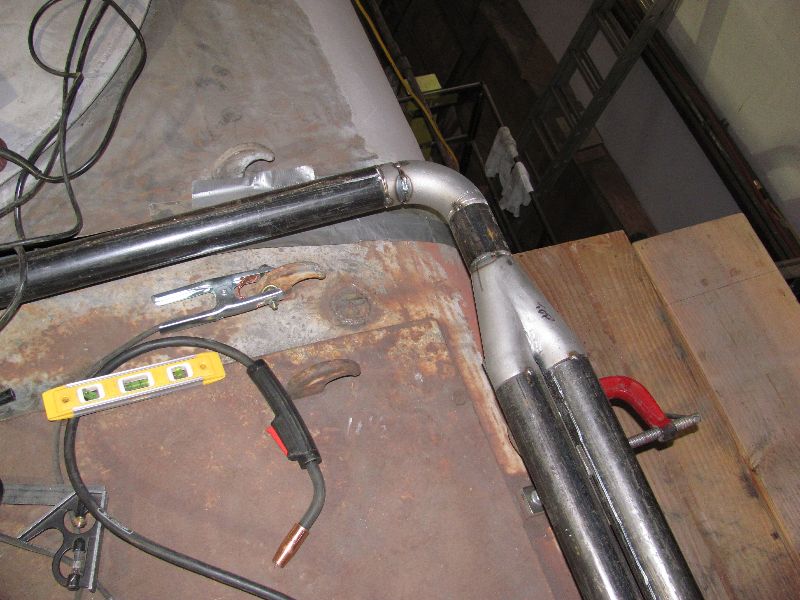
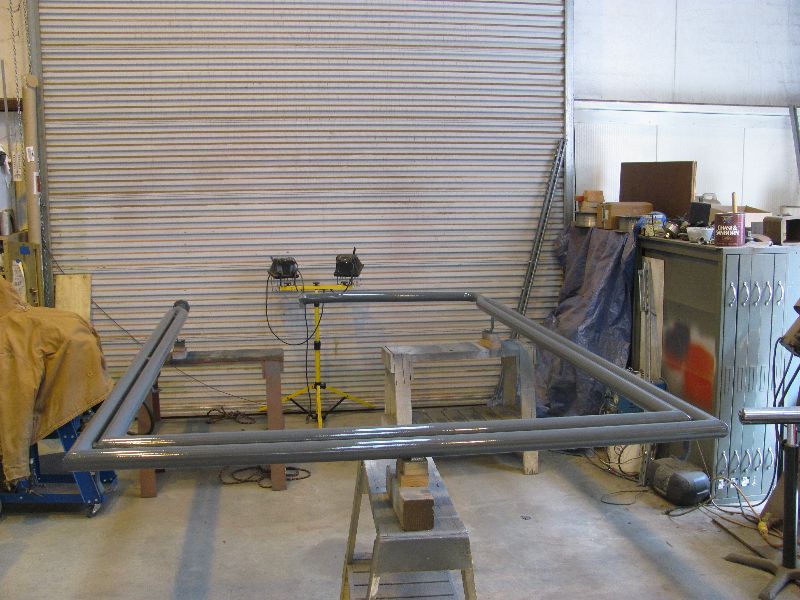
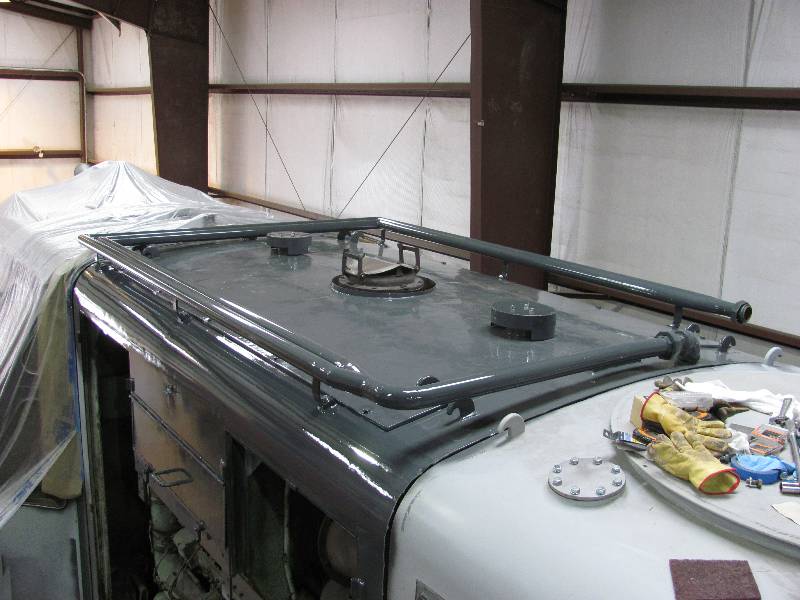
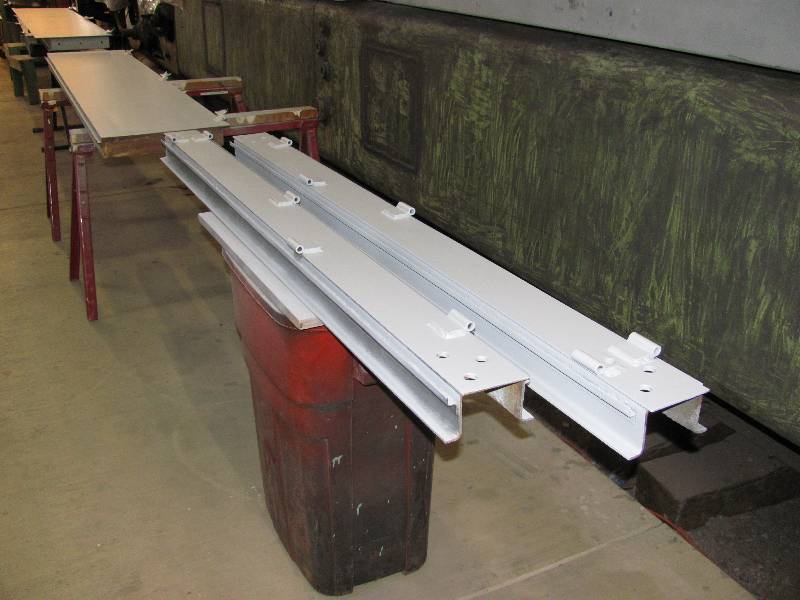
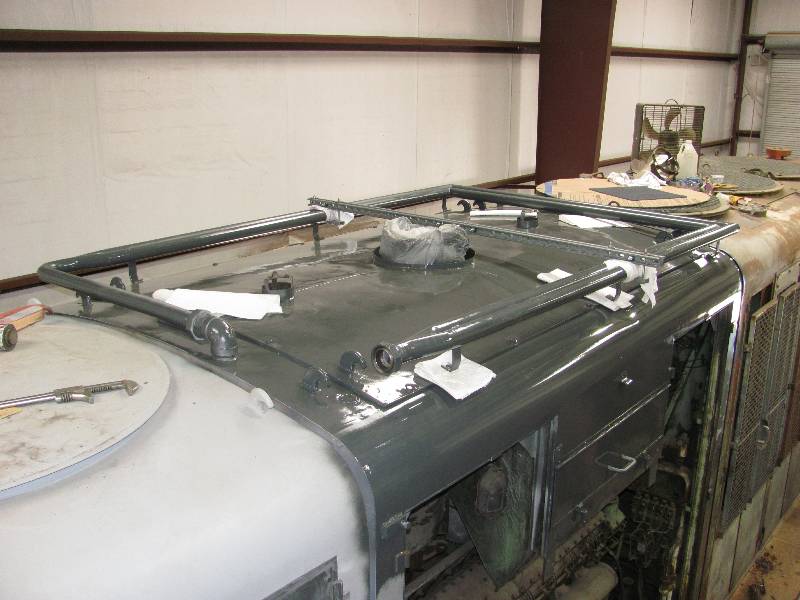
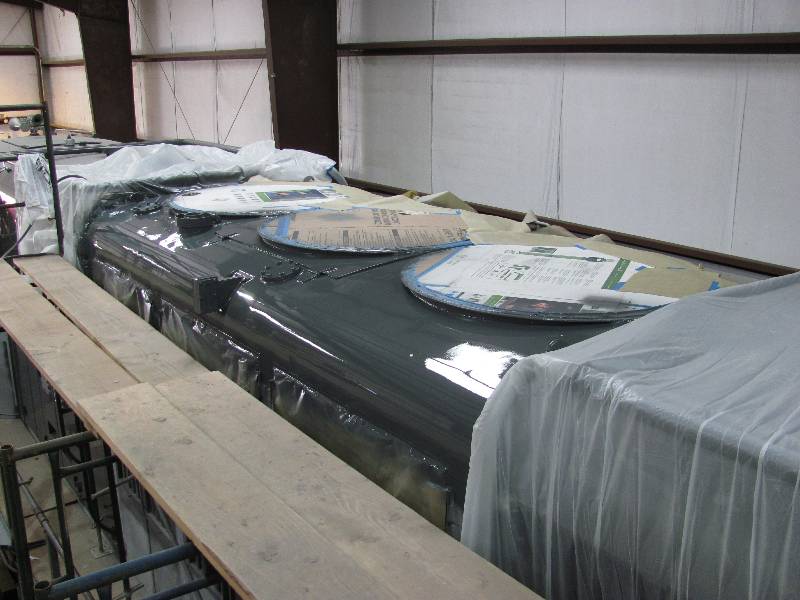
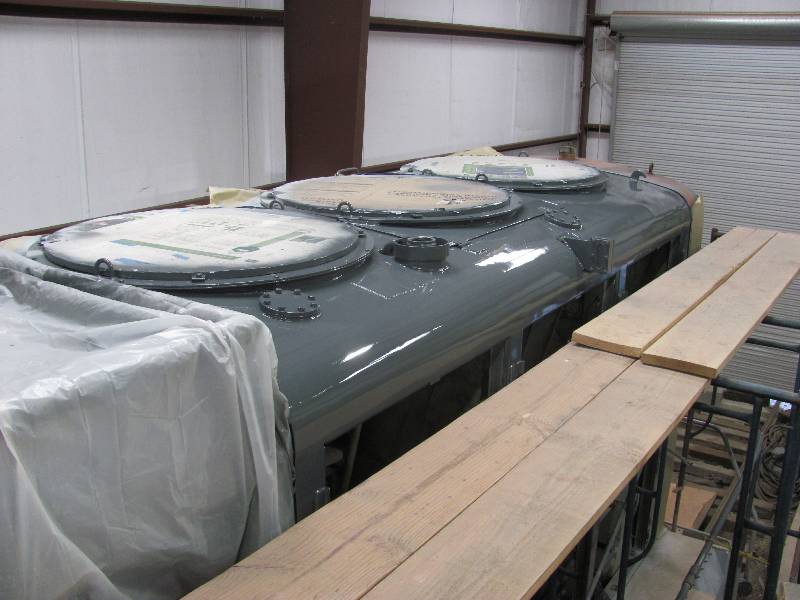
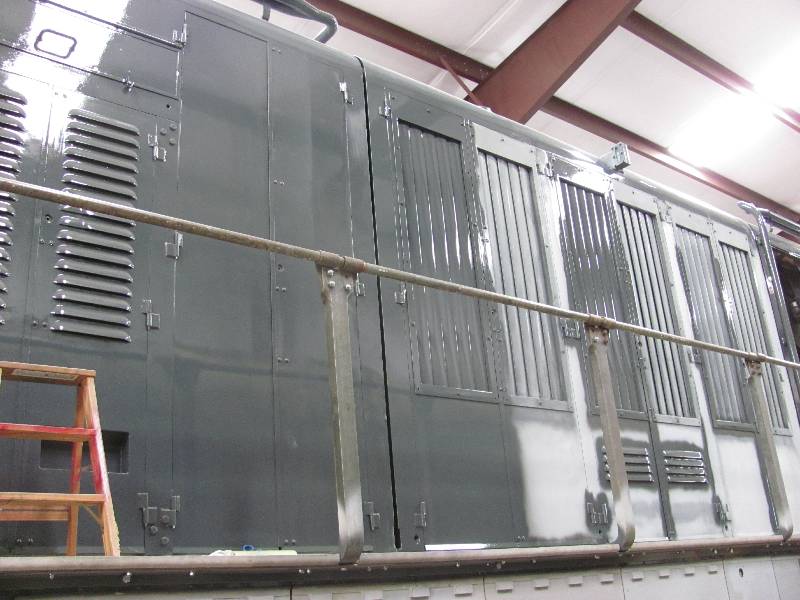
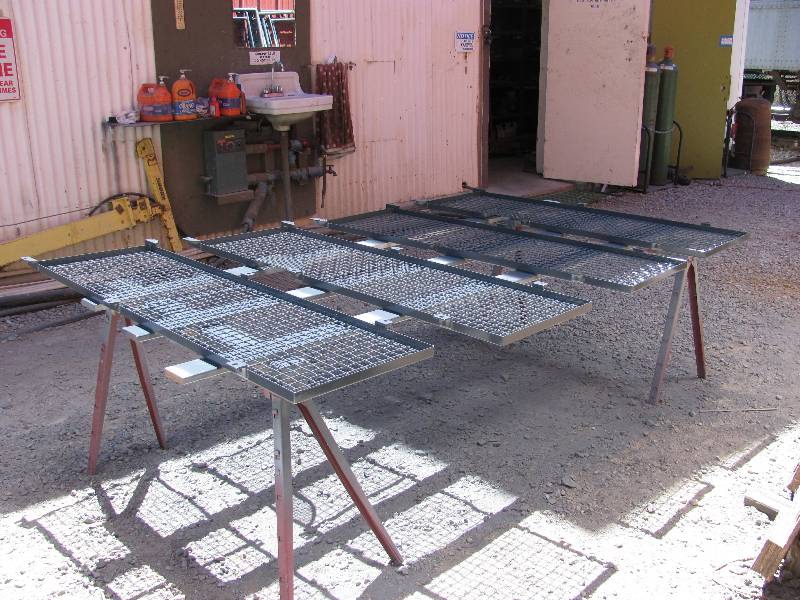
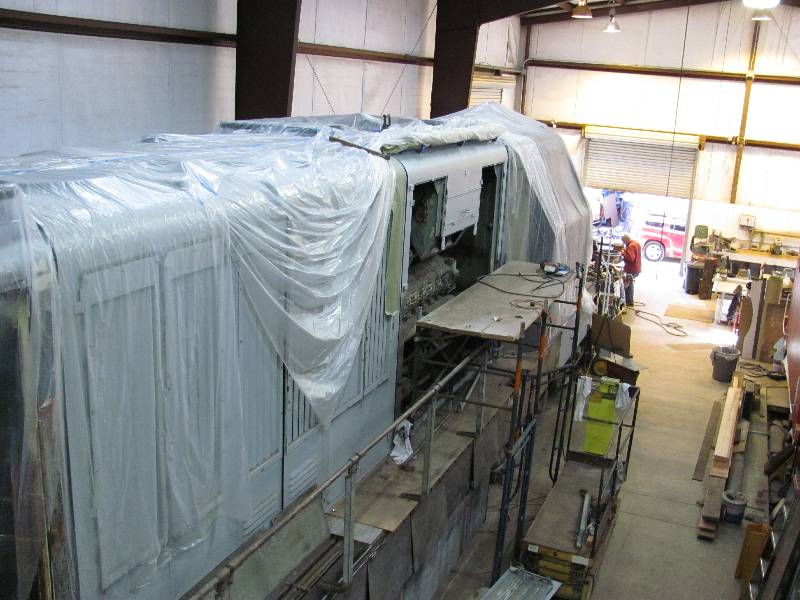
With
no plans but with exhaustive research and photo forensics by Bob Zenk,
fabricating the after-cooler pipes on the roof became a matter of
making
things fit and look right. Without going into gory detail,
here are construction photos of the front unit.
Obviously, there is more work to come.
--
Update January 31, 2013 --
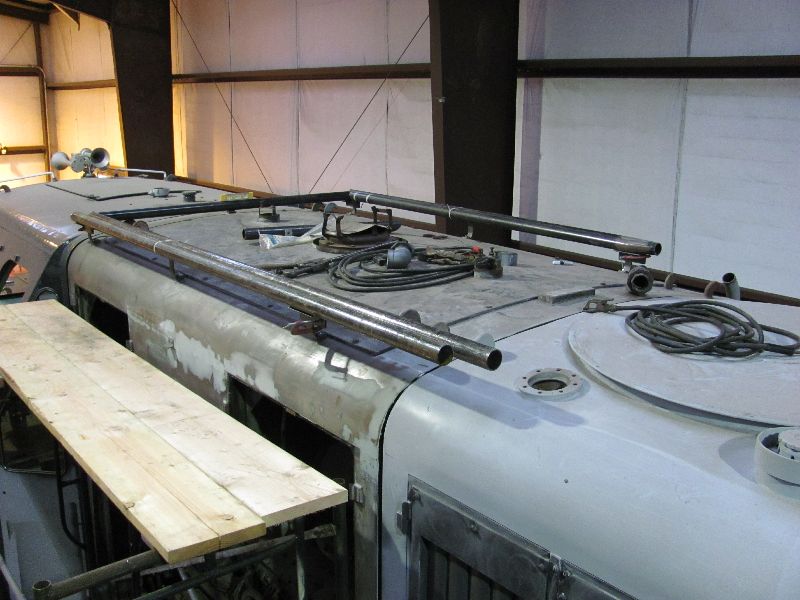
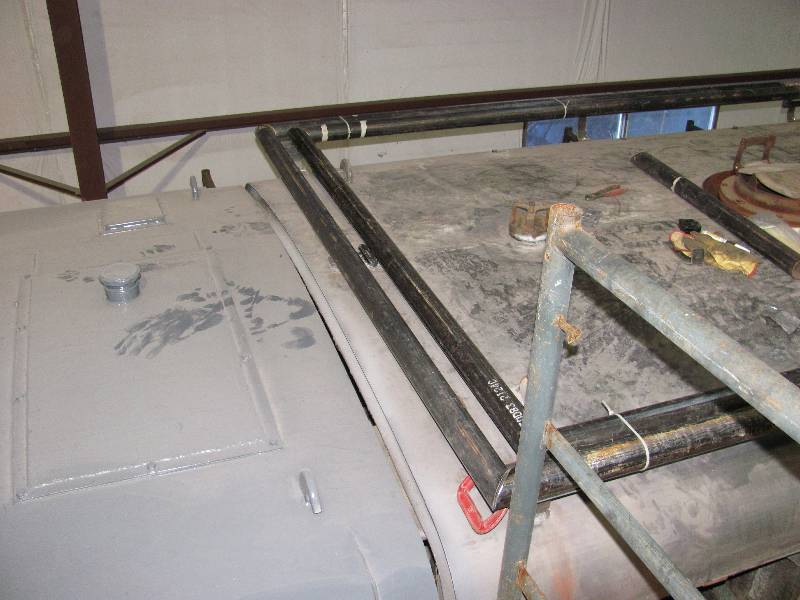
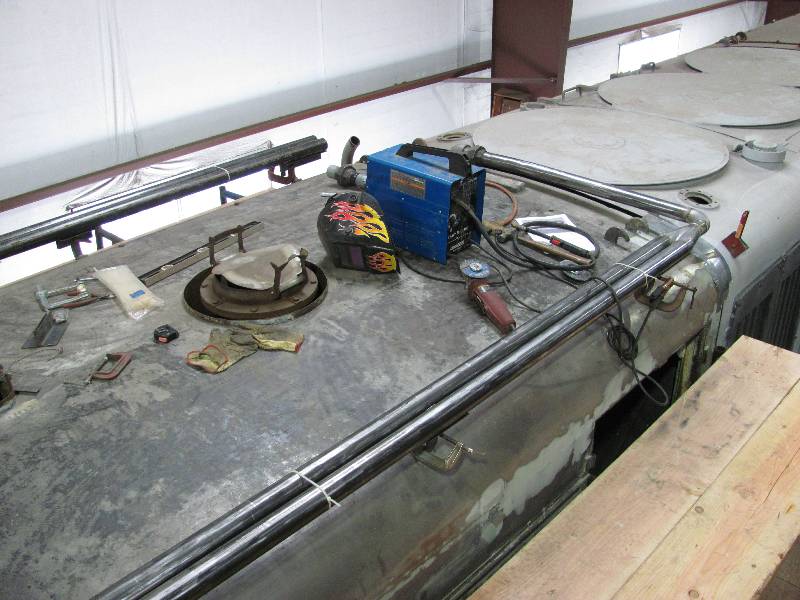
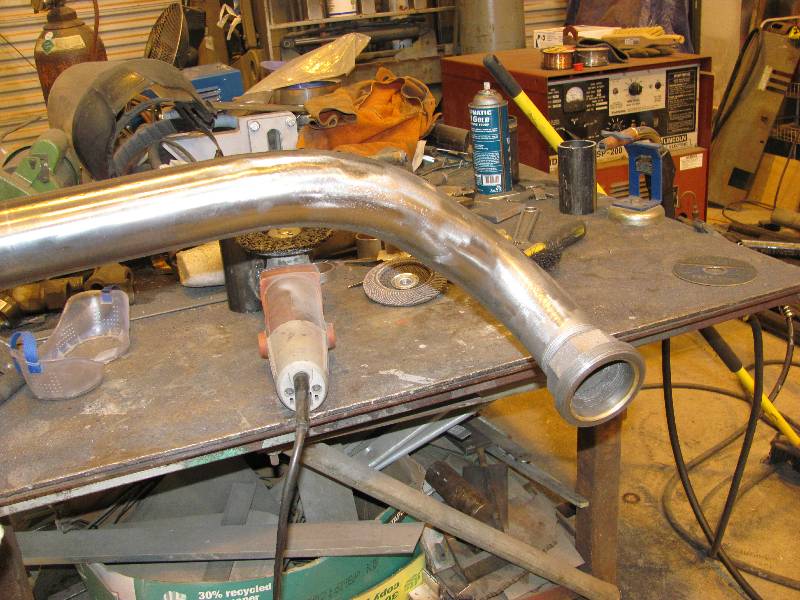
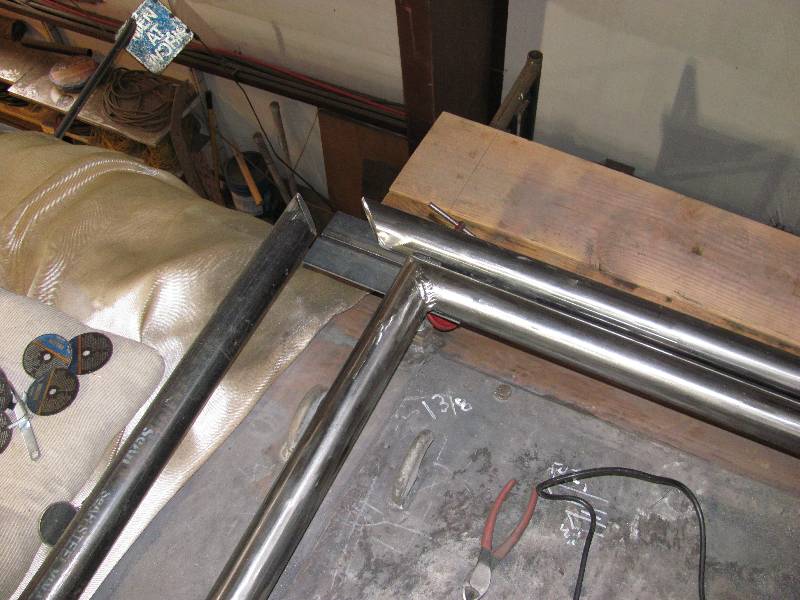
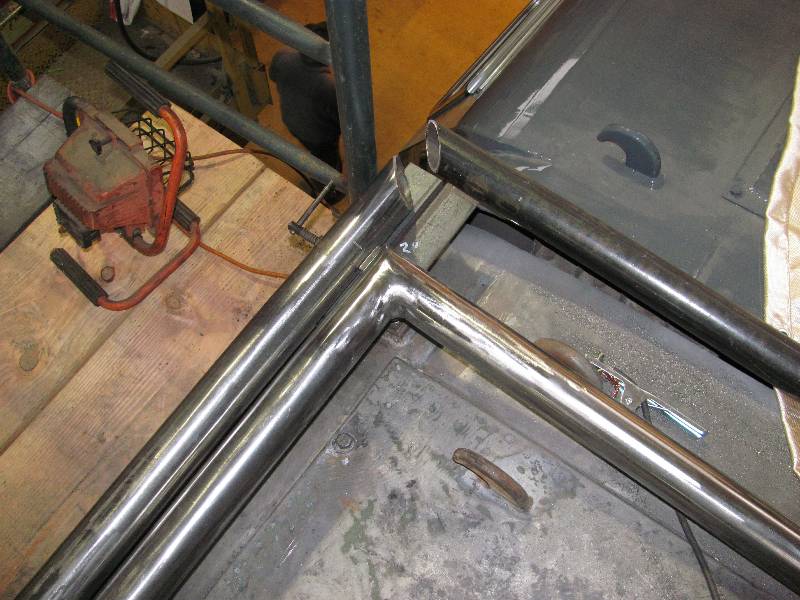
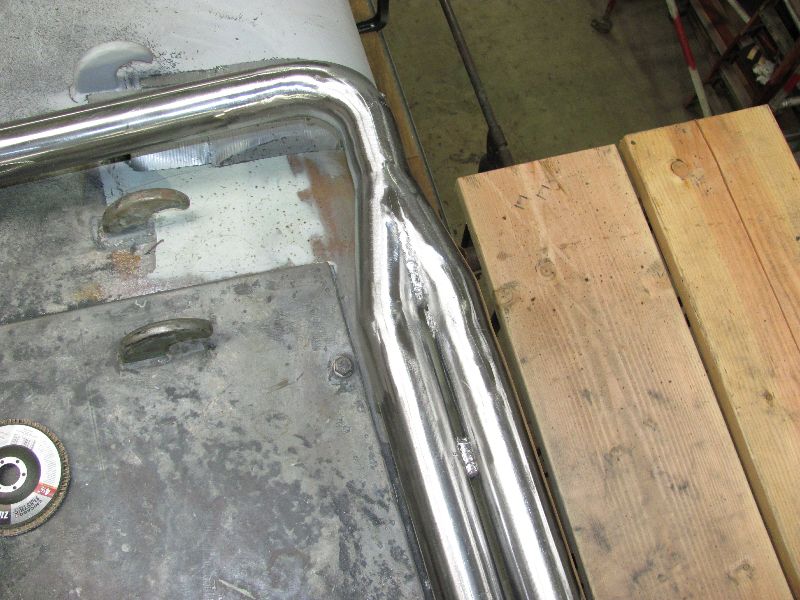
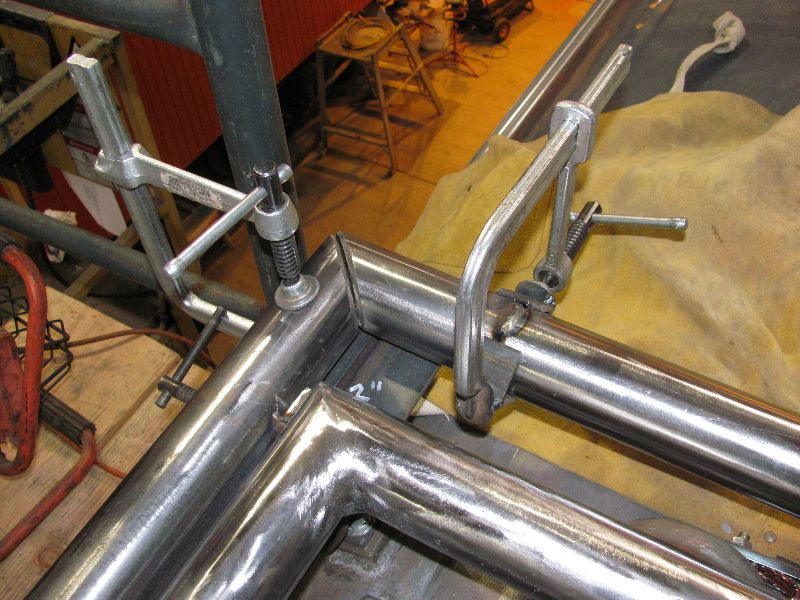
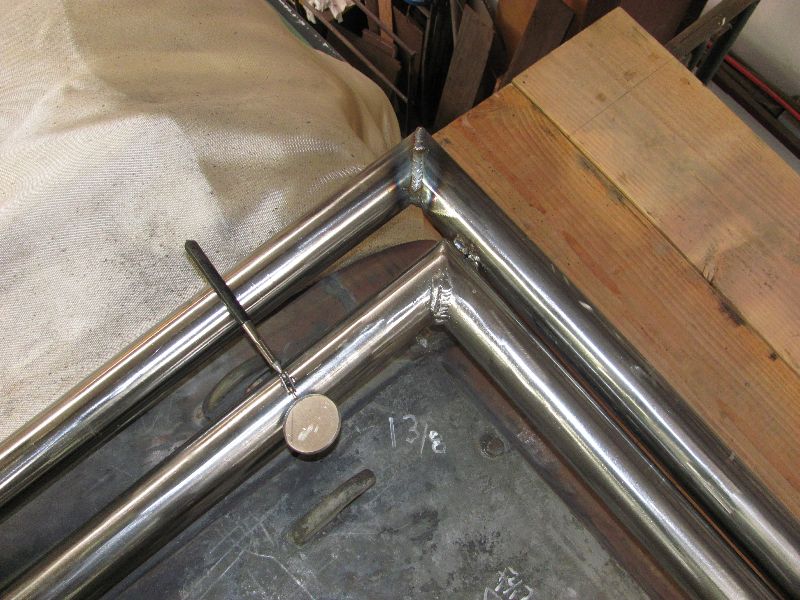
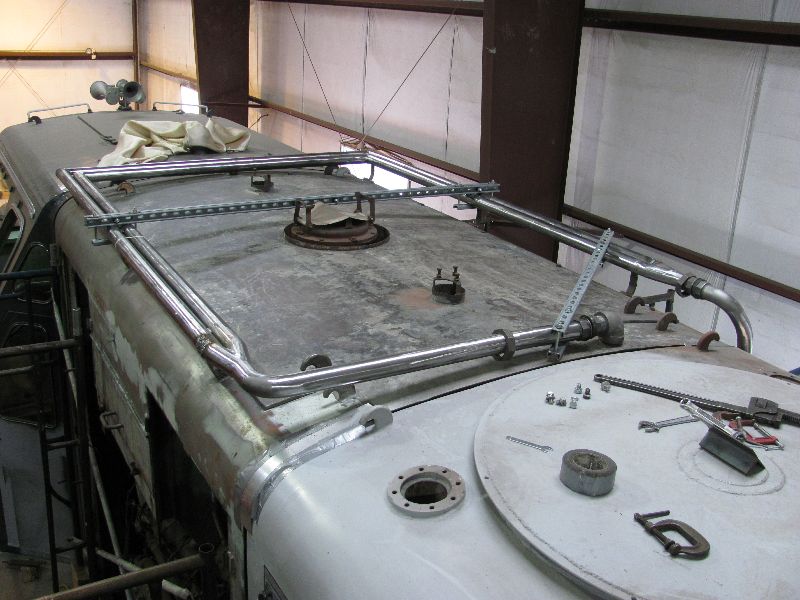
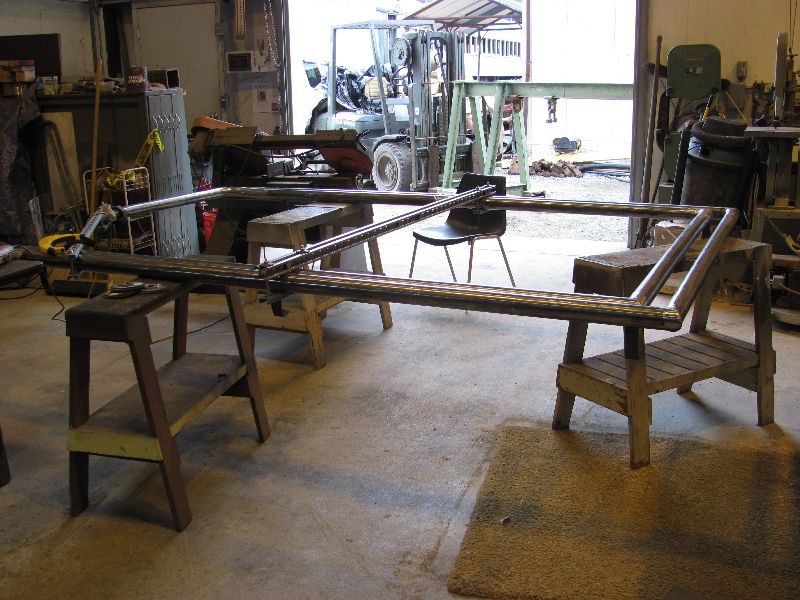
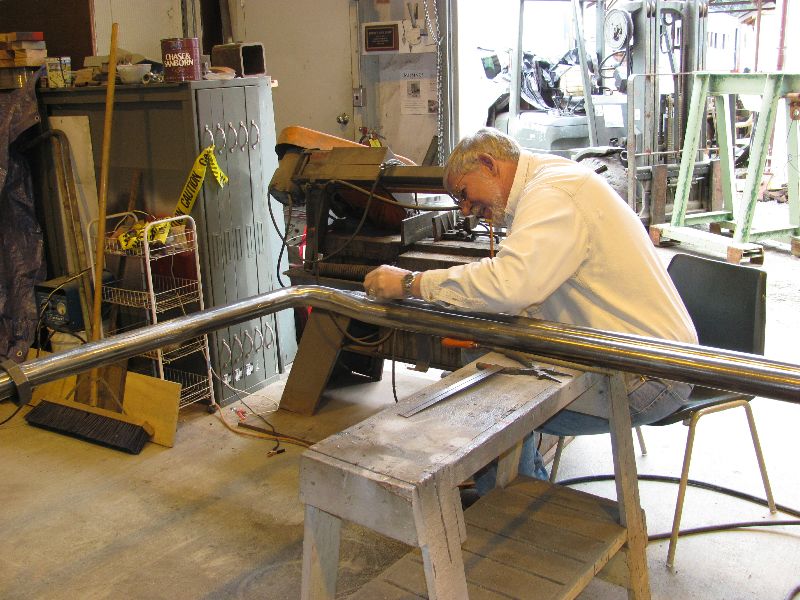
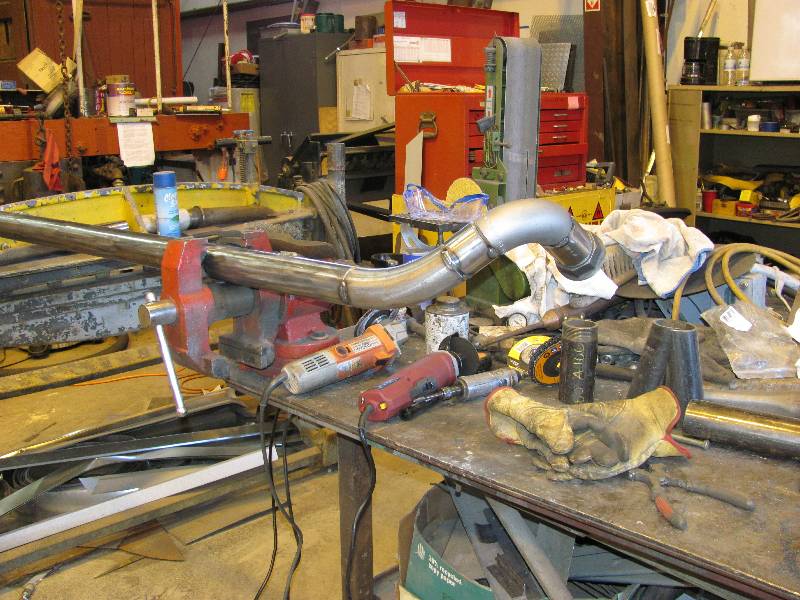
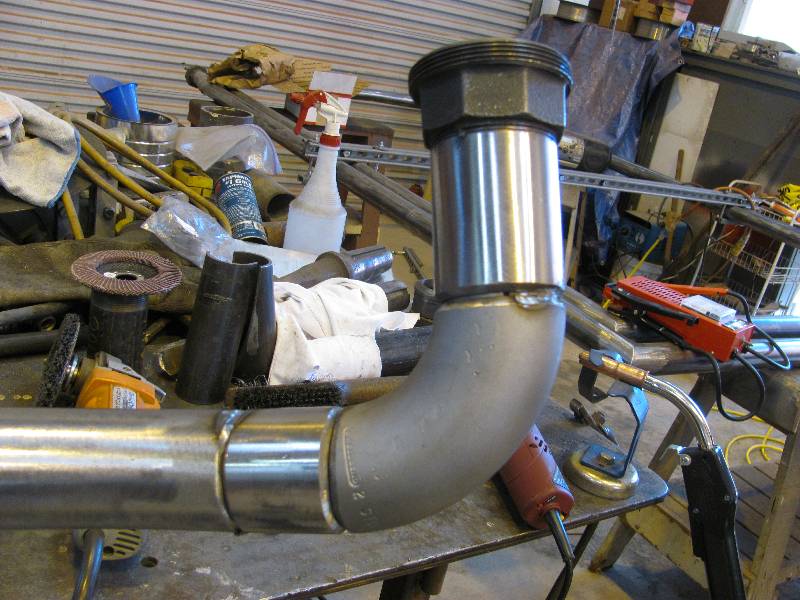
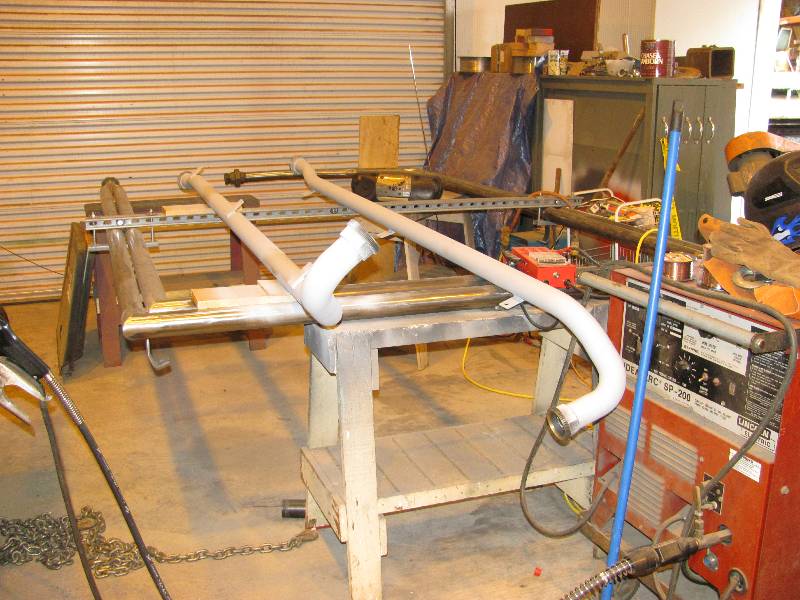
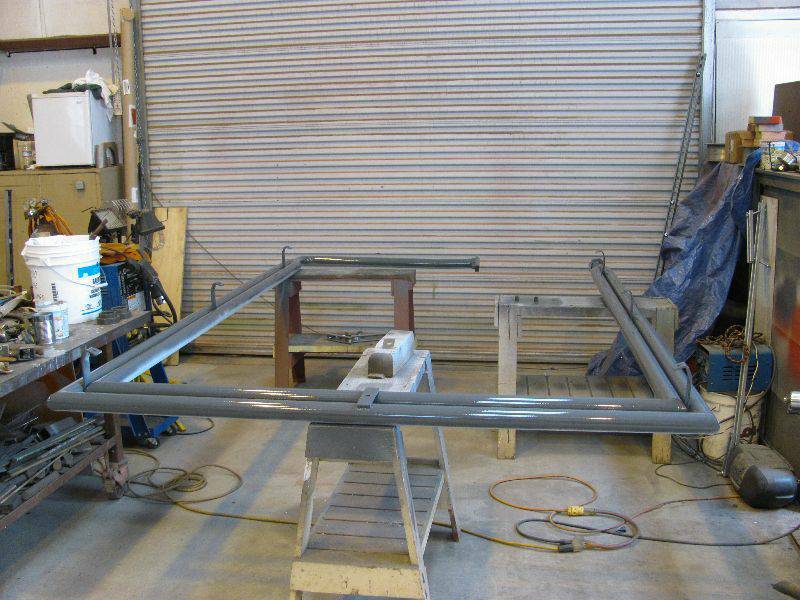
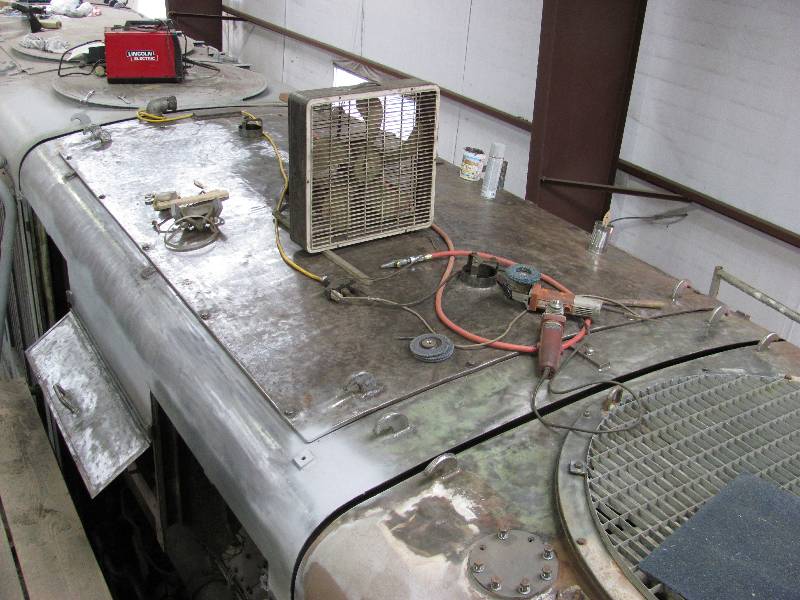
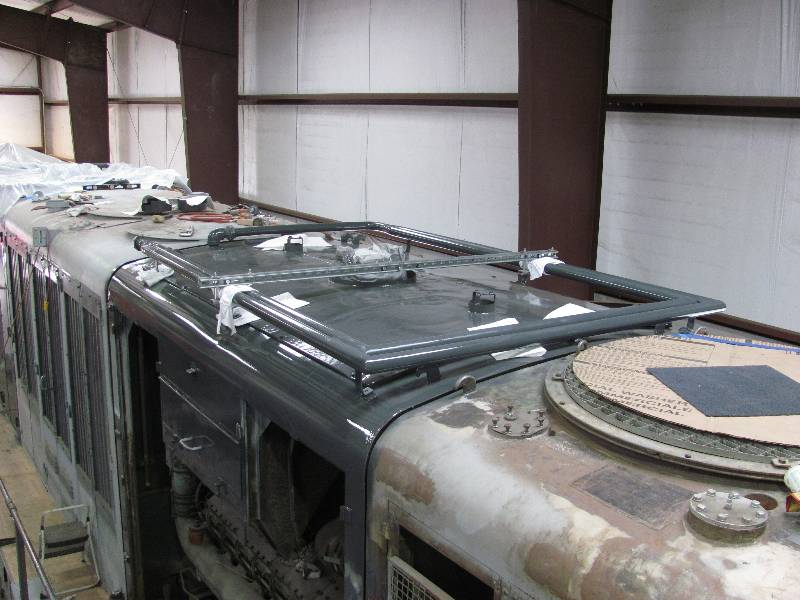
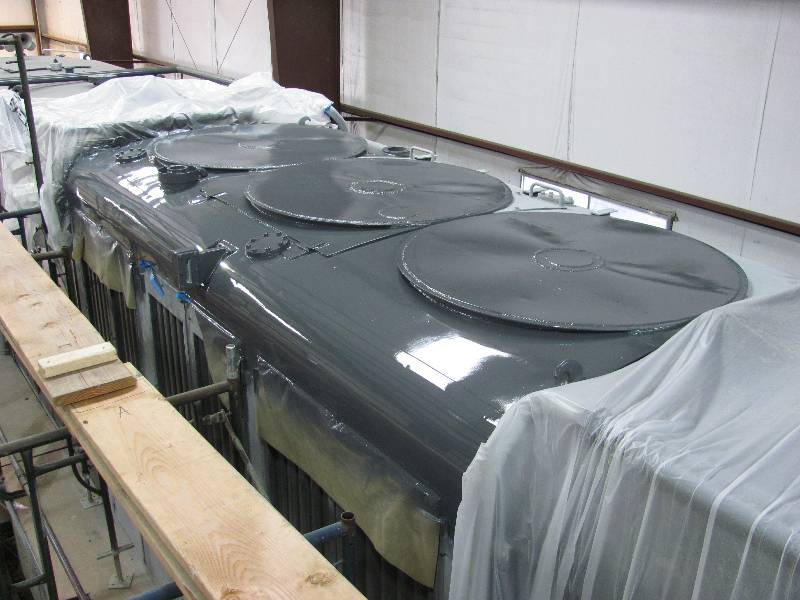
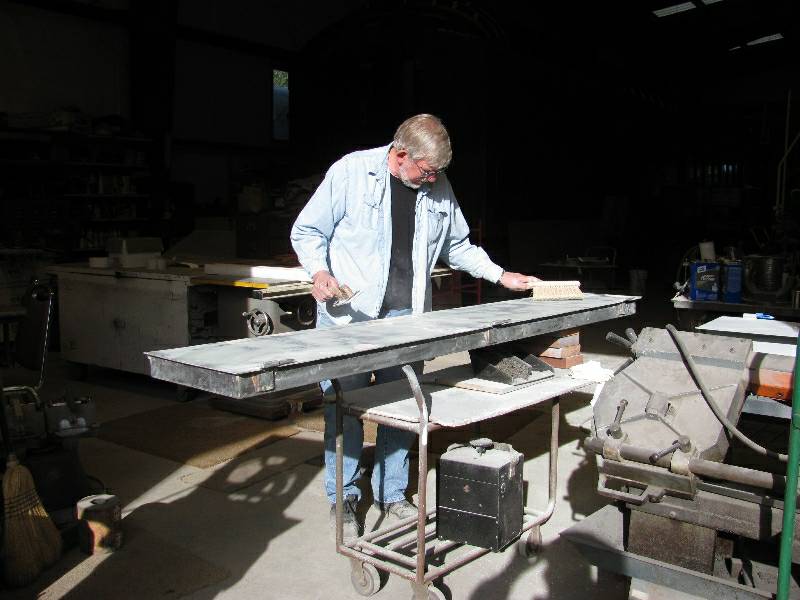
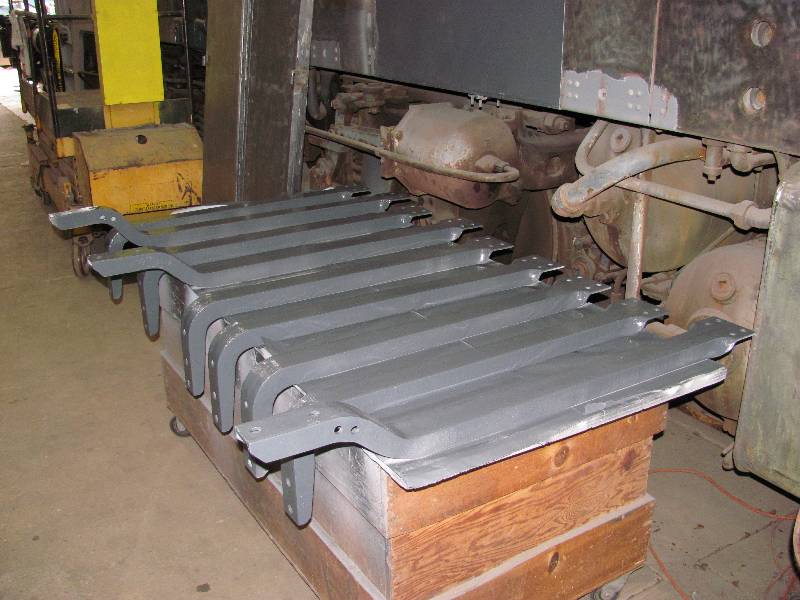
Because of the complex bends involved in some of the piping, pre-made bends and short sections were used in several places. The vertical pipes that come up the hood sides were fitted and then taken to the bench to weld but most of the welding was done in place on the roof. And then, there are the end pipes that are welded to the side pipes at a 90 degree angle. Krauss Maffei no doubt built the pipes on the floor, using a jig. Doing the same thing 16 feet in the air was interesting.
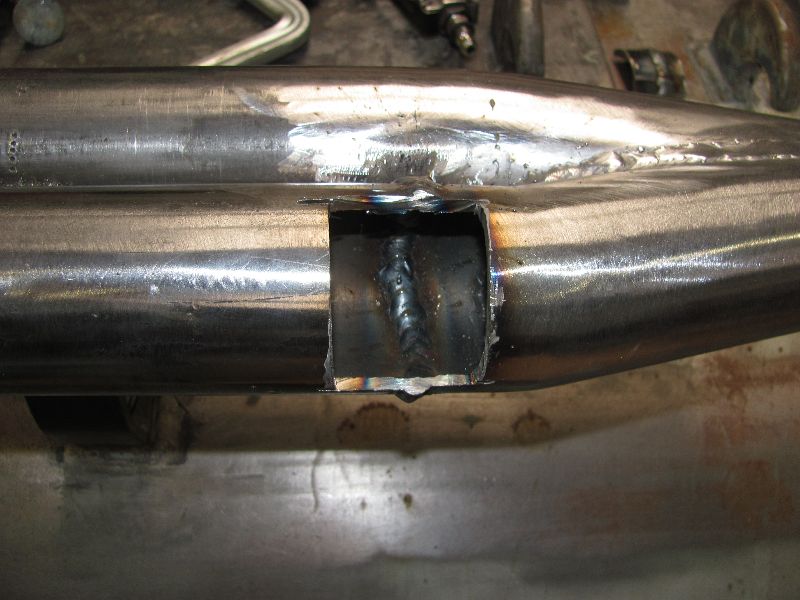
One area that was particularly difficult to weld was where the side pipes met the "Y". There is only 1/4" between the two side pipes so it is not possible to get the MIG gun between them all the way around. First, the inner pipe was welded to the "Y" all the way around and then the outer pipe was tacked into place. Then, an old trick was employed - a window was cut in the outside of the pipe so I could weld the joint from the inside. Once a good bead was applied, the cut out piece was welded back into the window and the welds ground down. Finally, all the welds were complete and we could stand back and have a look at something that had been missing from the 9010 for 46 years.
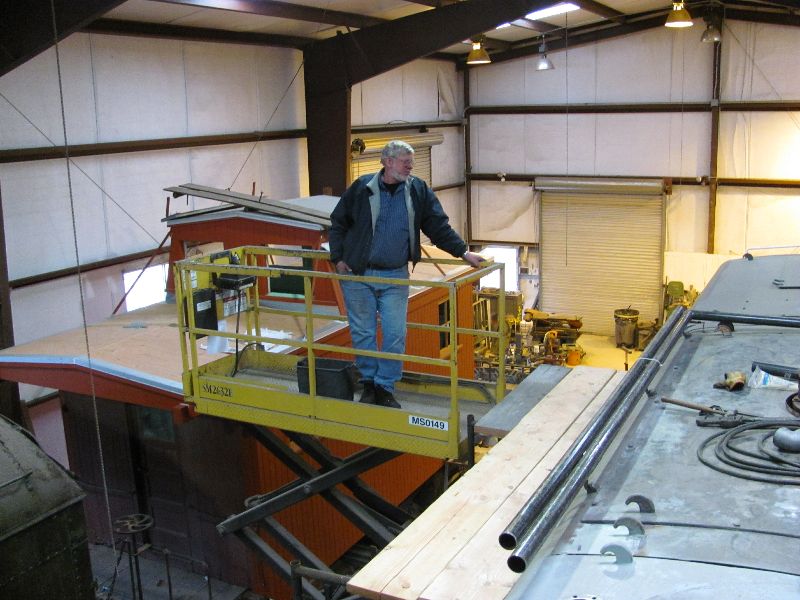
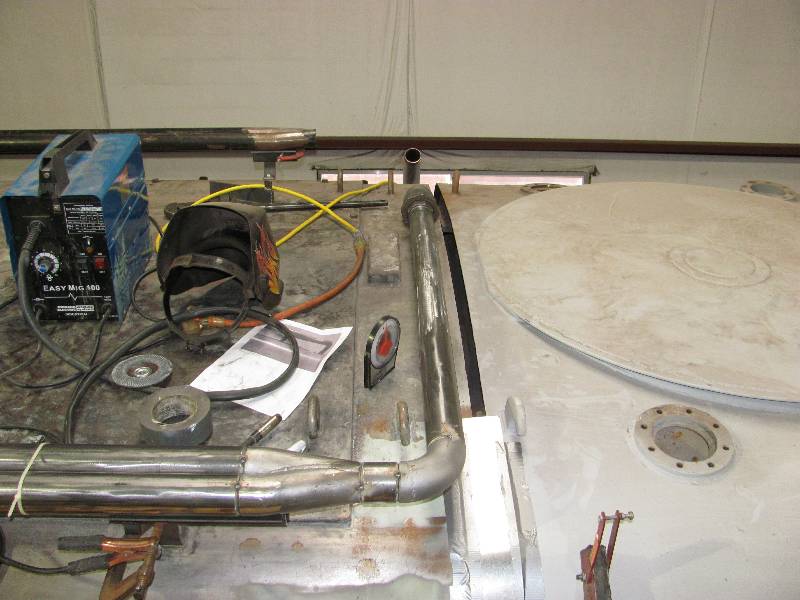
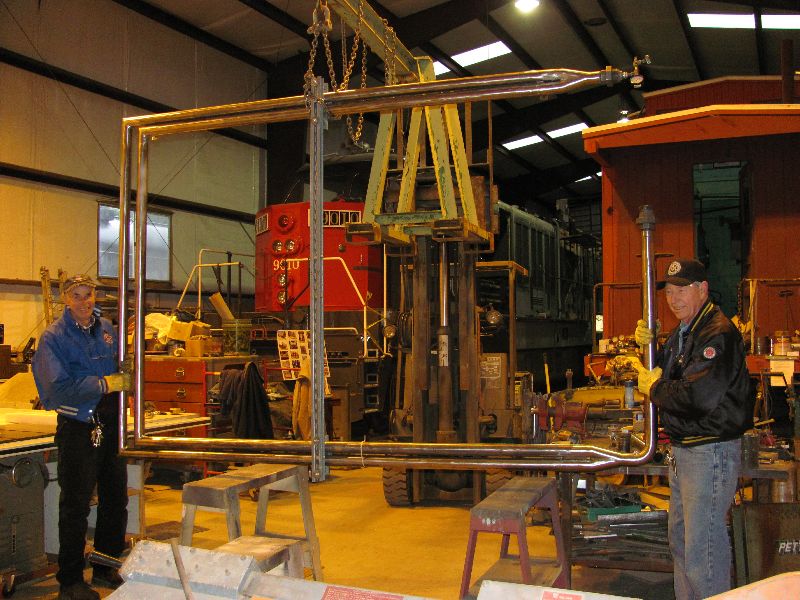
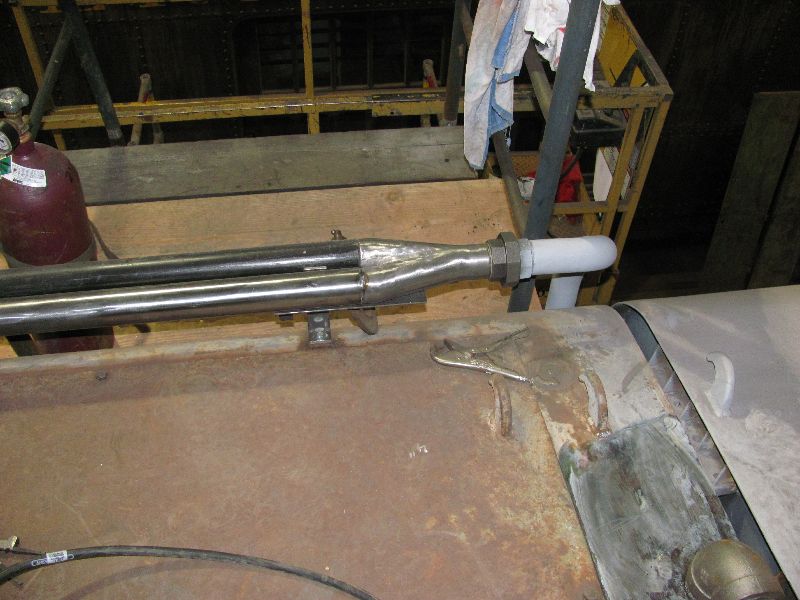
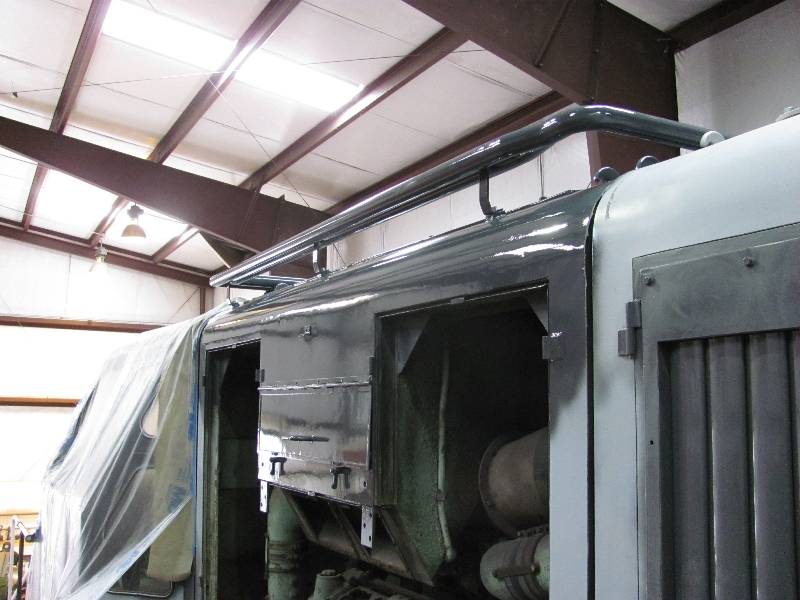
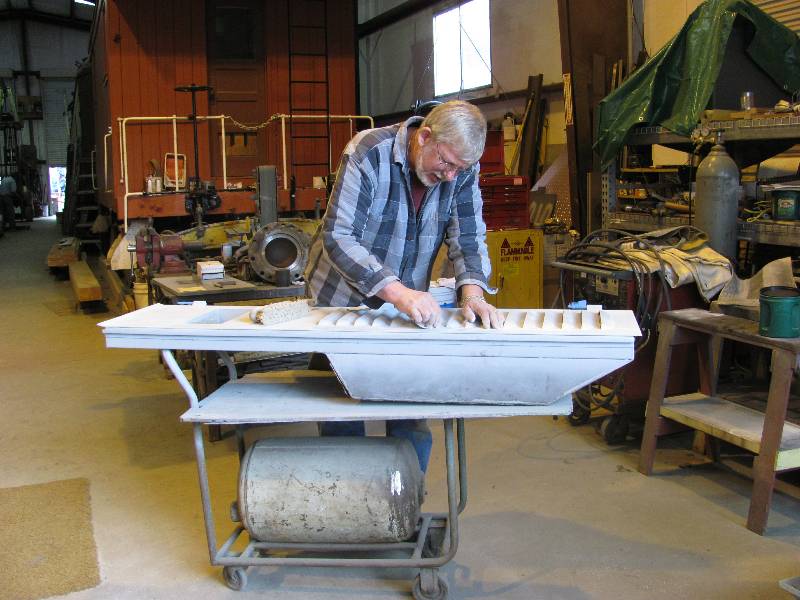
-- Update February 23, 2013 -- The time came to remove the cooling pipes from the #1 engine hood in order to test them for leaks, clean up the welds and paint the assembly. Rich, Gerry and I moved the scaffolding to the #2 engine where our next job would be. I had to create a lifting rig so as not to put stress on the side pipes and the free end that hangs out in space. Luckily, the assembly was pretty easy to balance. With Bill on the fork lift and me worrying about hitting something with the pipes, we moved it to an open area and Bill started doing his magic. Once Bill had finished, we flipped it over so he could work on the bottom side. We used air pressure at 150 psi and soapy water to check for leaks. At the same time, the vertical connector pipes were also finished and pressure tested.
Our friend Dave came up from San Jose with his dad Tom. They spent time going through the radiator sections that came with the 9010. Unfortunately, the copper thieves did a wonderful job of nearly destroying every one of the 16 sections we have. Dave and Tom found that not one of the sections would hold pressure and most are severely damaged.
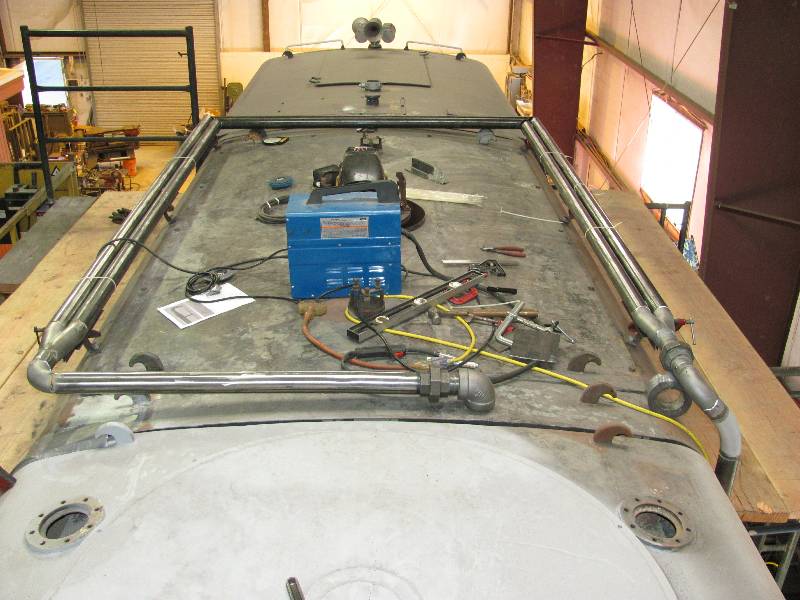
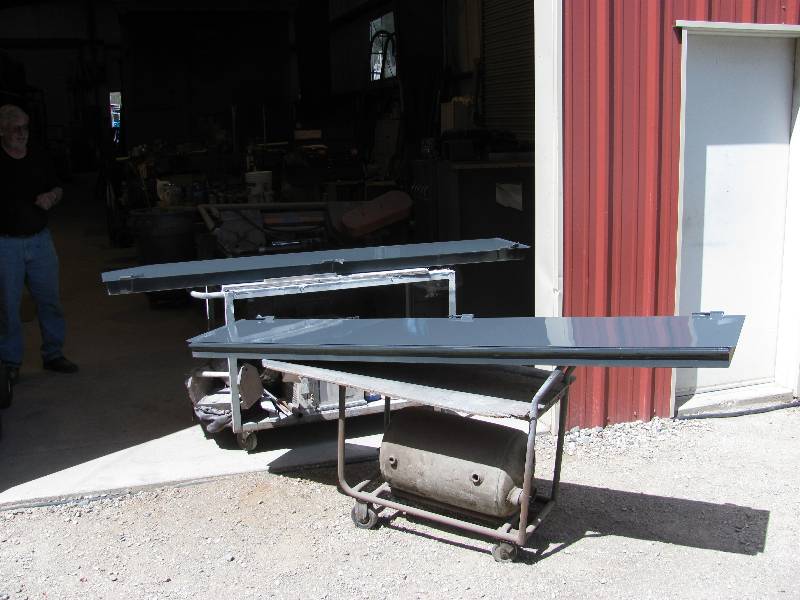
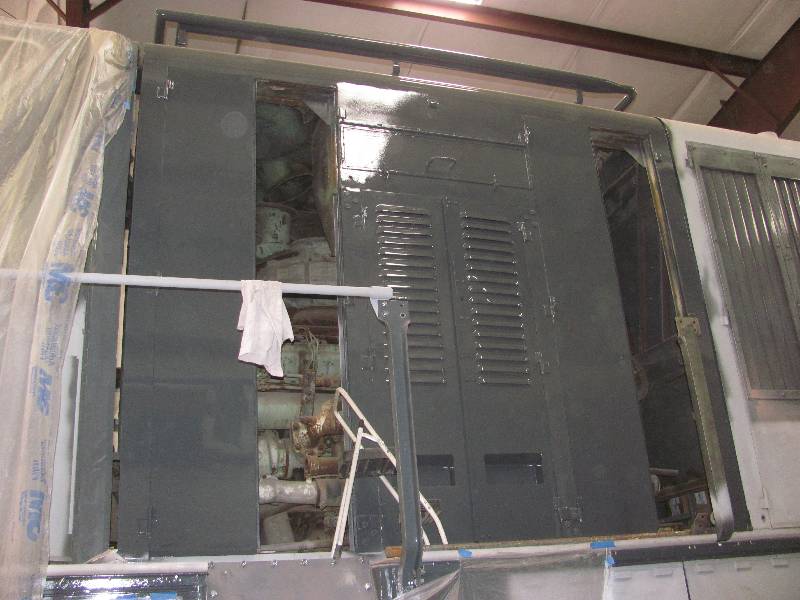
Building the #1 cooling pipes make
fabrication of the #2 pipes pretty straight
forward as all the little mysteries and problems had been solved.
These pipes will stay in place until the #1 engine hood is
painted and its pipes set back into place. That project is
now at the top of the list.
--
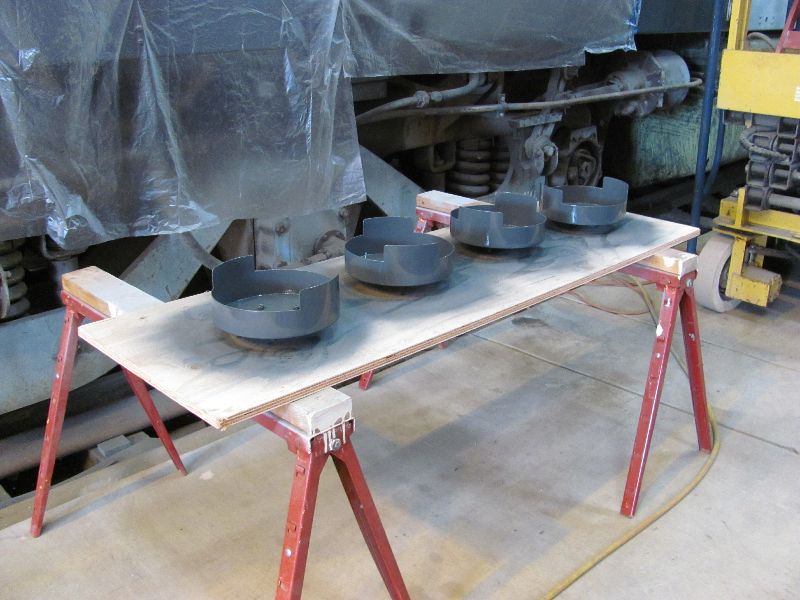
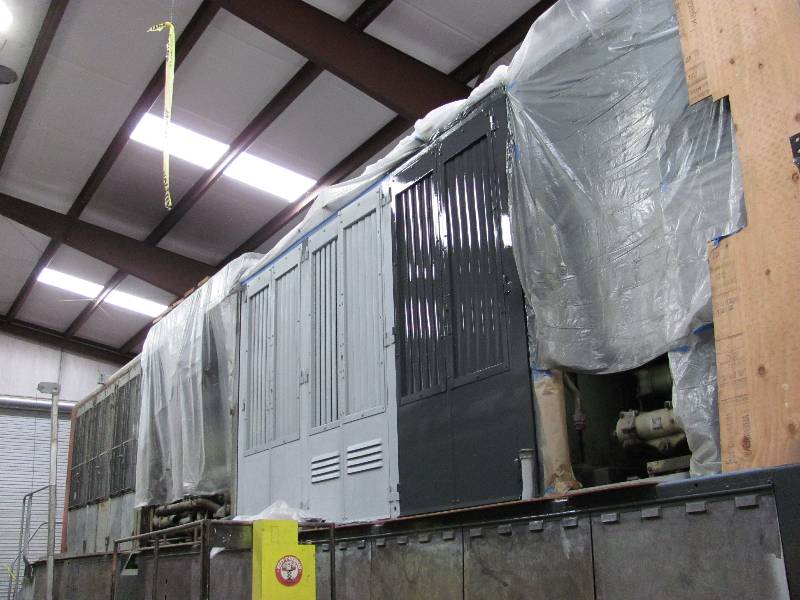
Update March 22, 2013 --
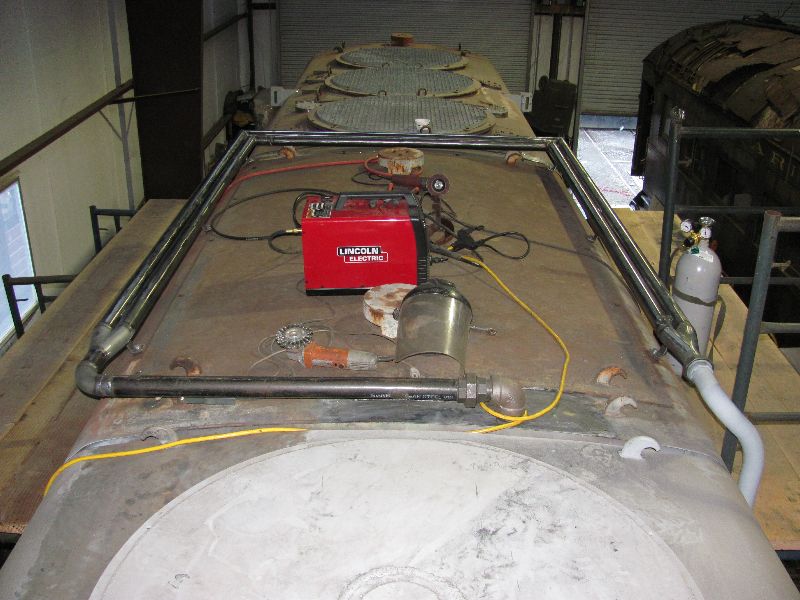
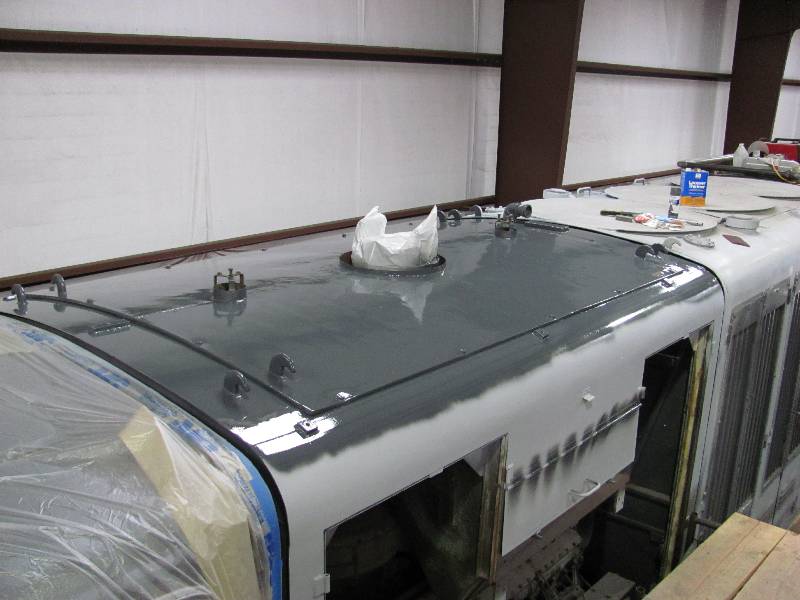
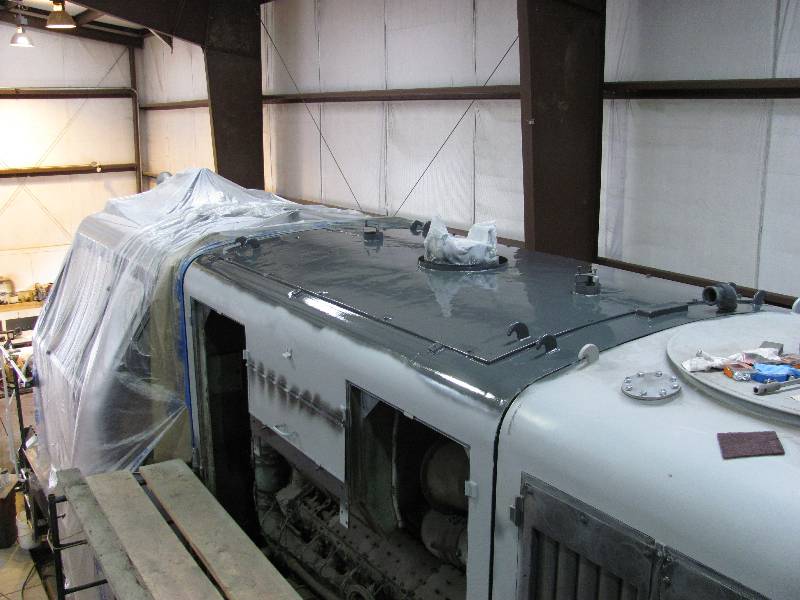
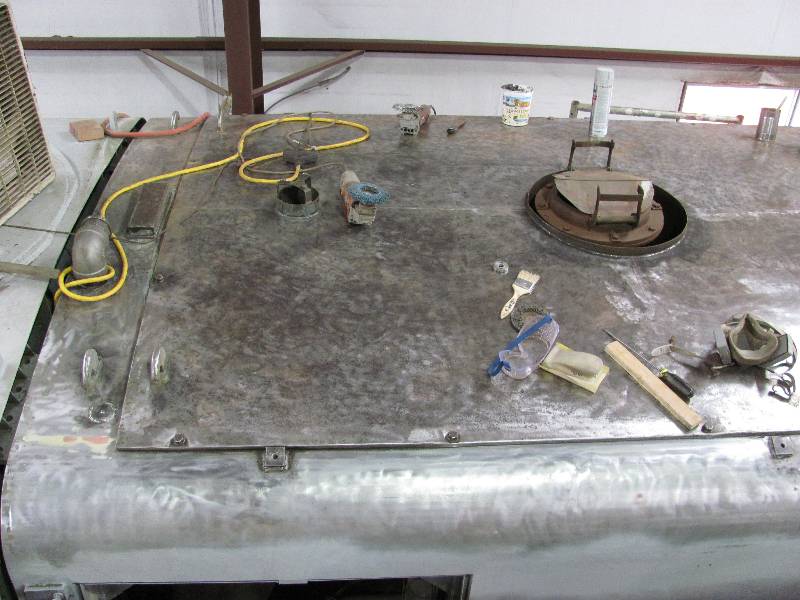
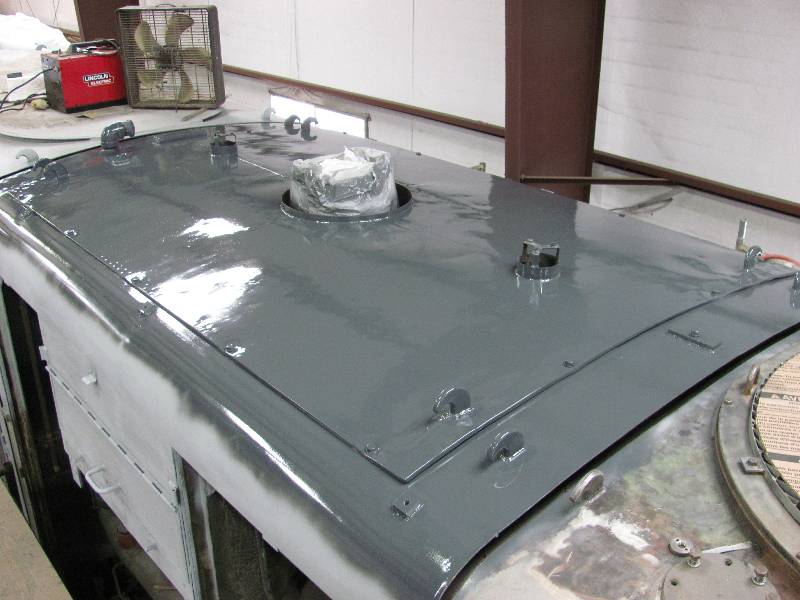
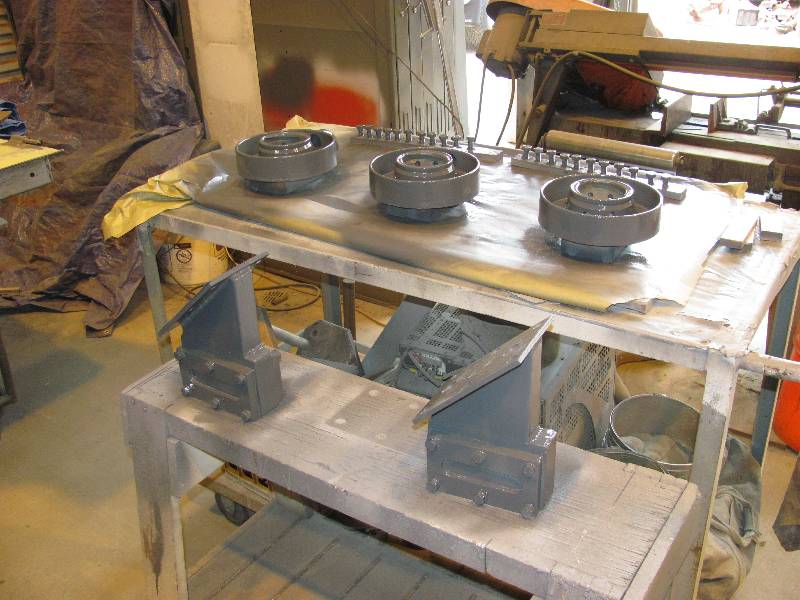
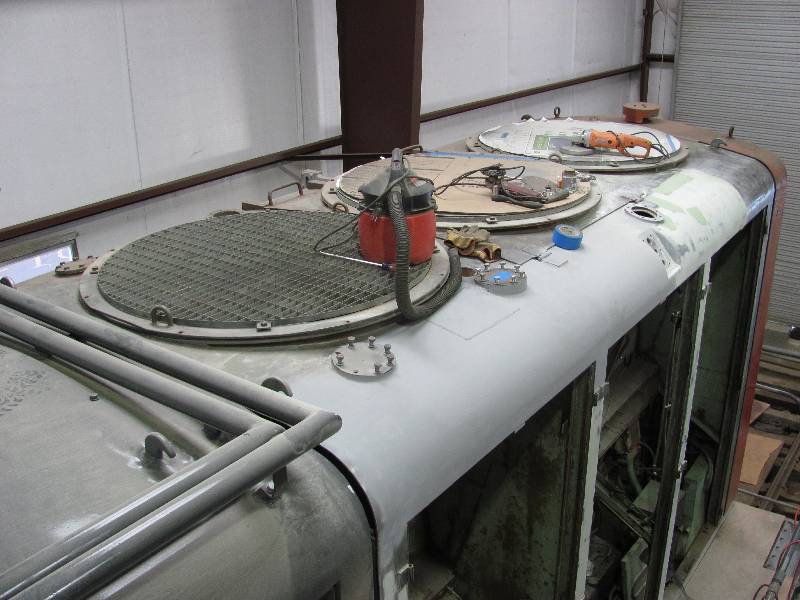
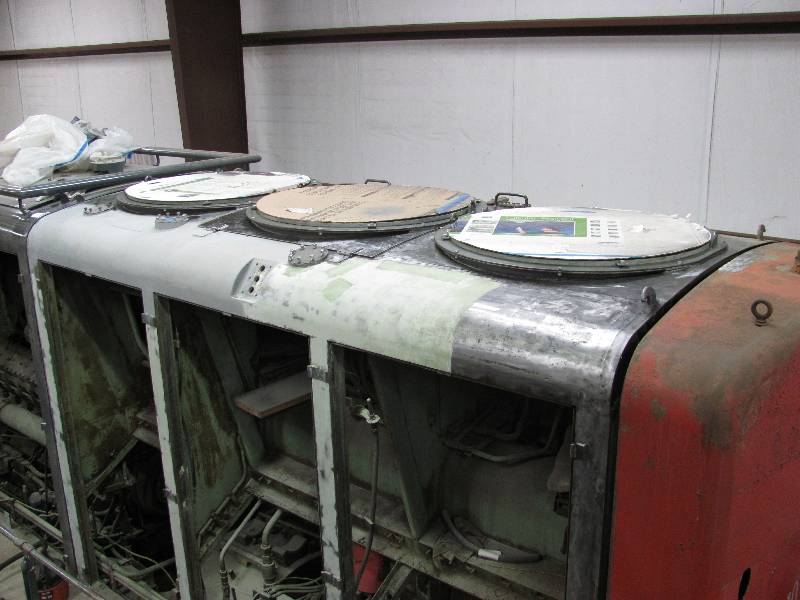
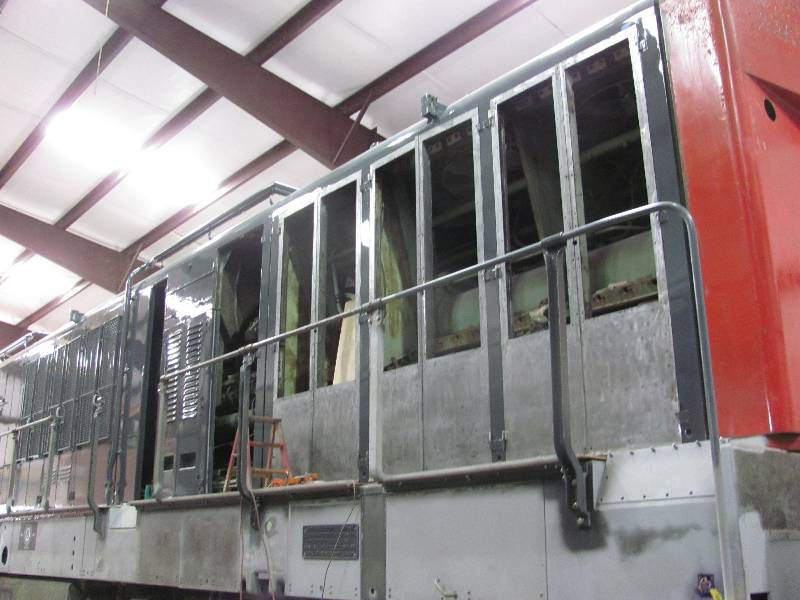
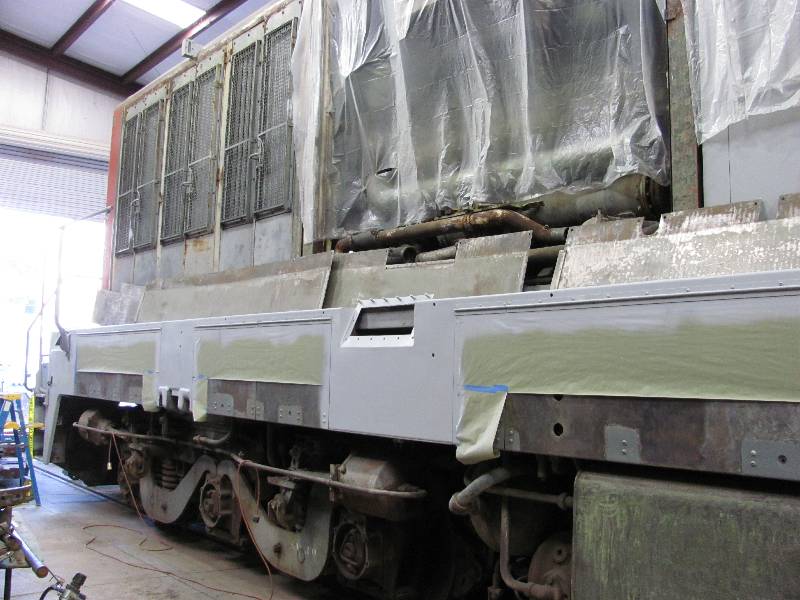
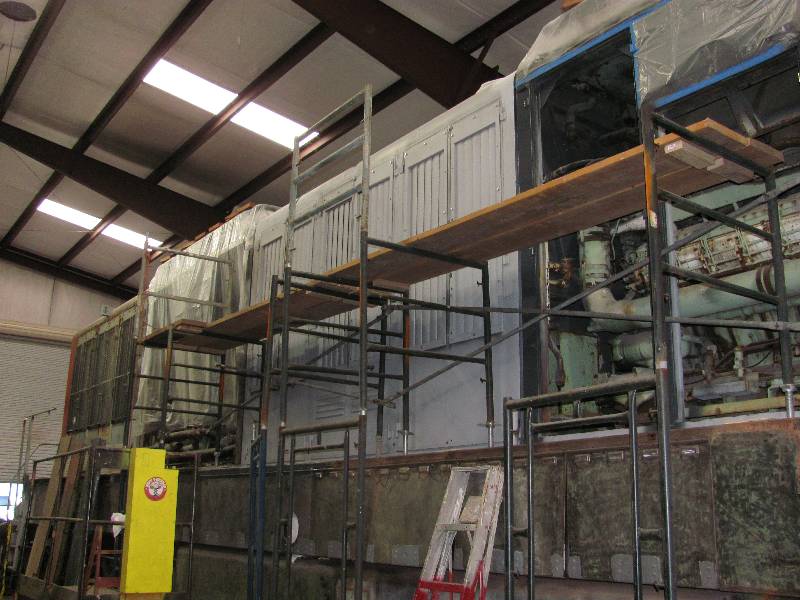
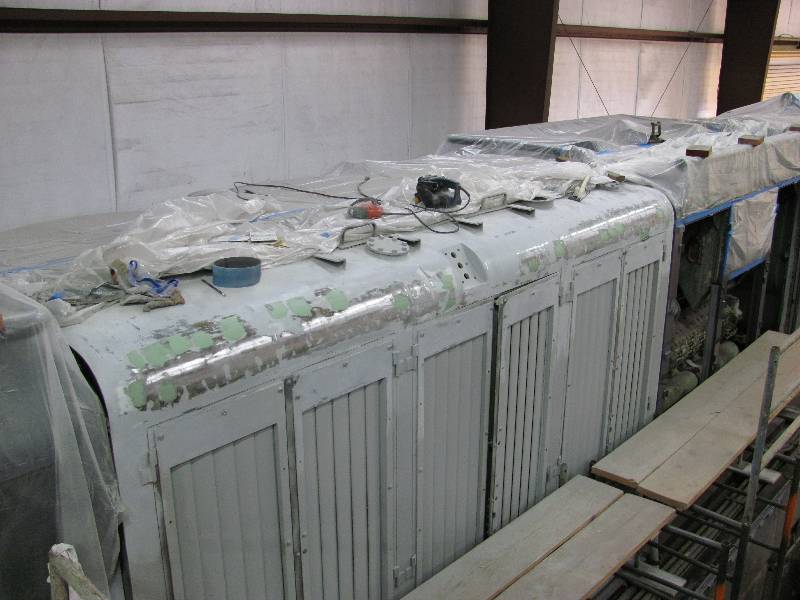
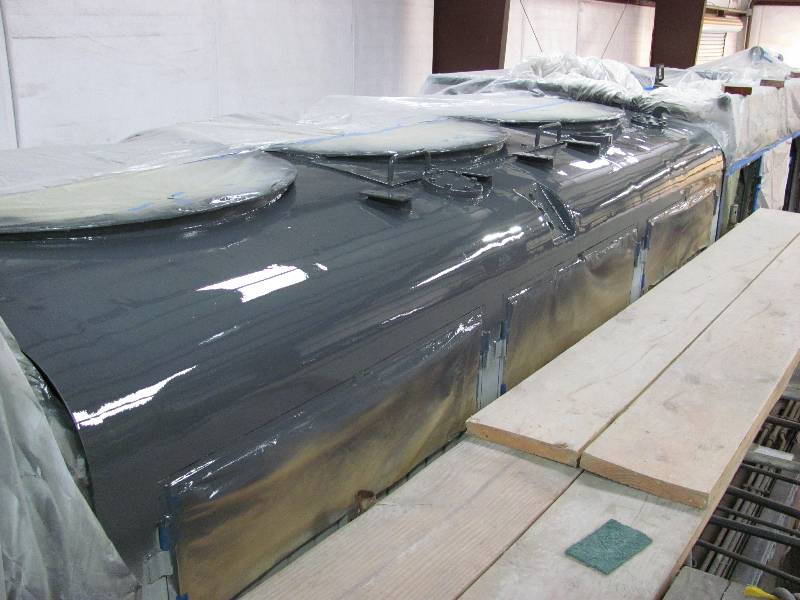
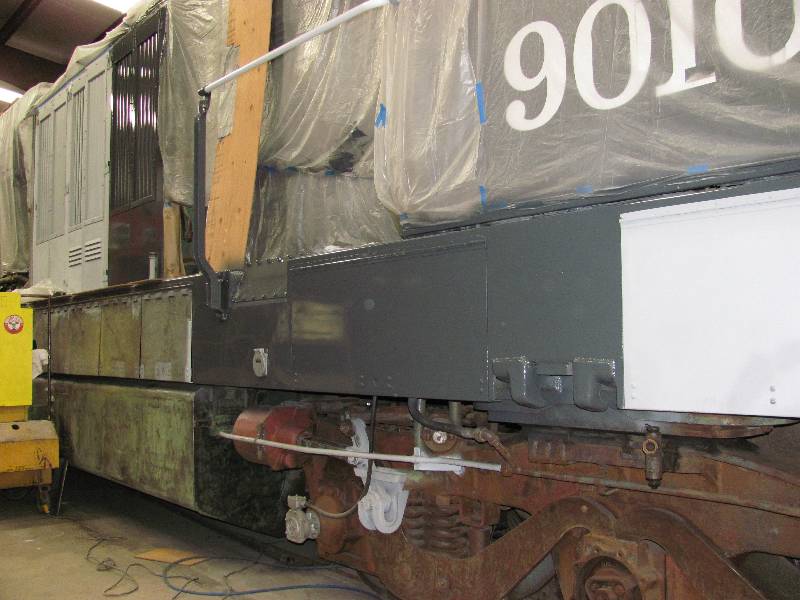
The weather is finally feeling like spring with its warmer temperatures so now painting can resume. First on the list was finishing the #1 engine hood roof. Photo #3 shows the 6 air filter elements though which air was drawn for the #1 Maybach. There are another 6 filters on the other side of the hood. The #1 cooling pipes were flipped over one last time and the painting completed. While the gun was out, I painted the four engine room vent hoods (2 per engine) and completed painting the hood side. The vertical surfaces on each side of the hood could not be painted because the scaffolding is in the way but once it is taken down, those areas will be stripped and painted. After installing the #1 cooling pipes, we removed all six doors from the left side of the #2 engine room, in preparation for working in that area . Denny has been hard at work stripping paint and killing rust on the left side doors for the #1 engine and they are ready for body work. And, once Rich finished manning the electric fork lift for installing the pipes and removing the doors, he resumed "beautifying" it. You can see the intended color on the freshly upholstered seat.
--
Update April 14, 2013 --
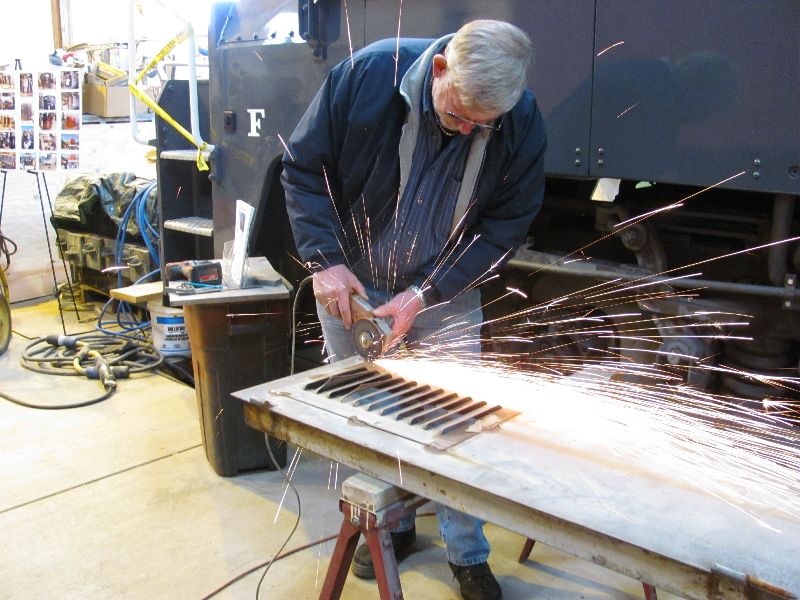
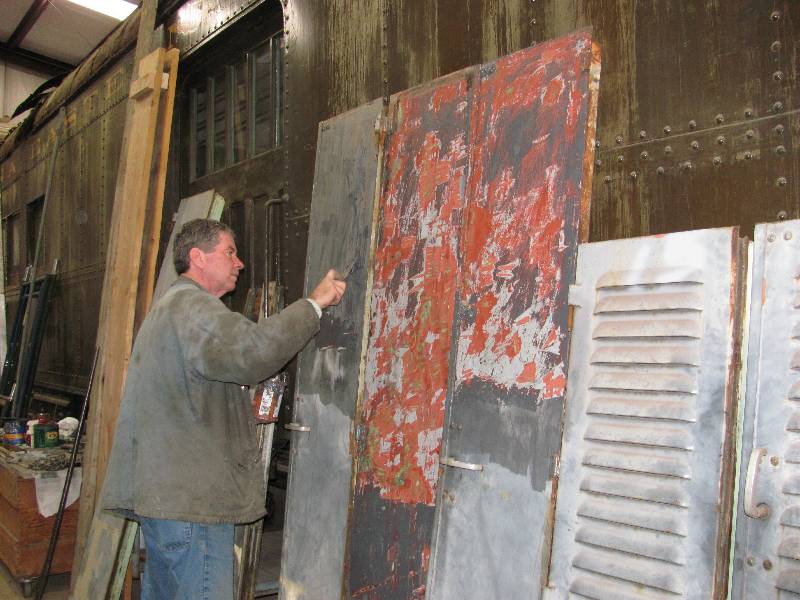
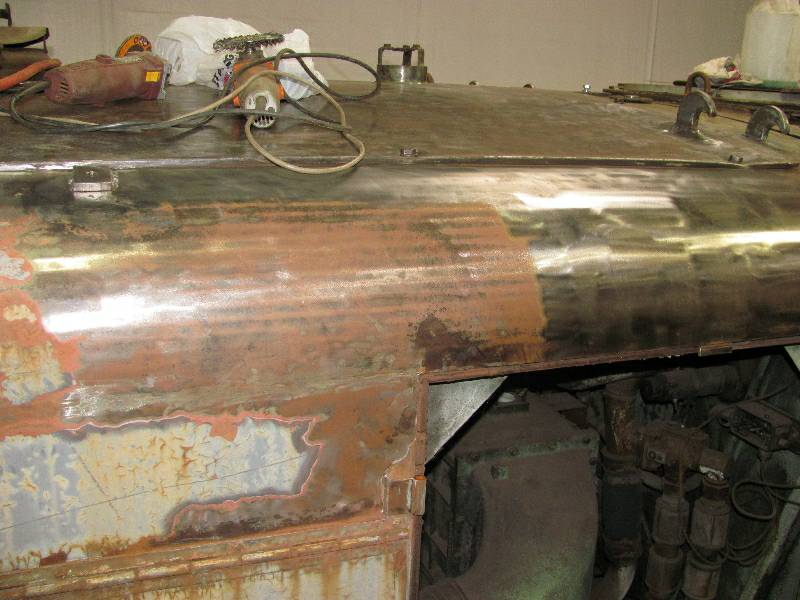
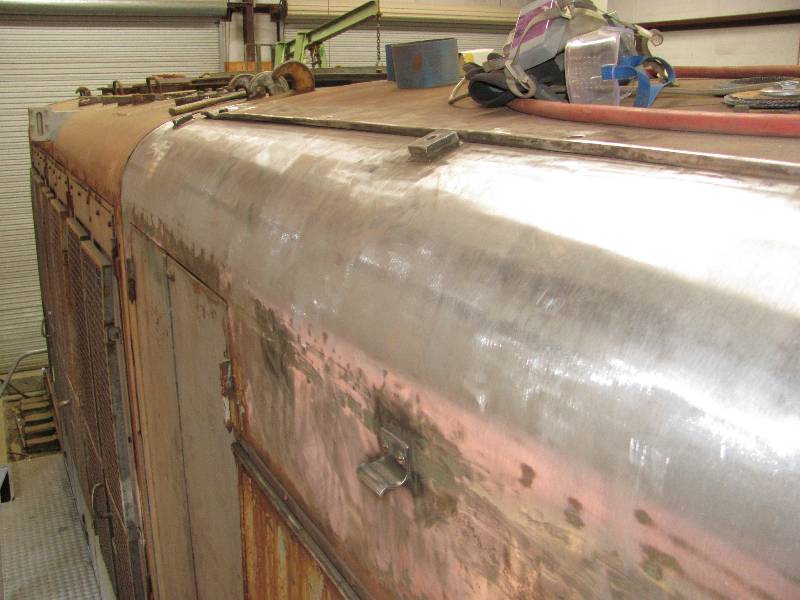
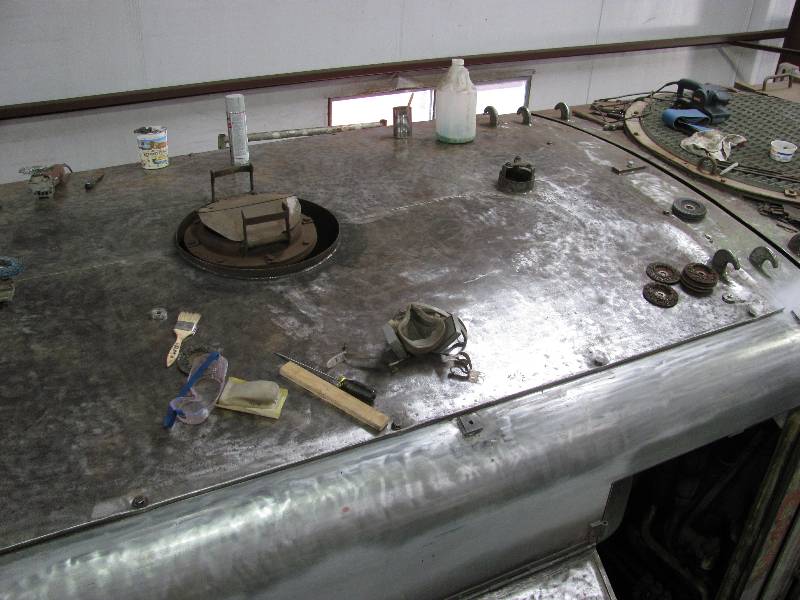
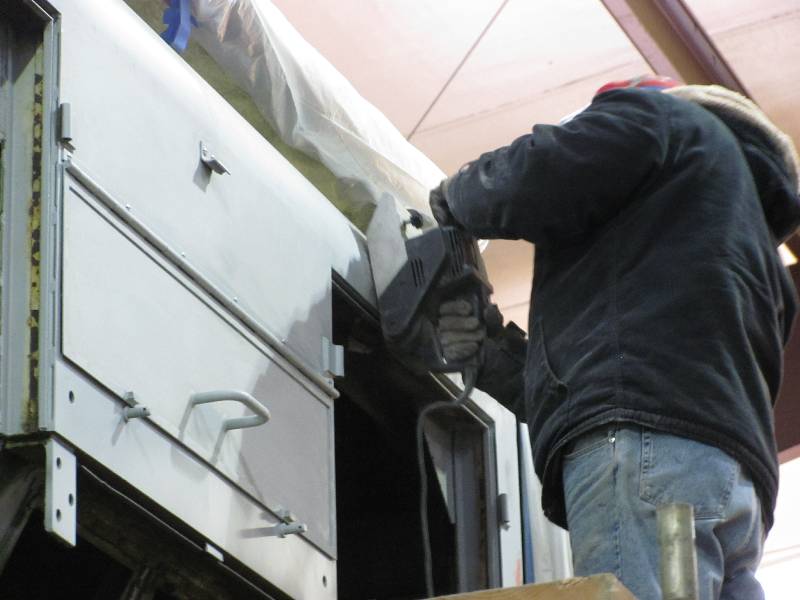
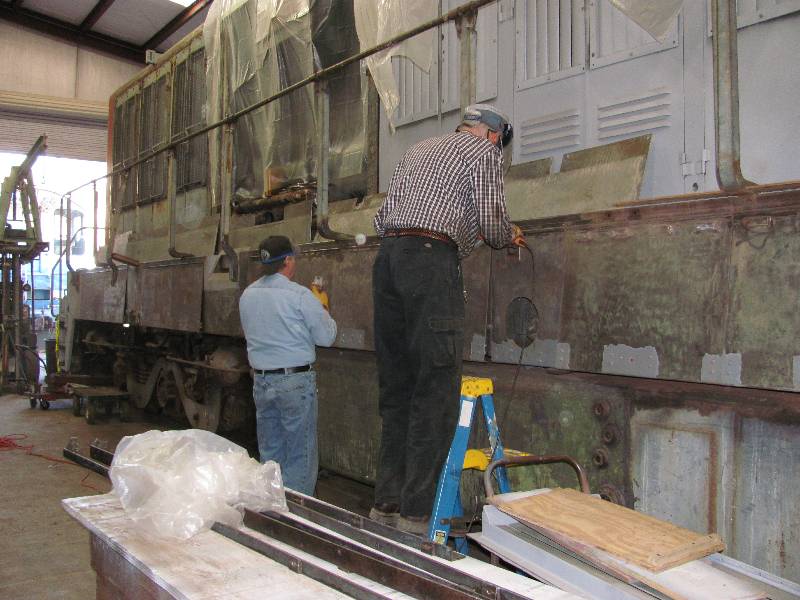
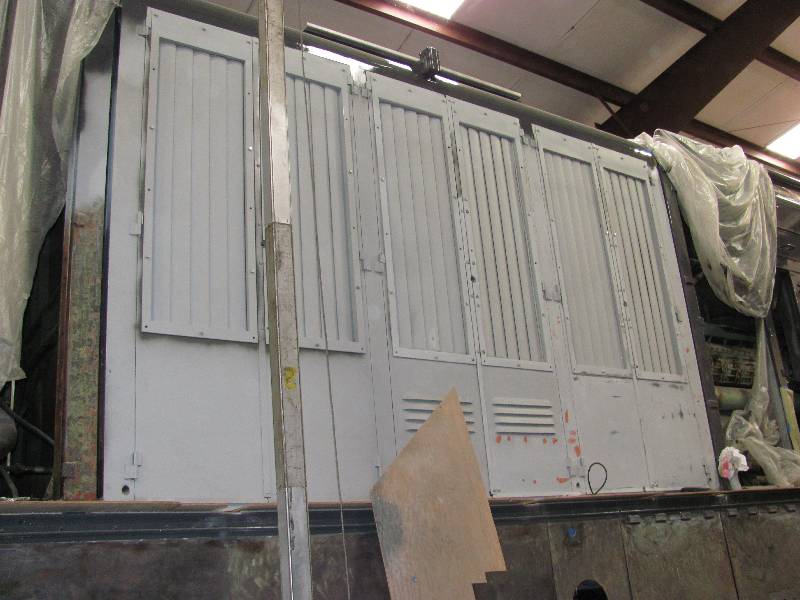
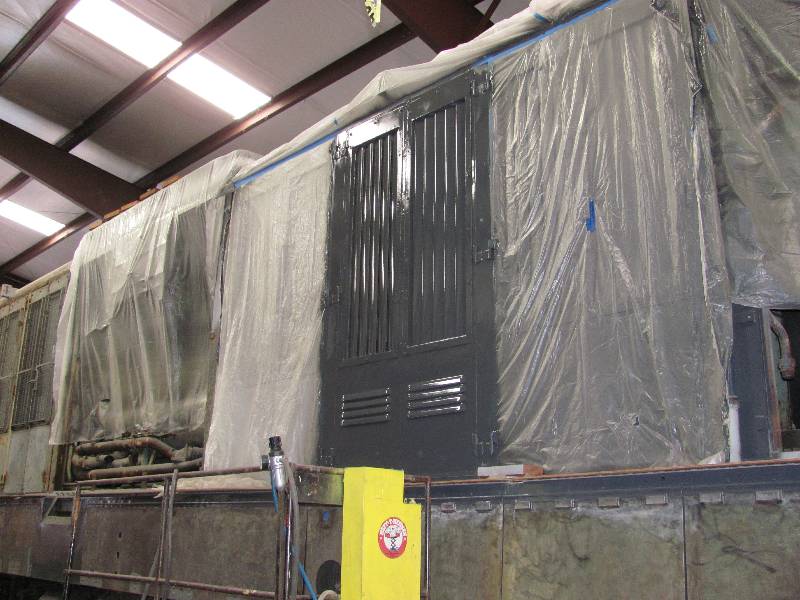
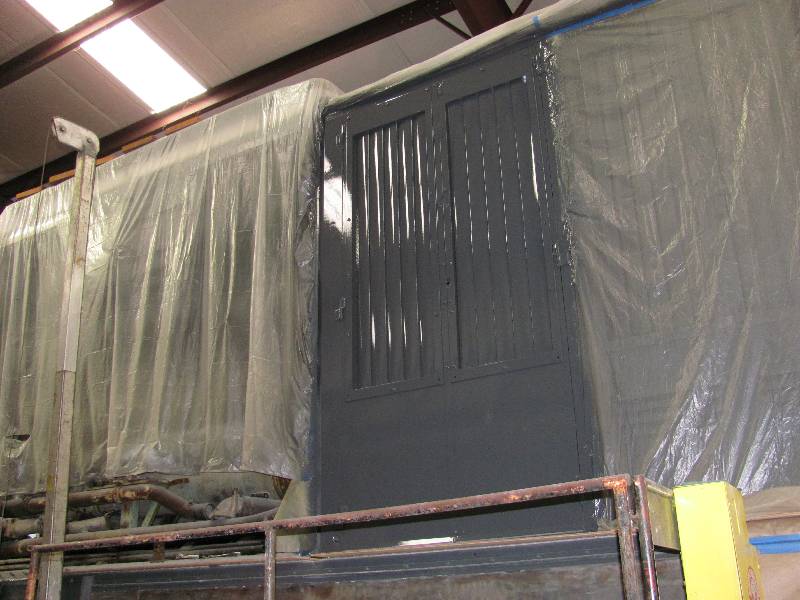
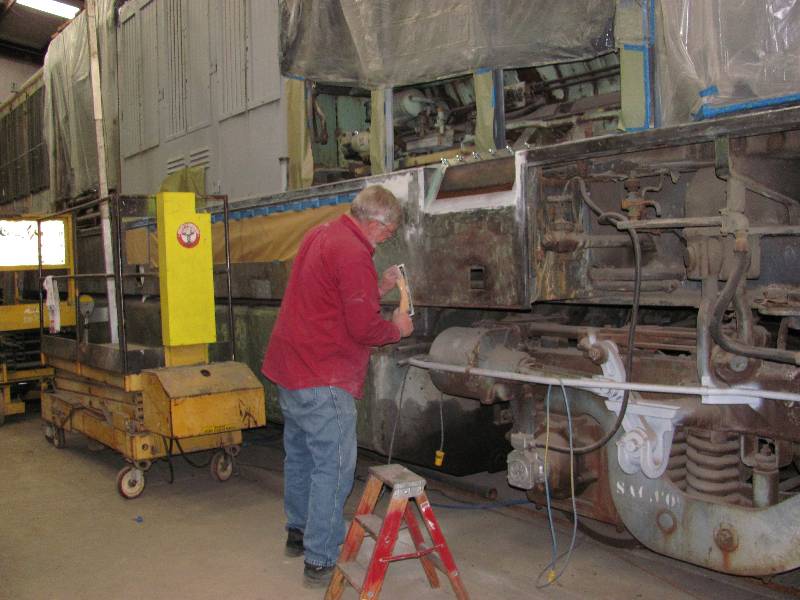
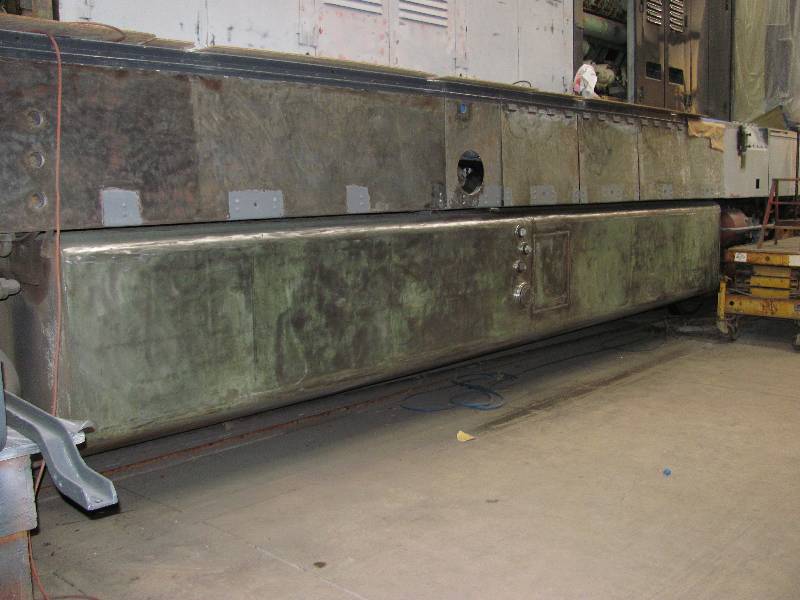
Dennis stripping paint, Bill doing body work and me primering and painting is the routine lately. Bill and I hung a couple of the doors and were very please with the way they turned out. They will be final painted later as there is less chance of dirt getting in the paint when they are vertical. I have also been spending time grinding rust on the roof of the #2 engine hood. Good Grief, is that a wretched job. The area shown in the photo took 2 days to clean. I also started cleaning up the formed edge of the hood. You can see the break marks in the left half of the photo and the results of work with a belt sander in the right half of the photo. This, like everything else, is pretty labor intensive but much less hassle than filling the area with body filler like Krauss Maffei chose to do. Bill and I decided to take two of the freshly painted doors outside to see what they looked like in the sun. We agreed that the paint looks just fine but, the doors look much better hung in their proper places. The windshield wiper motors also received a coat of paint so they can be put back in the cab.
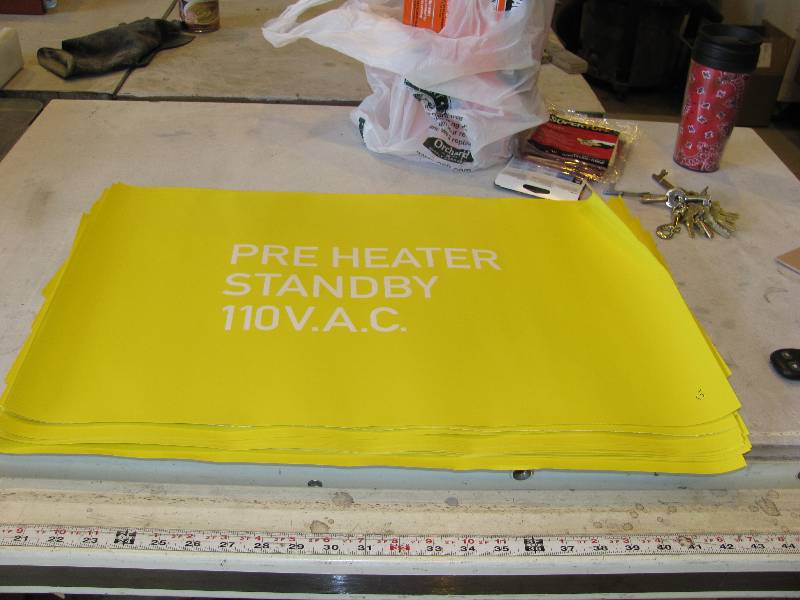
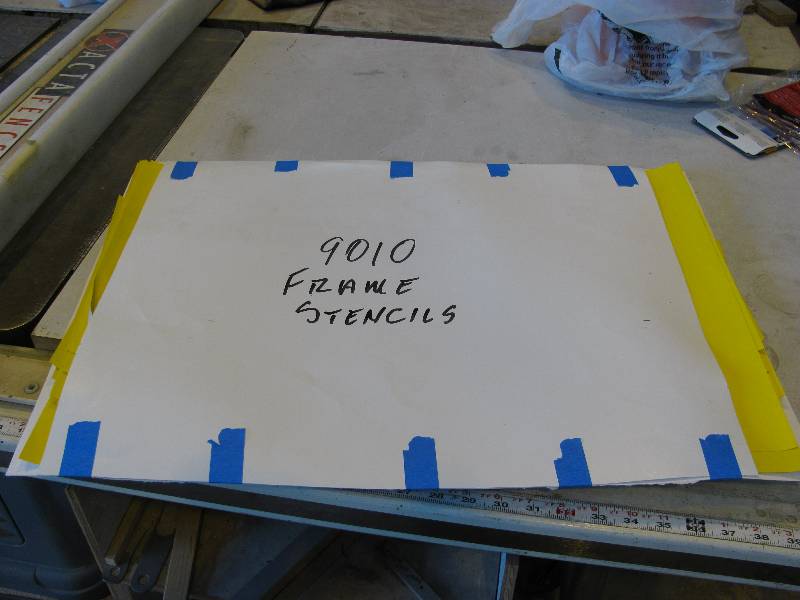
And finally for this time, our friend Chris Hauf delivered a stack of paint masks for all of the lettering that will be applied to the 9010's frame doors. Chris produced them on a type of plotter that cuts part way through the material. The research and design work for the DIN lettering was done by no other than our resident researcher / public relations man / modeler / and all around hard worker, Bob Zenk.
--
Update May 05, 2013 --
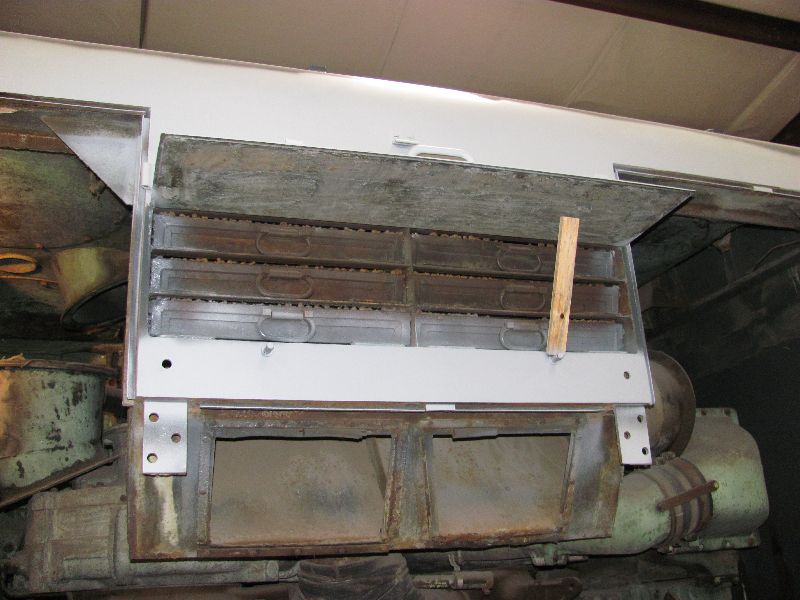
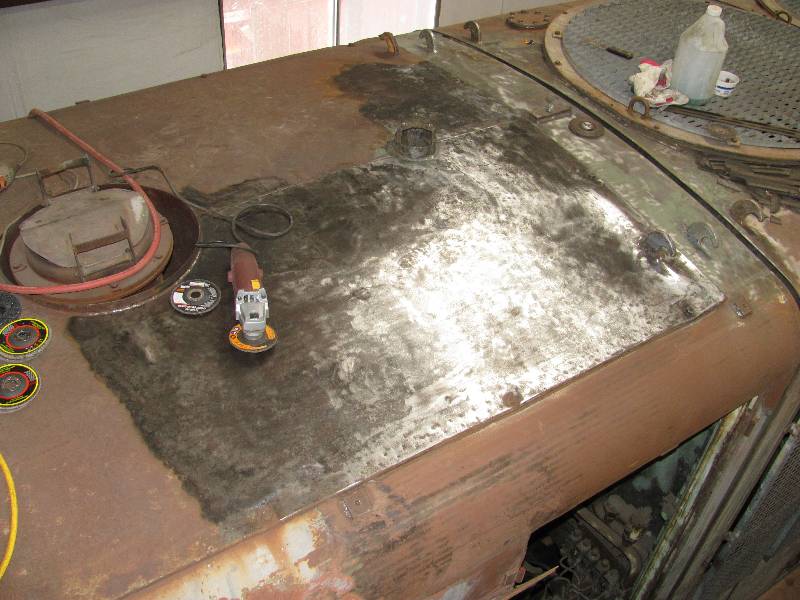
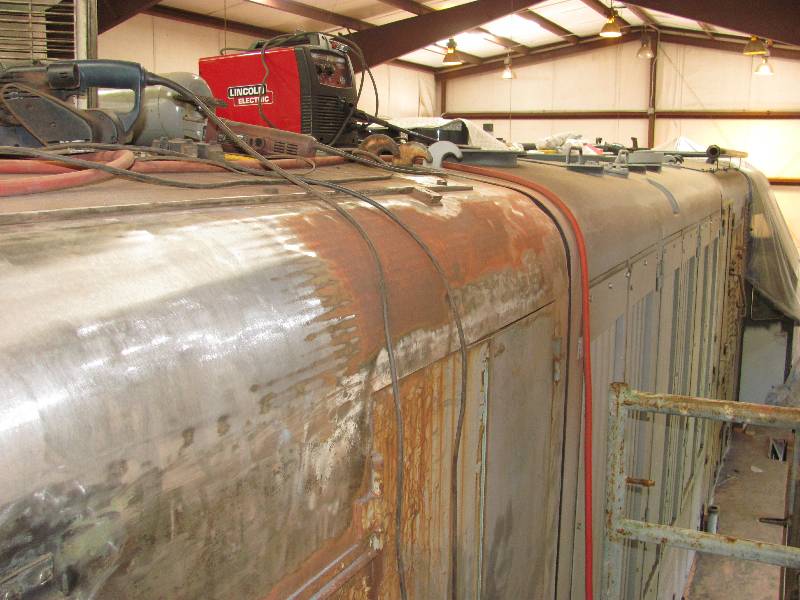
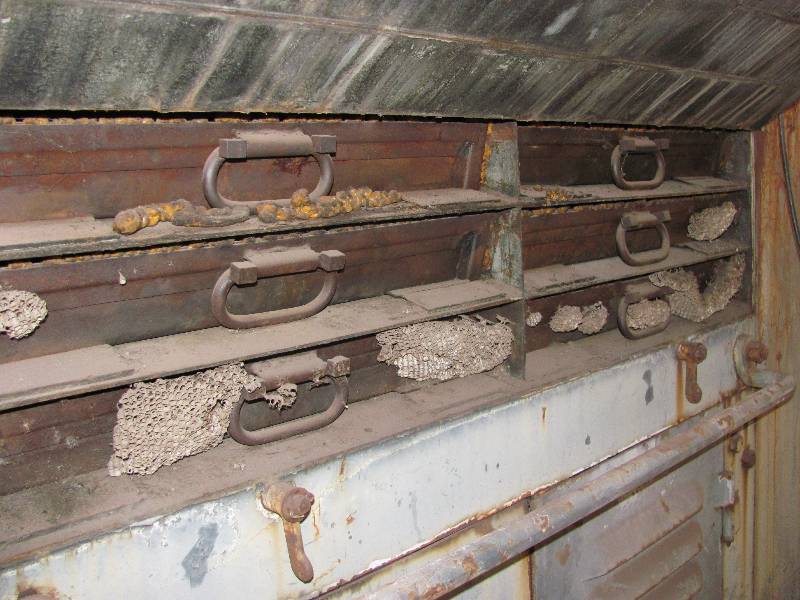
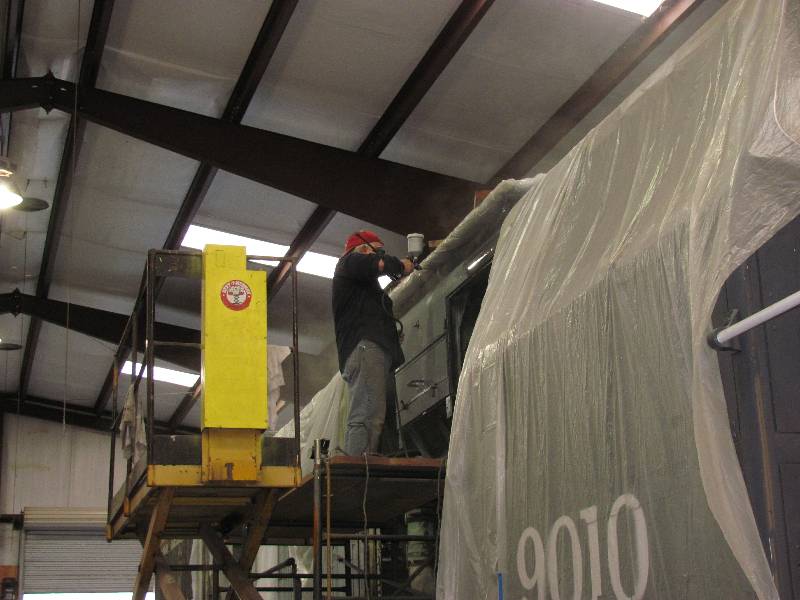
Work shifted to the engineer's side of the #2 engine hood. Here again, belt sanding was the name of the game. Upon opening the air filter access door, I found several yellow jacket nests that were fortunately empty. The nests and dirt will be cleaned out when the filters are removed. Once the belt sanding chore was completed, attention was turned to finishing the roof. Three days and 9 paint stripping grinding pads later, the metal was ready for Rust Mort, primer and paint which were soon applied.
While all the roof work was
progressing, Dennis has been very busy with the ugly job of
stripping and cleaning the hood doors. Thank goodness for his
persistance. Once cleaned, the doors are turned over to Bill
for application of filler and primer. Hours of prepping and
sanding are resulting in a great base for the Dark Lark Gray paint.
The fireman's side #1 engine hood doors are finally all back
in place and the sight really makes us smile.
--
Update July 03, 2013 --
Speaking of smiling, the placement of the second set of cooling pipes really made us happy. This concluded all the fabrication of rooftop appliances. Did I say that?
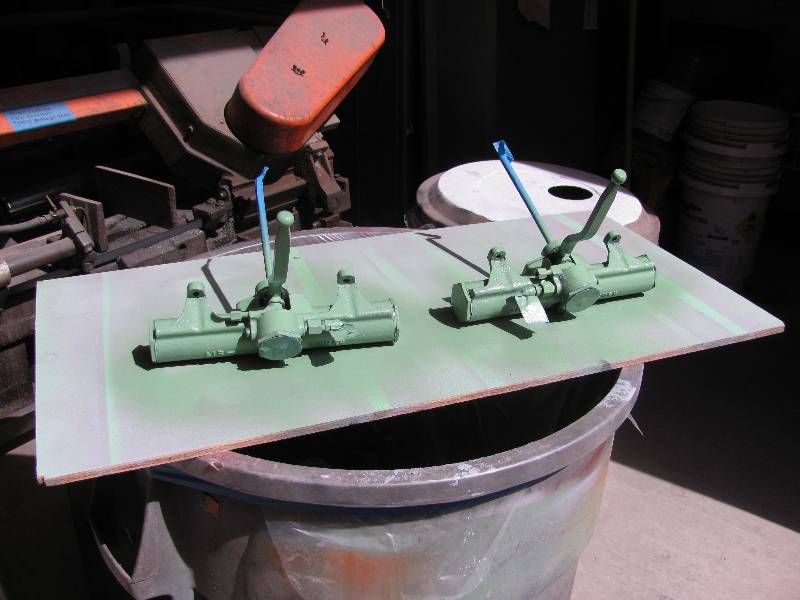
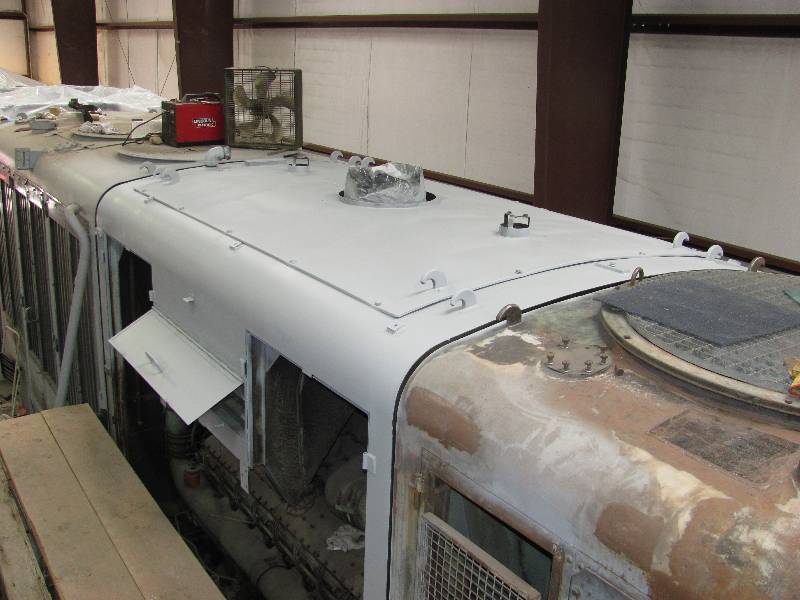
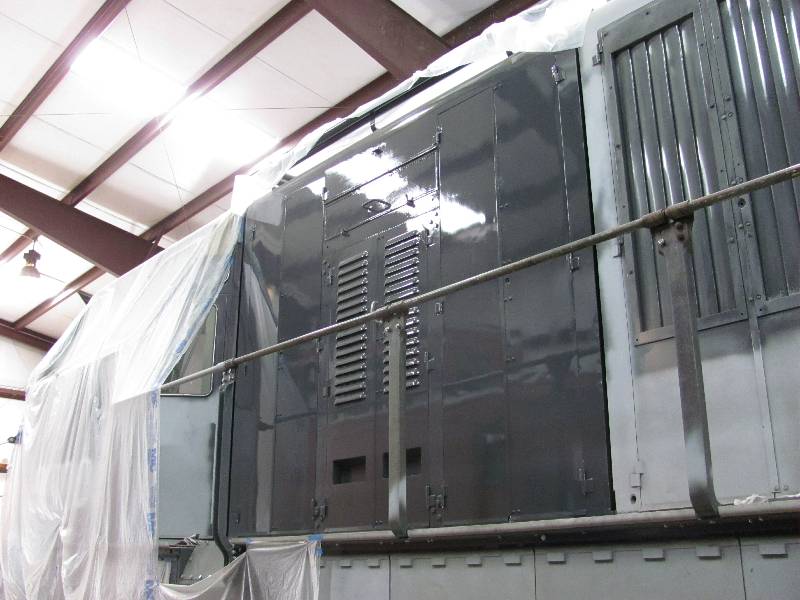
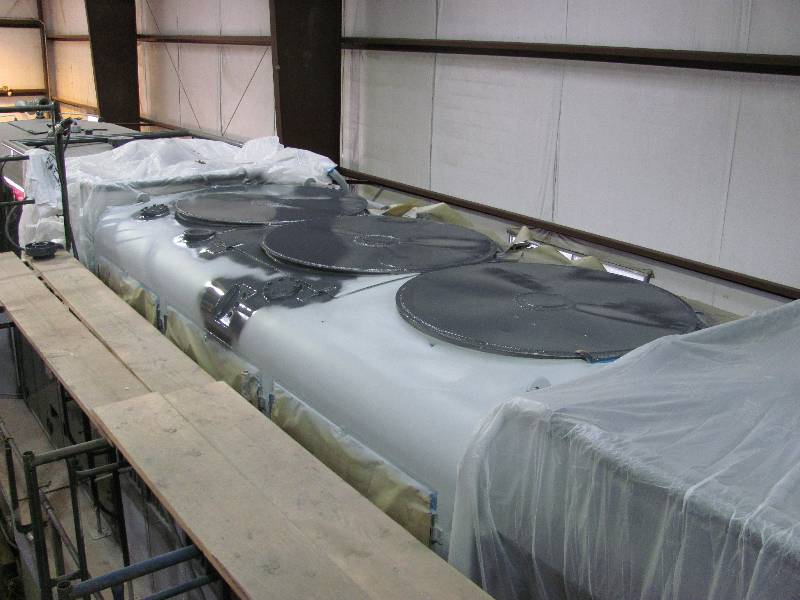
Work now turned to the number 1 cooling section roof. Finishing this was pretty straight forward with only cleaning and painting required. During camera car conversion, the SP removed the 3 cooling fans and covered the holes with metal plates having a variety of vents. We had previously removed all the vents and welded those holes closed. While painting the roof, I also painted a number of the water sight glasses and radiator filler housings. All the difficult to reach areas were painted along with the fan covers, then the sight glass and filler housing were installed and half the roof was given 2 coats of paint. We can only paint one half the roof at a time because of the lack of a lifting platform on the engineer's side. All of the engineer's side will be completed when we move the locomotive to the other track in the shop building.
Meanwhile, Bill is busy applying filler and sanding the left side of the #2 transmission hood. It is a testement to his good nature that he can smile on a hot day, covered with sweat and filler dust.
--
Update August 13, 2013 --
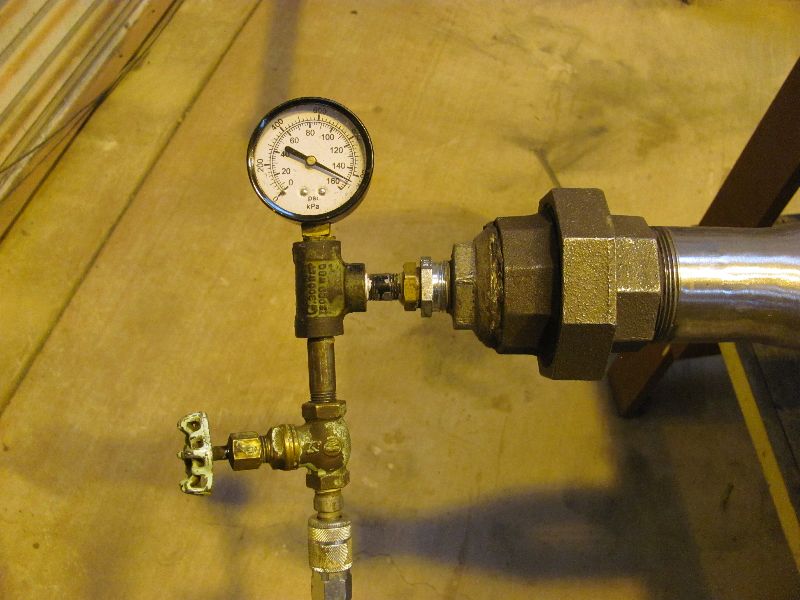
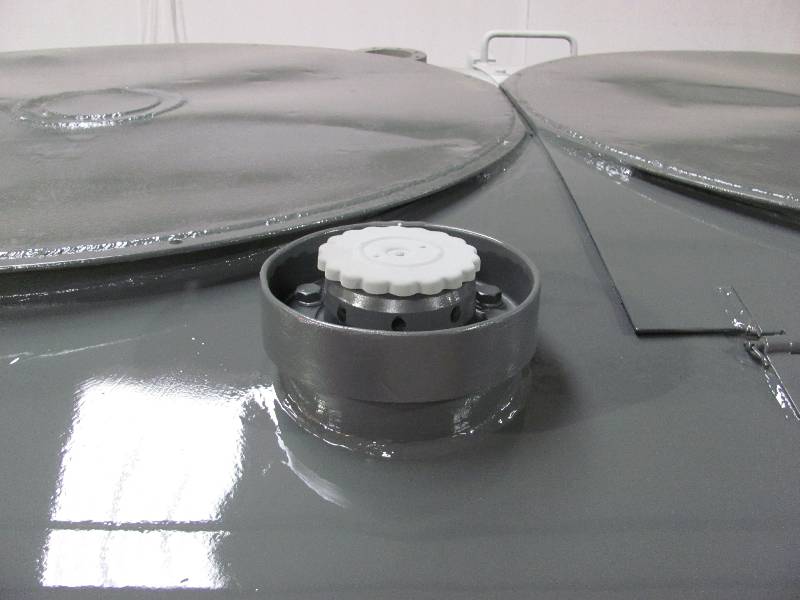
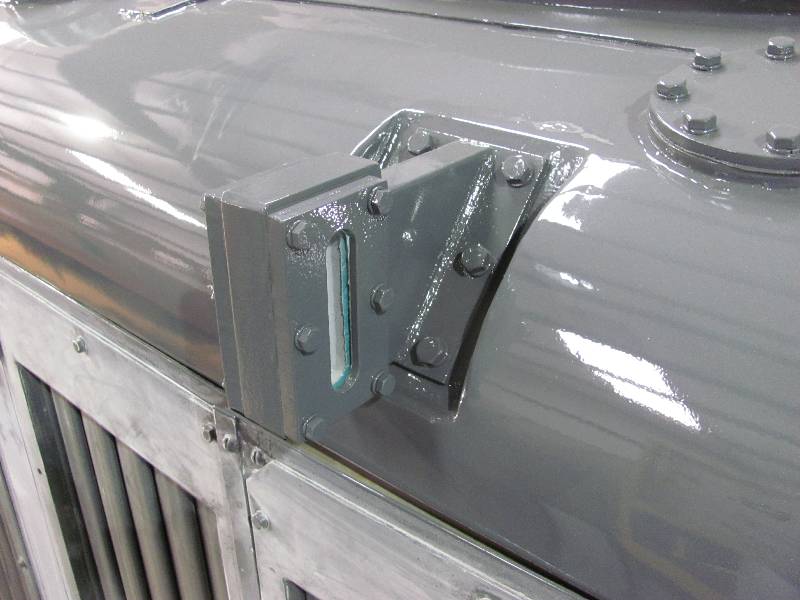
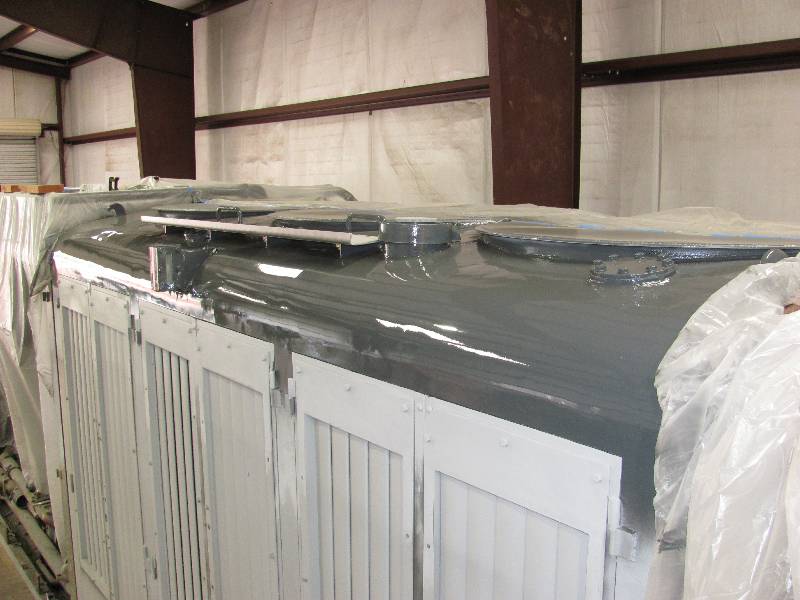
Here are a couple of close-ups of the #1 radiator pressure cap housing and the water sight glass. It sure is nice to have this jewelry mounted. The #2 cooling group hood top is now painted. Well, most of it is. The far side will have to wait until the 9010 is moved to the other track in the shop where scaffolding can be errected and the scissor lift used.
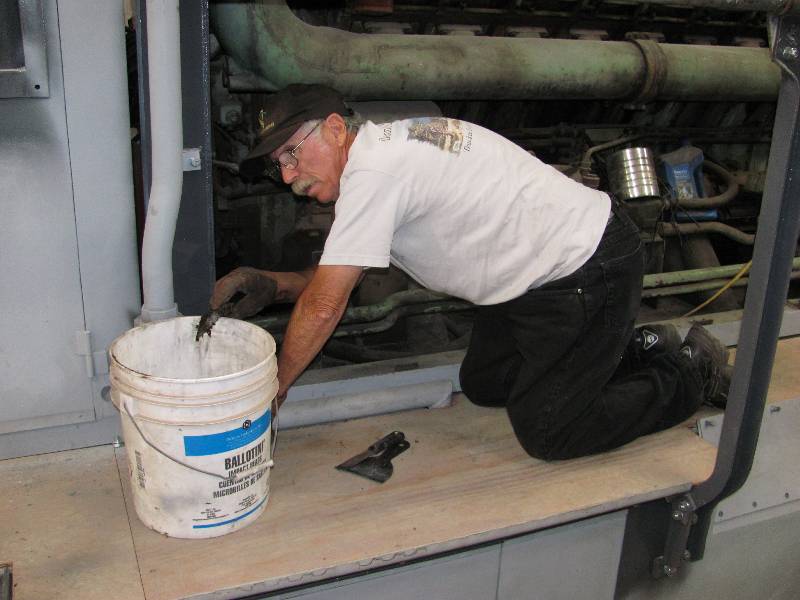
While not strictly body work, cleaning is an on-going project. We are fortunate to have Mike Pechner helping out on this. Mik'e's dedication to the locomotive is greatly appreciated.
--
Update September 06, 2013 --
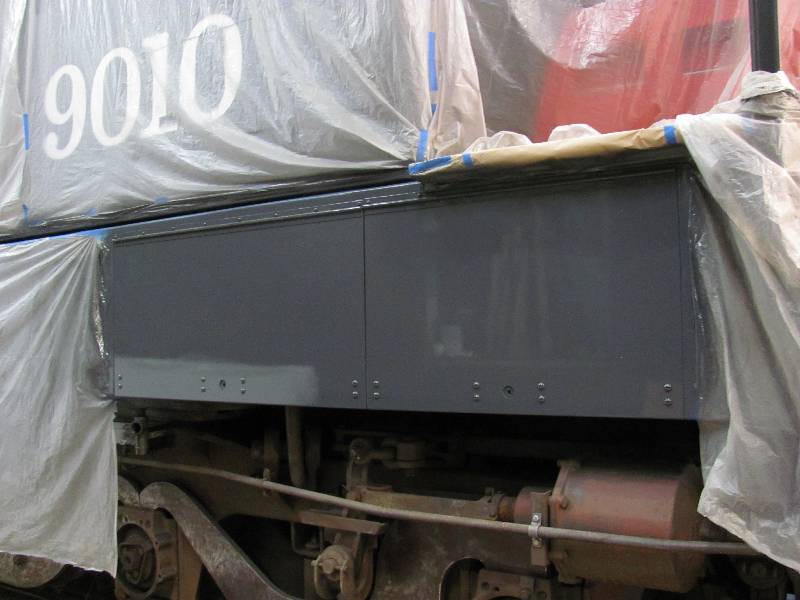
Preparation and painting continues on the left side. Bill is giving the #1 cooling group shutters a final sanding. While painting the doors, I painted the vertical cooling pipe and it was re-installed. Once all six doors were painted, I could not resist mounting several of the door handles. The next item on the paint list was the protective screens that mount over the shutters. They were nasty to paint but given enough time and paint they were done and once dry, were bolted in place. It is nice to know that this section is completely done. Except for the lettering, of course. It's always something.
--
Update November 27, 2013 --
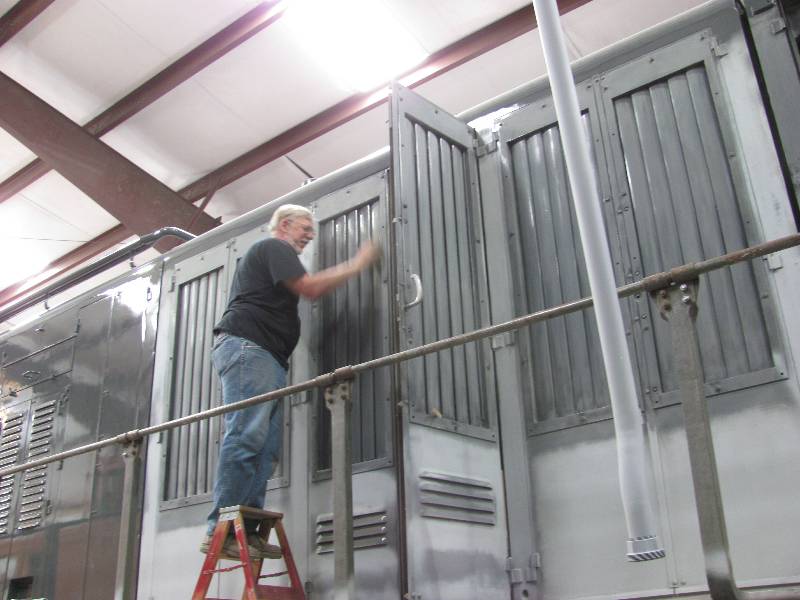
The smaller engine hood doors are a particular challenge because of the louvers but Bill is doing a great job of preparing them for paint. Denny is now rebuilding several of the cooling hood shutter assemblies. All the shutter blades are frozen solid as are the pieces of the operating mechanism. They are a challenge to disassemble let alone to clean. A couple of the grab irons have been painted on the completed left side #1 engine hood and the white paint really dresses it up. We mounted the #2 engine hood louvered doors Bill had just prepared and then re-installed all six of the #2 cooling hood doors in order to check the repaired hinges for binding. They will be removed and prepared for paint. And finally, we mounted two more of the #2 engine hood doors when their paint had cured.
--
Update February 16, 2014 --
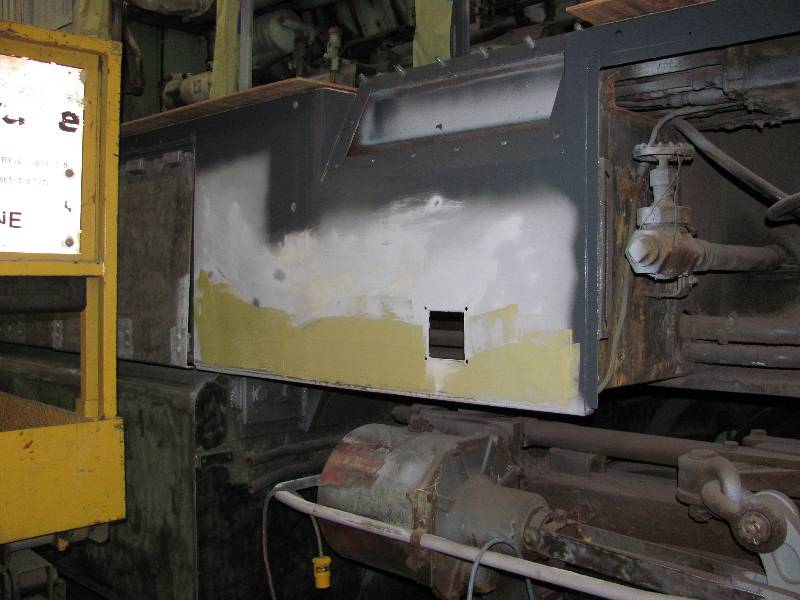
Last month, we moved the 9010 to the other shop track in order to work on the right side of the hood. The work is pretty much the same as that done on the left side except that the roof is completed, except for half of the #2 cooling group. We began by removing all of the doors except those on the #2 cooler and covering most of the locomotive with light plastic cloths. Scaffold was erected next to the #1 engine hood and work began there. It was necessary to belt sand the top curve because it had been formed in a metal brake, rather than being rolled, the same as the other side of the locomotive. Once that was completed and the rough spots filled, epoxy primer was applied and finally, the paint.
Meanwhile,
Rich and Gerry were very busy
removing the walkway extensions and their mounting angle irons and then
cleaning the walkway edge so it could be primered and painted.
Denny continued stripping old paint from the doors and new
volunteer Henry was breaking in to the stripping process.,
Bill removed the louver panel from the first #1 engine hood
door and after preparation, we painted the door and hung it back in its
rightful place. This is the first restored door on the right
side. After this, work shifted to the #2 engine hood.
--
Update February 28, 2014 --
Work continues on the right side of the hood and the roof. All 6 doors on the #1 cooling hood are now painted as well as the right side frame doors below and ahead of the cab.
Meanwhile, Bill is not only
working on the hood doors but also on the frame sections. In
addition, the handrail stanchions were painted and Henry stripped the
old paint from the right side of the fuel tank. I have been
asked if the weld around the patch will be ground flat and the answer
is "no" because there is too much danger of introducing a leak.
There are patches on both sides of the tank resulting from a
need to get inside the tank in 1964 to rectify a fuel starvation
problem so the patches are perfectly appropriate for our restoration
time frame..
Return To Main Page |