|
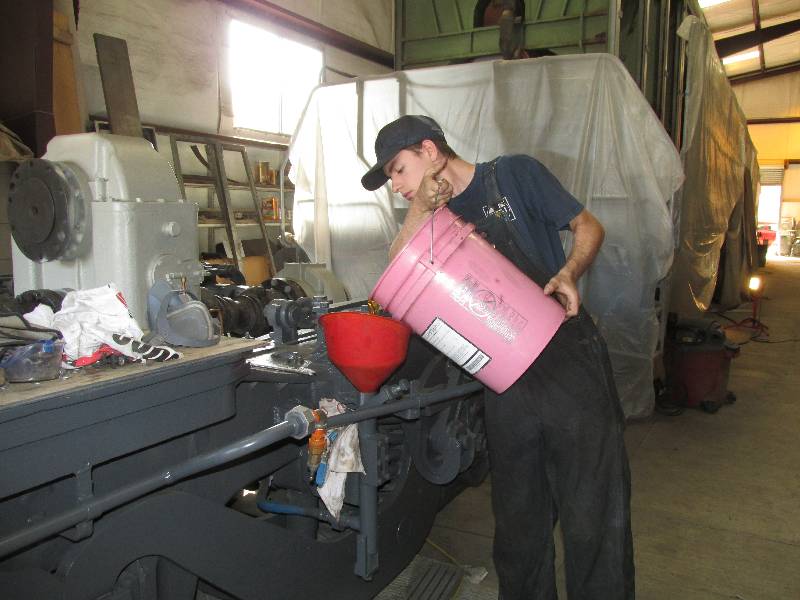
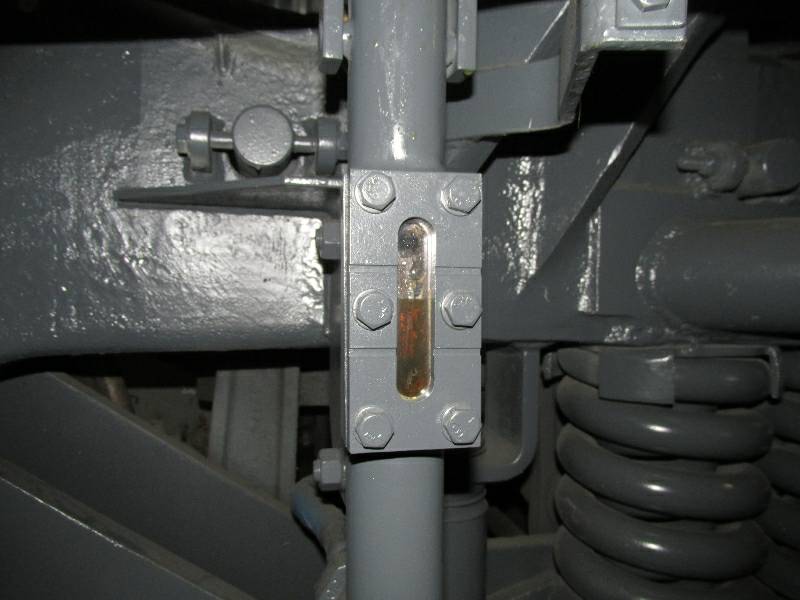
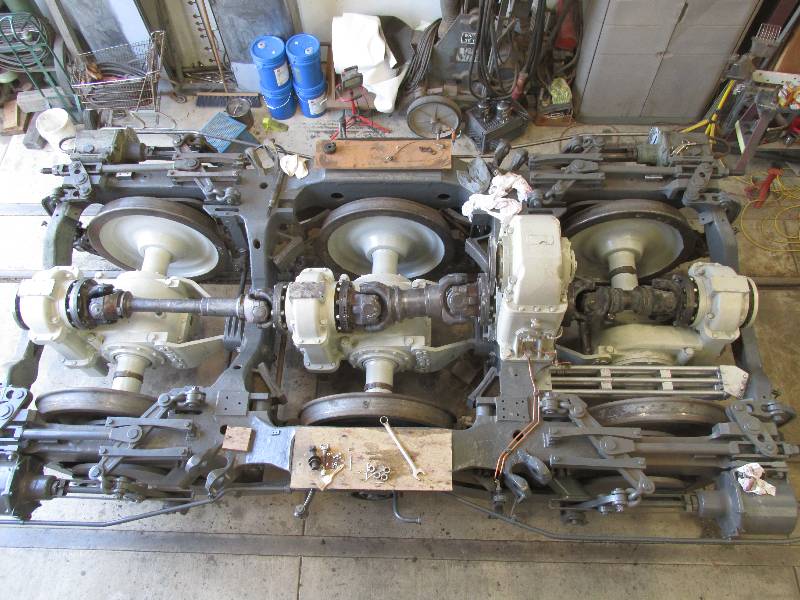
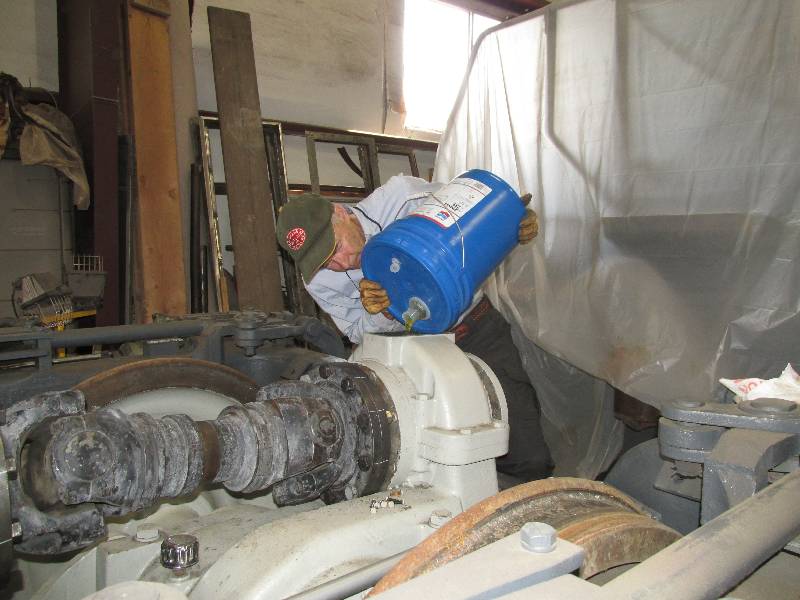
After
the connections were made to the intermediate gear box and cooling
lines, CJ filled the system with the proper gear oil. It was
a pleasure to see the oil level come up in the glass and to find that
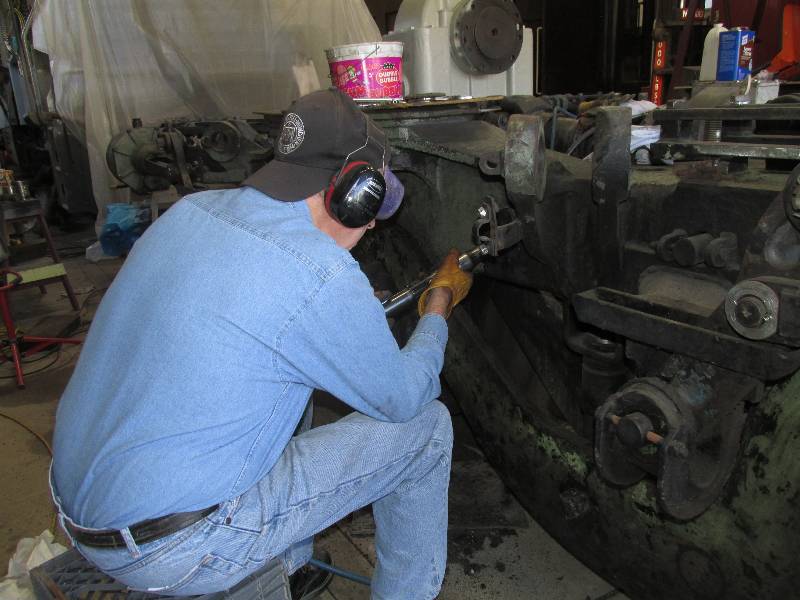
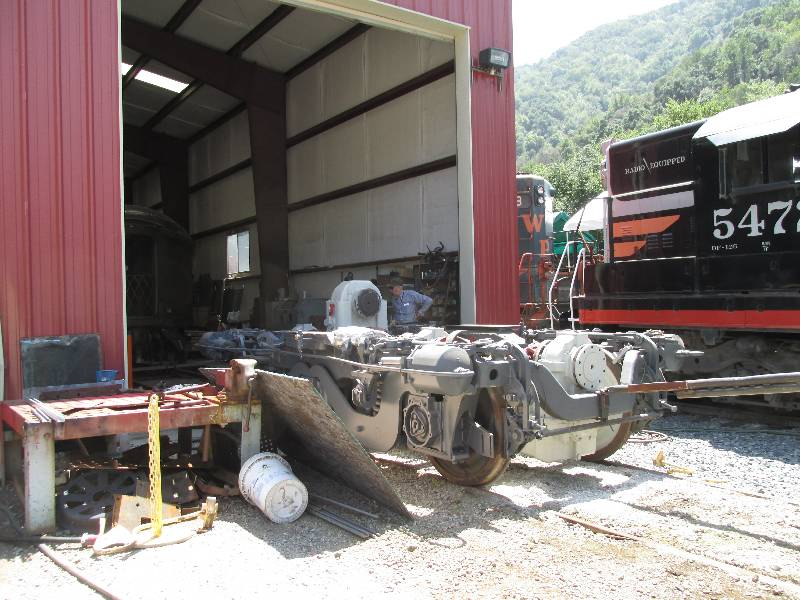
there were no leaks. Meanwhile, Rich continues needle gunning
and cleaning the frame. This side seemed to be especially
oily and dirty.
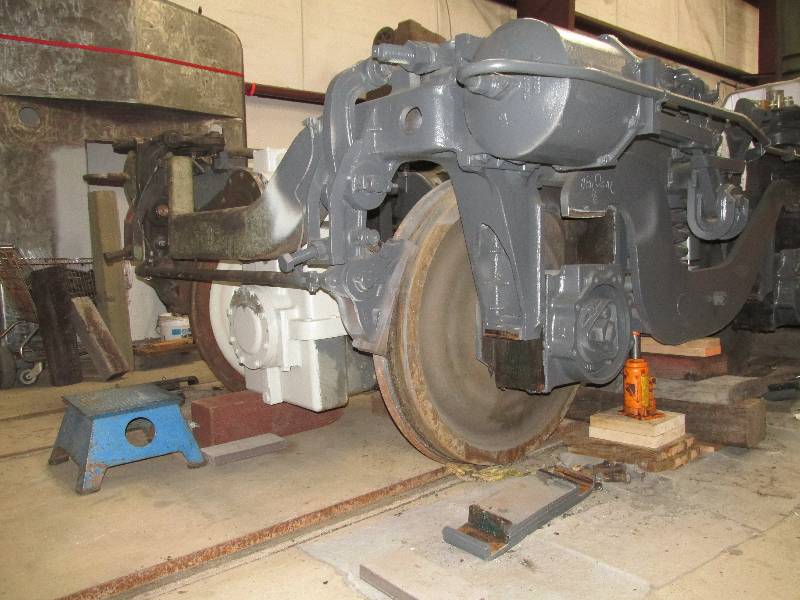
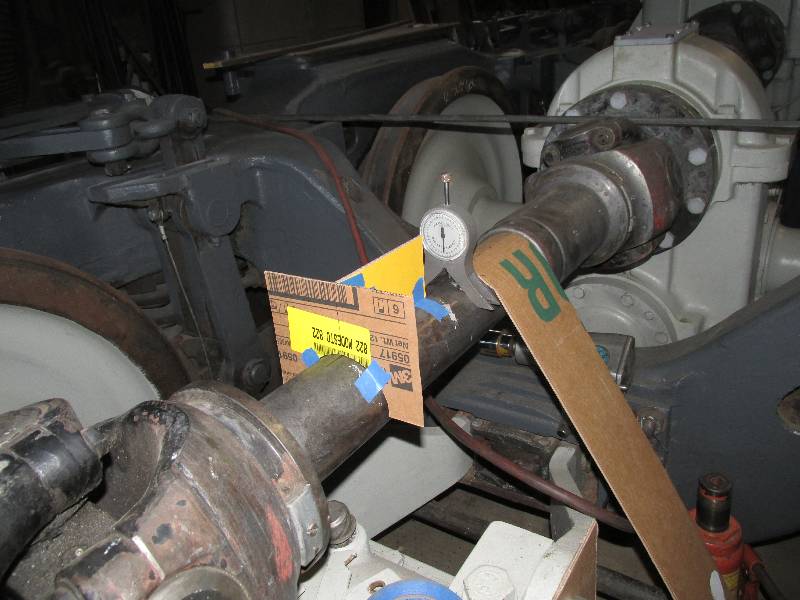
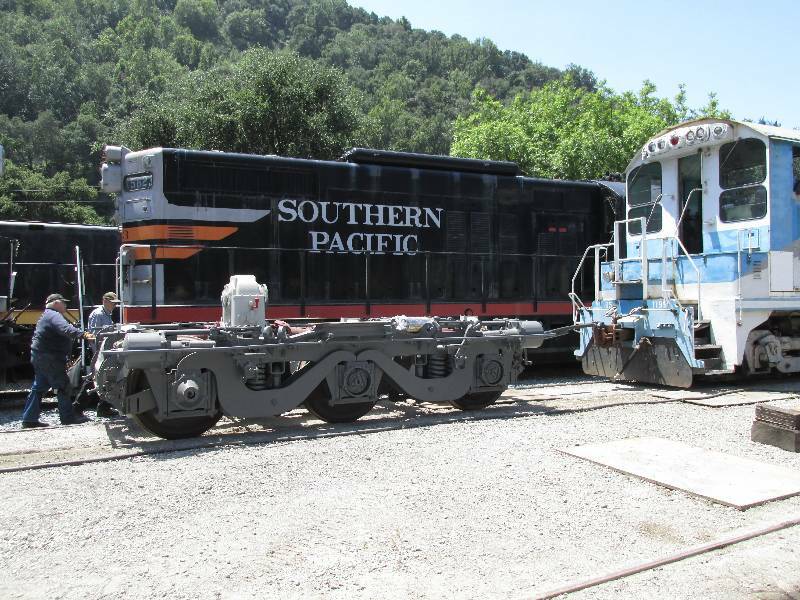
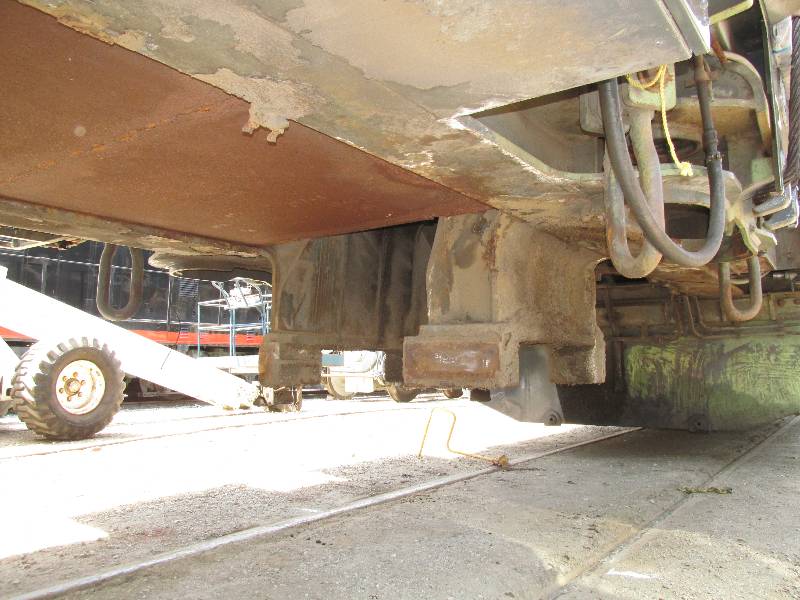
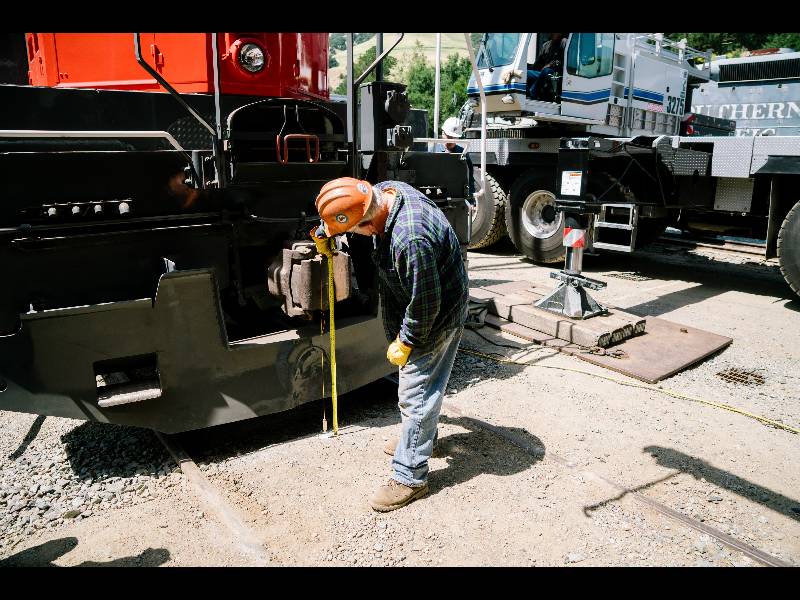
Shortly after congratulating
ourselves on a job well done, we were checking some truck height
dimensions and discovered that our new truck was sitting too high, even
without the locomotive weight on it. This issue was traced
down to a modification made either by Plasser when the RM63 was built
or Colas Rail when the trucks were rebuilt. Someone had
welded 15mm thick pads on the bottom of all of the equalizer levers.
If the truck were to be installed right now, the locomotive
would exceed the federal rule regarding height at the rear end.
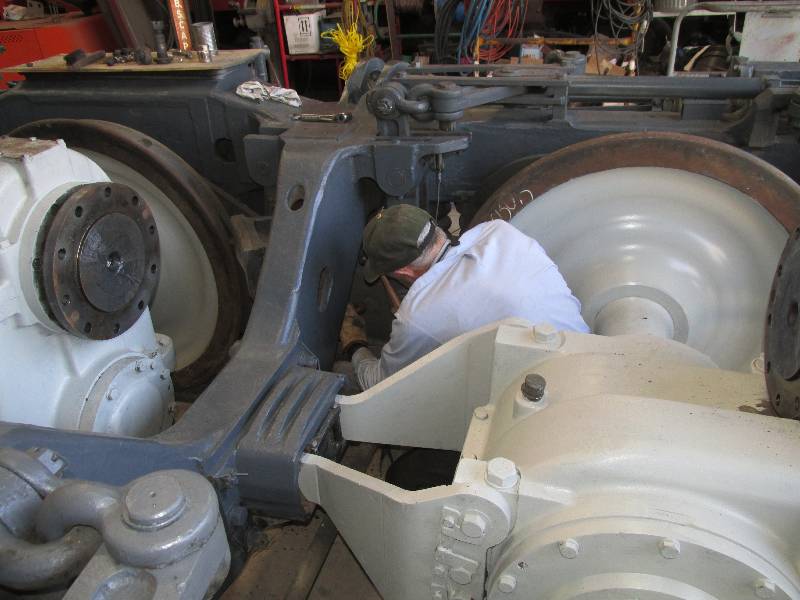
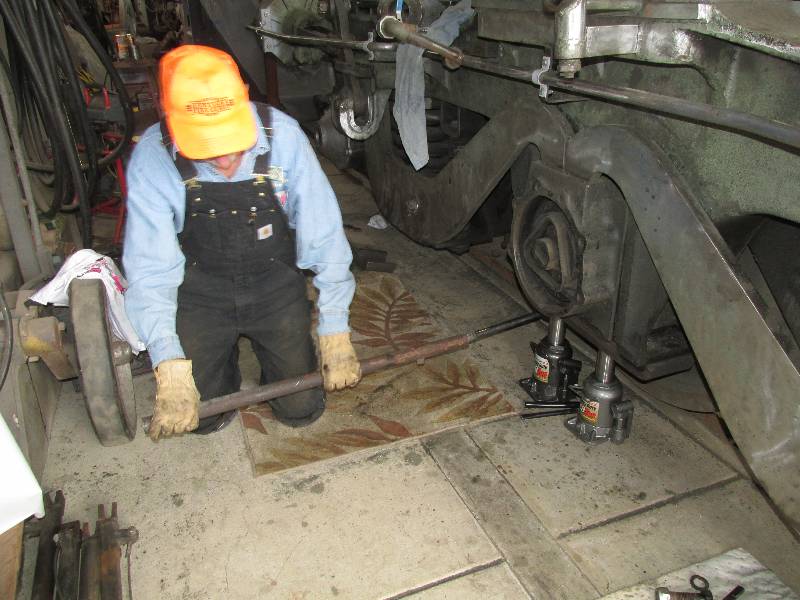
I made the decision that the pads would have to be removed to
put the equalizers back to their stock condition. The only
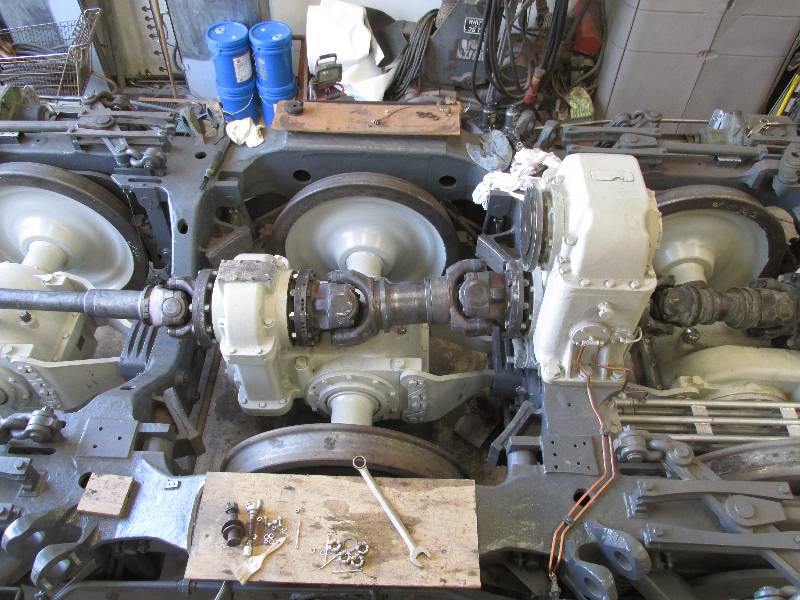
way to get access to them was to raise the equalizer ends out of the
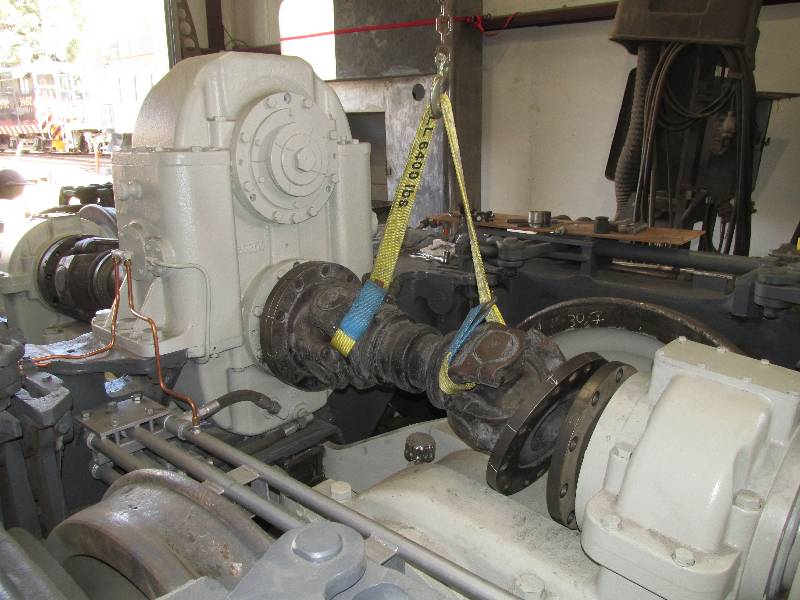
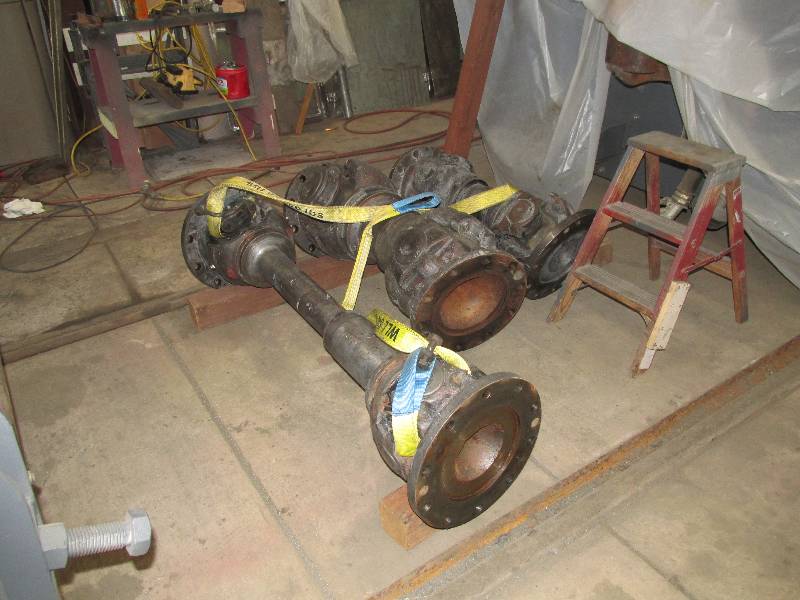
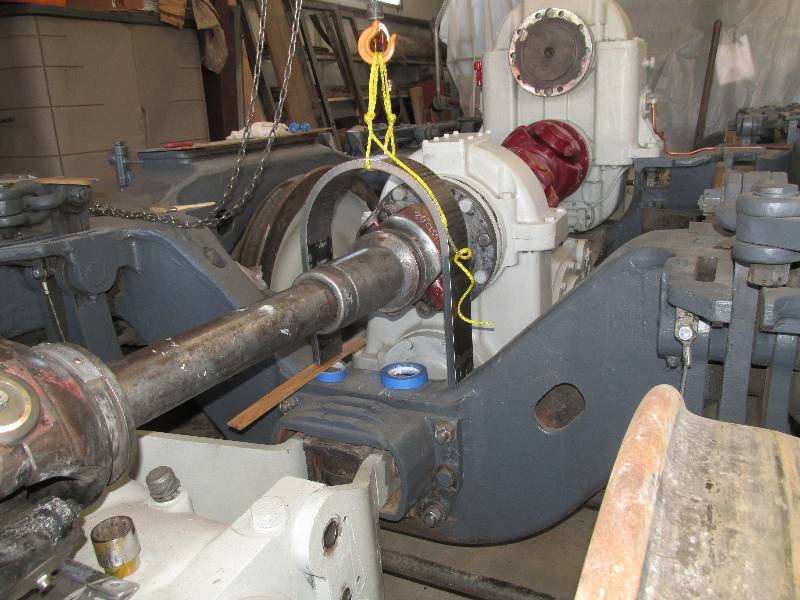
bearing carriers. To do this, we had to remove all 3 cardan
shafts, remove the brake stabilizer rods, disconnect the torque end of
each gear box from its cross member, and remove the pedestal
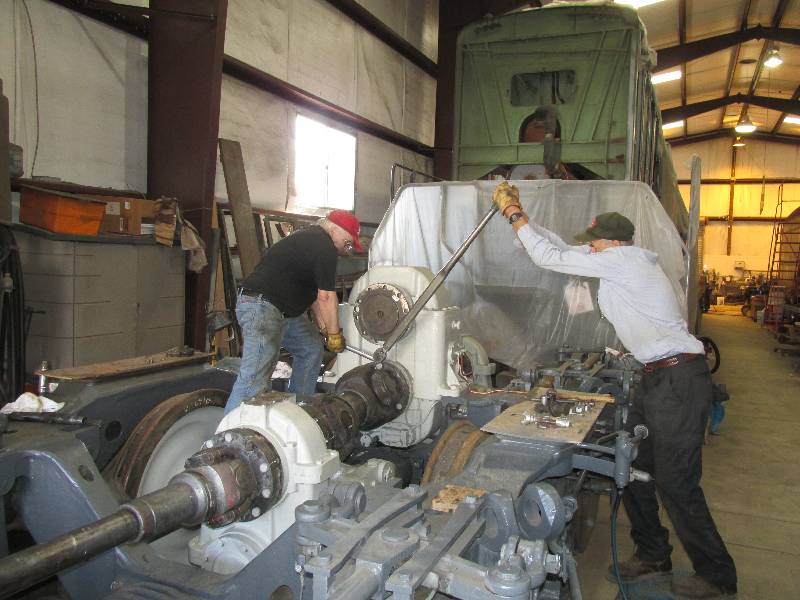
binders. Gerry and Dick dove right in with help on these jobs.
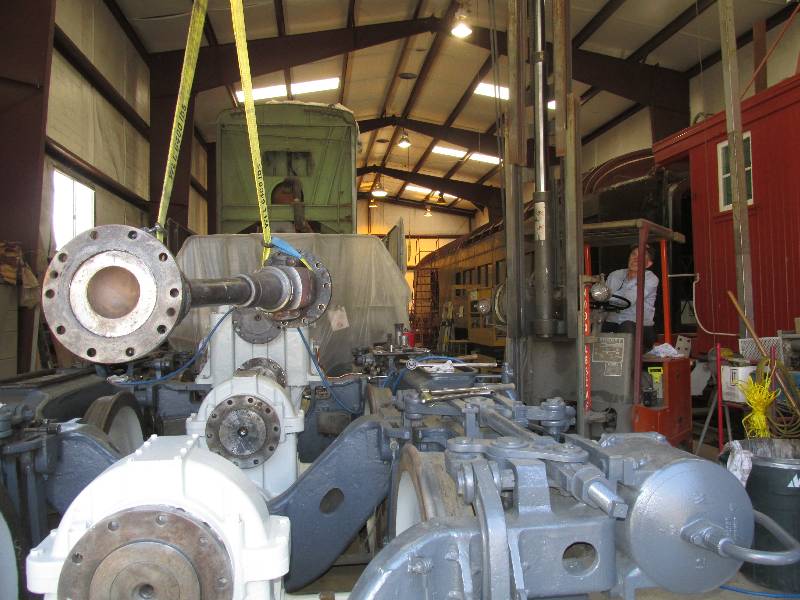
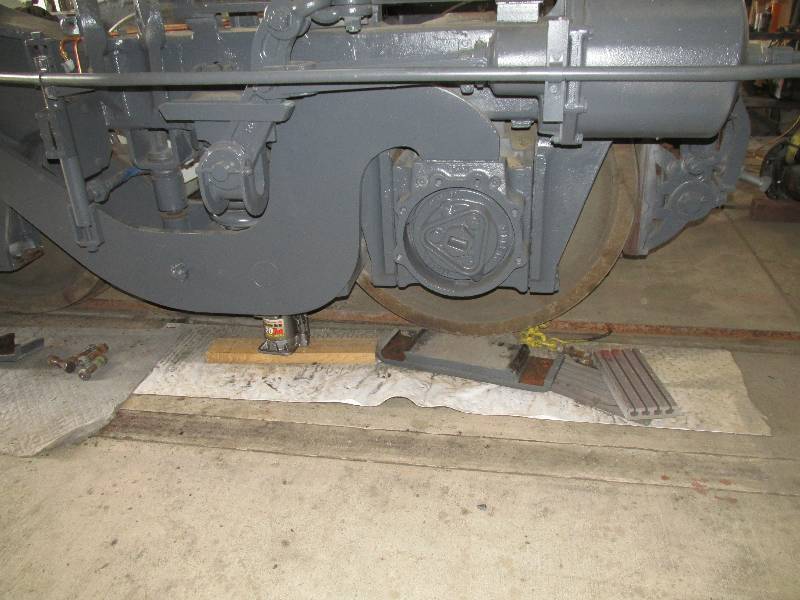
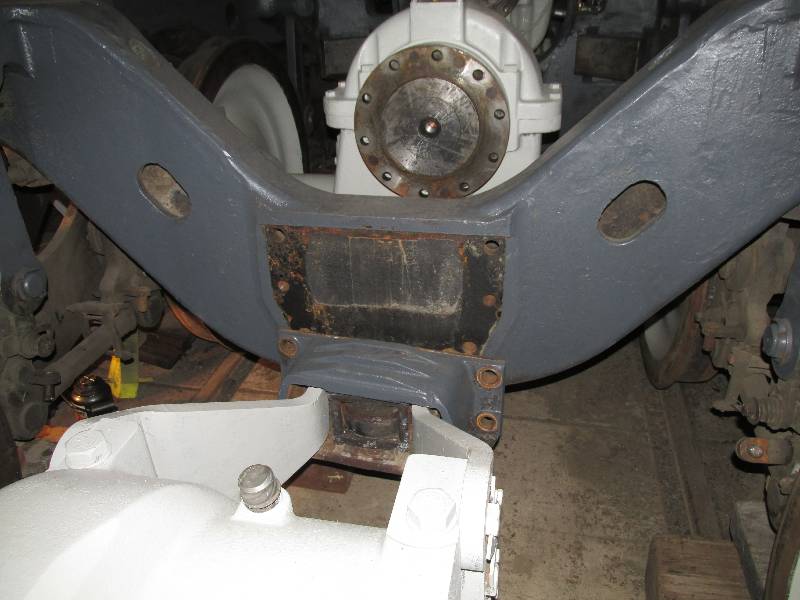
With jacks and blocking, the
frame and equalizers were raised until they were high
enough to
enable
working on the inner set of bar ends. A 1/16 inch cutting
wheel was used to cut through the welds on the ends and down the
outside. Then, the pad was forced down in order to break the
weld on the other side of the pad. The sides of the bars were
ground so they had a angled contour and the bottoms were ground to have
the slight radius.
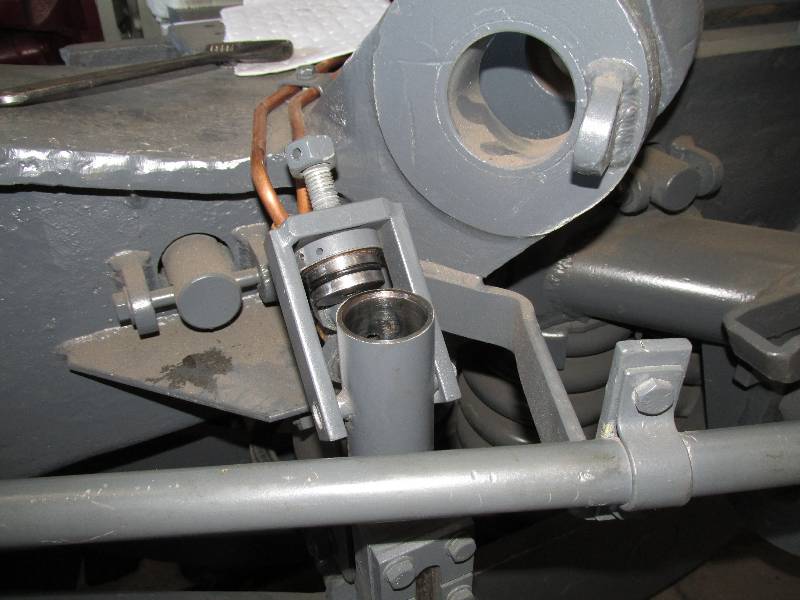
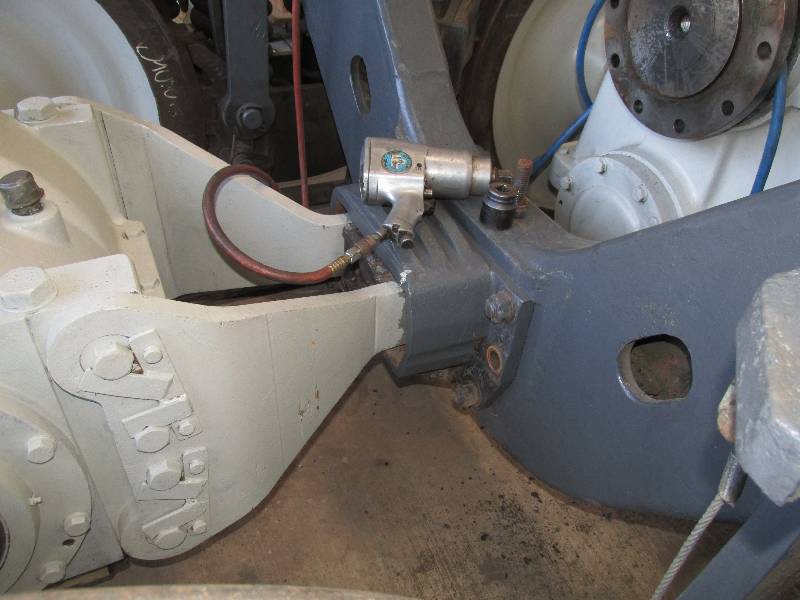
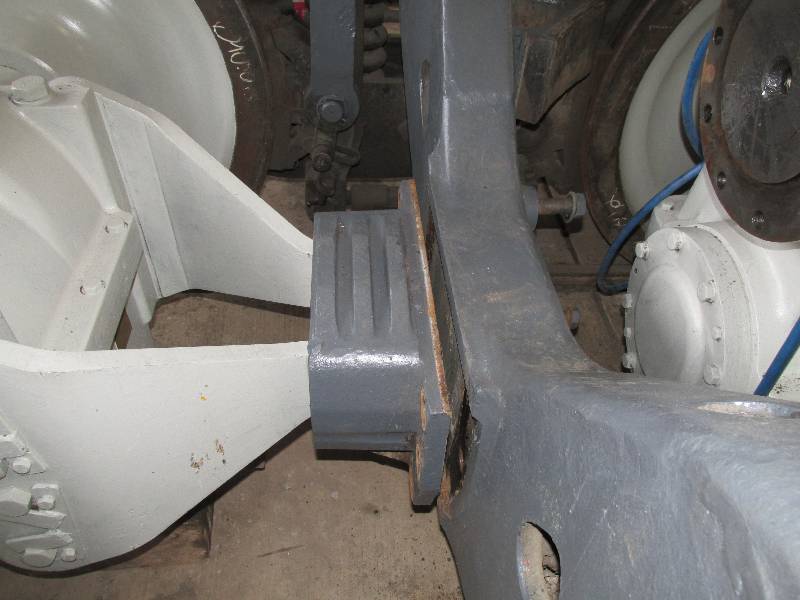
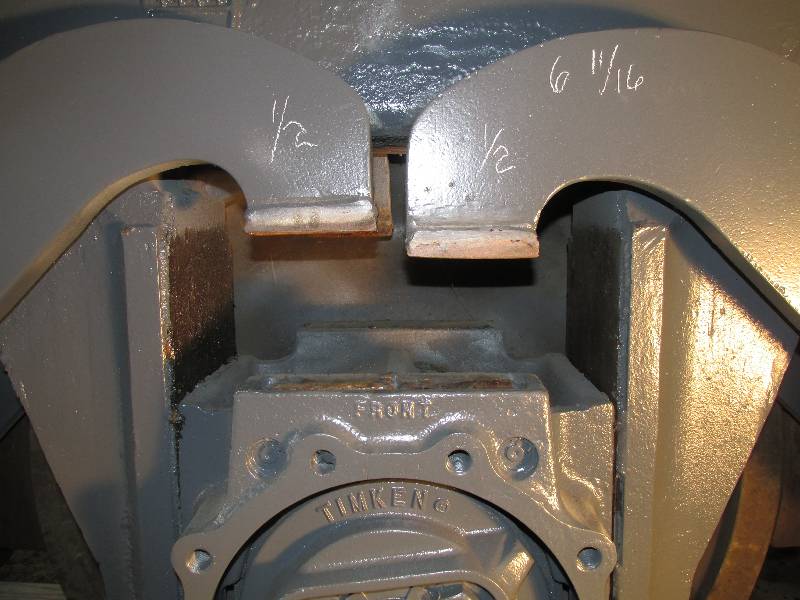
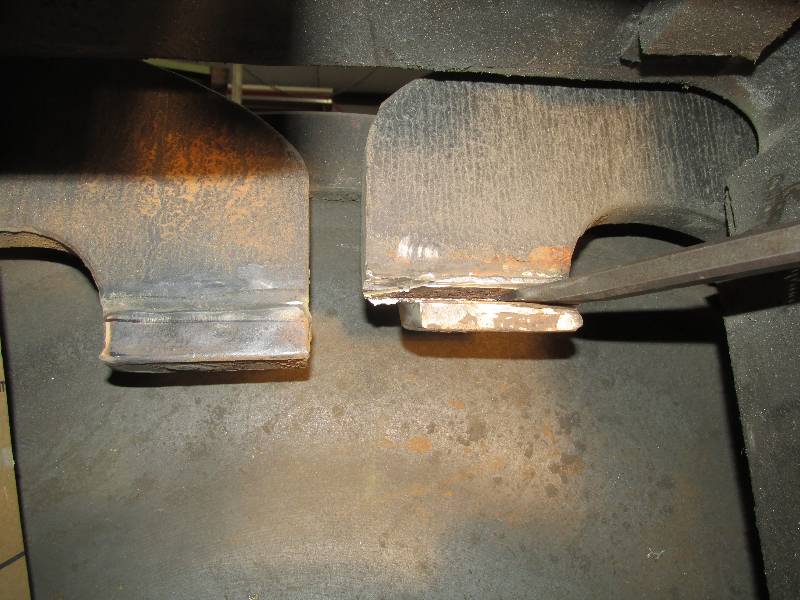
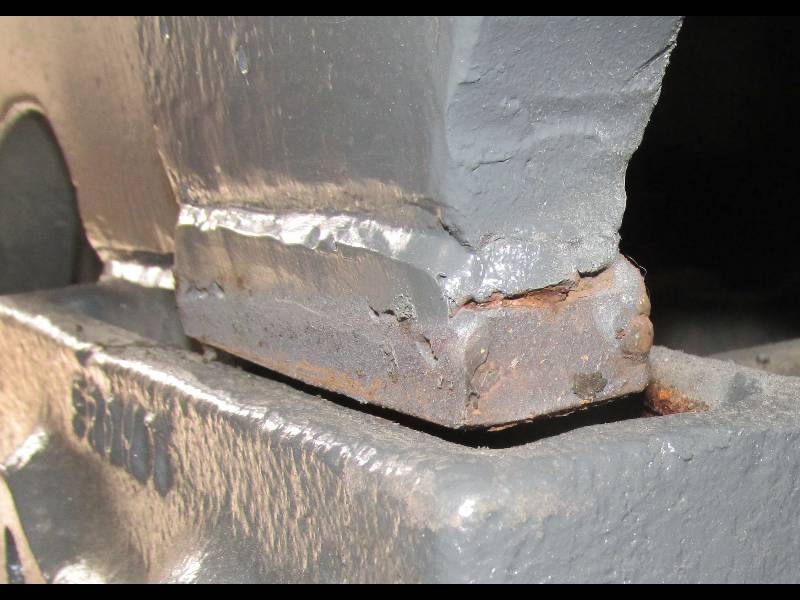
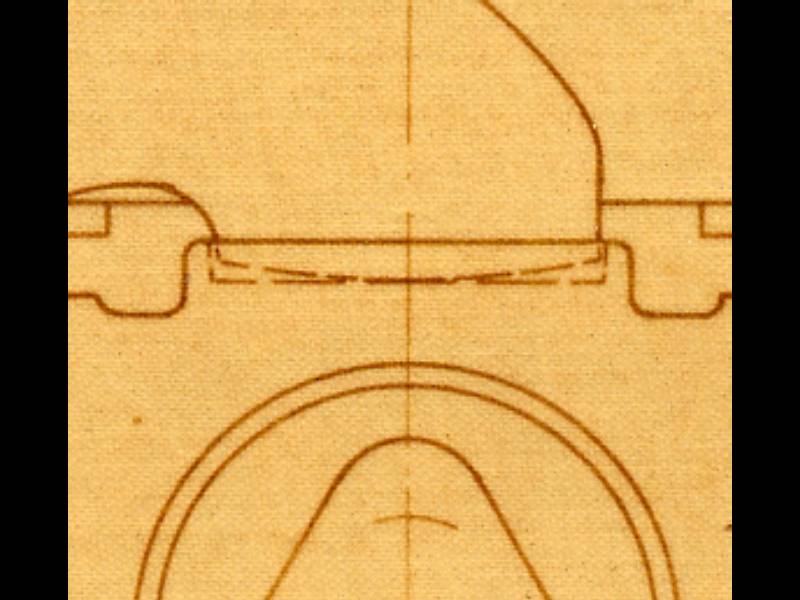
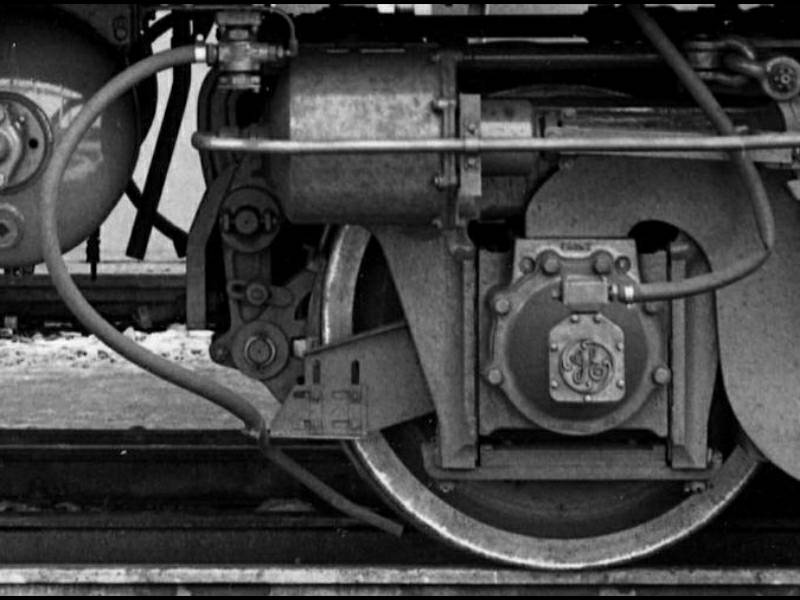
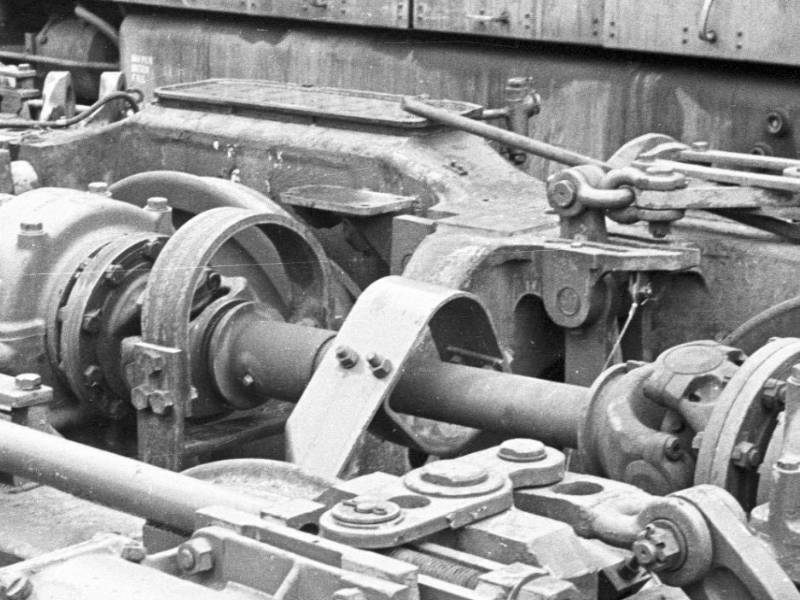
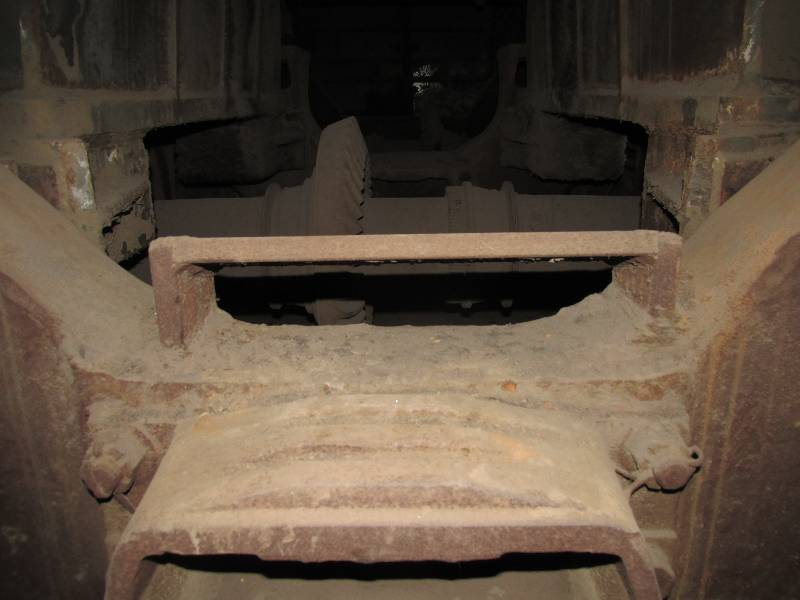
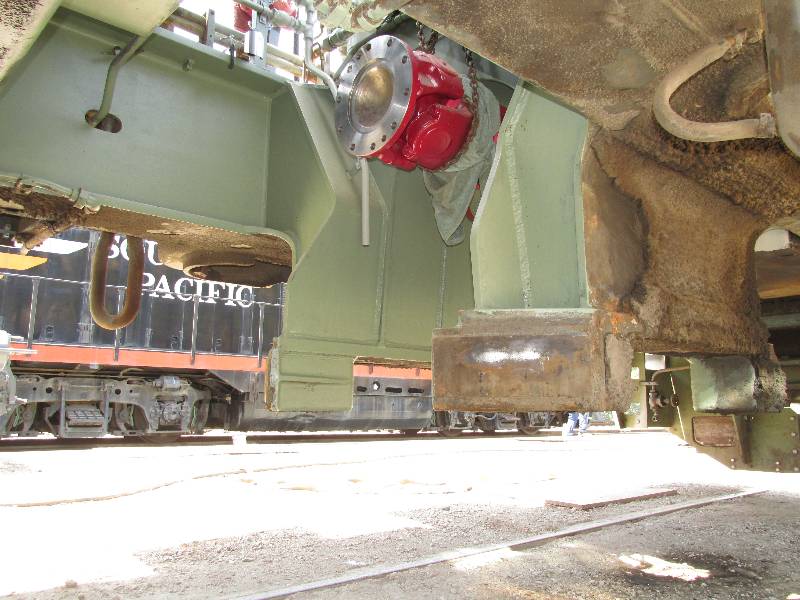
The first photo clearly shows an added pad while the second is an illustration of what the end of the equalizer should look like. Removing the pads from the outside equalizers was not difficult but the inside equalizers were a challenge.
--
September 04, 2015 --
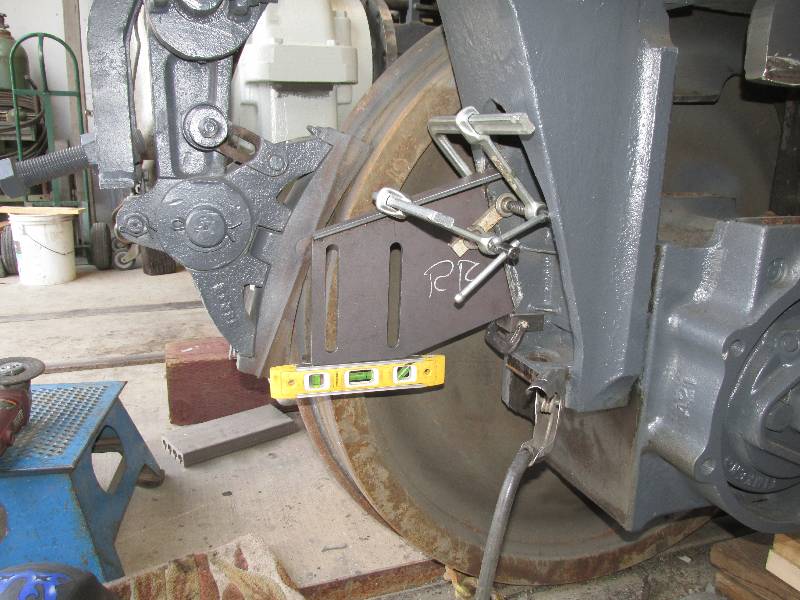
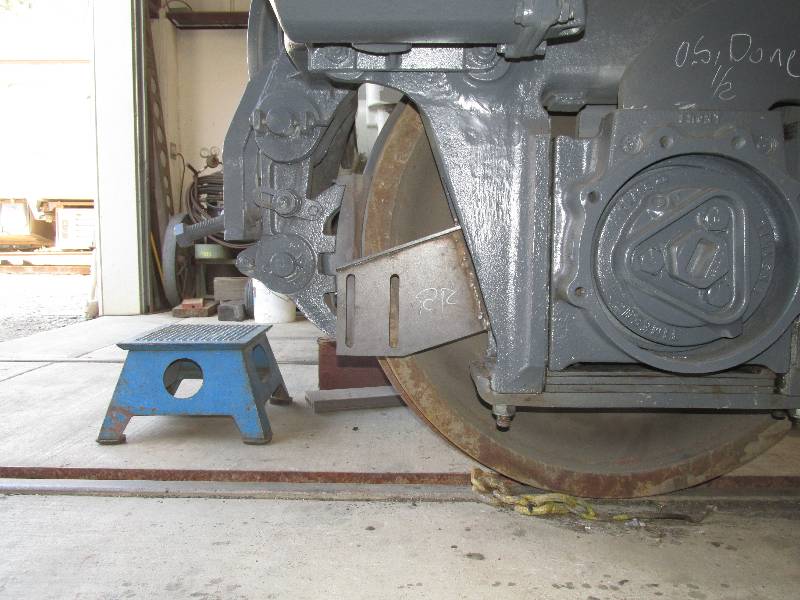
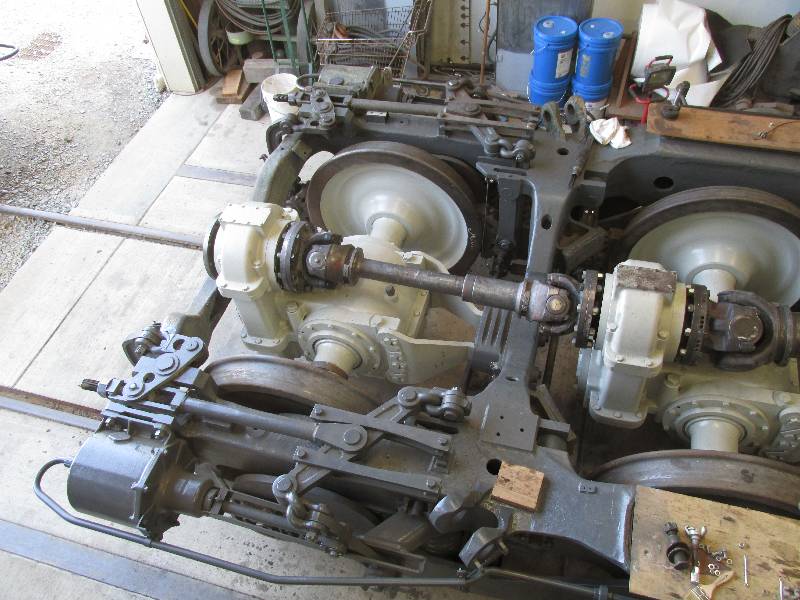
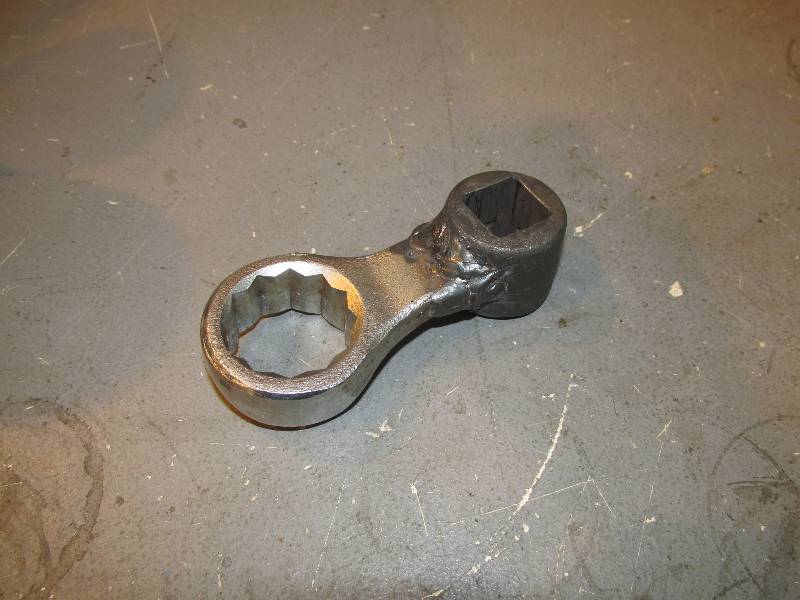
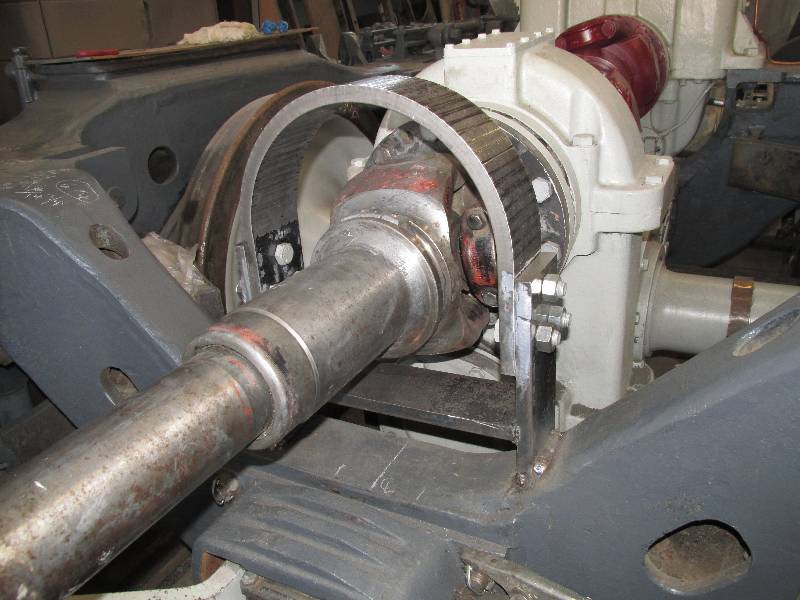
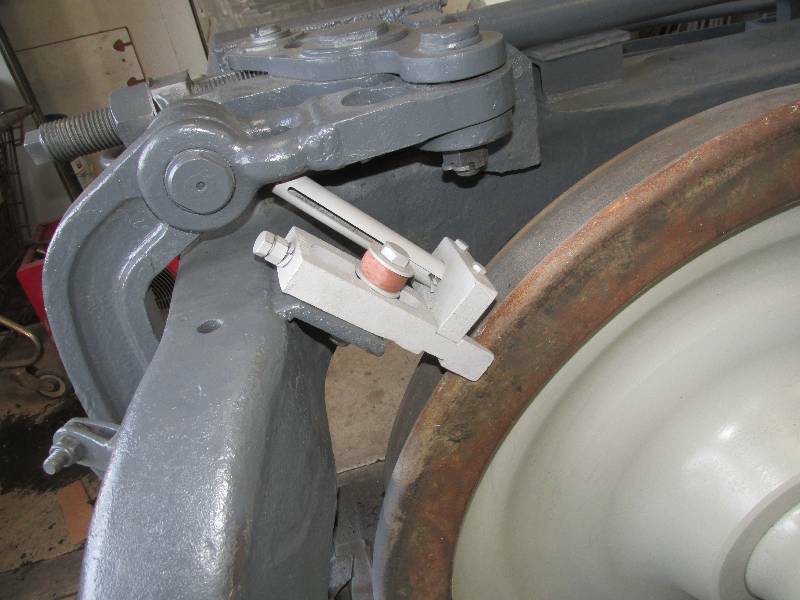
While the truck was jacked up in the air, I decided to attach the newly made sander nozzle brackets. These were removed by Plasser when the ballast cleaning machine was built. The brackets are also missing from the front truck but these were removed by the SP during the camera car conversion. I am installing only the brackets on the rear truck for now. We had no useful drawings for the brackets so they were scaled from photographs (by our ace photo-scaler Bob Zenk) onto cardboard and compared against photos. They turned out quite nicely. The sand nozzles and clamping brackets will come later. We then re-installed the three Cardan shafts and torqued the flange bolts to 450 foot pounds using a 4-foot torque wrench and a custom made wrench extender. Finally, Gerry filled the gear boxes with fresh hypoid gear oil.
--
October 15, 2015 --
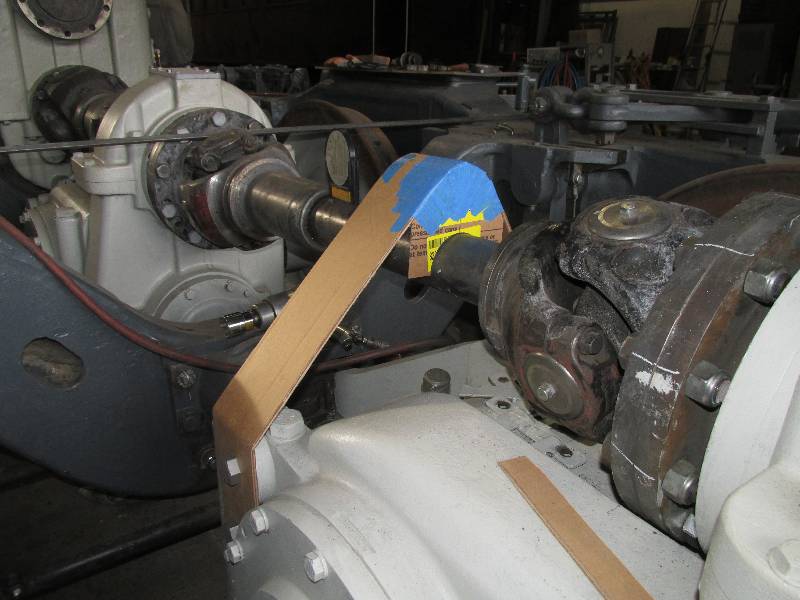
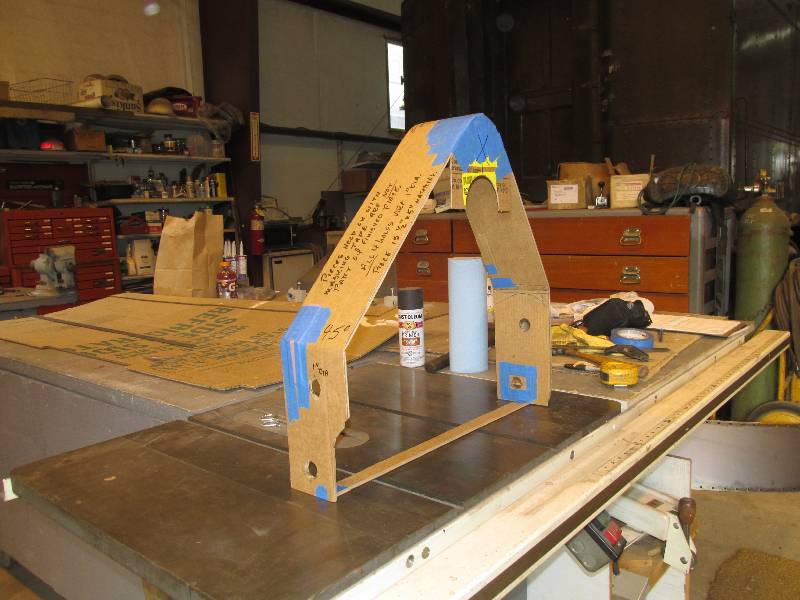
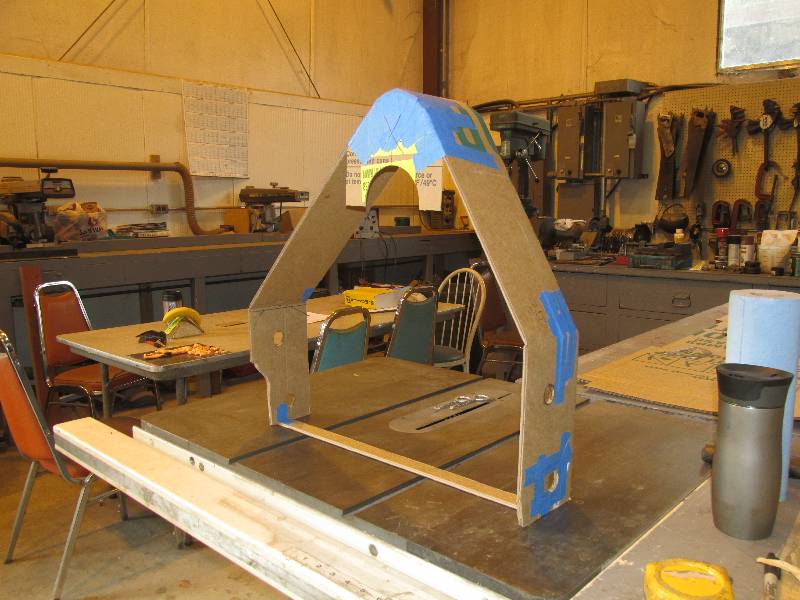
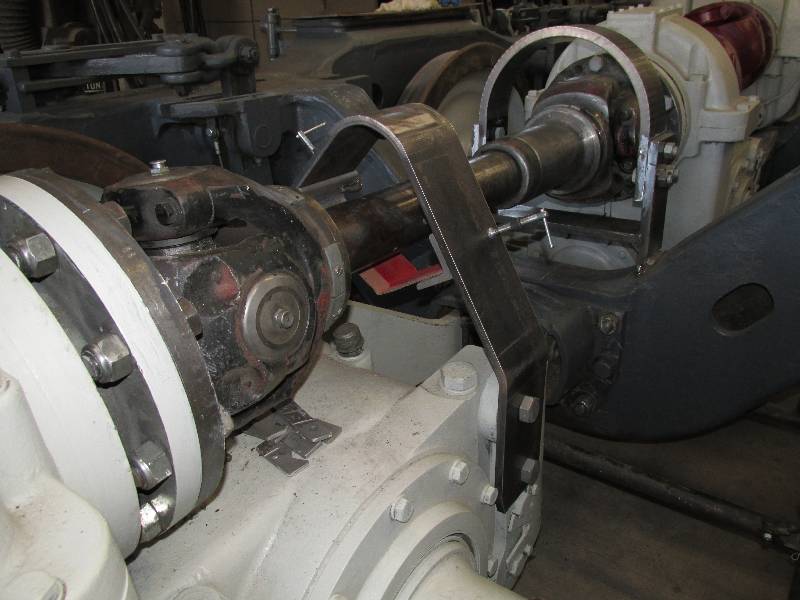
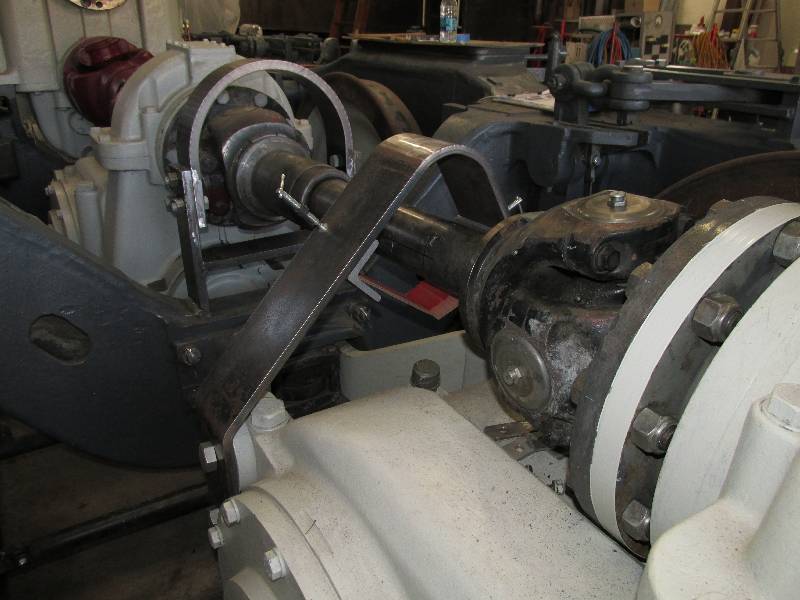
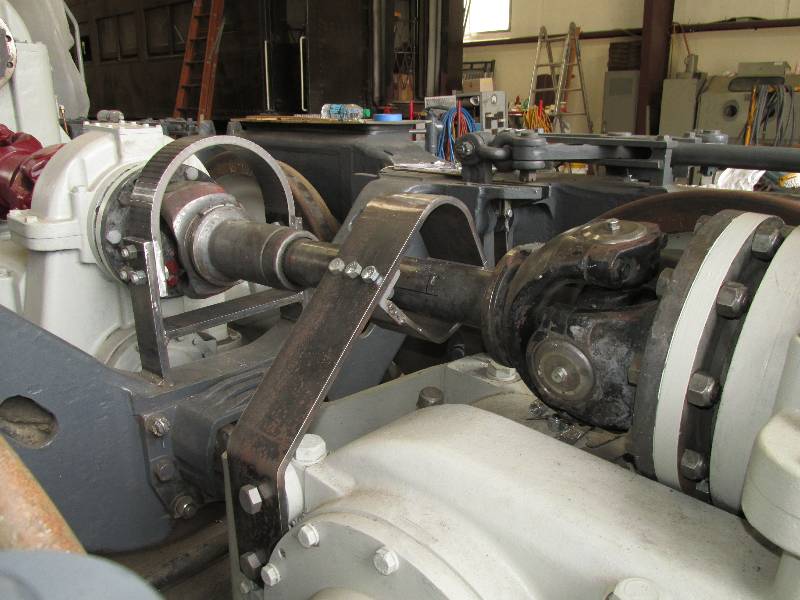
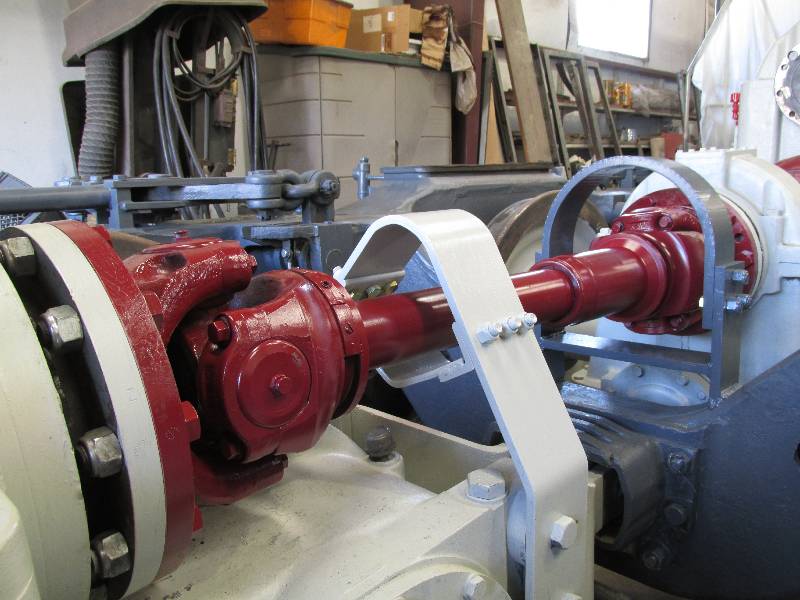
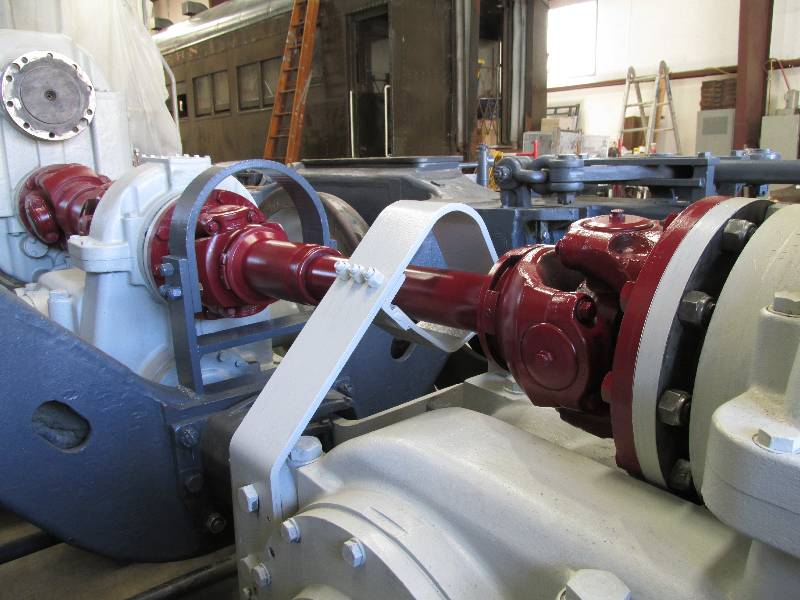
The next items on the work list were the 2 safety straps around the rear cardan shaft. These were not original to the truck as built by Krauss Maffei but were a Southern Pacific modification designed to protect the transmission from damage in the event a cardan shaft universal joint should break. Once again, there were no plans, just a photo taken of one of the trucks that was set aside to be sent to Plasser. Oddly, neither of the trucks we purchased from France showed any signs of the straps. We suspect that the straps were applied whenever a truck was removed from a locomotive and fortunately, both trucks under the 9010 had the modification so we were able to get some basic dimensions for the main strap.
Our rear
strap is a bit unlike the original design due to the
differences between the Maybach and Voith gear boxes. We
resorted to
making a
cardboard template because of all the odd angles and
curves involved. The template was taken to our friends at
Melrose
Metals and they used it to program their CNC machine.
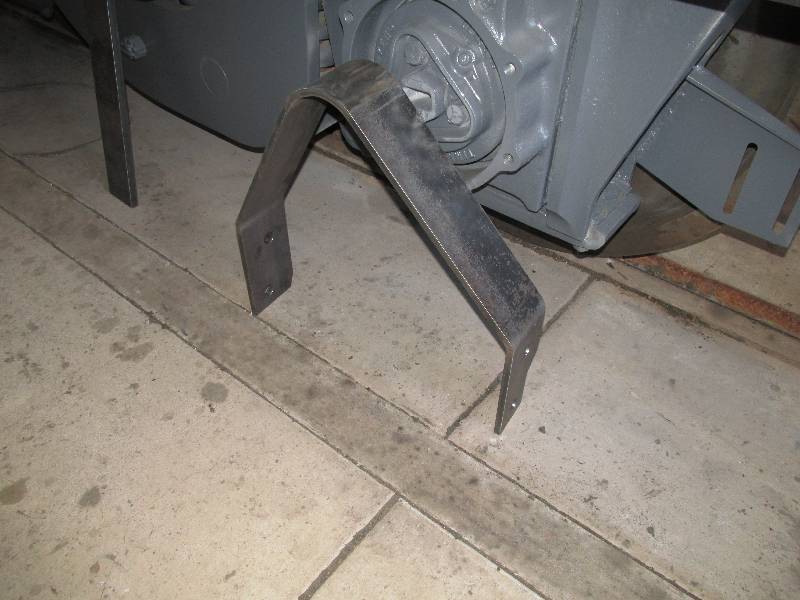
Once the rear strap was bolted
into place, I made the small curved plate that would prevent the shaft
from falling onto the gear box.
We also installed the flange
lubricators that Dick had cleaned and set aside. These are
original to the trucks.
--
October 21, 2015 --
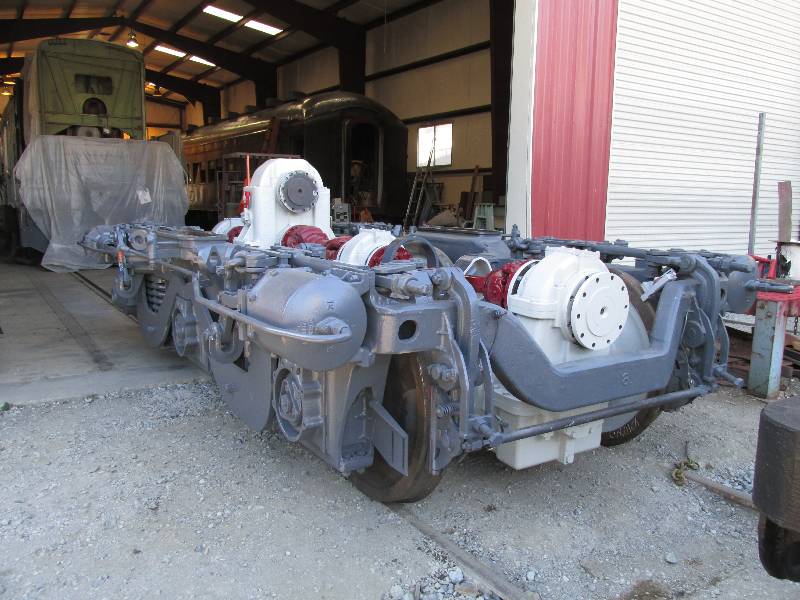
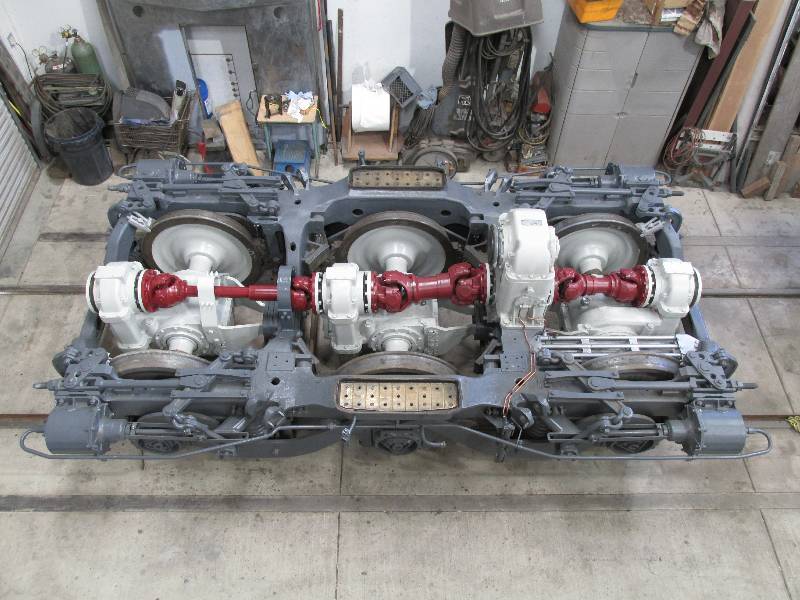
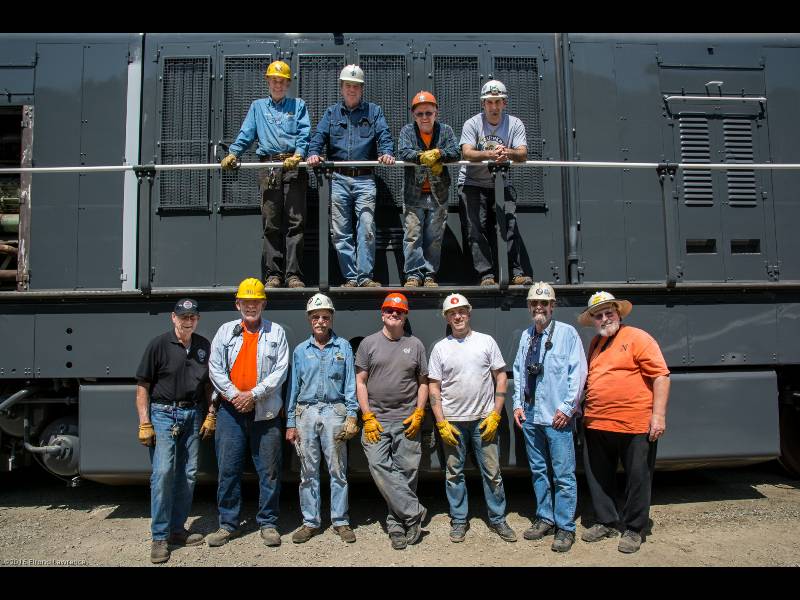
Finally, the truck is fully checked, repaired, lubricated, un-modified and painted.
--
May 16, 2016 --
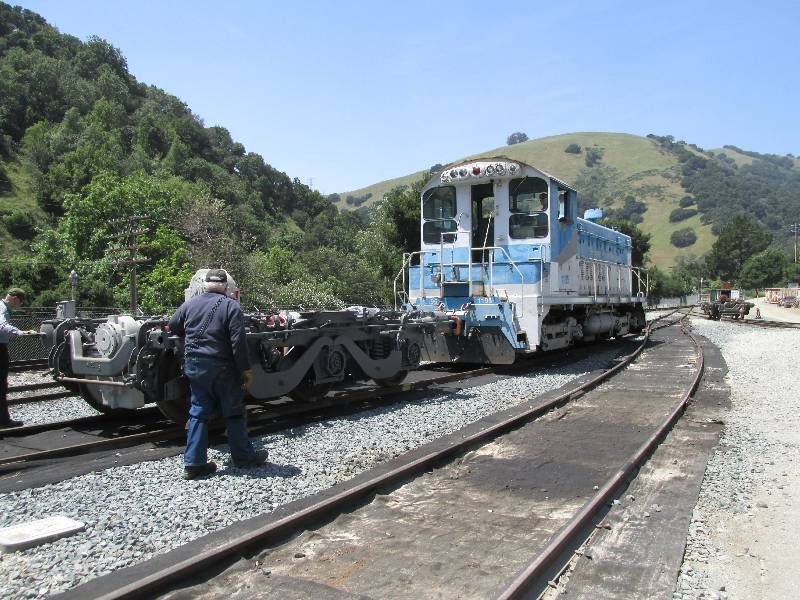
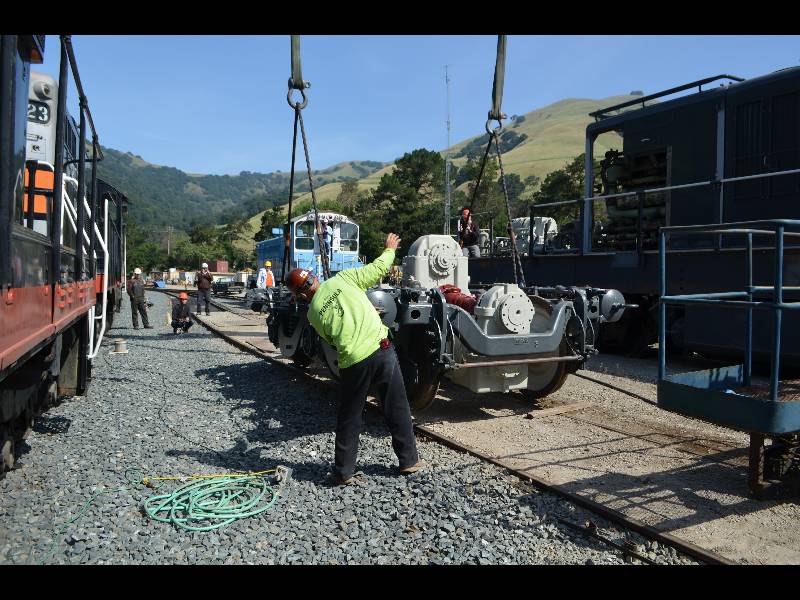
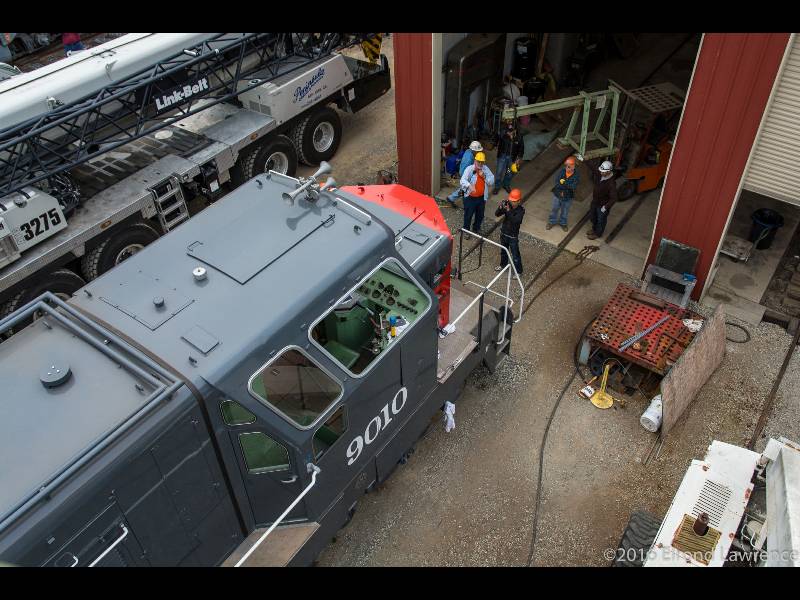
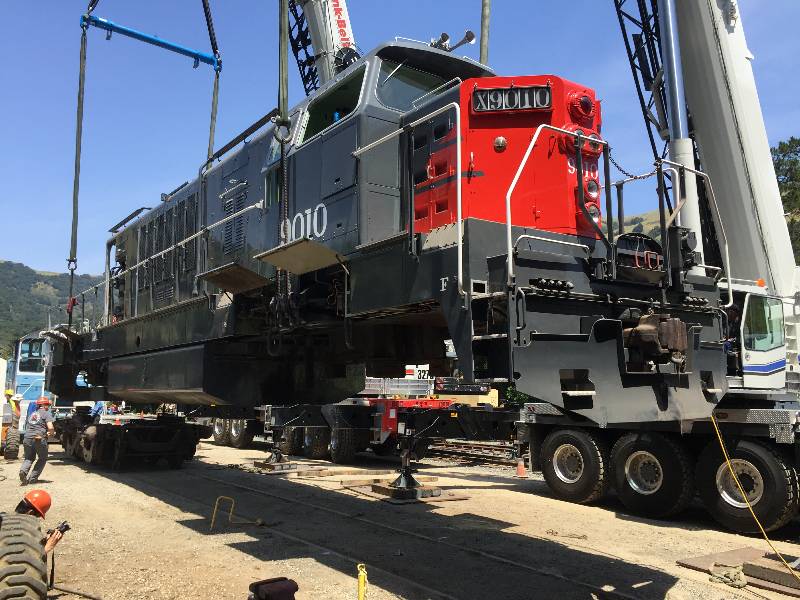
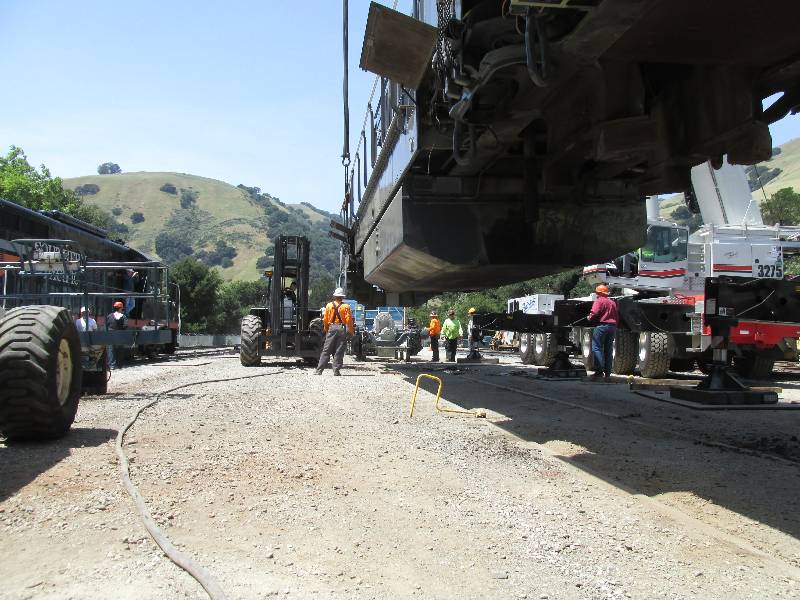
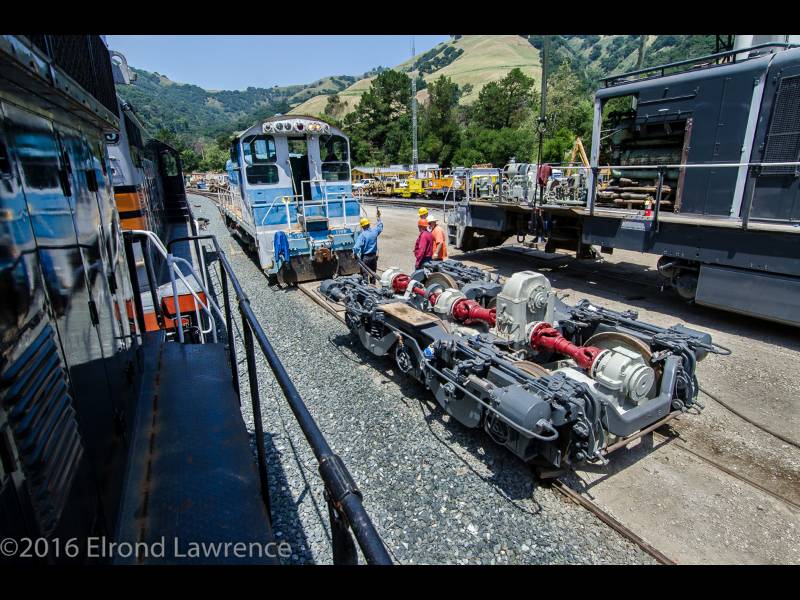
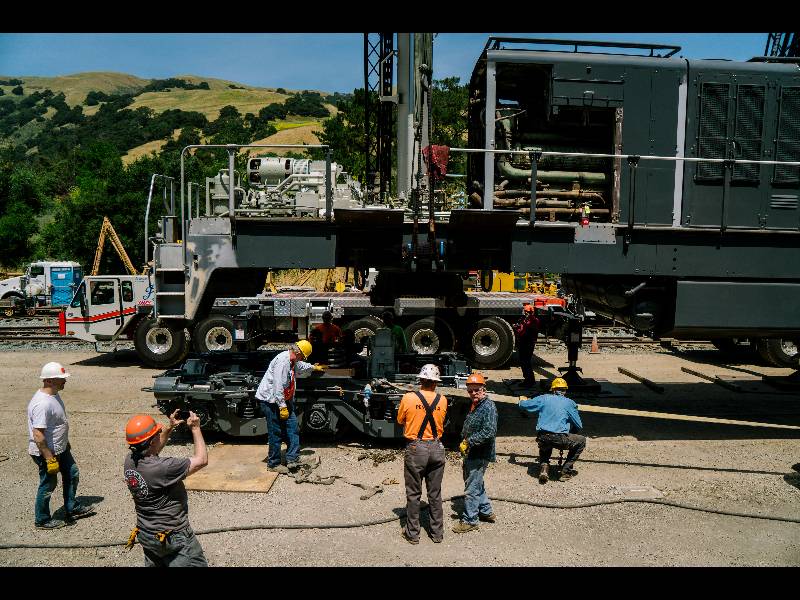
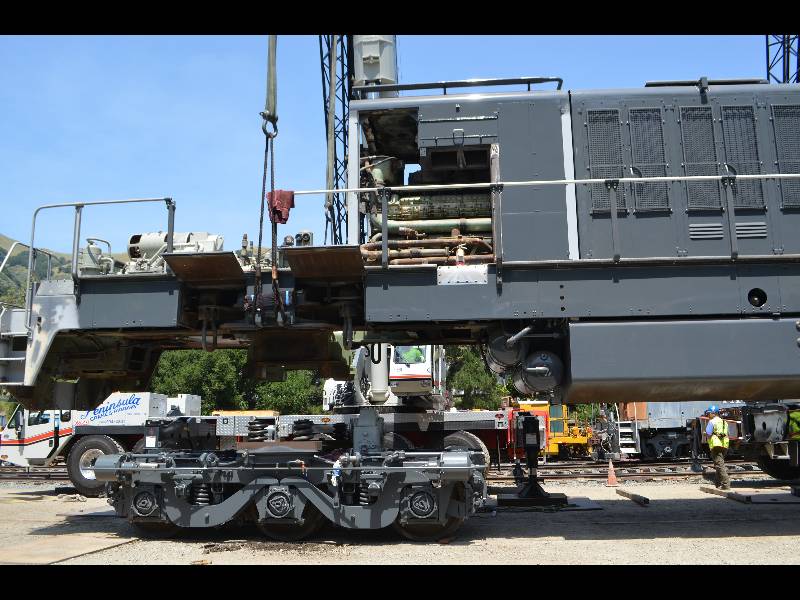
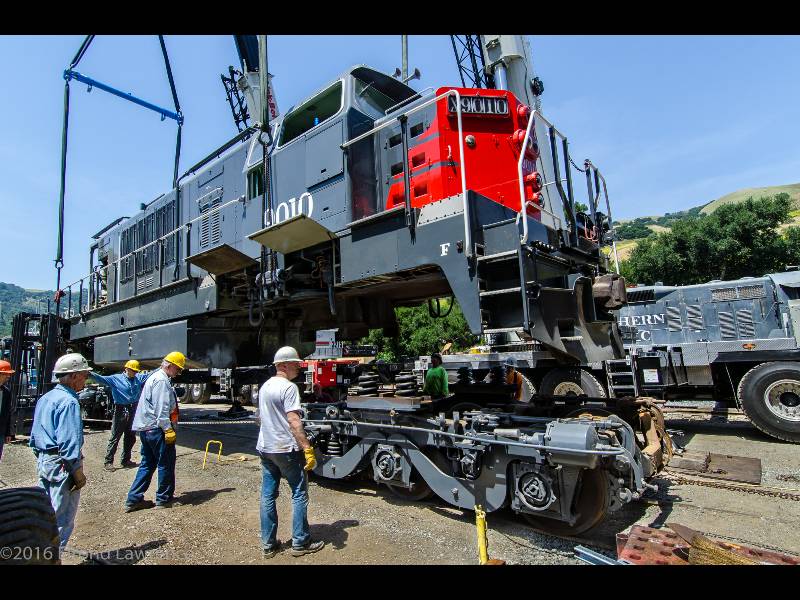
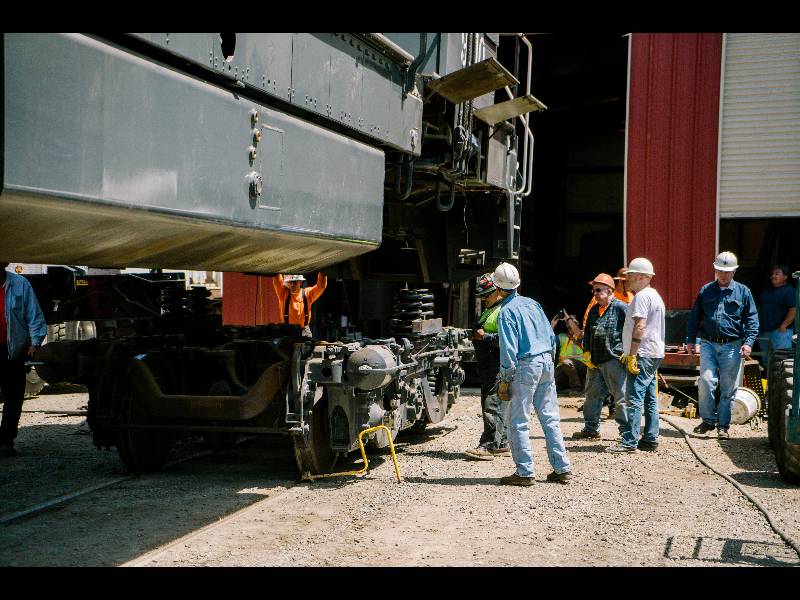
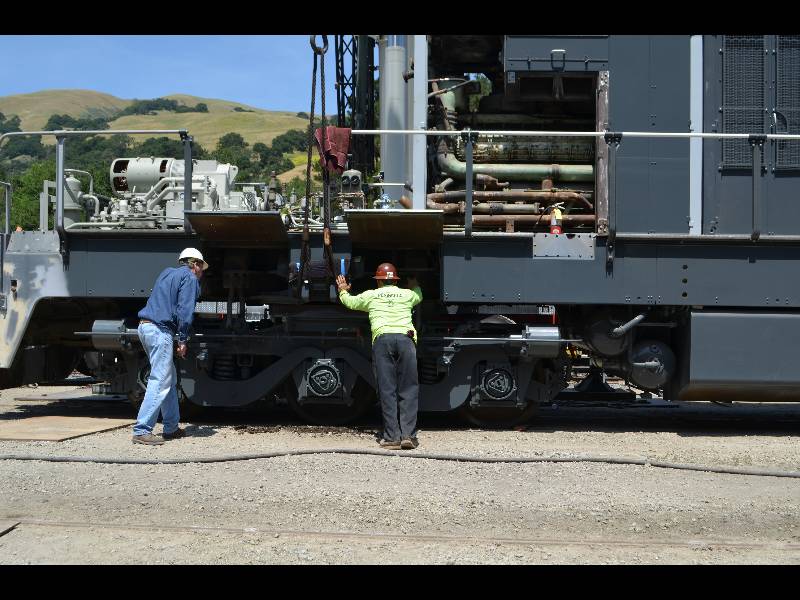
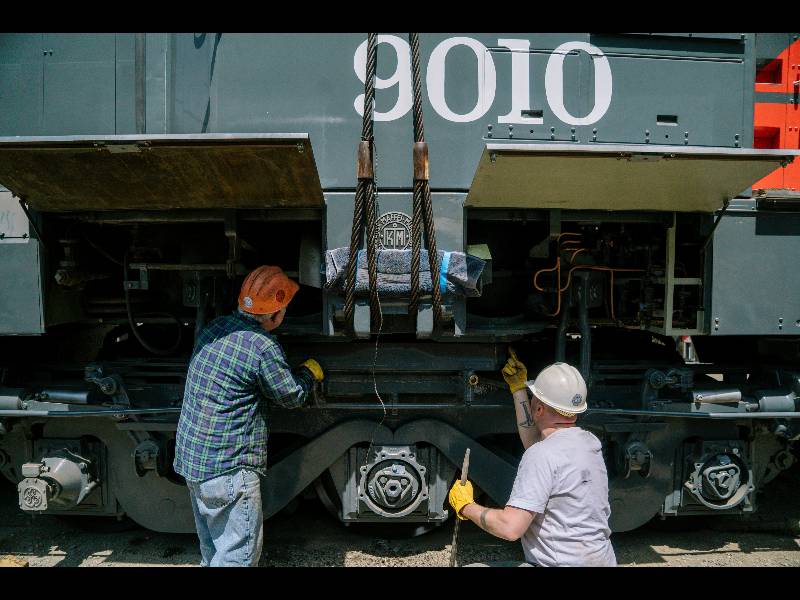
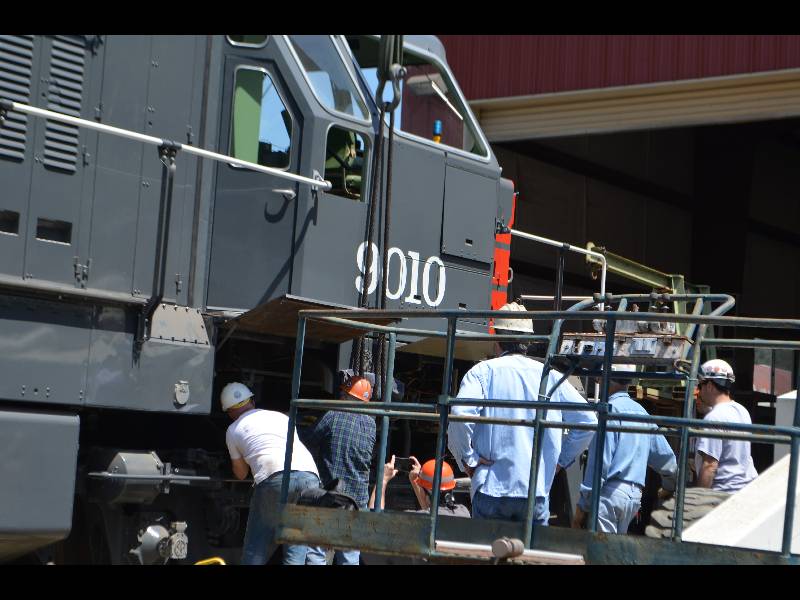
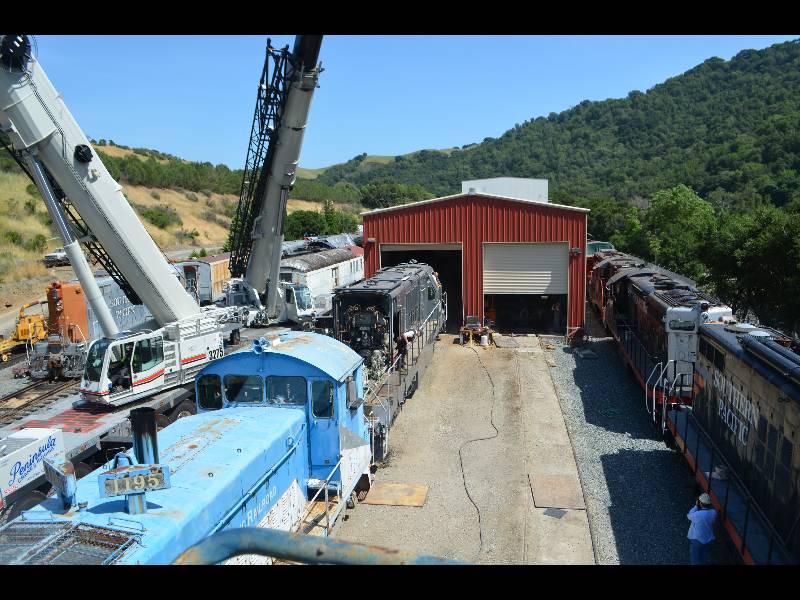
The big day finally arrived. May 12, 2016 is the day on which the 9010 received her rebuilt rear truck. It all started 2 days before when Rich and Gerry switched out the entire west end of the yard to prepare space for the work and the pair of 275 ton cranes from Peninsula Cane. The rebuilt truck and the spare truck exchanged places with the new truck being left outside under cover until Thursday the 12th.
Because
of the way in which the locomotive body connects to the trucks, it is
necessary to lift the locomotive straight up to a height of about 7
feet. The height is required to clear the intermediate gear
box
on the new rear truck. The first thing we did was weigh the
new
truck so we would have a record of it (43,000#). The old rear
truck was then pullled west
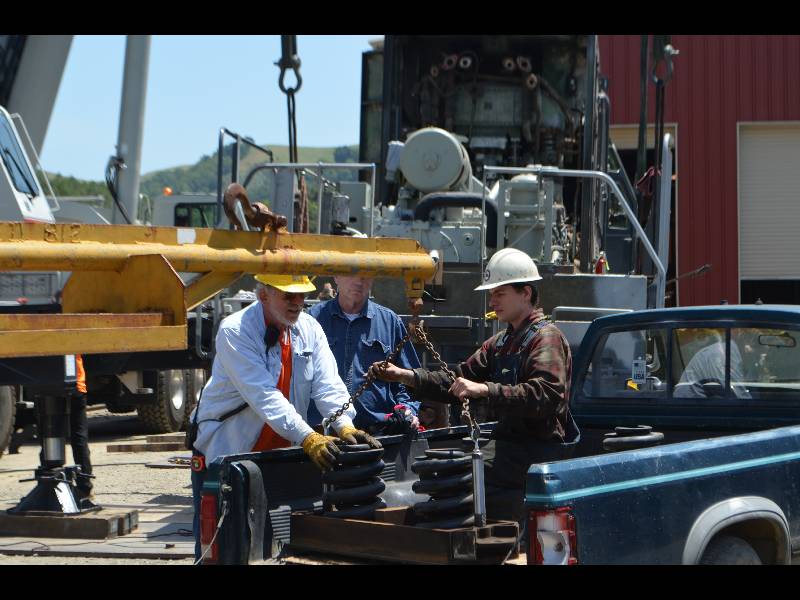
where
a crew headed by Bill and Denny took care of the sliding plates and
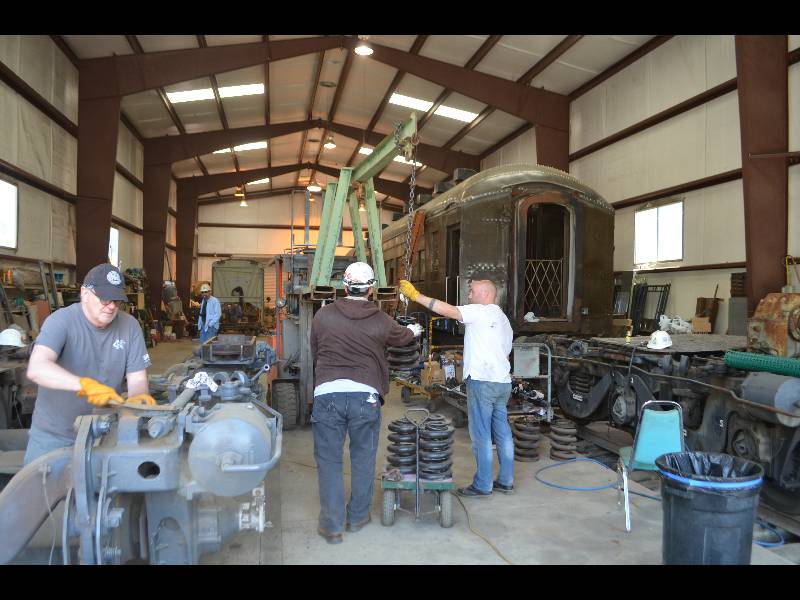
springs while the front truck was pulled east into the shop where
another crew took care of the spring work. The reason
for the spring work was covered in update: Mechanical
Work
Return To Main Page |